September 10, 2022


I was recently editing some photos taken during a memorable trip to northern Canada several years ago. In this case, the edits were part of some internal quality control and testing that I do before we release updates to our apps. The editing tests that I had been conducting was for an upcoming update to DeNoise AI, which is ironic because at the time of prepping this article, the weather is delightfully warm as we transition from Spring to Summer.
Still, when it’s warm in the northern hemisphere, it’s safe to bet that it’s quite cold in the southern hemisphere. As such, developing a framework to ensure safe and successful photography adventures in extremely cold conditions is a perennially good idea. That’s why I’m excited to share this article with you.
Shooting photos in extremely cold, snowy, and/or icy conditions brings with it a number of technical and compositional challenges that we’ll address in this article, including things to consider in order to keep your camera and lenses operating properly, since extreme weather—especially cold conditions—can directly affect your camera gear. But, in addition to this, you’ll also want to take extra care of yourself. Always be sure to say safe and comfortable when shooting in cold conditions. Frostbite and hypothermia are things not to trifle with and can quickly ruin a great outdoor photo adventure.
Of course, I’ll also present various tips on capturing great shots when you’re working with gray skies and lots of white snow. So bundle up, and let’s begin!
I’ll never forget the sensation of leaning at almost a 45-degree angle into the howling wind as it blew at me with amazing speed while standing on the frozen surface of Abraham Lake in Canada. It’d be laughable if I wasn’t terrified about having my camera and tripod get blown away, which is not an exaggeration. At one point, my friend, who was standing 30 feet away, was able to let go of his tripod and have the wind carry it across the ice to me. Fortunately, because I was properly outfitted, neither the wind nor the cold affected me much.

You’ve probably heard about the importance of wearing appropriate layers when heading out in extremely cold conditions. It’s true, and I cannot stress enough how critical this is. I follow a pretty straightforward layering strategy, and it has served me well in some of the most frigid conditions.

I start with upper and lower base layers made of merino wool, which keeps me warm and “wicks away” perspiration, which is also critical. (“Wicks away” means that, in this case, merino wool draws perspiration away from the skin and directs it up closer to the clothing surface in order to quickly dry, just like wax being drawn up toward the flame in a candle.)
Next, I’ll wear a thermal vest and insulated snow pants. The snow pants does a great job of keeping my lower body warm and dry. Then, I put on a down jacket, which provides the bulk of the warmth for my upper body. I highly recommend not skimping on the down jacket. I know that they can be very pricey, but it is critical to maintain that barrier to keep in your body warmth. Finally, I wear a thin outer shell, which provides wind and water resistance. This thin outer shell can also be quite expensive, but it’s so important because many high-quality down jackets aren’t especially waterproof. Having a high-quality shell will take care of that while also preventing the wind from cutting through the down layer.
When it comes to your extremities— your head, hands and feet—wearing layers is equally as important as your core. For my head and face, I wear a balaclava that keeps my skin toasty but allows the condensation from my breathing exhalations to wick away. I also wear a wool hat that keeps my head warm while allowing sweat to wick away.
My hands are kept warm by layering a thin glove with a thicker, heavier mitten that folds back. This allows me to use my fingers whenever I need to work with camera dials and buttons. I’ll also keep a few hand warmers stuffed in my gloves and jacket pockets, which not only keeps my hands warm but also keep my batteries toasty (more on that in a minute).
For my feet, I invest in high-quality wool socks that do a great job of keep- ing my toes warm while wicking away any sweat. My boots are also insulated and waterproof, which is really important if you’re going to be hiking in snow.
Speaking of which, I suggest buying a pair of gaiters, which cover both your boots and lower part of your pants, to keep snow out of your boots and micro spikes to give you traction when walking on ice.

Remember, the key to being safe and comfortable is to wear layers.
Any kind of extreme weather warrants extra care when it comes to camera gear, but cold weather is particularly gnarly. Without proper care and preparation, not only can your shooting time be cut short, but you can also negatively impact the life of your gear.
Fortunately, there are some pretty simple and inexpensive ways to keep your camera gear going for the long haul in extremely cold conditions. To start, let’s take a look at your batteries. Just about every camera battery on the market today uses lithium-ion technology, which is wonderful overall but doesn’t hold up so well in cold conditions. Even with a full charge, you will probably experience shorter shoot times in cold temperatures. That’s why I always carry at least two fully charged spare batteries. In reality, I always have at least four spare batteries with me. Not only that, but I also keep those batteries in my pocket with a hand warmer. You’ll be surprised at how much more shooting time you’ll get if you take care to keep your batteries from freezing conditions. If I notice my battery charge dropping quickly in my camera, I’ll swap it out with a warm one in my pocket, allowing it to benefit from the hand warmer. I also avoid buying off-brand batteries because of the poor experiences I’ve had with them. The lower price of these knock-off batteries isn’t worth the headaches I’ve experienced.
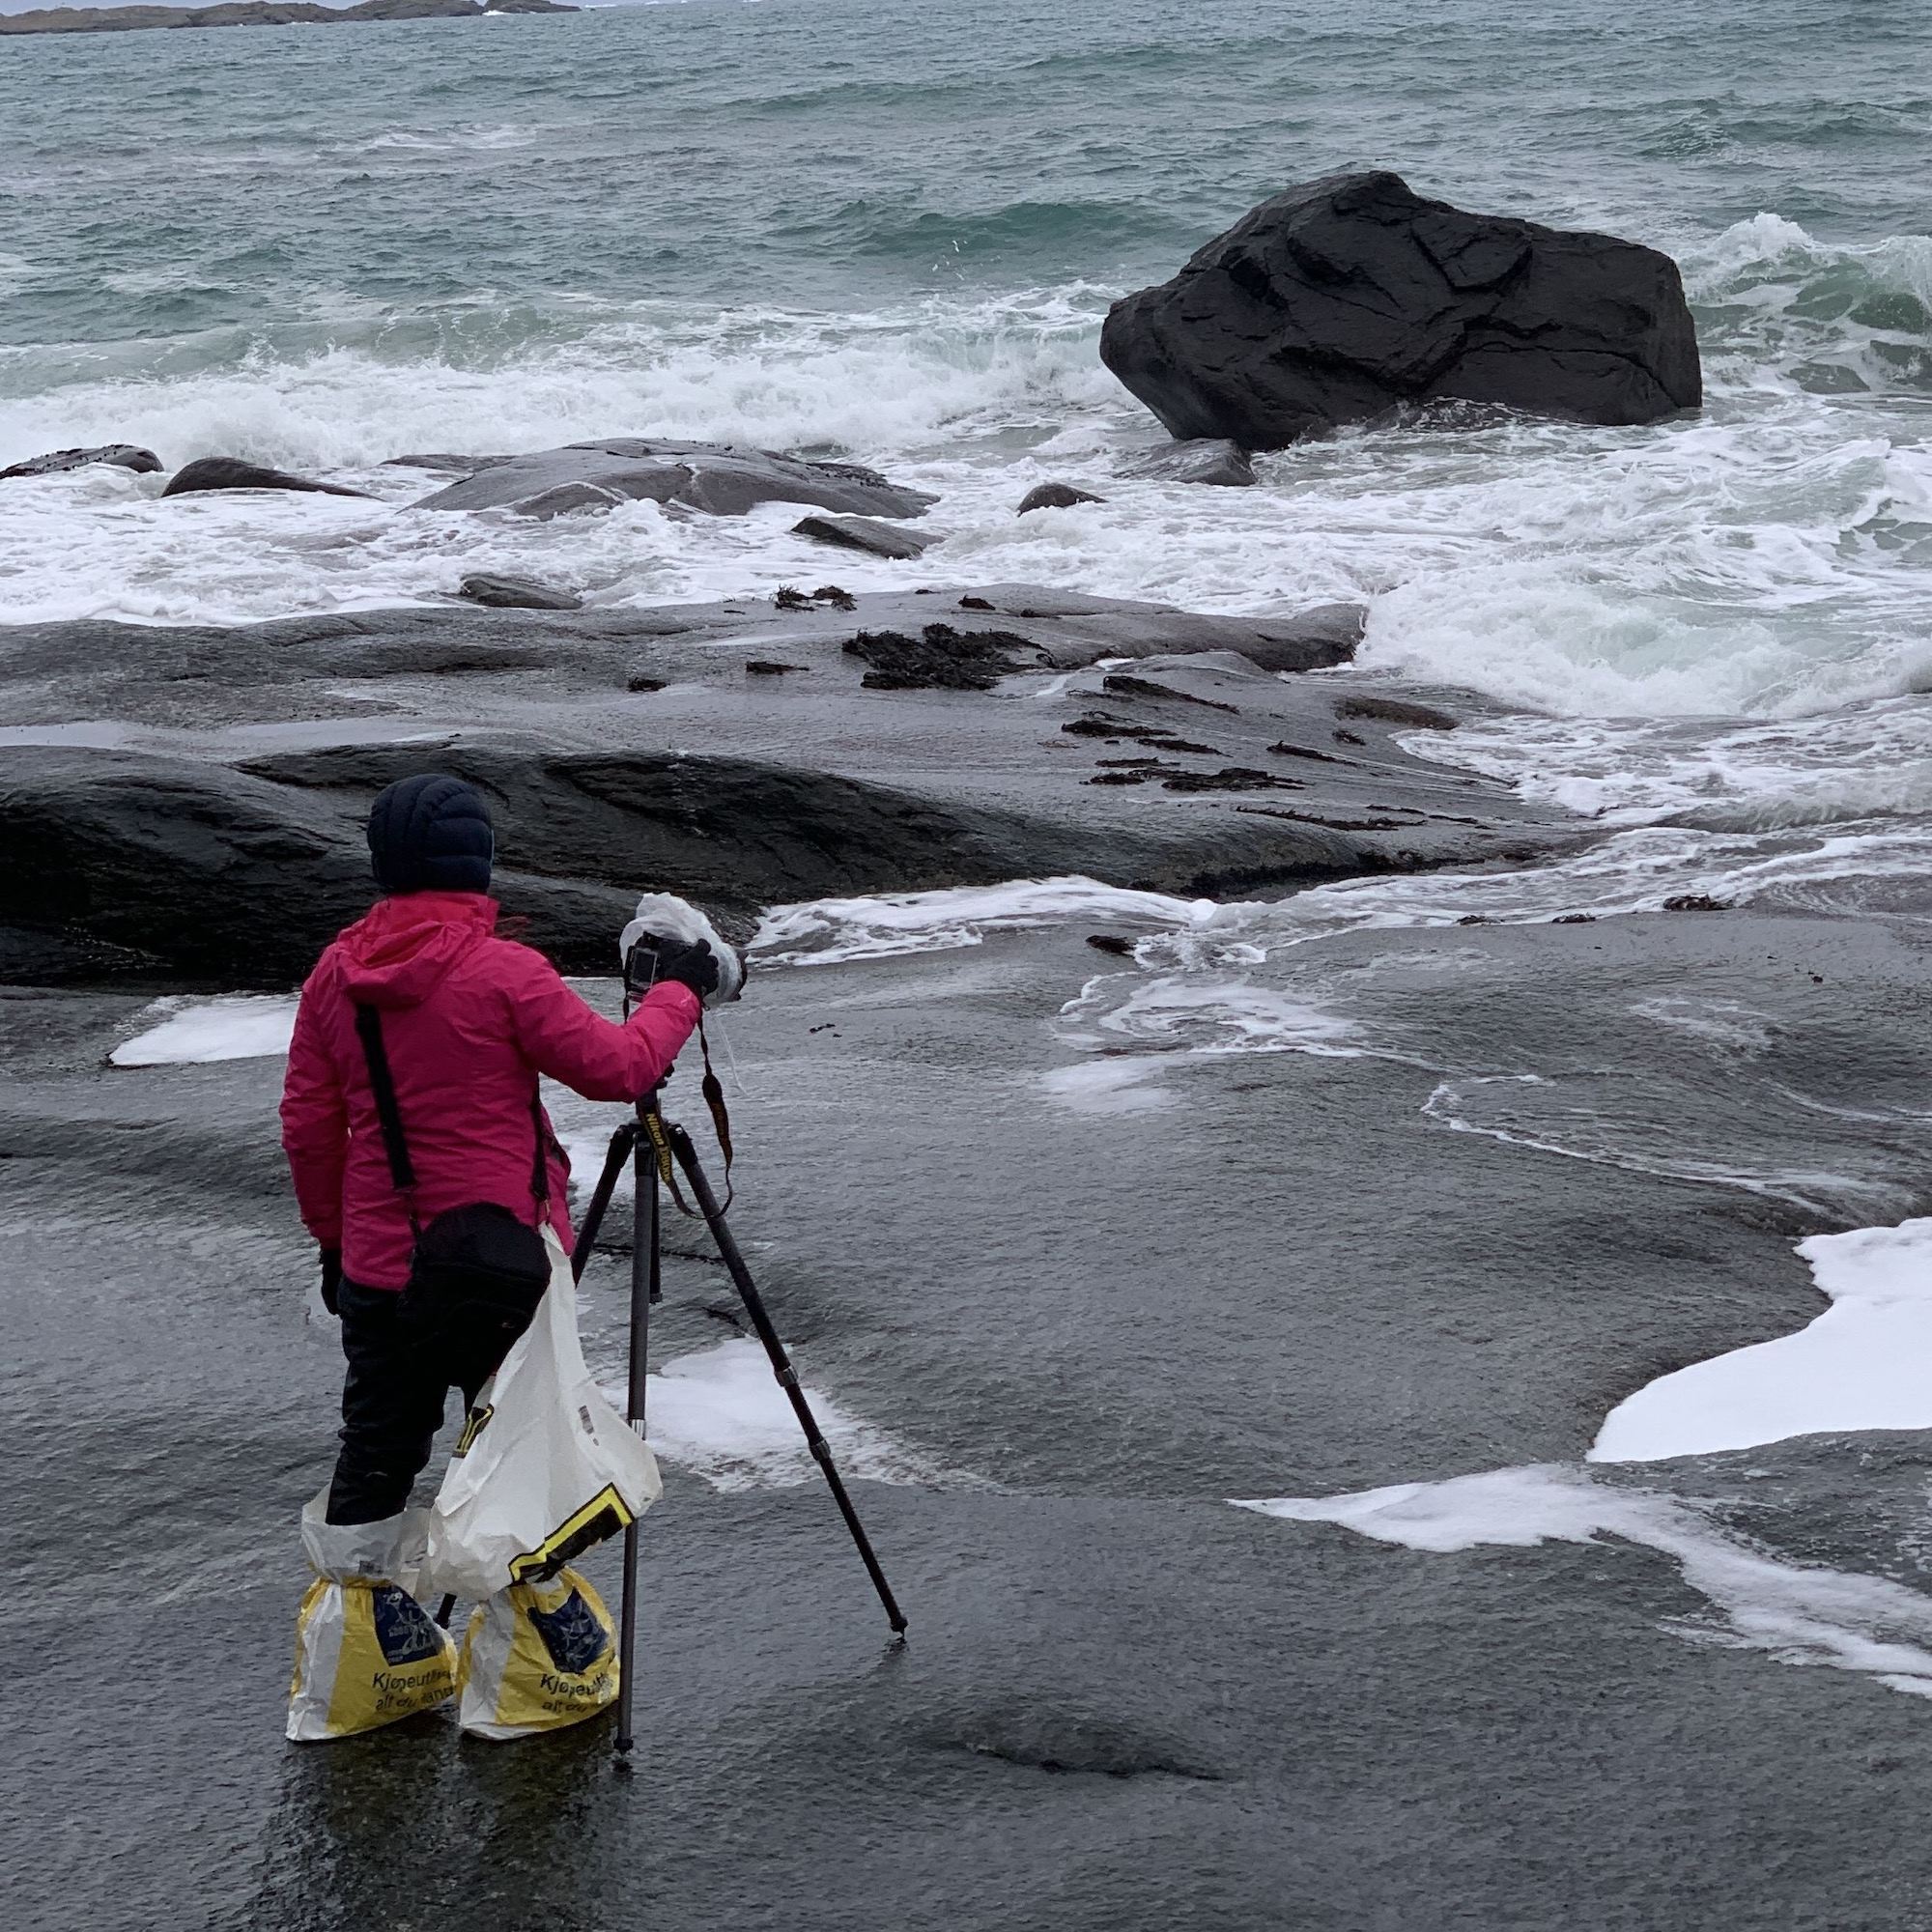
Another piece of camera gear that isn’t given much thought is the tripod. Odds are that your tripod is made of either aluminum or carbon fiber, both of which get exceptionally cold in freezing conditions. And that can make things uncomfortable, especially if you’re holding it barehanded (something I wholeheartedly do not recommend doing). Instead, I recommend buying foam-insulated wraps that cover each of your tripod legs. Not only does it make it more comfortable to rest on your shoulder while traipsing around, it also makes holding it far more forgiving in freezing temps. It’s one of the best investments I’ve ever made as a photographer.

Another component to using tripods in extremely cold weather, especially in icy and windy conditions, is stability. Earlier in this article, I shared a clip of my friend’s tripod easily sliding across the ice due to heavy wind gusts. That was able to happen because his tripod had standard rounded rubber feet affixed to the bottom of each leg. Rubber feet are great when the ground is textured, but they don’t handle well when the surface is slick (ice) and you have an external force (wind) pushing against it. That’s why I highly recommend getting a set of rock claw, or spiked, feet if your tripod supports them.

I’ve used rock claw feet for years for two reasons:

Finally, let’s talk about post-shooting gear protection. After spending hours photographing in frigid weather, you’ll probably be yearning to cozy up to a warm fire with a gigantic mug of hot cocoa, and no one would blame you for it. However, before you settle in— whether in a cabin or in your car—with the heat blasting, be sure to prep your camera gear to adjust to the sudden change in temperature.
First, you’ll likely want to import, review, and backup the photos you just took, so remember to remove and secure any media cards from your camera before heading in. When you bring your camera and lenses from one extreme condition, like the freezing cold, into another, like a warm cabin, condensation will likely form almost immediately, and you don’t want to fumble around with media cards when that happens.
As you can imagine, any form of moisture doesn’t play well with lens optics or camera electronics and should be mitigated. That’s why I recommend sealing each camera, lens, and filter in their own airtight plastic bags, like Ziplock bags, before heading into a warm environment. Doing so will cause any condensation to form on the bag instead of on the camera gear. You’ll want to keep your gear sealed in these bags for a few hours, until they reach room temperature. I also recommend tossing a few silica gel packs in each Ziplock bag AND your camera bag, to further absorb any moisture from melting snow or condensation.
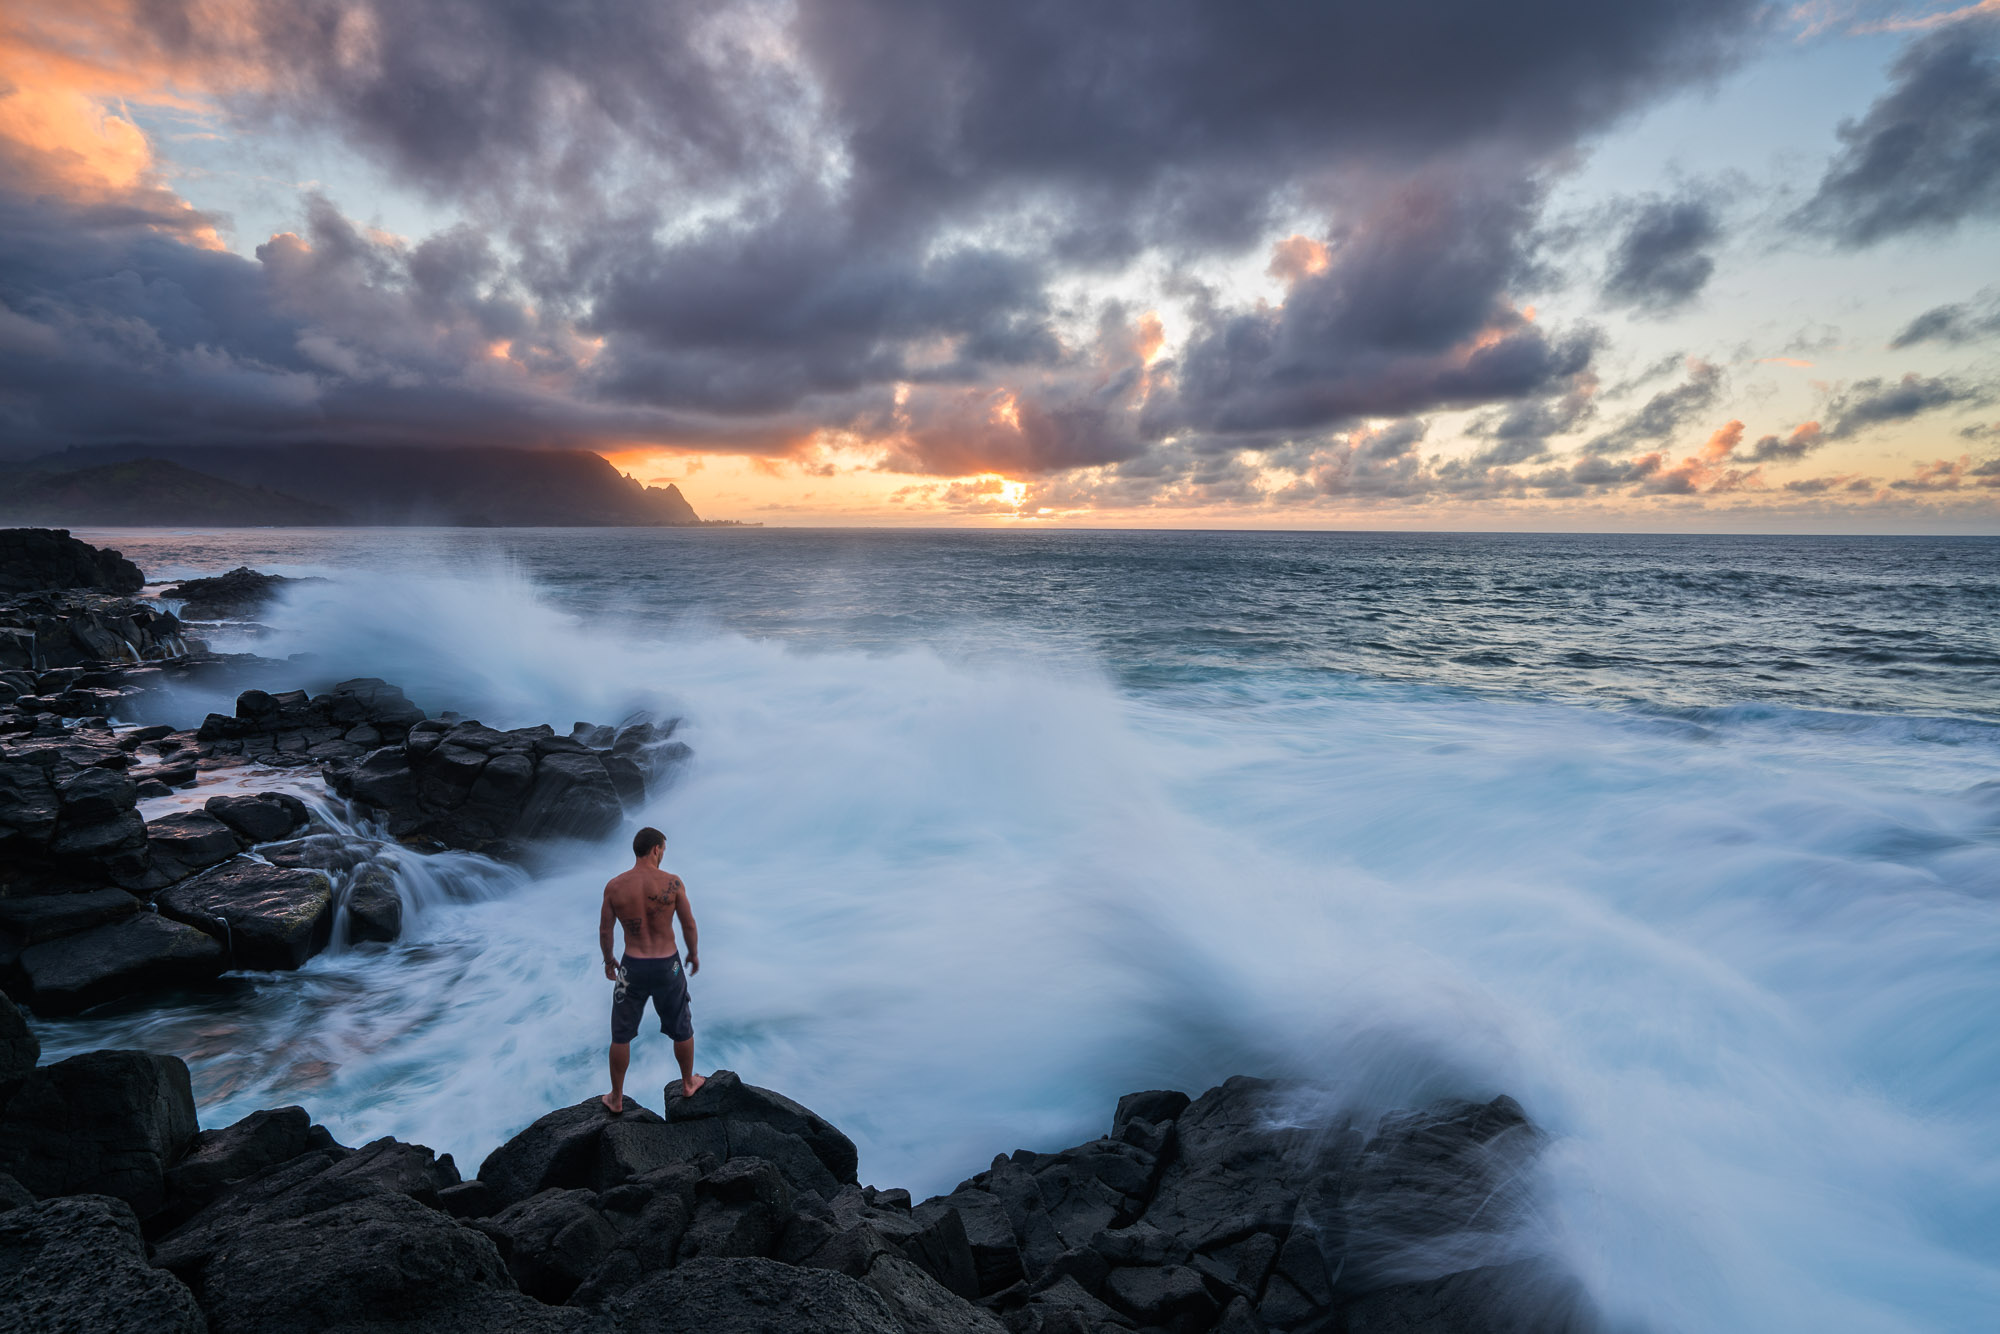
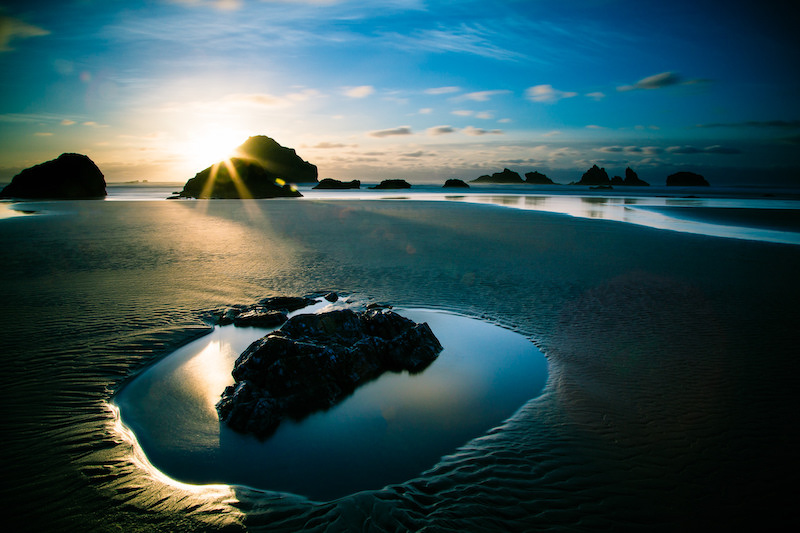
Snow and cold weather bring a certain aesthetic to outdoor photos that is undeniably beautiful. For instance, it’s one thing to stand near a large body of water with a mountain in the background. But it’s an entirely different experience when everything is covered in a fresh coat of snow with big, fluffy clouds in the sky. In fact, some of my favorite photos were taken surrounded by snow in freezing conditions.

However, with all of this beauty comes challenges. The first has to do with metering your exposure: Snow is a notoriously difficult element for cameras to properly meter off of. Your camera may sometimes struggle determining an appropriate exposure because it’s mostly bright white. In many cases, it’ll try to meter for middle gray, which will skew your overall exposure.
Odds are that the snow in your shot wasn’t gray, but your camera will act as if it was to get a proper exposure. That’s why I recommend familiarizing yourself with shooting in Manual mode if your camera supports it. Doing so will allow you to dial in exposure values that best represent the scene.
Another setting to watch out for when photographing in snowy conditions is white balance.
Similar to exposure, it can be very tricky for your camera to determine what the appropriate white balance should be. Depending on which setting you use, your images could veer toward cooler, blue tones as a result.
To keep this from happening, I strongly recommend shooting in your camera’s native RAW format.

One of the benefits to shooting in RAW is that you can customize your photo’s White Balance during post- processing even if you shot using Auto White Balance (AWB) or another preset. With RAW, you can use a White Balance selector (or dropper) and click on the snow. Depending on the lighting conditions, you should be left with proper color balance as a result.
I also recorded this new editing workflow tutorial where I share the post-processing steps using Adobe Lightroom and Sharpen AI to edit the photo of the Dolomites mountains just above. I hope you find it helpful!
Shooting in snowy, wintry conditions can be tons of fun and yield some truly stunning photos. However, it is not without its challenges to consider. And remember to take proper care of yourself and your camera gear so that you can make the most out of your cold weather outings. And don't forget that you can download a free trial of Sharpen AI to try it out with your winter photos, too!

© 2005 - 2024 Topaz Labs. All rights reserved.