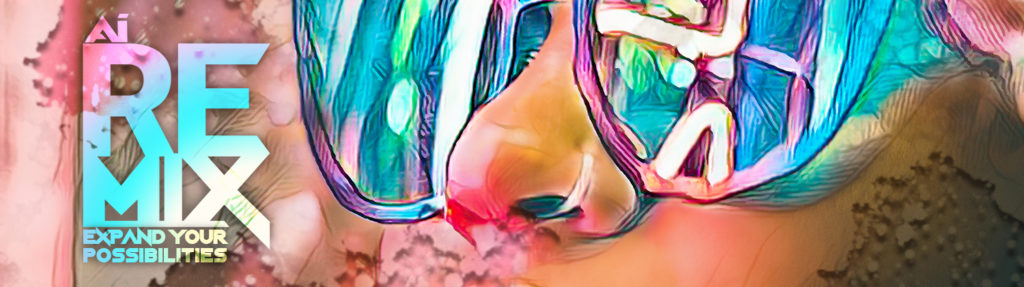
First, I have to say this was inspired by a beta testers image. I was so impressed I had to study it for a couple days to figure out how to recreate it.
In this tutorial I’m going to show you how to bring an artistic look to your photos but using multiple Ai ReMix adjustment layers, applying a mask, and applying a variation blending modes to help control the intensity of each layer adjustment application.
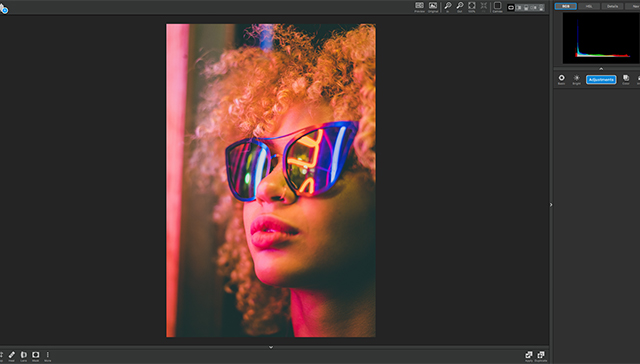
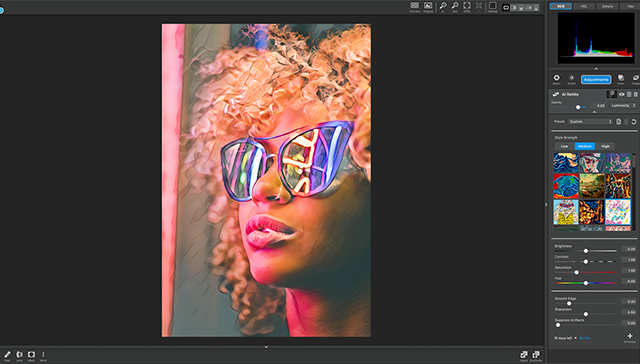
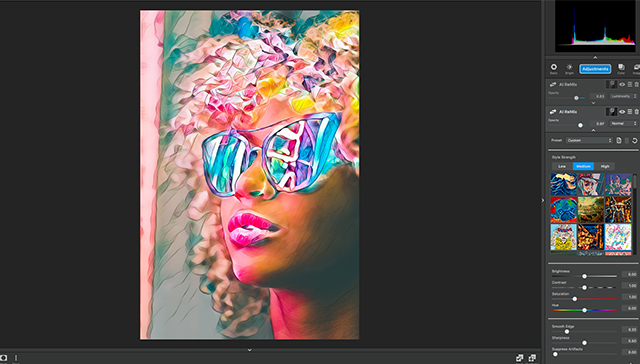
We are going to start with this photo of a woman, kind of retro in her presentation as is; but I want to bump up the retro aspect and add a little bit of grunge/sketchy effect.
I picked the same style for each adjustment, except for the last adjustment layer. Its the 3rd row from the top, and last style that appears to be a mardi gras dancer, again this is applied to the top two adjustment layers, the third layer is the last photo on the second row from the bottom.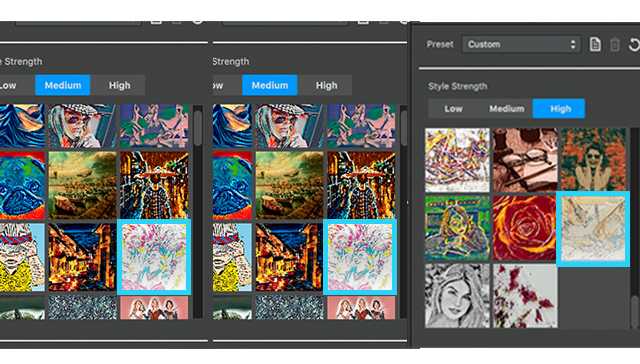
Since the top two layers are almost identical I’m going to address them as one step.
After applying the style, select the style strength as medium (this will be the same on the first two layers) and change the blend mode to luminosity. This allows the adjustment layer to adapt more to the highlights and shadows, but it still feels a bit harsh to me so we are going to create a mask for this layer.
Go to the white box icon next to the adjustments name and click it. Next go to the invert option, its located between the hamburger menu and the eyeball icon. After activating the invert option, this hides your entire effect; but don’t worry we’re going to edit this and bring what we want to see of this effect.
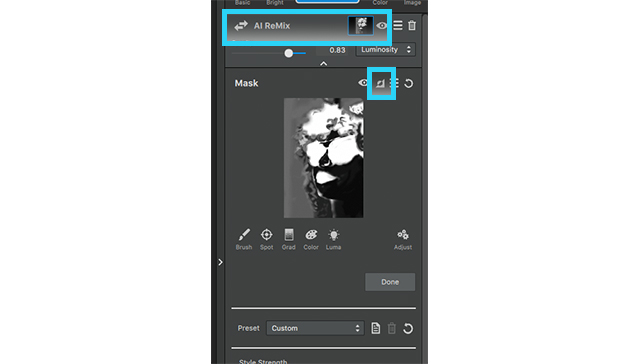
This mask was a lot of playing around. I knew I wanted the effect present on her mouth and sunglasses; but wanted it subtle on her skin and mixture of the two throughout her hair. So, for the initial process of this mask I didn’t select black or whit. I selected a medium density brush (considered a grey brush) and masked in where I wanted the effect to make an appearance; and then went back with white to make some places stronger than others. Also, bring the opacity of this layer down to .86.
Since the top two layer have the same effect and same mask. Simply duplicate the layer (using the hamburger menu next to the adjustment layers name) or make a new layer and apply the same style and style strength (medium).
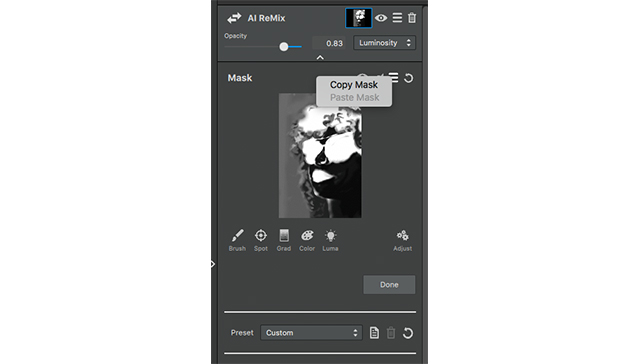
After pasting the mask the only thing that changes about this layer is the opacity. 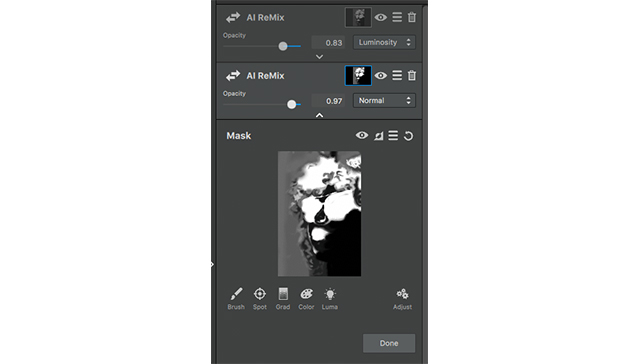
Set the opacity to .92 to tone this additional layer down just a bit, and leave the blending mode set to normal.
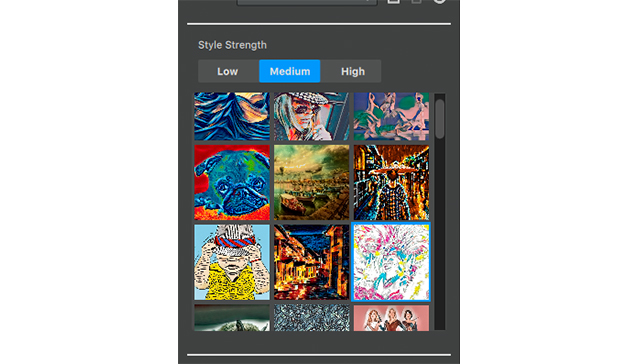
The third layer has the effect from the second to last row, 3rd column.
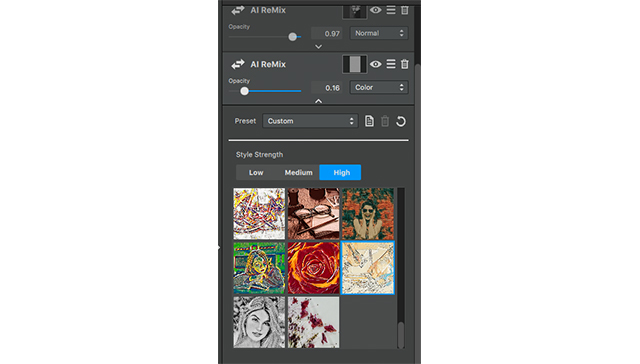 Set the style size set to large, this allows more detail to be recognized by this layer than the previous two, the opacity is at .16, and the overlay is set to color. This allows this layer to adapt and adjust more to the colors present in the photo as oppose to an over saturation of color presented in the adjustment layer.
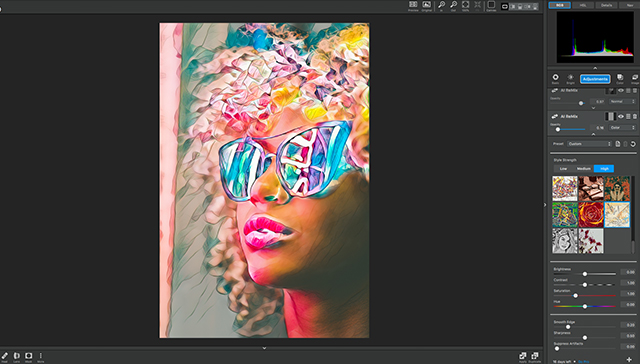
The application of this effect is subtle compared to the other two, but it tones down the blues and pinks by adding a little bit of a yellow hue to this image.
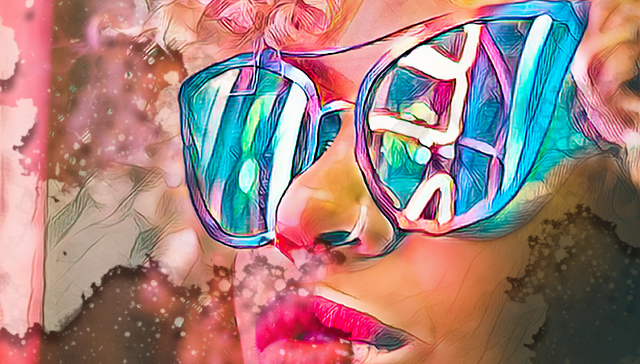
Thats was the last step! Feel free to share your images with us!


6 thoughts on “Creating like Never Before with AI ReMix”
Amazing! I would love to see how the other main image in the email newsletter was built. Thank you for making awesome software!
much love,
Athena
When will we get to watch videos on using AI remix? I need to hear and see in action to understand better how to use it.
Thank you
Unfortunately this one was not made into a video tutorial, BUT we do have this and two others available. 🙂
Ai Remix
Very nice tutorial on blending layers and masking! Thanks for sharing the inner workings of AI-ReMix!
This would be more helpful if there was a video on what’s being done.
Unfortunately we didn’t make a video about this one, BUT we do have this video and 2 others available.
Intro to Ai Remix
Comments are closed.