September 2, 2020

Besides creating masks for selective, technical editing, masking unlocks endless creative possibilities in the way of composites. You can follow along step by step with this creative image masking tutorial to create a magical image composite of your own!
And no worries, everything you’ll need is free.
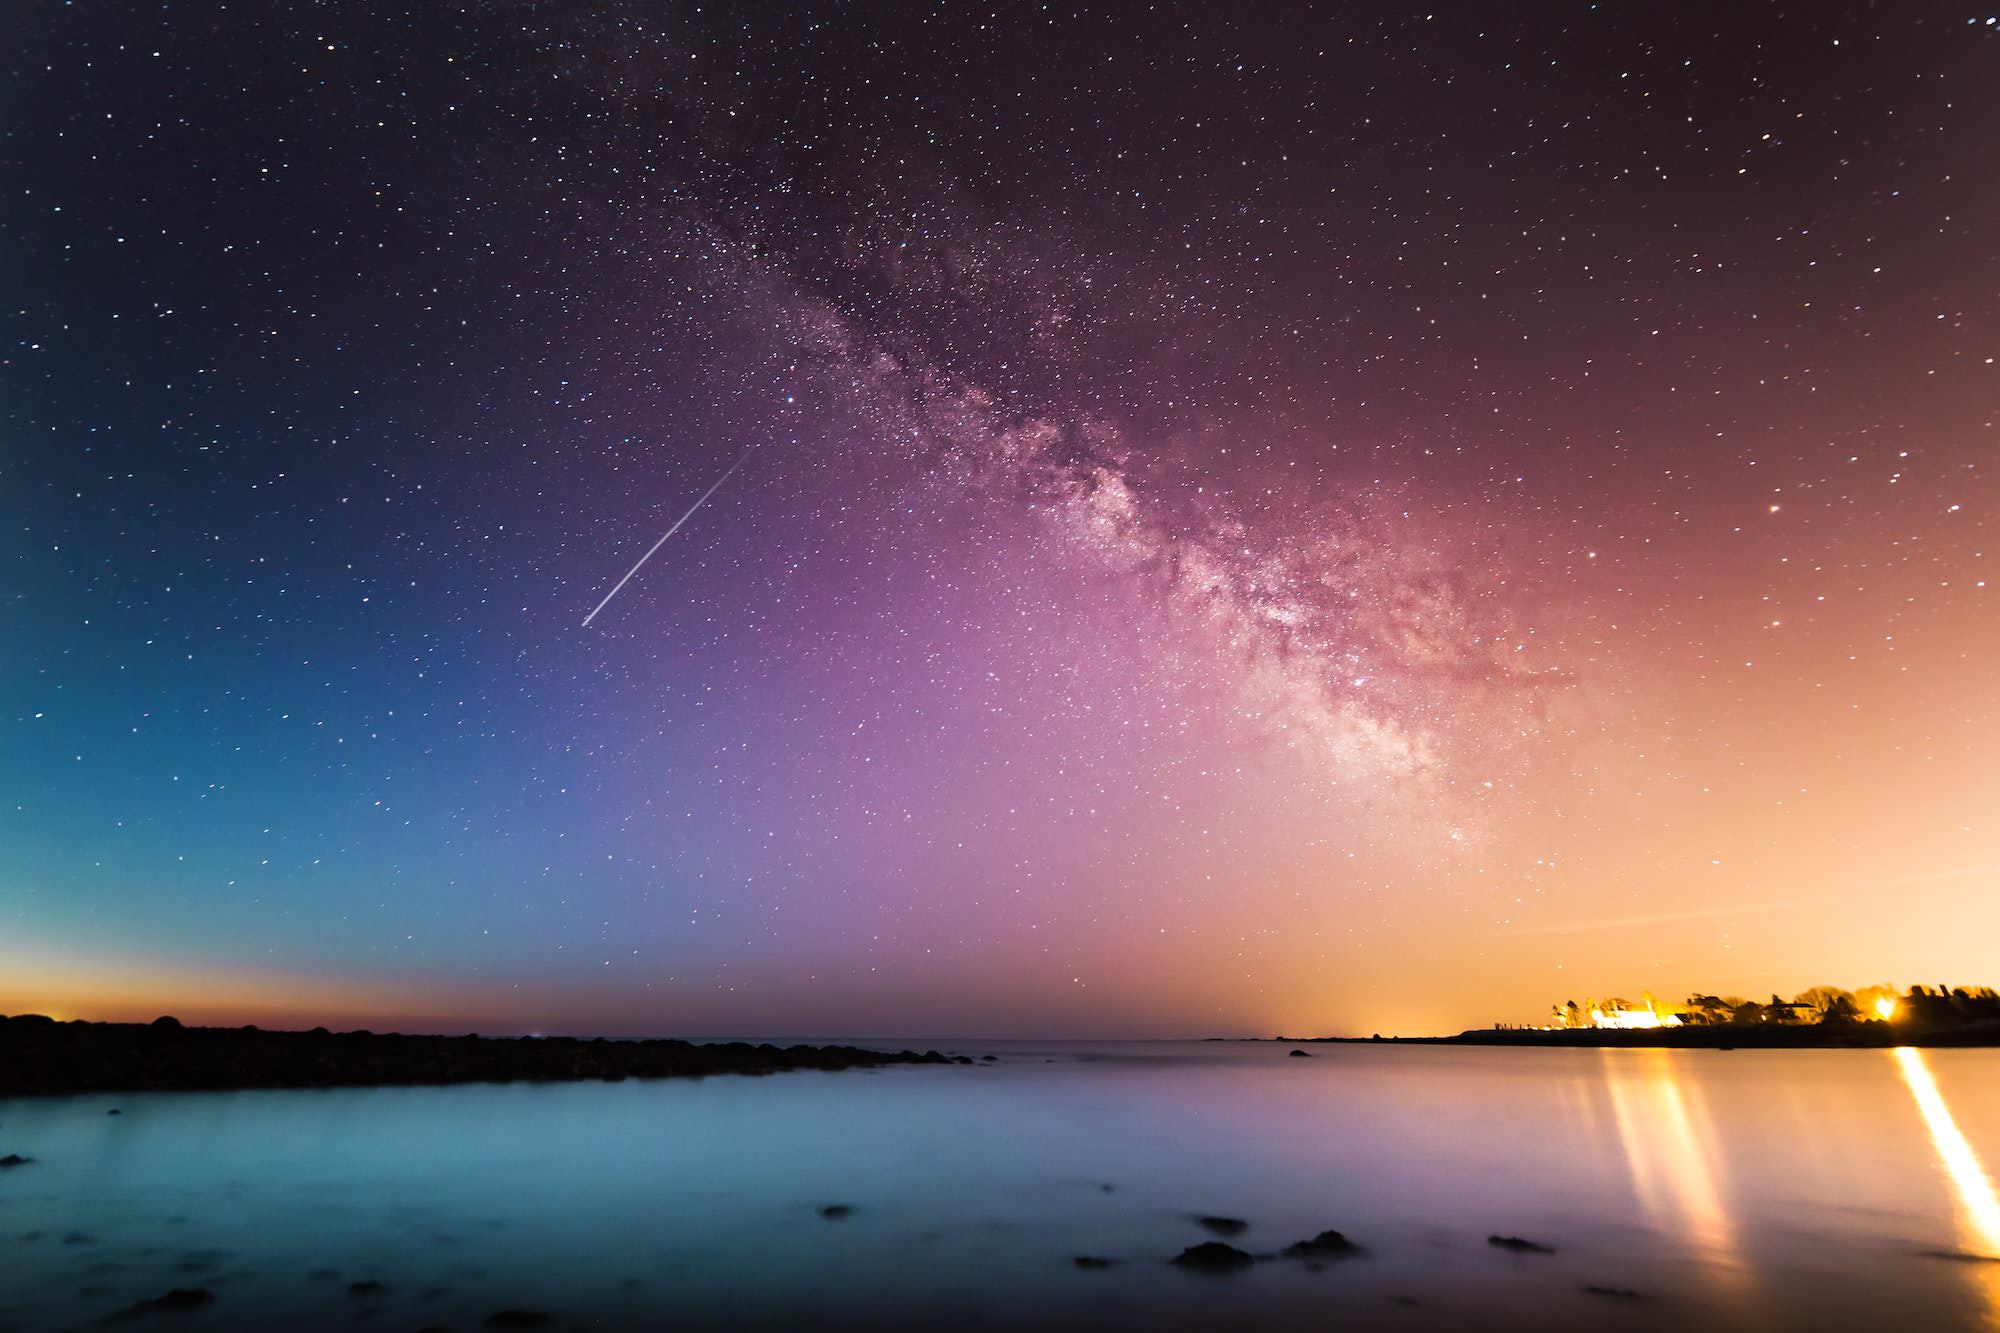
For starters, you can snag these royalty-free, readily available images we’ll use in this tutorial.
Let's get into it!
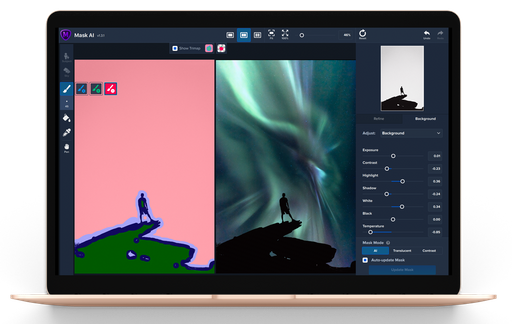
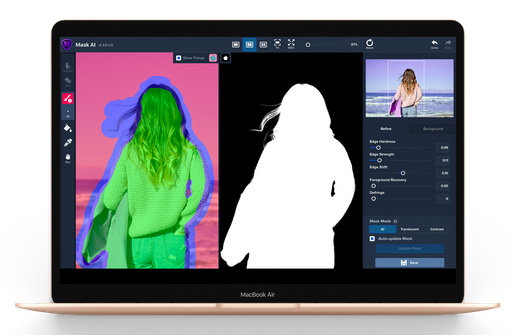
After uploading image no. 1, the silhouette image, in Mask AI, simply paint a blue line around the edges of the man and the rock.

The best part is, you don’t have to be perfect — just keep a little bit of the subject and the immediate area you’d like to mask inside of it.
After that, fill in the areas to cut with the red paint bucket tool, so that your trimap will look like this:

And now for Mask AI to work its magic...
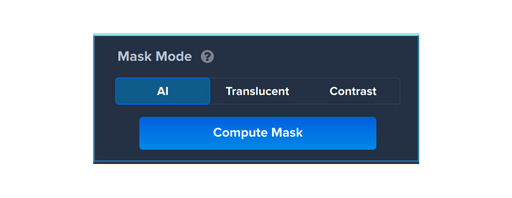
Mask AI has three masking modes: AI, Translucent, and Contrast.
Although the Contrast mode would do the job, we're going to process this image with the AI mask mode, so you can experience it first-hand and avoid having to do a lot of refining. Click "Compute Mask" to generate your image mask.
Mask AI is designed to give you an accurate mask on the first attempt. To change the view to see the alpha mask, you can click on the apple icon next to "Show Trimap" and change it to "Mask."
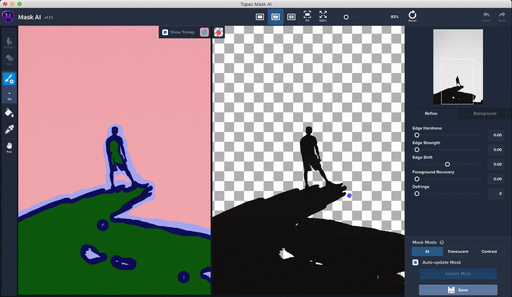
It can be a little difficult to see your mask against the transparent background. Here's a pro-tip: apply a colored background just temporarily to better inspect the contrast of your mask!
By clicking "Background" and applying a temporary blue background color, we can see that we could use some foreground recovery and possibly some defringing. In the "Refine" tab, we have some post-processing sliders that can be a saving grace when it comes to quickly refining a mask!
Foreground Recovery revives the color of your foreground in weaker/more transparent areas after your image has been processed. This can be a great tool for fur, whiskers, or wispy hair, by bringing back more detail in areas of your image that are desaturated by the masking process. In this case, foreground recovery restores a tiny bit of the edges around the man and the rock.
Sometimes after masking, you may see a stubborn ring of pixels around your initial selection. This is known as an edge halo, fringing or matting. The Defringe slider desaturates the edges of your mask to help with color contamination and bleeding. Luckily, our mask doesn't have too much of this, but we can apply it to take care of the few white specks that are hanging around!
Now that we've accomplished the nitty-gritty part of creating the mask, we can move on to creating the composite!
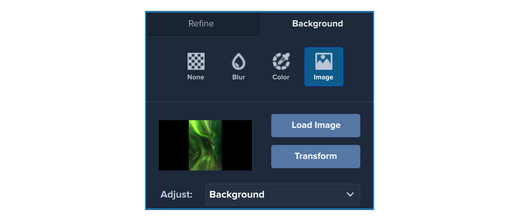
We'll go back to the "Background" tab and click "Load Image" to upload image no. 2, the northern lights image we downloaded earlier.
Mask AI allows you to adjust both the background and foreground of your image, so you can more seamlessly blend and adjust your composite. We'll make one minor tweak to the foreground before getting into the background.
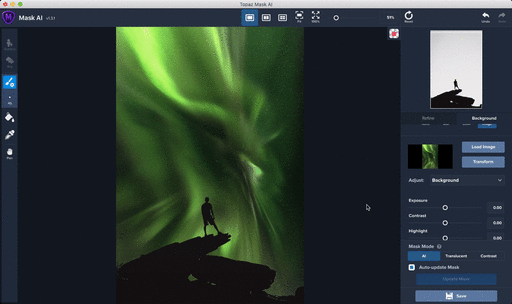
We'll adjust the contrast, say to around 0.75, to really make our foreground pop against the bright northern lights.
Now, we can switch the dropdown box back to "Background," and really experiment with some creative options on our background.
You can skip this step if you're satisfied with the green tones in the northern lights, or you can follow along with us to create something different.
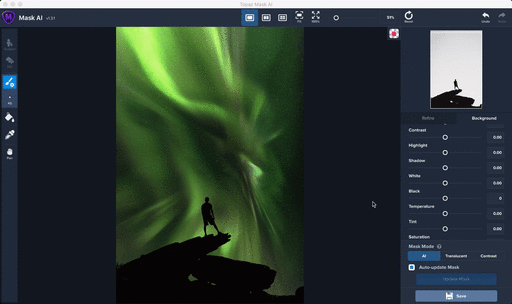
For a quick reference, here are the parameters for adjusting the background:

When it comes to creating image masks, everyone wants the same thing: a reliable editor to handle not only simple masks but complicated ones with as little work from the user as possible.
As you'll be able to experience for yourself from the free trial of Mask AI, you can depend on Mask AI to tackle a wide range of masking jobs like flyaway hair, fuzzy fur, thick tree lines, and more with ease.

© 2005 - 2024 Topaz Labs. All rights reserved.