Topaz Video Enhance AI
Getting Started with Video Enhance AI
Video Enhance AI by Topaz Labs is the world’s first AI-based consumer desktop video upscaler.
Upsize multiple videos by up to 600% with an intuitive interface utilizing the power of machine learning for crisp, clean footage at any size.
Importing Videos
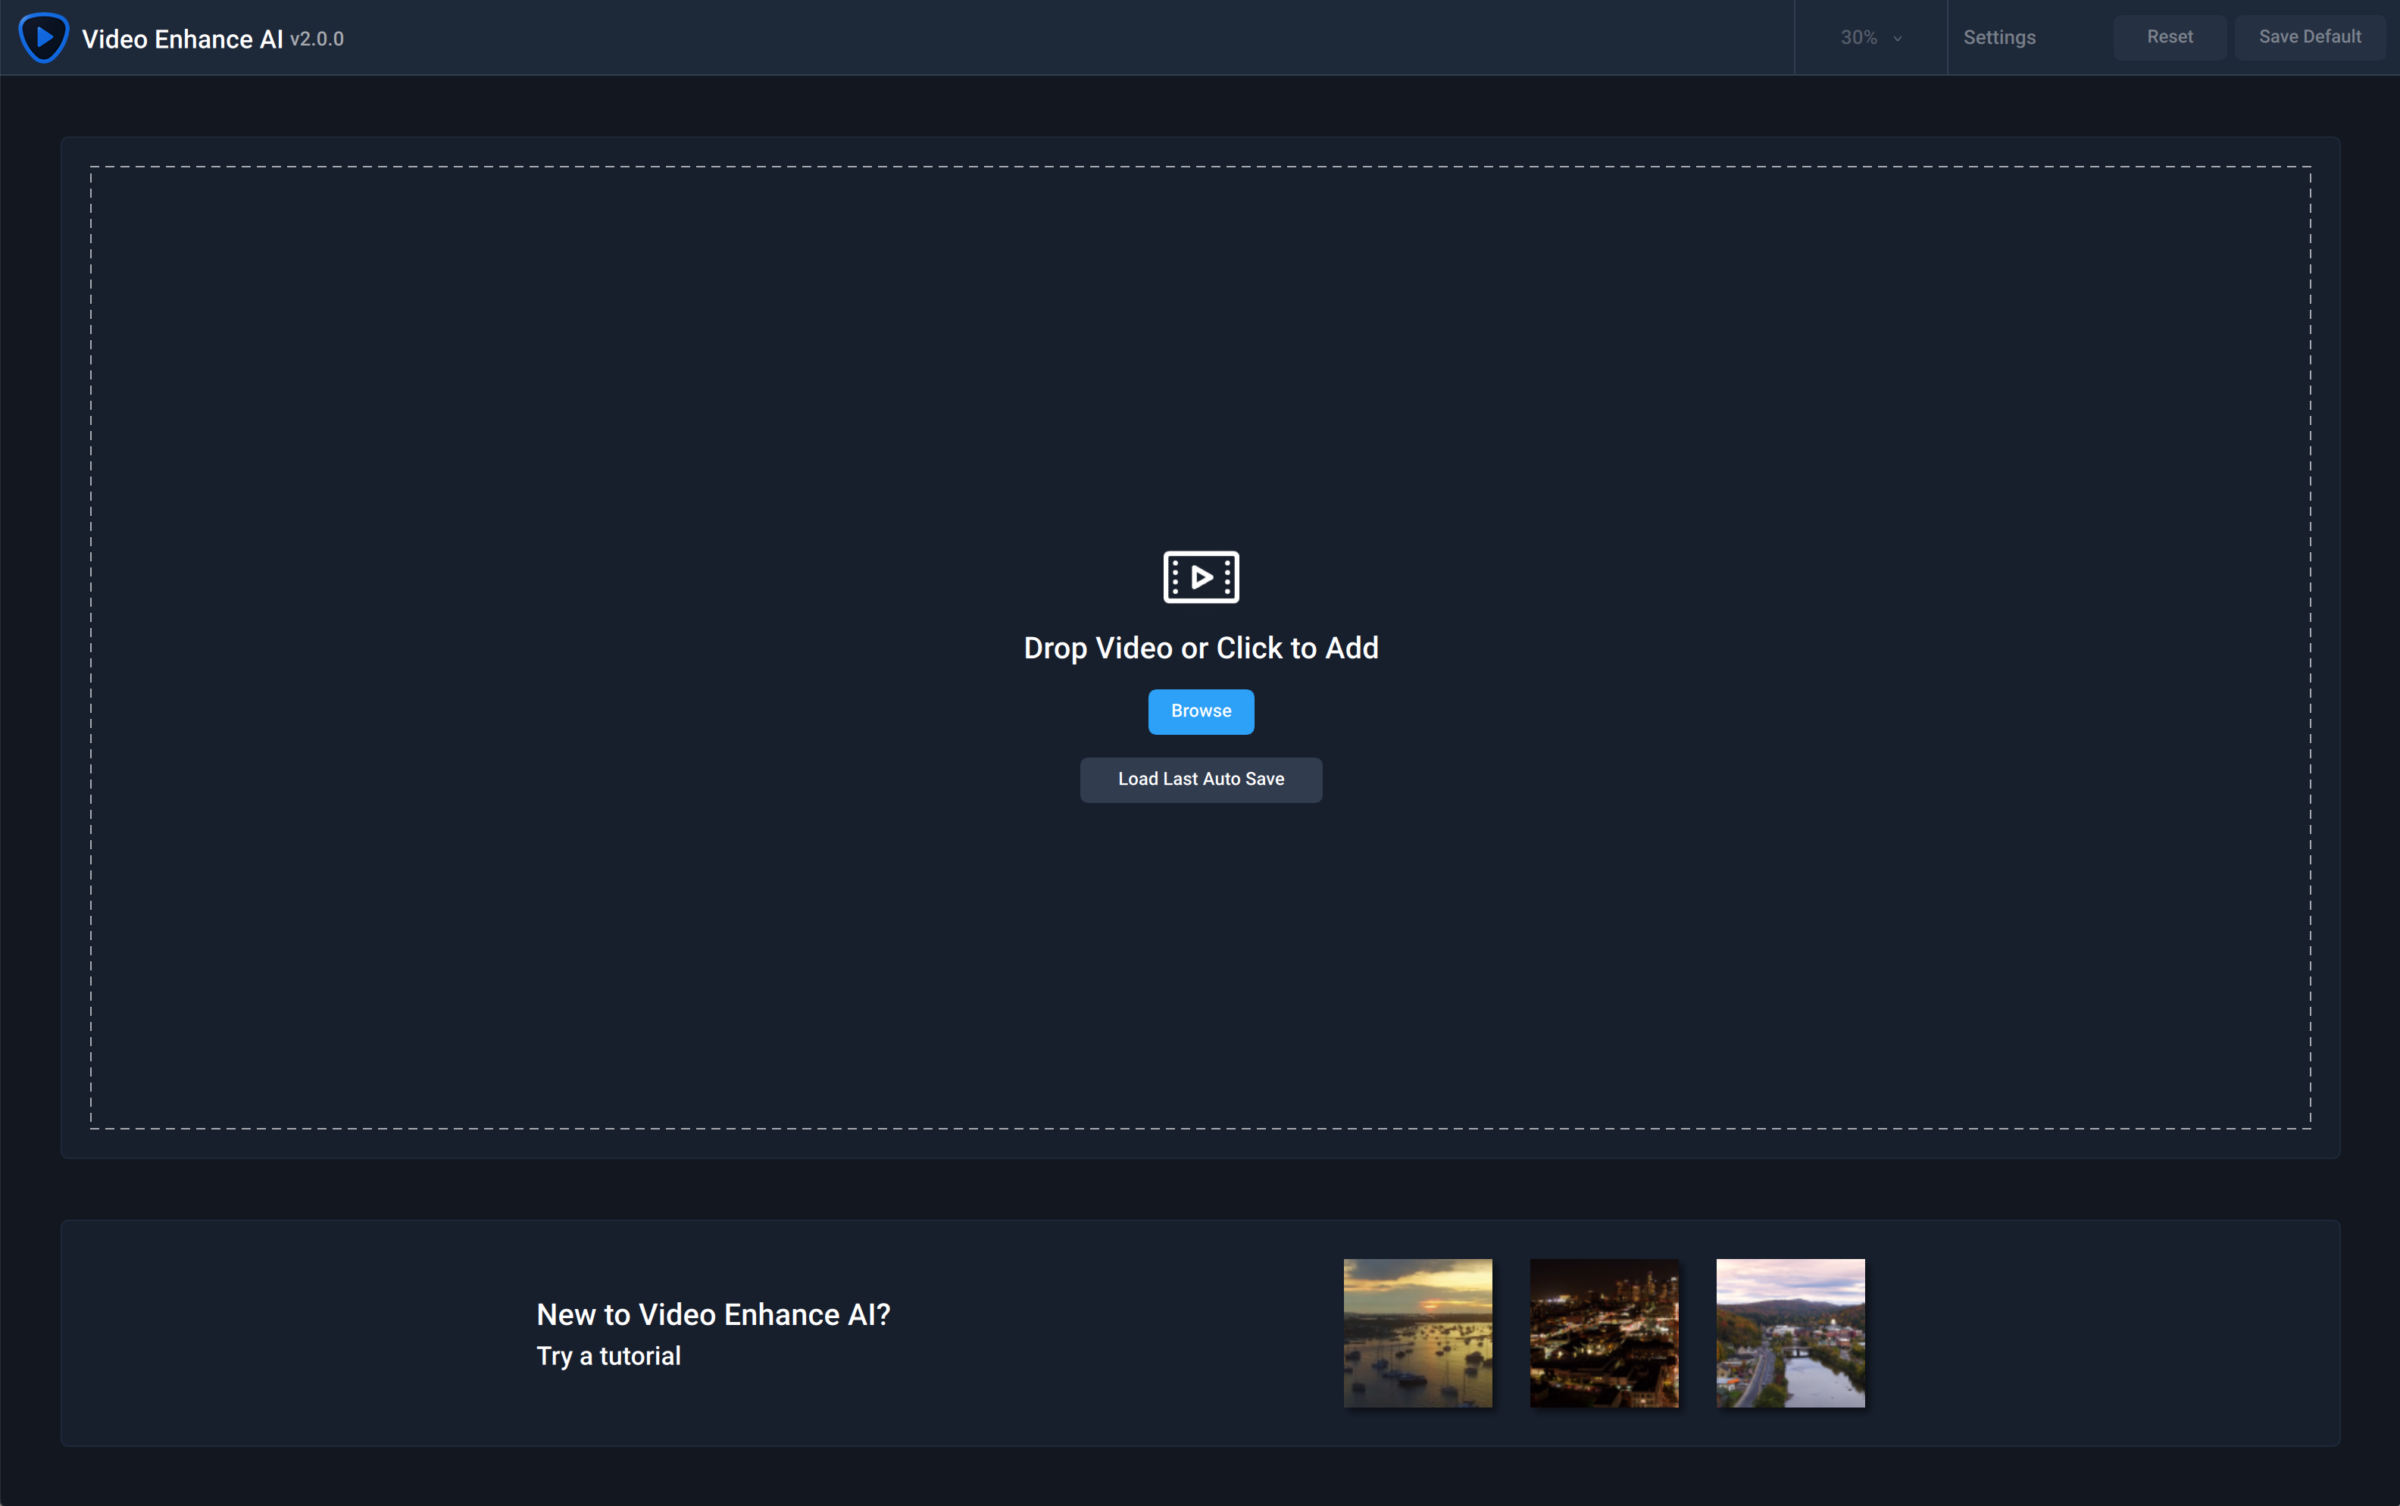
Your videos will appear in the Video List at the bottom of your screen. With Video Enhance AI, you can work on individual videos, or setup easy batch processes to upscale an entire shoot.
Click the icons above your Video List to add, remove, or completely clear video queue.
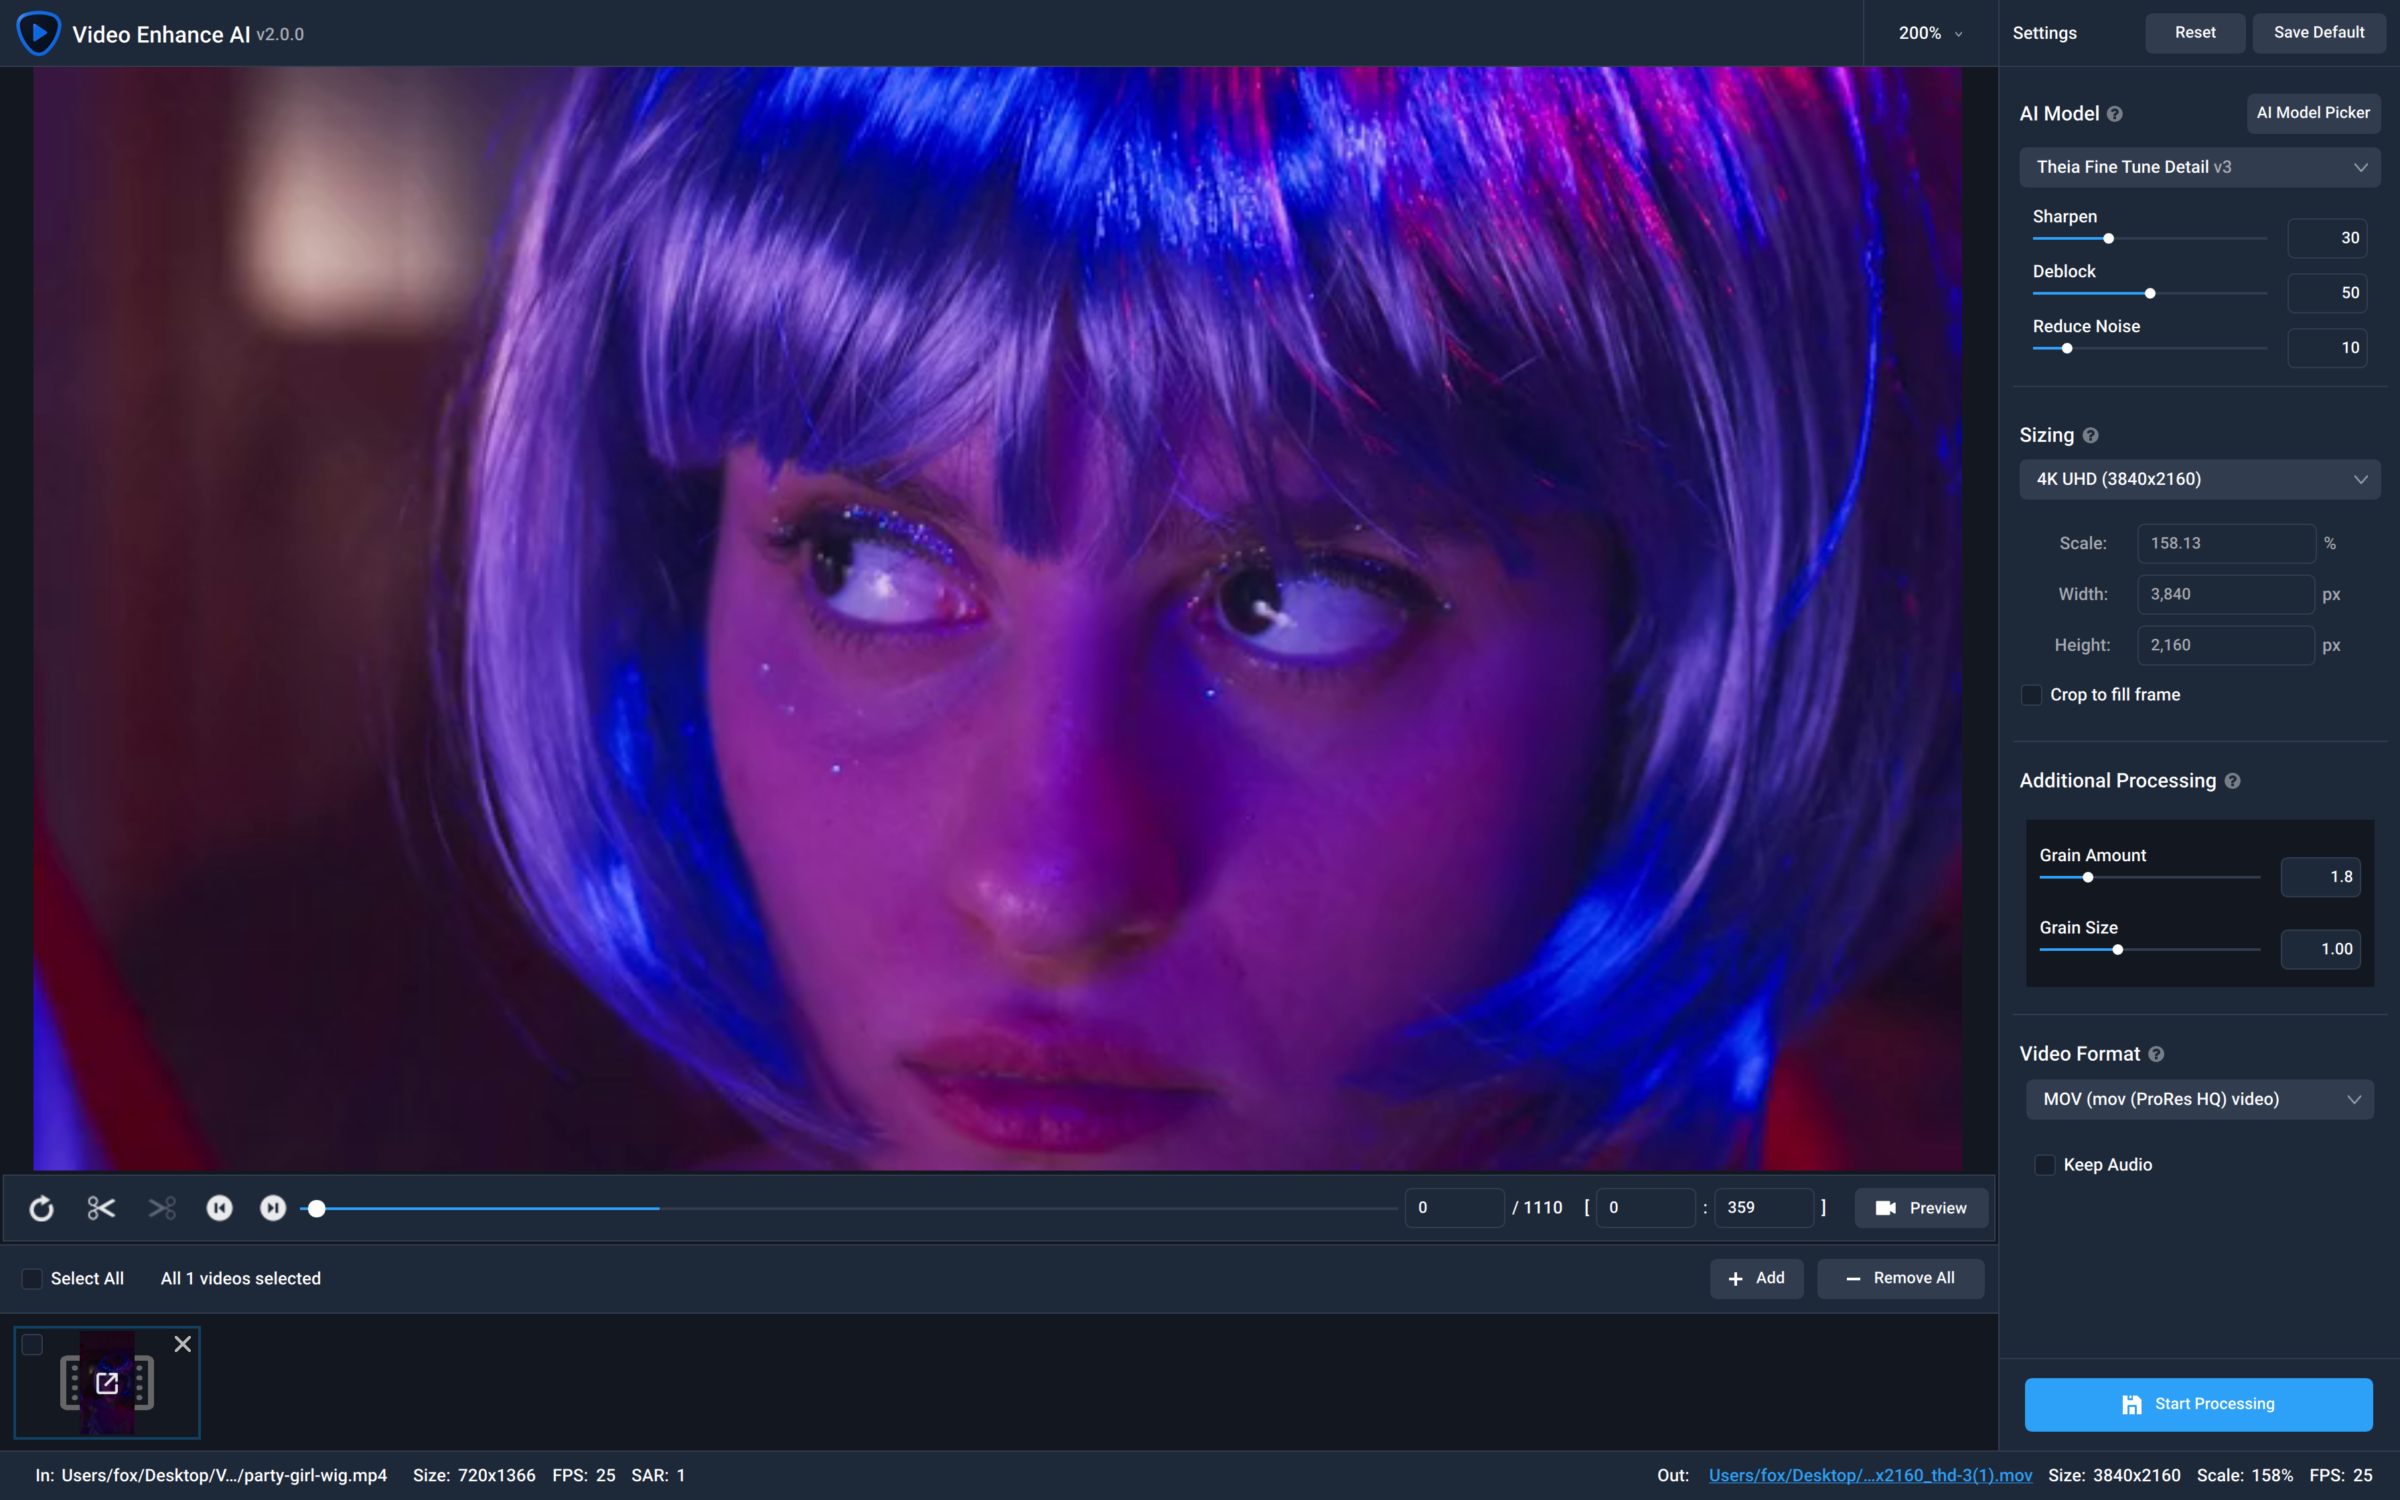
AI Processing Models
Your first step is choosing the right models. We have some tools to help!
Playlist
Output Video Settings
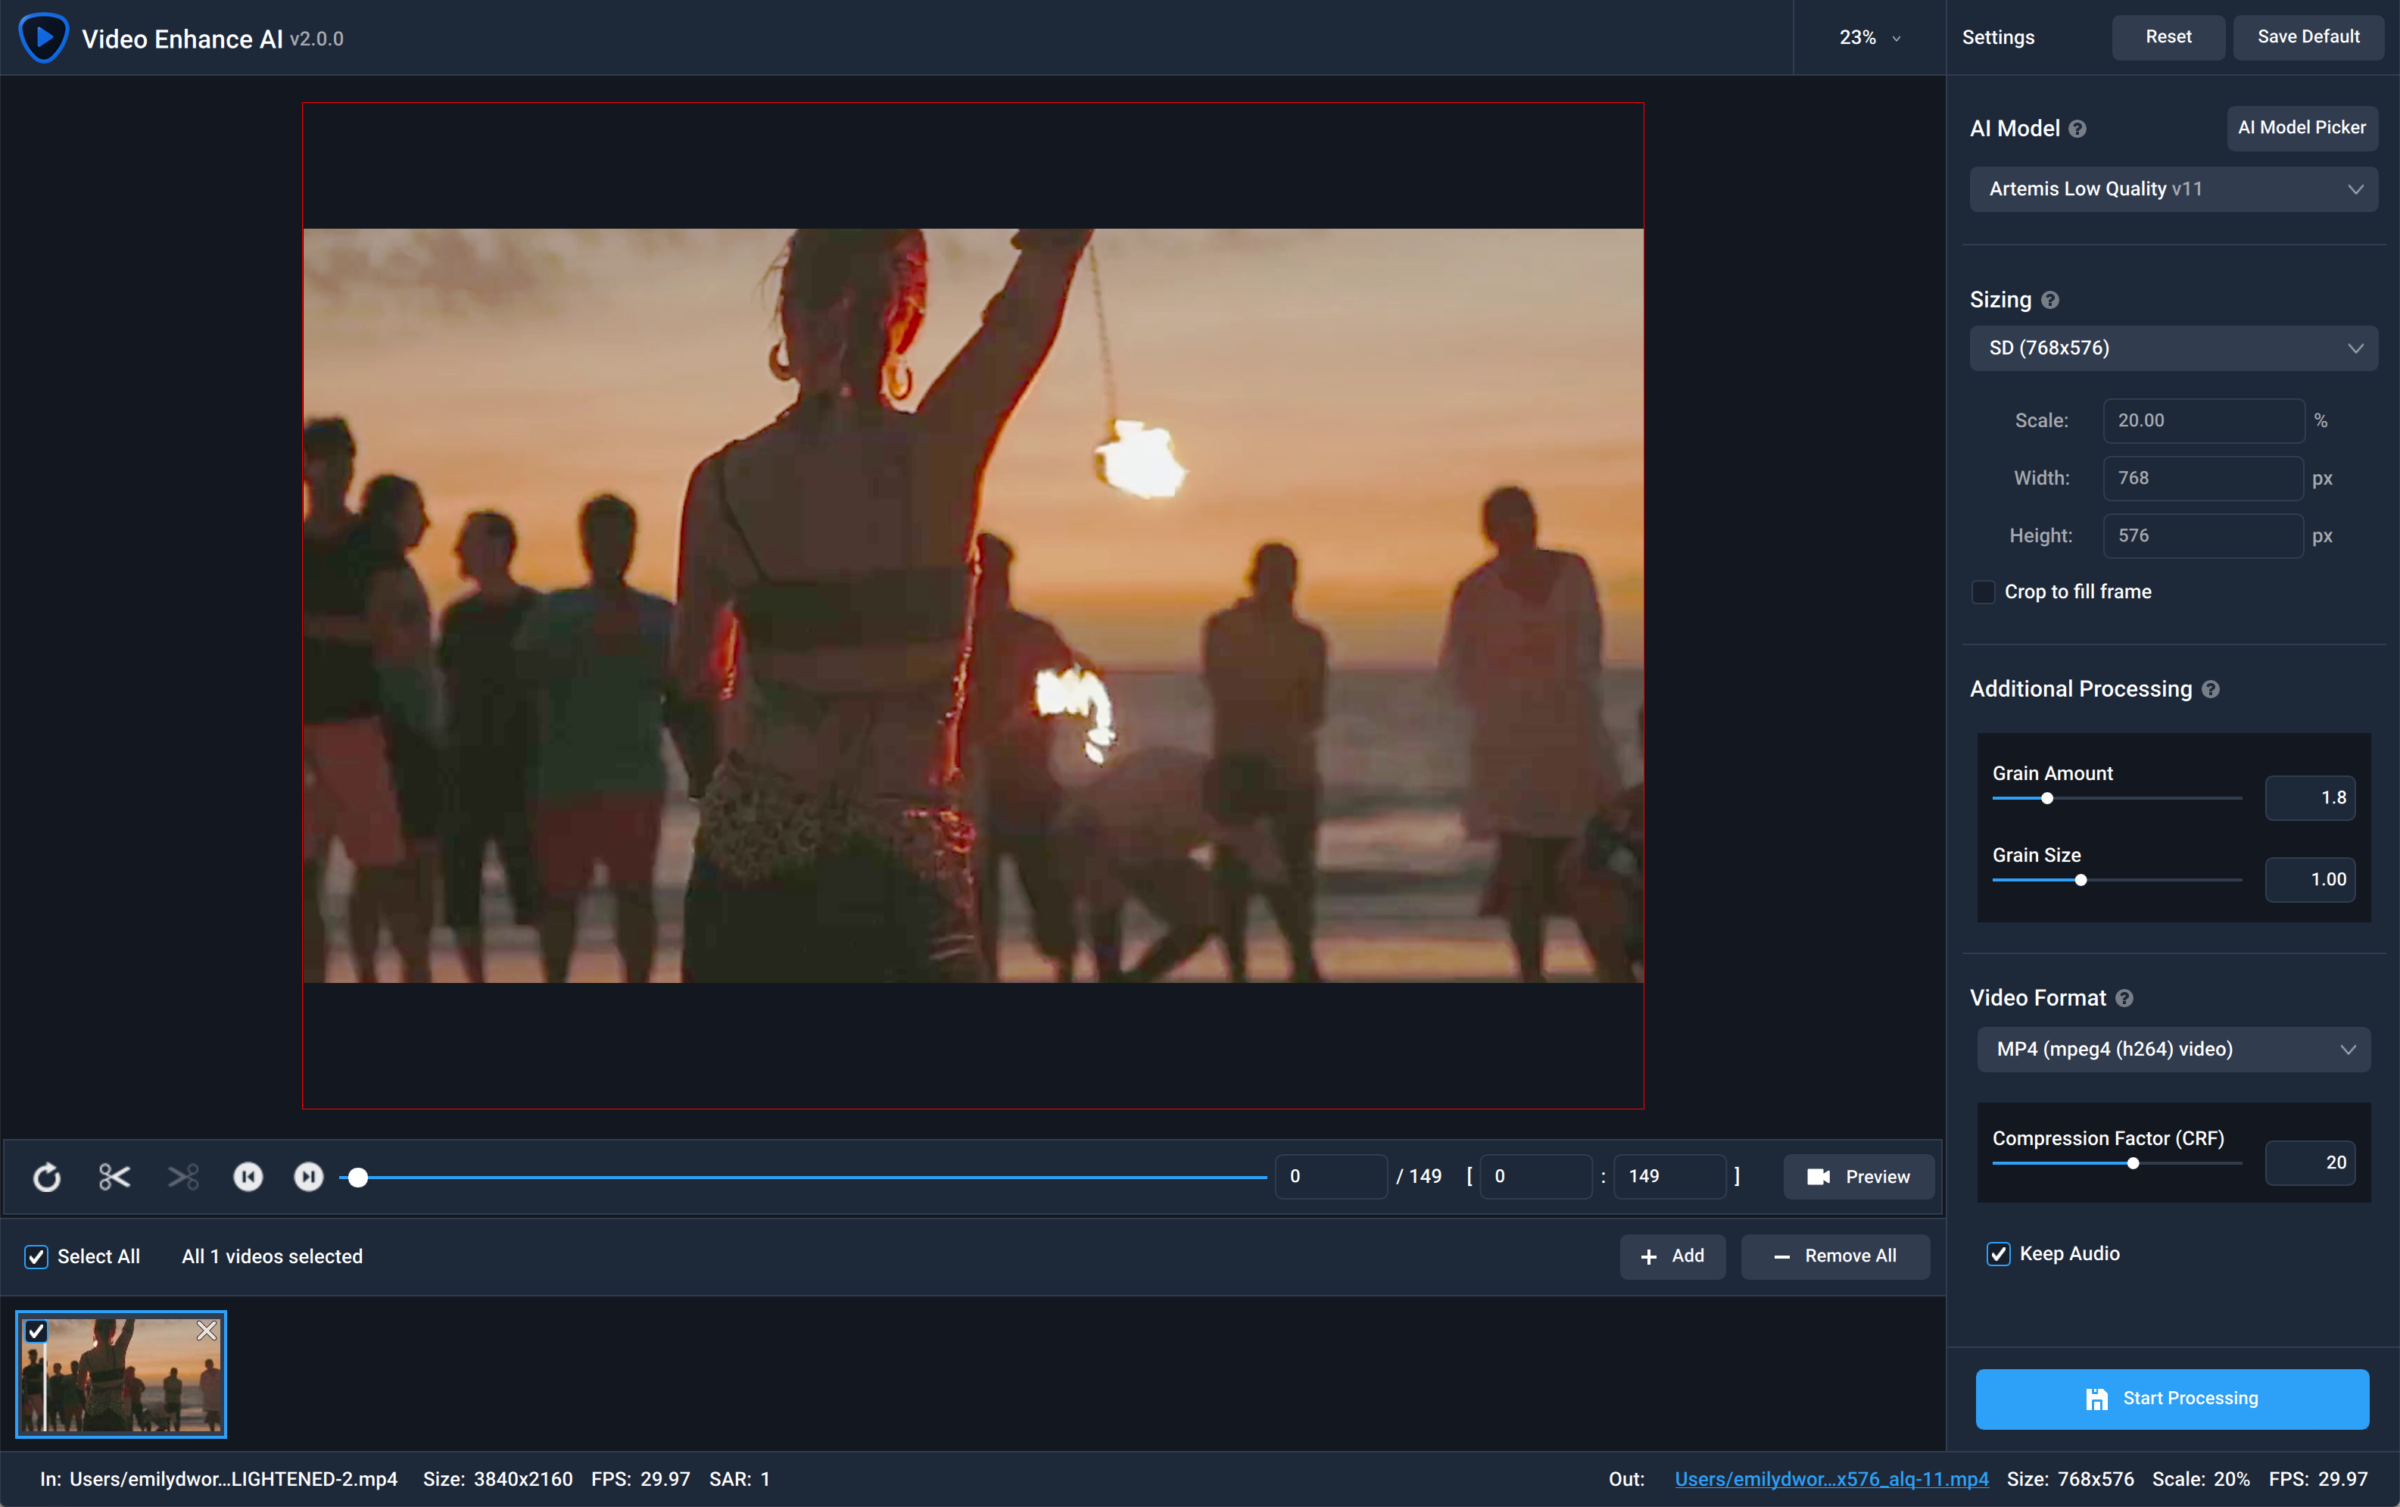
Next you’ll adjust your output settings to help get the results you want.
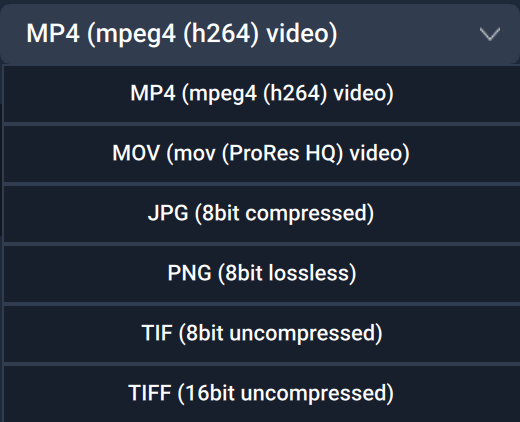
We offer several standard presets or you can use the Custom Setting option to choose your own.
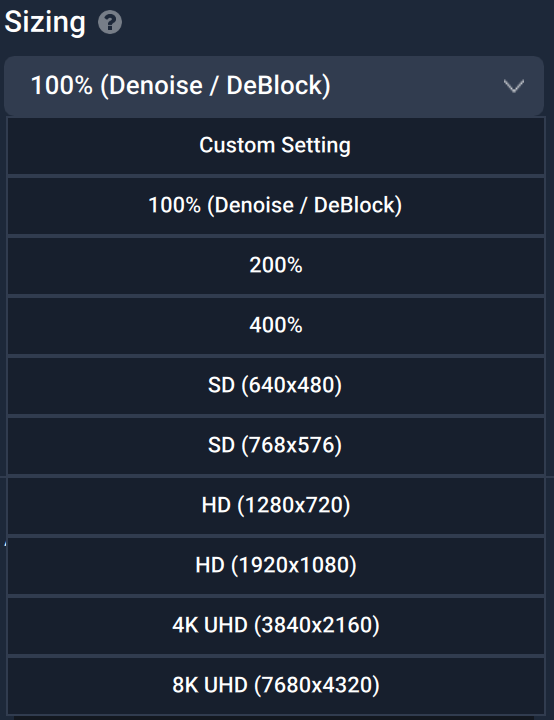
For output we offer both video and image sequence outputs.
When you’re working with a non-standard size video, converting to a standard preset may cause black bars to appear. If you would rather fill the frame, check the box “Crop to fill frame”.
Naming your Output Video
By default, your current video name will be appended with the scale, width, and height of your output. For example, a video with this name:
Video.mp4
…will be named:
Video_5.33x_1920x1080.mp4
To change this, uncheck the box “Use default output name” and a dialog window will pop up. Type the name of your video, select the file type, and choose the location and click “Save”.
Previewing Your Output Video
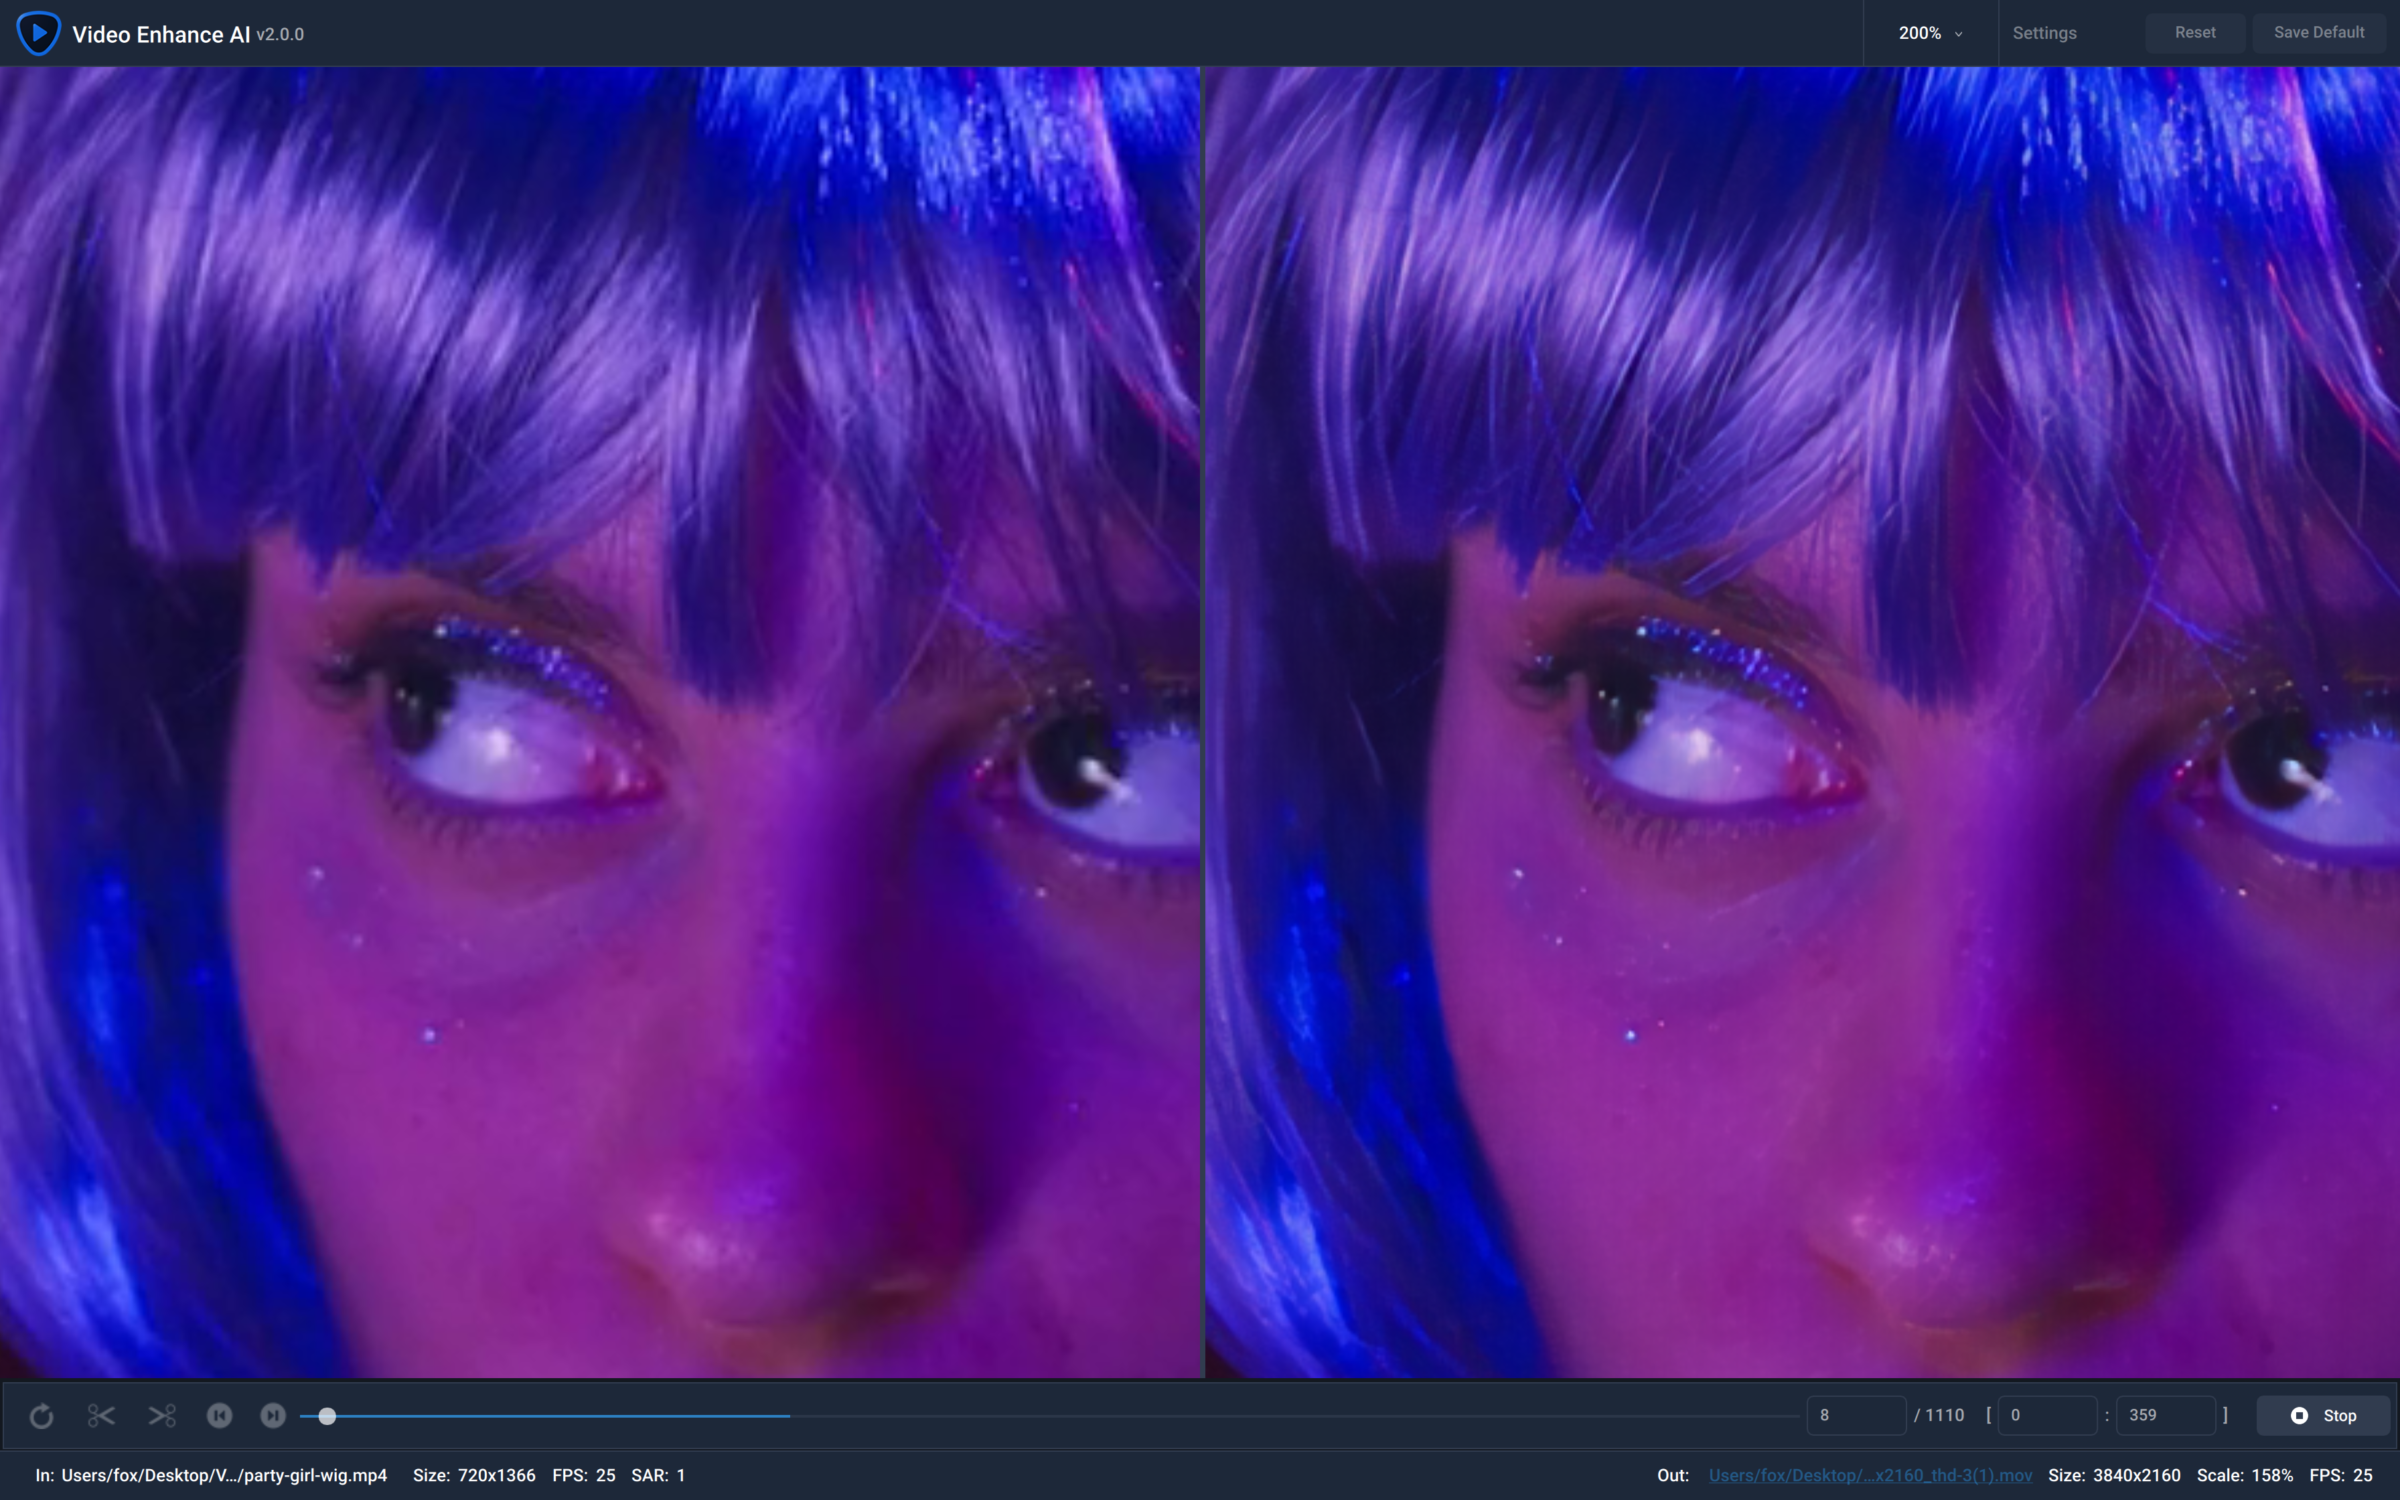
Ready to see how your video will look with your settings? You can preview a short clip of 30 rendered frames to review your output footage.
Select and drag the slider on your video’s timeline and position it where you would like your preview to render. Click the video preview icon at the top right corner to render the clip.
Allow a moment for your clip to process. A split-screen will load with side-by-side displays playing your original clip and the upscaled preview on a loop.
Trimming Your Output Video
When you’re satisfied with your output, the last step is to trim your footage. Rendering only what you need for your output will save you processing time. Here’s how it’s done.
Drag the slider along your timeline to select the starting position of your video, and click the left scissor icon to trim off the beginning of your video.
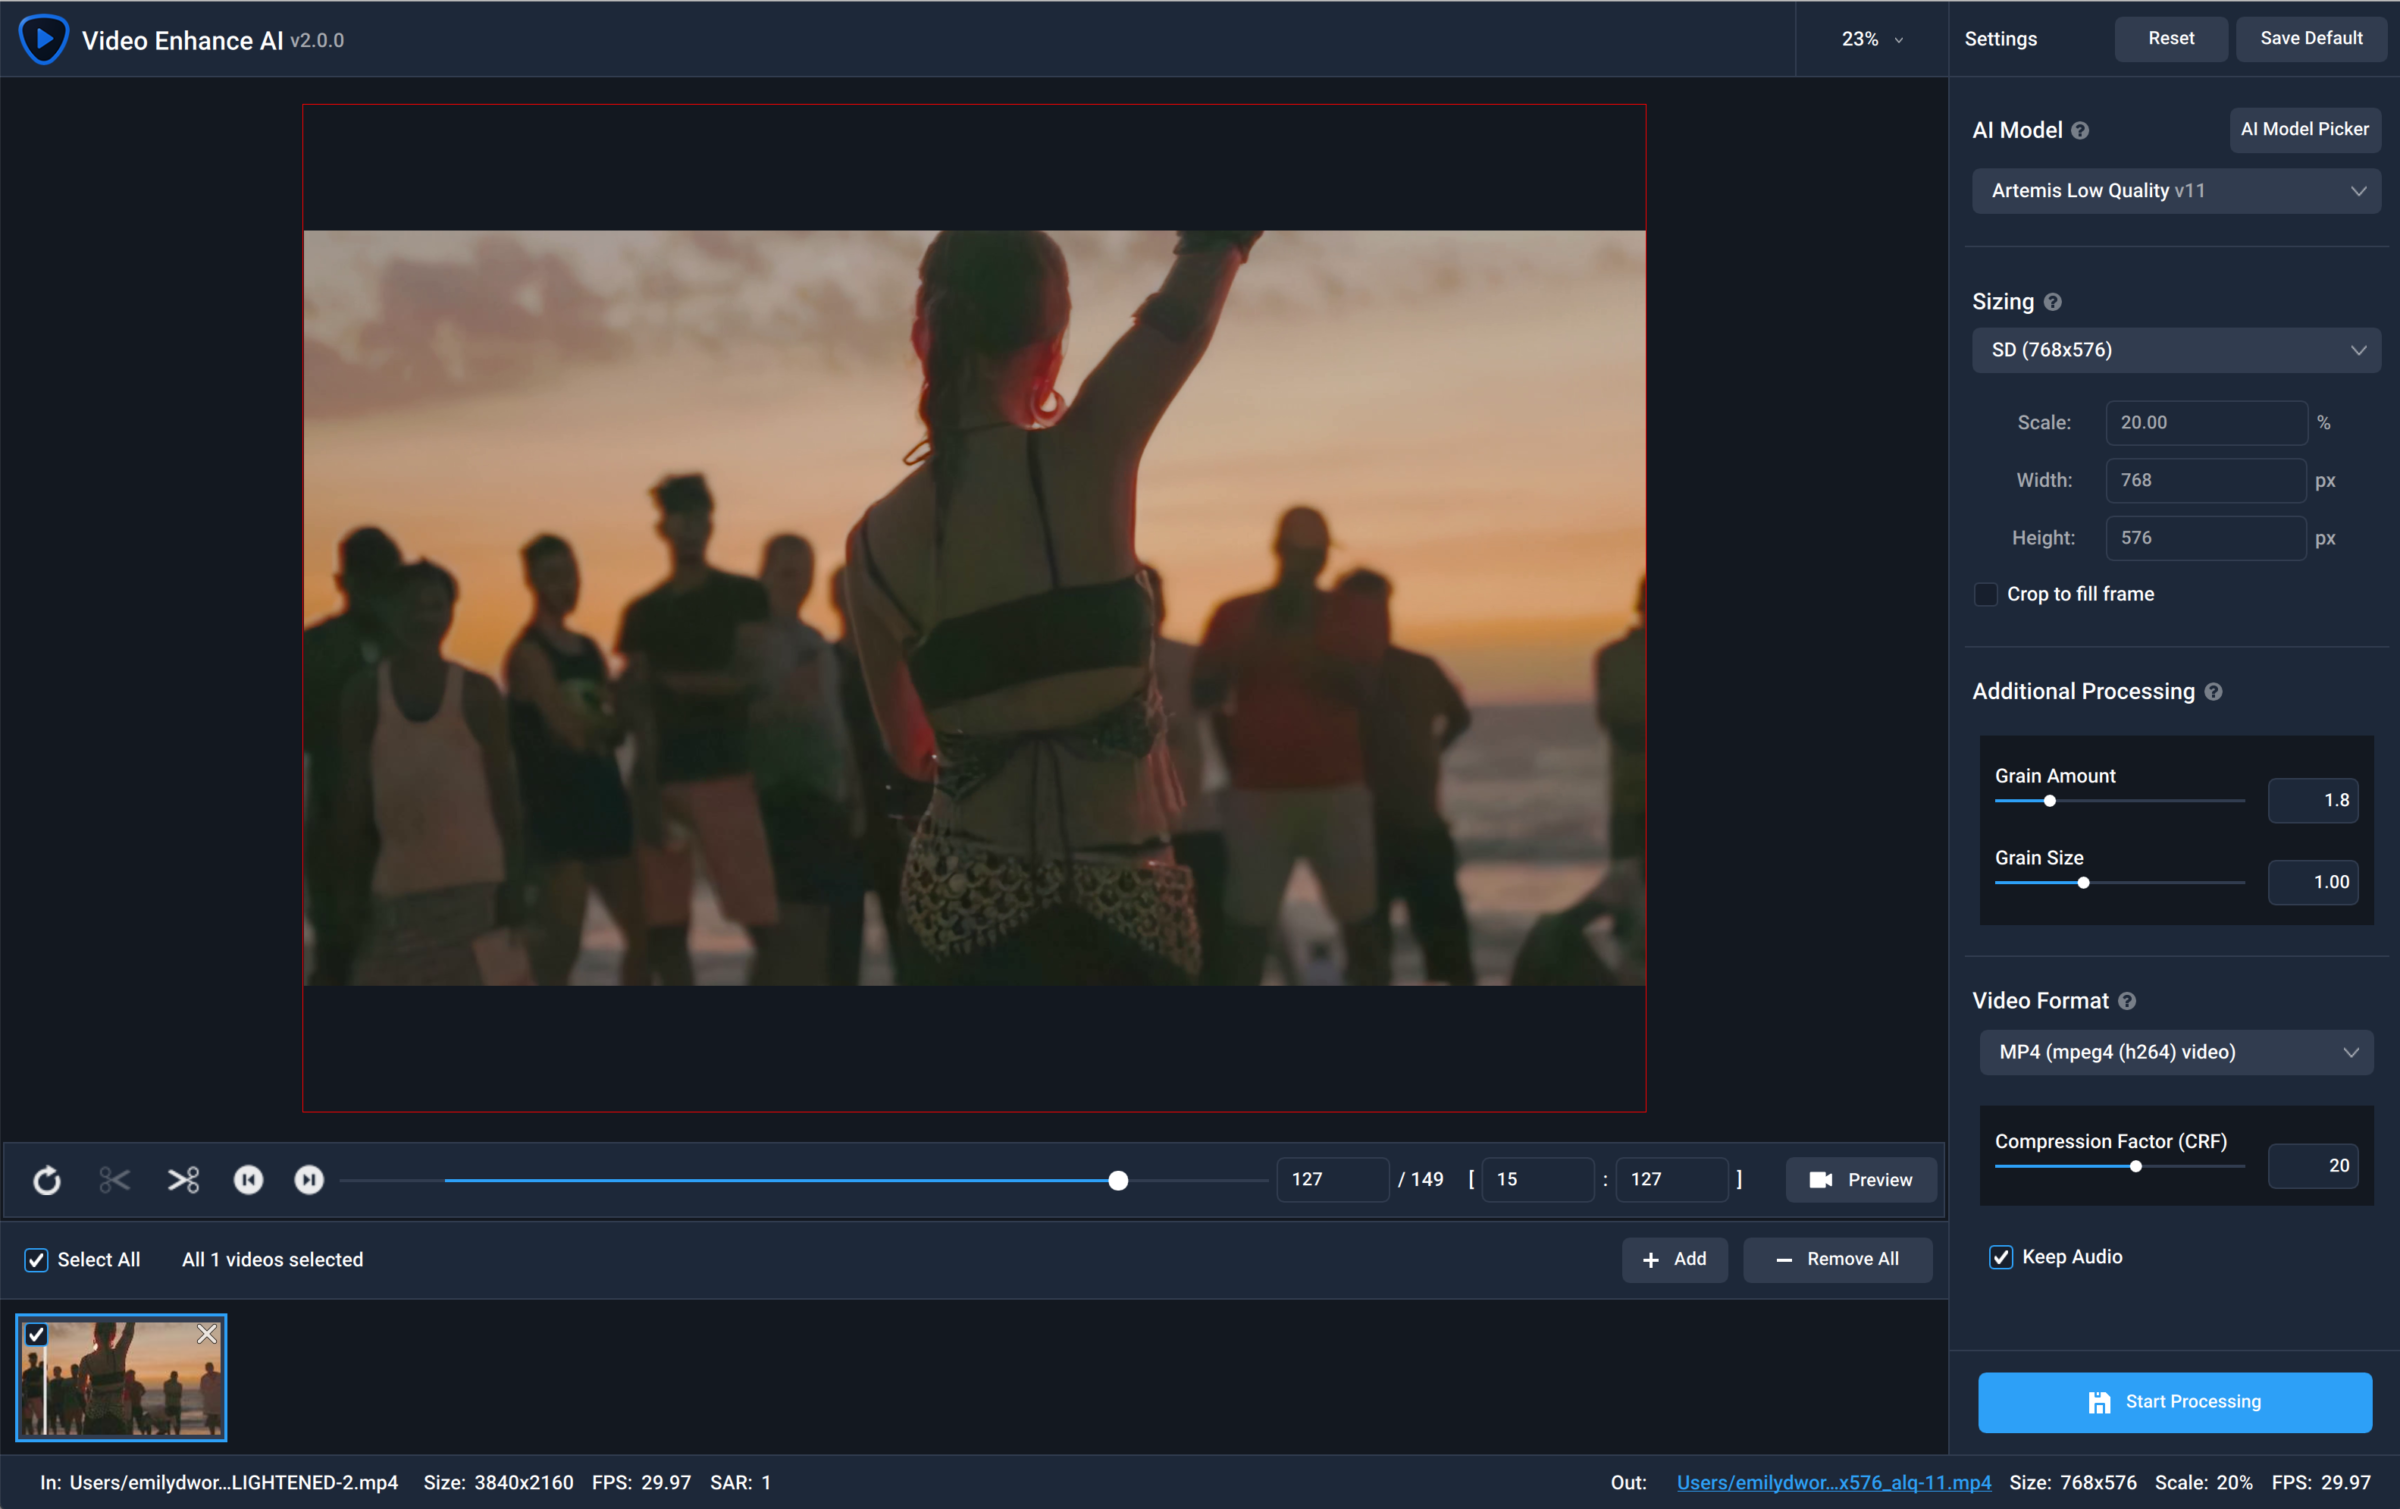
Next, drag the slider again to the end position of your video, and click the right scissor icon to trim off the end of your video. You’ll notice that the highlighted portion of your timeline is shorter now. This is the selection you will be outputting.
Now you’re ready to render!
Processing Your Video
To render your video, click the Start Processing button in the bottom right of the window. The application will display your footage as it renders frame-by-frame until it’s complete.
It’s that easy!
Working With Batch Processing
Want to render many videos at once? No problem! You can load multiple videos into your Video List. Click each video individually to set unique settings for each one, or power through an entire batch using the same settings.
How to Set Defaults for an Entire Batch
To process an entire batch of videos using the exact same output settings, start by loading only your first video into your Video List.

Make your processing adjustments, and then from the top drop-down menus select:
Process > Setting as Default
This setting will create identical outputs for all videos that you load into the queue in this session.
Add your remaining videos into the Video List, and click the button to process the whole batch.. Your videos will render with identical outputs.
Frequently Asked Questions
This is the only AI-powered commercial app specifically designed for video upsampling. Trained on thousands of video clips, the AI uses multiple frames of information to achieve better quality and less motion artifacts. You won’t find better upscaling results anywhere else.
We suggest you run Video Enhance AI on high-end Nvidia or AMD dedicated graphics cards. The minimum requirement is a GPU that is DirectX12 compatible with 2GB VRAM or similar. Any graphic card later/better than GTX 1080 (included) will do a fairly fast job.
Video Enhance AI is also compatible with the Apple M1.
If you do not have a dedicated Nvidia or AMD graphics card in your device, the software can run on your Intel iGPU. Typically, it will be 5 times slower. If you do not have an Intel iGPU, the software will finally fall back to your CPU, which can be 10 times slower than processing on a dedicated GPU.
The CPU must have AVX2 instruction set (2015 or newer for Intel, 2016 or newer for AMD)
Yes! Video Enhance AI can run on Macs. The minimum requirements above apply as well as Mac OS 10.15 Catalina to run on GPU for all models except Chronos (Slow motion/FPS conversion) which requires OS 11 Big Sur. With Mac OS 10.14 Mojave and newer, you can run on CPU.
Absolutely! You can load in several videos simultaneously into Video Enhance AI. All of them can be assigned with different settings including output size, upsample scale, output format, model utilized and etc. Then with a single click on the process button, they will all be processed in sequence.
This depends on several factors including your hardware, OS version, size of input and output, AI model, and other processes running on your computer. Most GPUs similar to the Nvidia 1080 ti or better (including the M1) have a median processing time of 0.5 seconds per frame or faster.
Yes! Our Dione models will deinterlace, enhance, and upscale your videos all in one pass.
Yes. We have an experimental All GPU setting available in preferences. This should only be used when you have only multiple of the same or significantly similar GPUs installed. Alternately, you can launch the app multiple times and assign each one to a different GPU.
Probably not. The GPU utilization in task manager is not precise. If you want to track the actual GPU usage, try a tool like Nvidia-smi or GPU_z.
You can also make sure you’re getting the most out of your hardware by going to File -> Preferences (Video Enhance AI -> Preferences for Mac) and set your AI processor to your most powerful GPU.
Buy Video Enhance AI once, keep it forever. Your purchase includes free, unlimited updates for 1 year. When your update license expires, you can purchase another 12 months of updates for $99.99 or continue using the last version released before your license expired for as long as you’d like or until you see an update that you feel is worth it.


