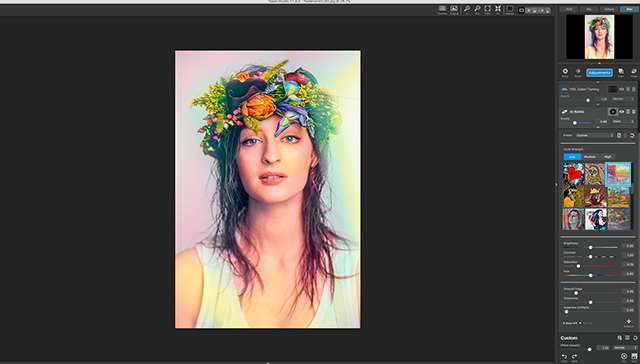
In this tutorial we are going to show how Ai Remix can be used to bring subtle enhancements to your photos by using masks, opacity, blending modes, and we went ahead and added a few more adjustments along the way just to help this photo really POP!
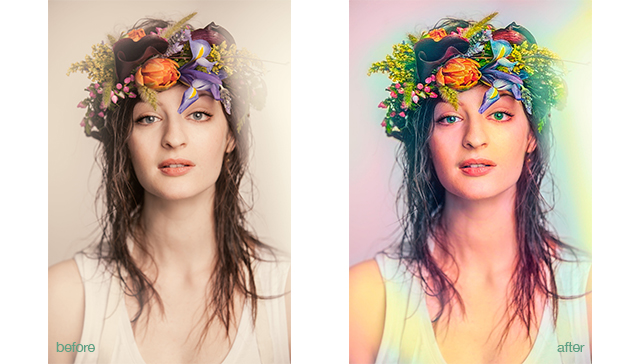
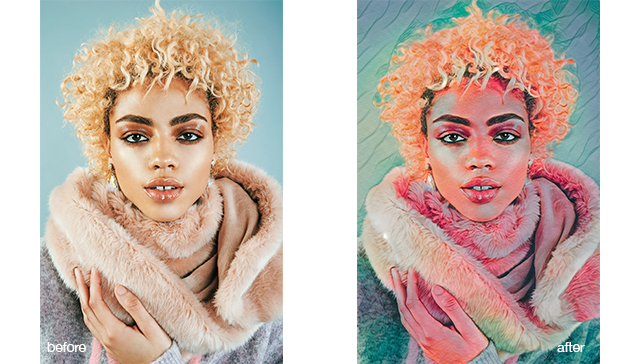
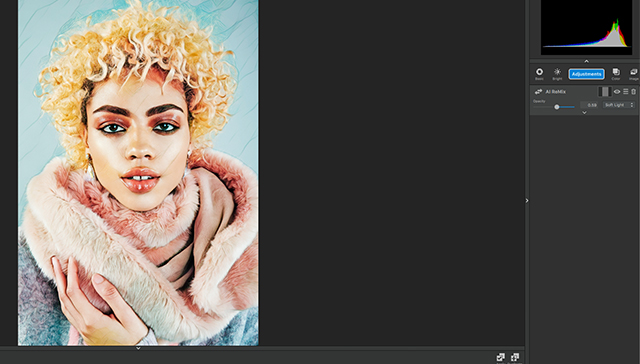
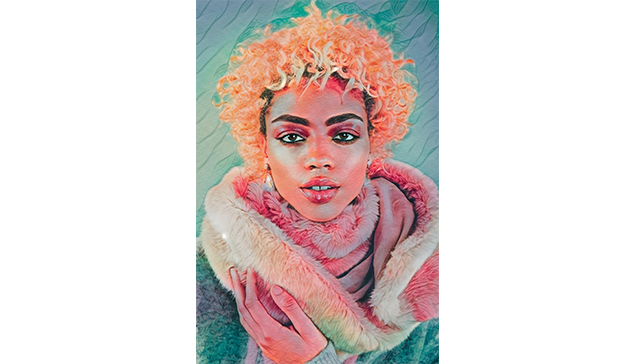
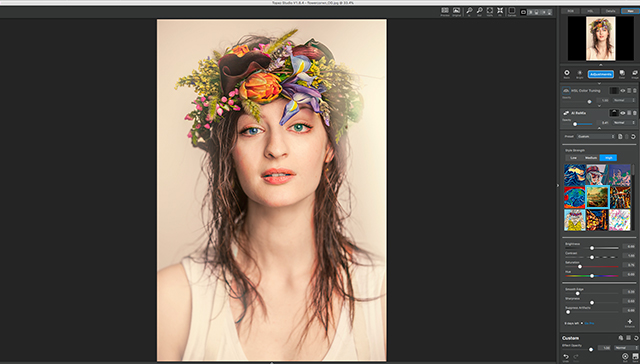
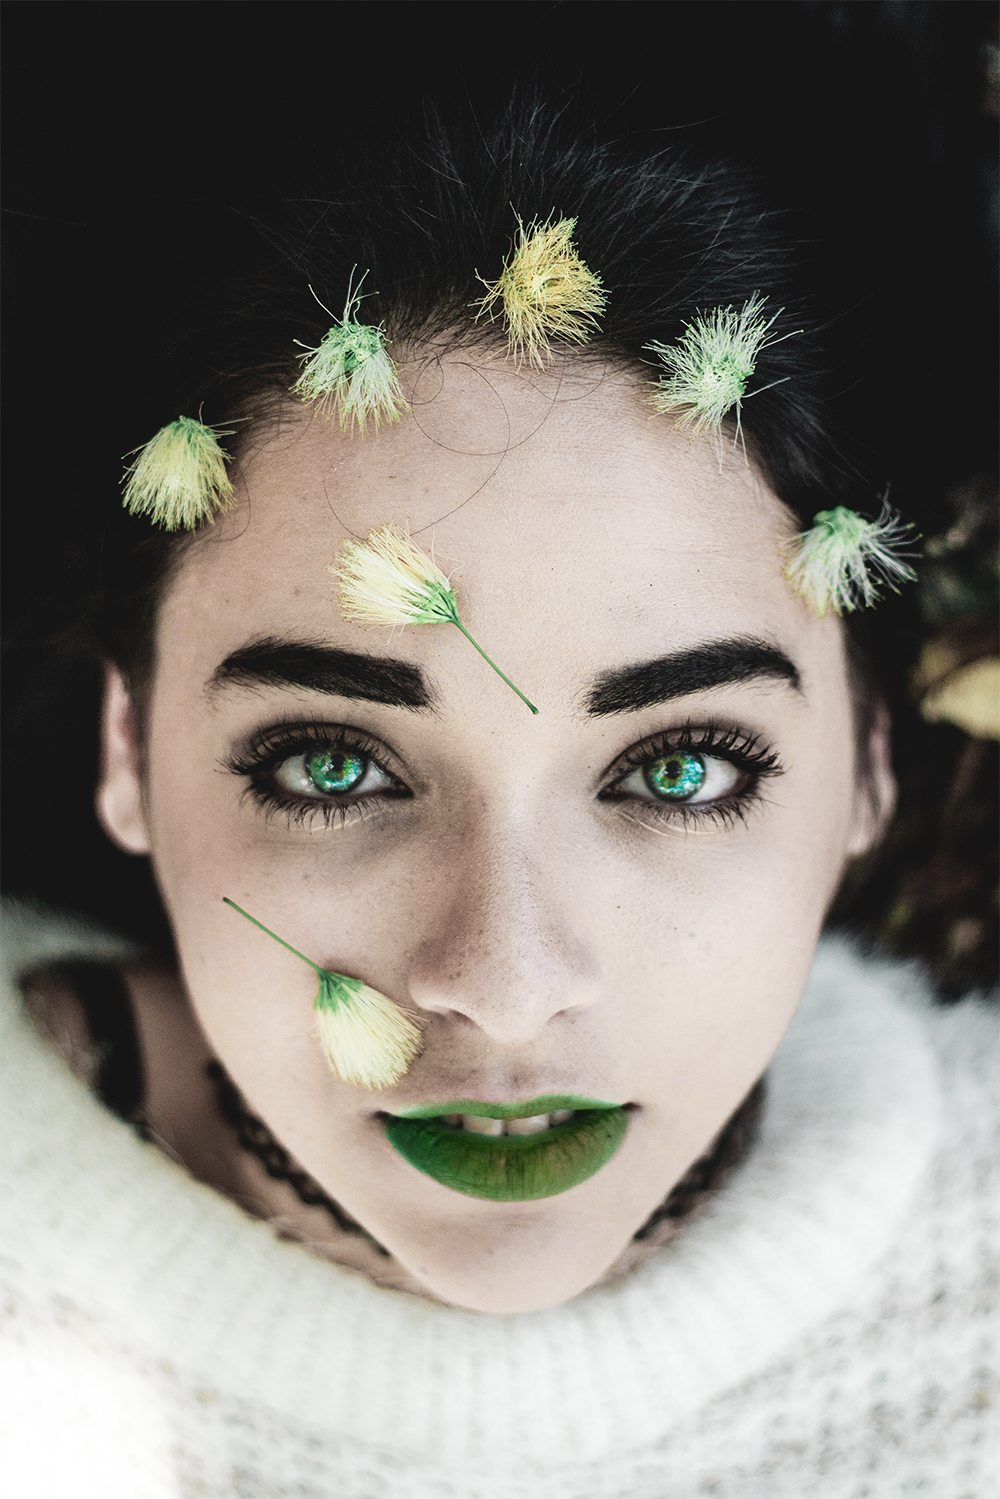
Todays photo is of a woman with one blue eye, one green eye, and a flower crown. We are going to use the following adjustments to get this finished look:
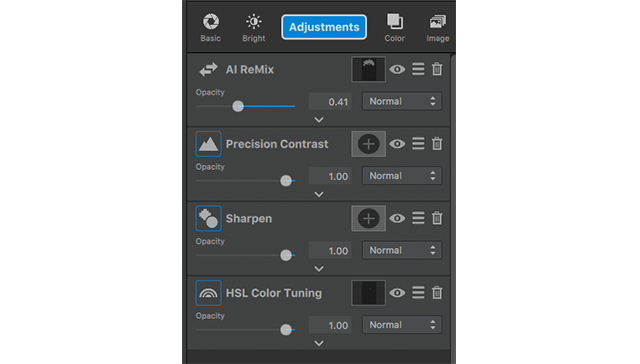
(in order from first applied adjustment to last)
- Precision contrast
- Sharpen
- AI Remix
- HSL Color Tuning
- AI Remix
- Smudge
We will later move a few adjustments around to get the details in the places we really want it. Placement of stacked adjustments is important; because, unlike photoshop, Studio reads information from the top down. Meaning, whatever you have stacked first will be what the program processes first.
Lets get started, and I’ll show you what I mean.
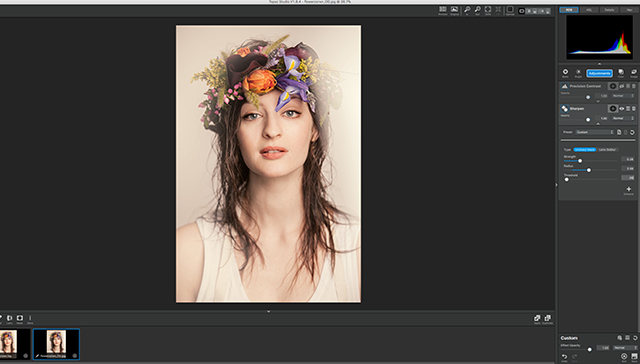
1. Precision Contrast
The first adjustment that we will apply is Precision Contrast.
The photo seems a little monotone to me, and dull, so this adjustment will help liven it up a bit before we move on to some more important adjustments.
Set the Precision Contrast sliders to the following settings:
- Contrast Section:
Micro – .37
Low – .26
Medium – .25
High – -.38
- Lighting Section:
Shadow – -.16
Midtone – .19
Highlight – .22
Equalization choose high
- Color Section:
Saturation – .24
Vibrant – . 20
Color Contrat – .44
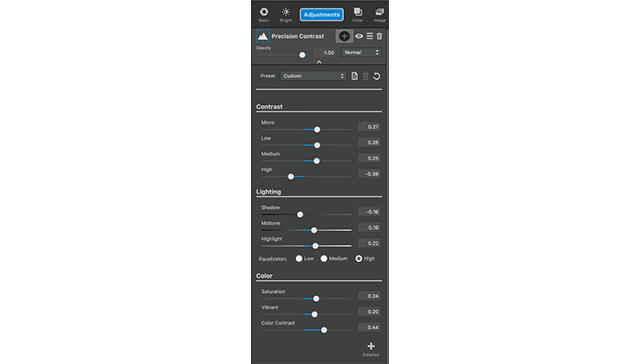
If you notice it brings out a lot of color, contrast, and details that were lost in her flower crown and the photo as a whole.

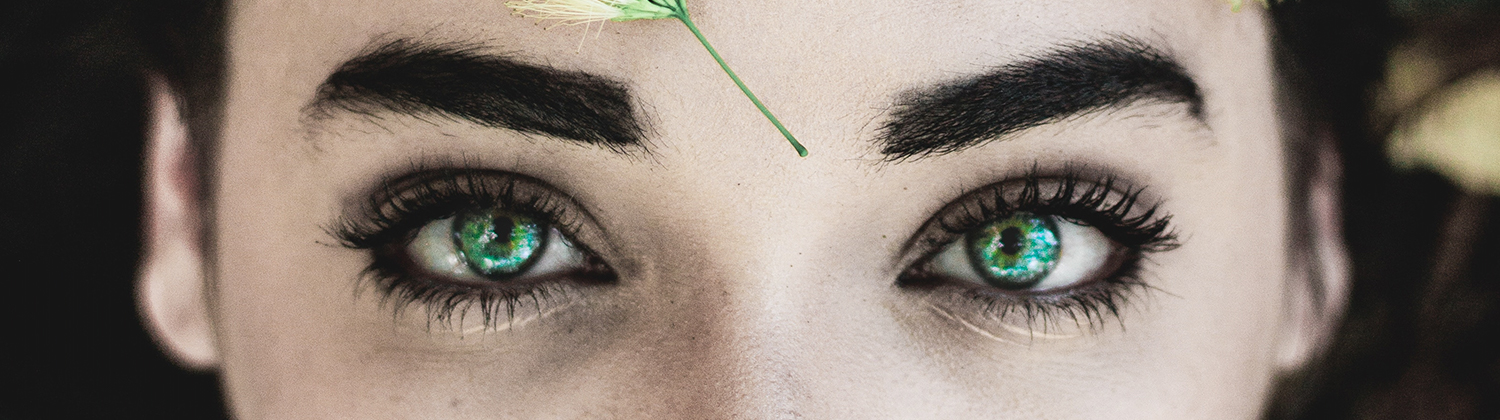
As nice as this image is, I notice a lot of blur, or lack of focus, around her eyes which seems weird to me so we’re going to fix it by adding a little bit of sharpen for our next adjustment.
2. Sharpen
Go to adjustments and select sharpen and select “Unsharp Mask”
- Strength – .28
- Radius – 2.59
- Threshold – .06
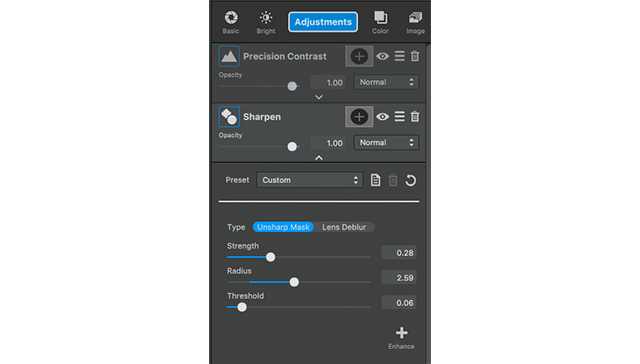
This makes the entire photo a bit more crisp, and brings out details (especially in the eyes) that were lost before. For example, we notice that her eyes are actually two different colors now. One is blue and one is green, lets exaggerate that a bit by adding HSL Color Tuning.
3. HSL Color Tuning
Go to Adjustments and select HSL Color Tuning.
Upon opening this adjustment we need to immediately add a mask to make sure ONLY her eye are affected by this adjustment. Go to the mask thumbnail (white square) next to the adjustment name. We are going to invert the mask first, then select the white brush and mask in the eyes. Since the mask is all black and the eyes are white, we know only the eyes will get this adjustment applied.
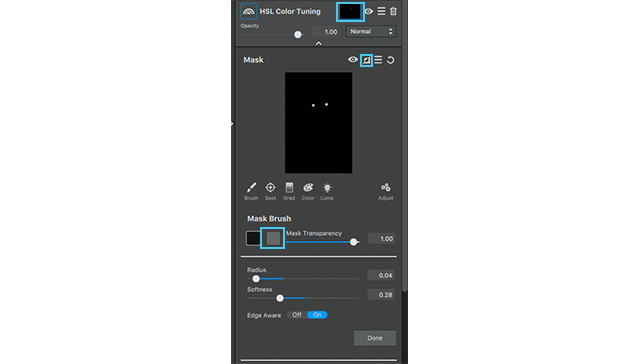
After making sure the mask is applied (by clicking done)
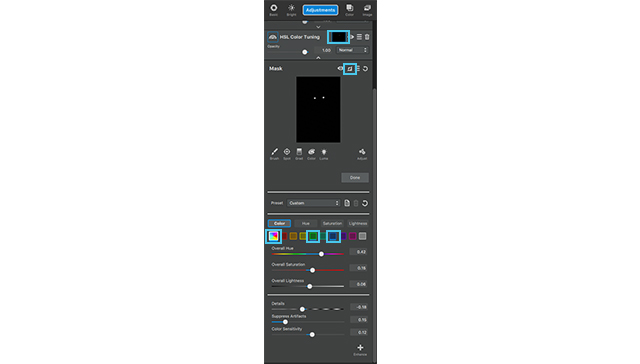
First we are going to go into the green and blue color selection (next to the yellow) and adjust the settings, before going into the overall saturation, and then editing the details
- Green adjustments:
Green Saturation – .29
- Blue Adjustments:
Blue Hue – .19
Blue Saturation – .71
Blue Lightness – .30
- Overall Adjustments:
Overall Hue – .42
Overall Saturation – .15
Overall Lightness – .06
- Bottom Section:
Details – -.18
Suppress artifacts – .15
Color Sensitivity – .12
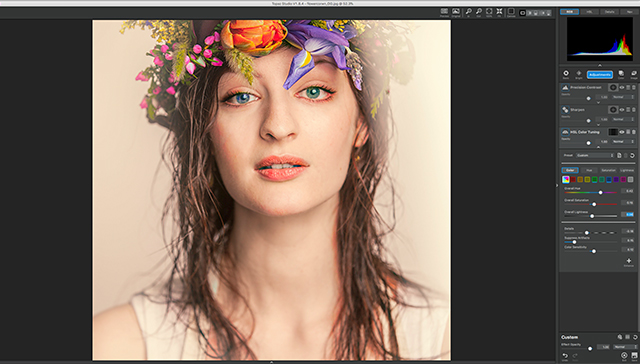
This adjustment really made the fact that her eyes are two different colors MUCH more noticeable. To me these little details are so important when it comes to expressing the personality of each photo!
Okay now that we have the foundation of this photo cleaned up lets step into some of the fun detailing with AI Remix.
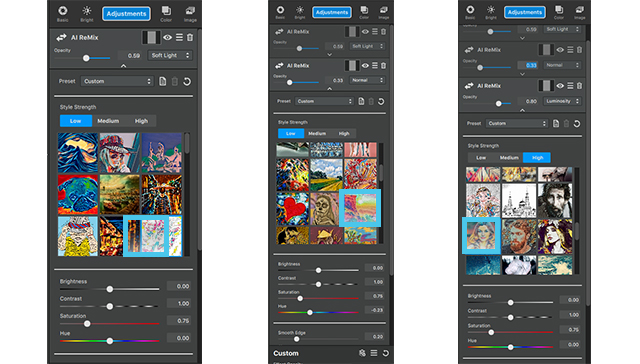
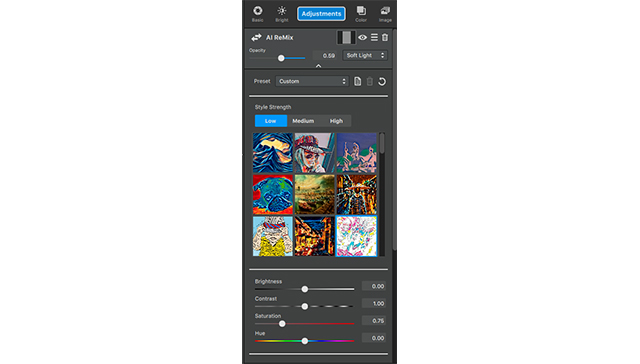
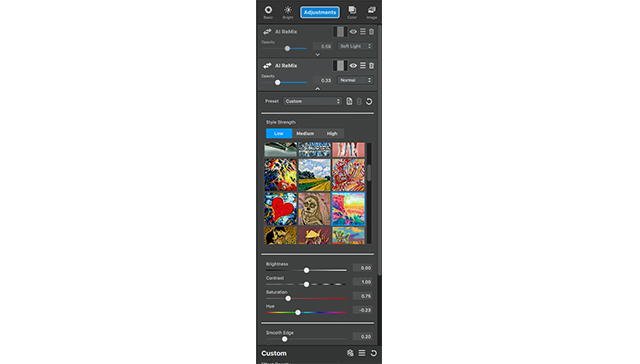
4. Ai ReMix Adjustment 1
The first application of AI remix is the adjustment we will be moving to the top of the stack after we get done making the following adjustments:
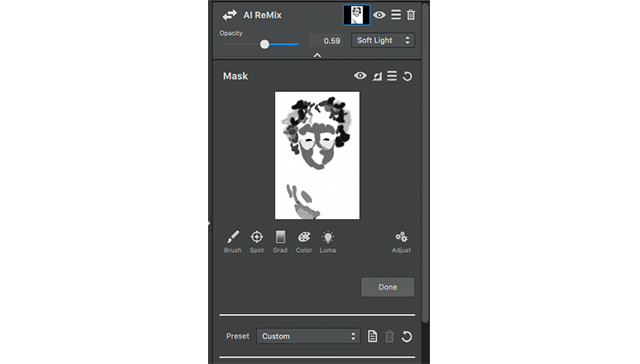
Go to adjustments and select AI Remix, select the style thumbnail that looks like a bunch of docked boats (second row and second style), and select High for the style strength. Now this adjustment, when applied to the entire photo, comes off a bit strong for her skin so lets fix that. Open the adjustment and selected the masking thumbnail to activate the masking tool. Invert the mask (icon next to the eye in the masking menu) and select a white brush. We are going to mask in the flower crown is it is the object affected in this photo.
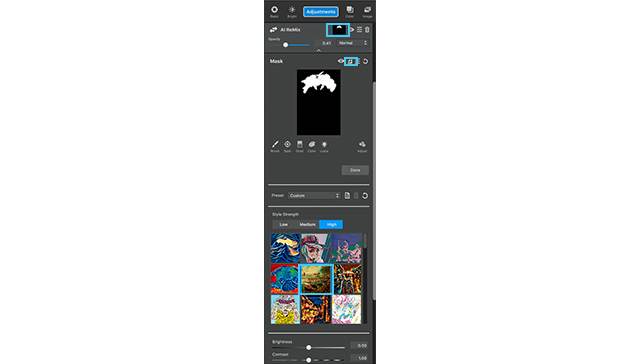
After applying the mask bring the opacity to .41. This makes the adjustment MUCH more subtle, but still keeps the adjustment painterly and noticeable while bringing out the detail and color of each flower.
Now move this adjustment to the top of the stack so it won’t be affected by the adjustments beneath it.
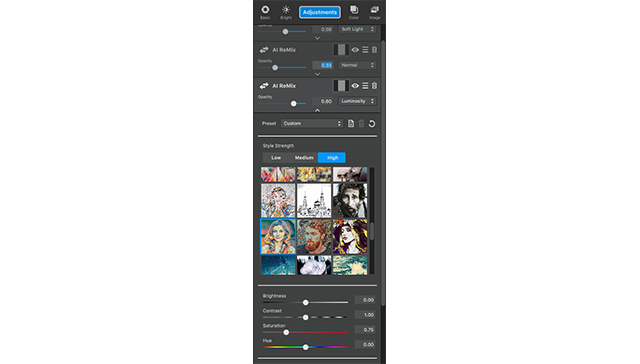
5. Ai Remix Adjustment 2
The next application is another AI remix to help bring some color to this monotone background.
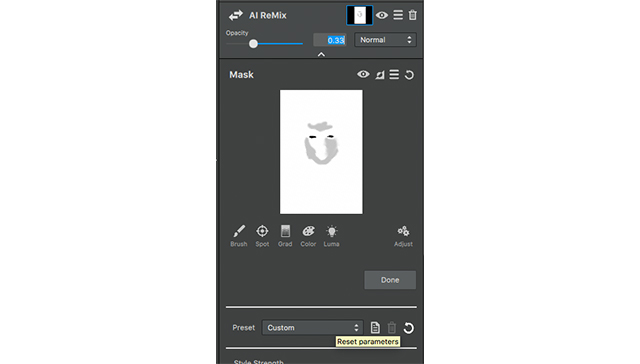
Go to adjustments and select AI ReMix. The style we will be applying is located in the 6th row and is the 3rd image. Looks like a rainbow version of the grand canyon.
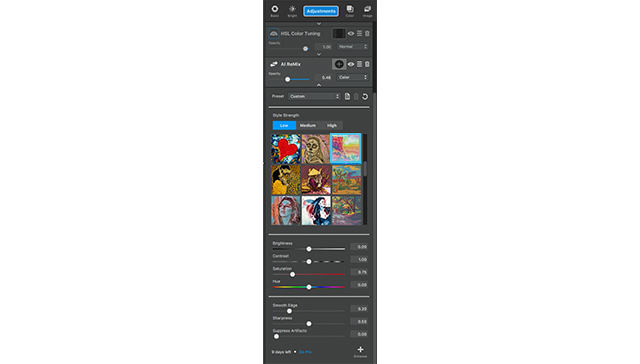
Make sure the style strength is set to low, the opacity is set to .46, and the blend mode is set to color.
This brings a pop of color to the entire photo, but plays off the colors of the crown and adapts well to the entire photo because we set the blend mode to color.
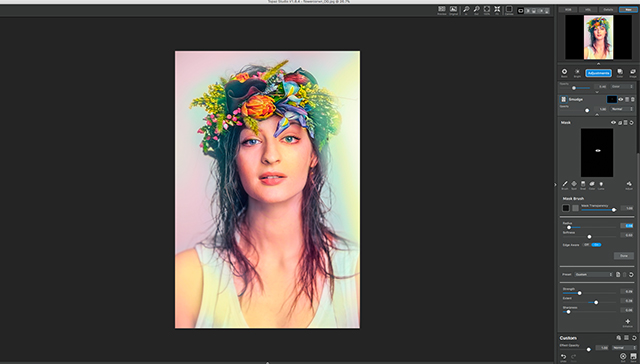
6. Smudge (last step)
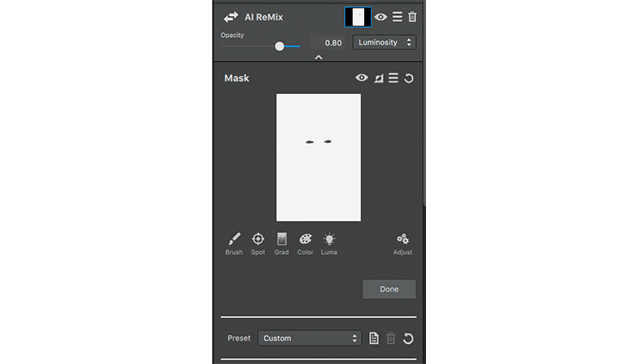
The last adjustment we are applying is purely cosmetic. I really dislike how dry and cracked her lips looks, so we are going to grab the smudge adjustment and smooth them out a little.
Go to adjustments and select smudge. Select the mask tool, next to the adjustment name, invert it (just like the previous steps), and mask in her lips with a white brush on the black mask. This way we can make sure that ONLY her lips are affected by this adjustment.
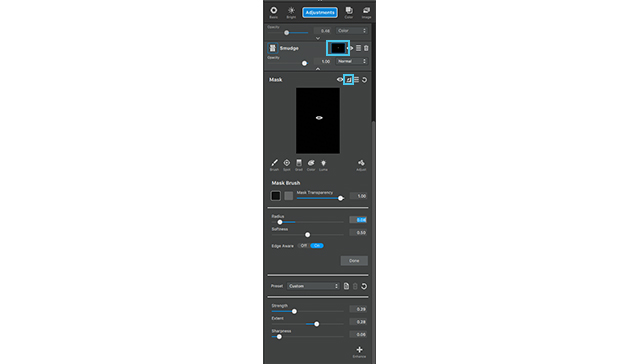 After making sure the mask is applied (by clicking done with finished) go into the setting of this adjustment and set them as the following:
- Strength – .29
- Extent – .28
- Sharpness –.06
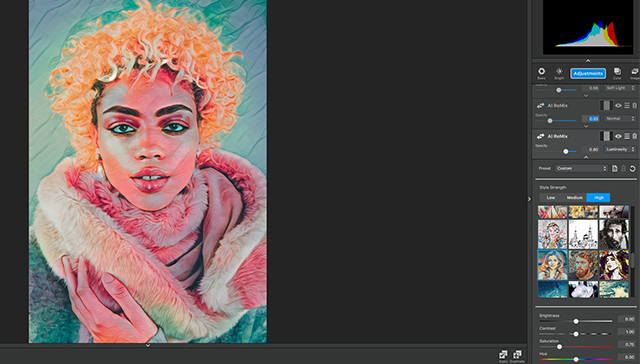
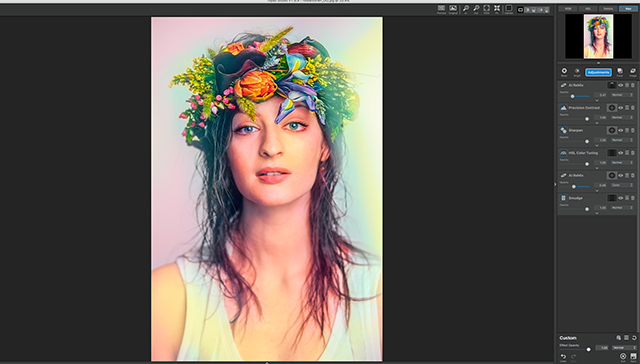
Thats it for this tutorial! Here is the finished product!
 [/vc_column_text][/vc_column_inner][/vc_row_inner][vc_empty_space][/vc_column][/vc_row][vc_row][vc_column][qodef_call_to_action full_width=”yes” content_in_grid=”yes” grid_size=”75″ type=”normal” show_button=”yes” button_size=”large” button_type=”outline” button_target=”_blank” button_font_weight=”” button_icon_pack=”” box_padding=”58px 0px” button_text=”Download Now!” button_link=”https://topazlabs.com/downloads/” button_color=”#ffffff” button_border_color=”rgba(255,255,255,0.5)” button_hover_color=”#000000″ button_hover_background_color=”#ed36e4″ button_hover_border_color=”#101010″]