This article is to introduce you to and provide you with some helpful resources to using Topaz DeNoise AI, the industry’s most advanced noise reduction solution powered by artificial intelligence!
Why You’d Want to Use DeNoise AI
You can generally point a finger at a high ISO setting if you’re experiencing noise in your images. High ISO is the most common contributor to image noise in photography. But, perfect conditions don’t always exist for capturing an image. Here are a few reasons to use an increased ISO setting:
–Faster shutter speeds to freeze motion (e.g. 1600+ ISO for indoor sports photography)
–Better performance in low light (e.g. nighttime cityscapes, Milky Way shoots, dimly lit indoor shoots)
–Reduced image blur when shooting handheld
After months of training and testing, we are now able to use a bigger network that handles more varieties of noise. DeNoise AI is trained to remove high ISO noise, sensor noise, thermal noise, banding noise, and noise from some scanned images.
So, let’s get into DeNoise AI!
When to Use DeNoise AI in Your Workflow
We recommend using DeNoise AI at the beginning of your workflow. Eliminating noise as a first step is key because it will ensure that you are working on a clean image! It is always important to remove any damaging defects before applying any color, detail or creative adjustments to your images.
How DeNoise AI Works
In order to train DeNoise AI effectively, we used a lot of clean and noisy image pairs as examples to train an AI network. This is so that later when the AI sees a noisy image, it can predict the clean version of it. Mathematically, we mimic the way that real-world noise is added to the image, during capture or digitization. Our noise model generated millions of noisy-clean image pairs, which were used to train the network. The DeNoise AI network is also able to receive “hints” about the noise level and type from outside as a help.
Installation Tips
Here’s a quick rundown to get you up and running with Topaz DeNoise AI!
BEFORE YOU DOWNLOAD, DeNoise AI has higher requirements than some of our other applications, so please check out the requirements below and see what kind of performance to expect:
After meeting the requirements, simply follow the directions below:
- Download DeNoise AI from the Topaz Labs Downloads Page.
- Log in with your Topaz Labs account or the email address that you used to purchase.
To start a free, 30-day trial, please follow the directions below:
- If you haven’t already, create an account from the Topaz Labs Account Page.
- Download DeNoise AI from the Topaz Labs Downloads Page.
- Launch DeNoise AI, log in and click ‘Yes’ to start your 30 day trial.
Extra Tip: Started a trial, bought the product, and still seeing “trial” on the application? No worries. Simply click “Help” in the top toolbar and then click “Update Product Ownership.” And with just those few clicks, your product will be updated.
DeNoise and AI Clear Owners: Upgrading to DeNoise AI for Free
Yes, free! If you own our Classic Plug-in DeNoise or our Studio Pro Adjustment AI Clear, we have given you access to DeNoise AI. All that you have to do is download and install DeNoise AI, log in, and it’s all yours! Here are some convenient download links to get started:
Extra tip: Just make sure that you are logging with the email address that you used to purchase DeNoise or AI Clear with. This is the email address that DeNoise AI will be registered to so if another username or email address is used, your copy of DeNoise AI will start in trial mode.
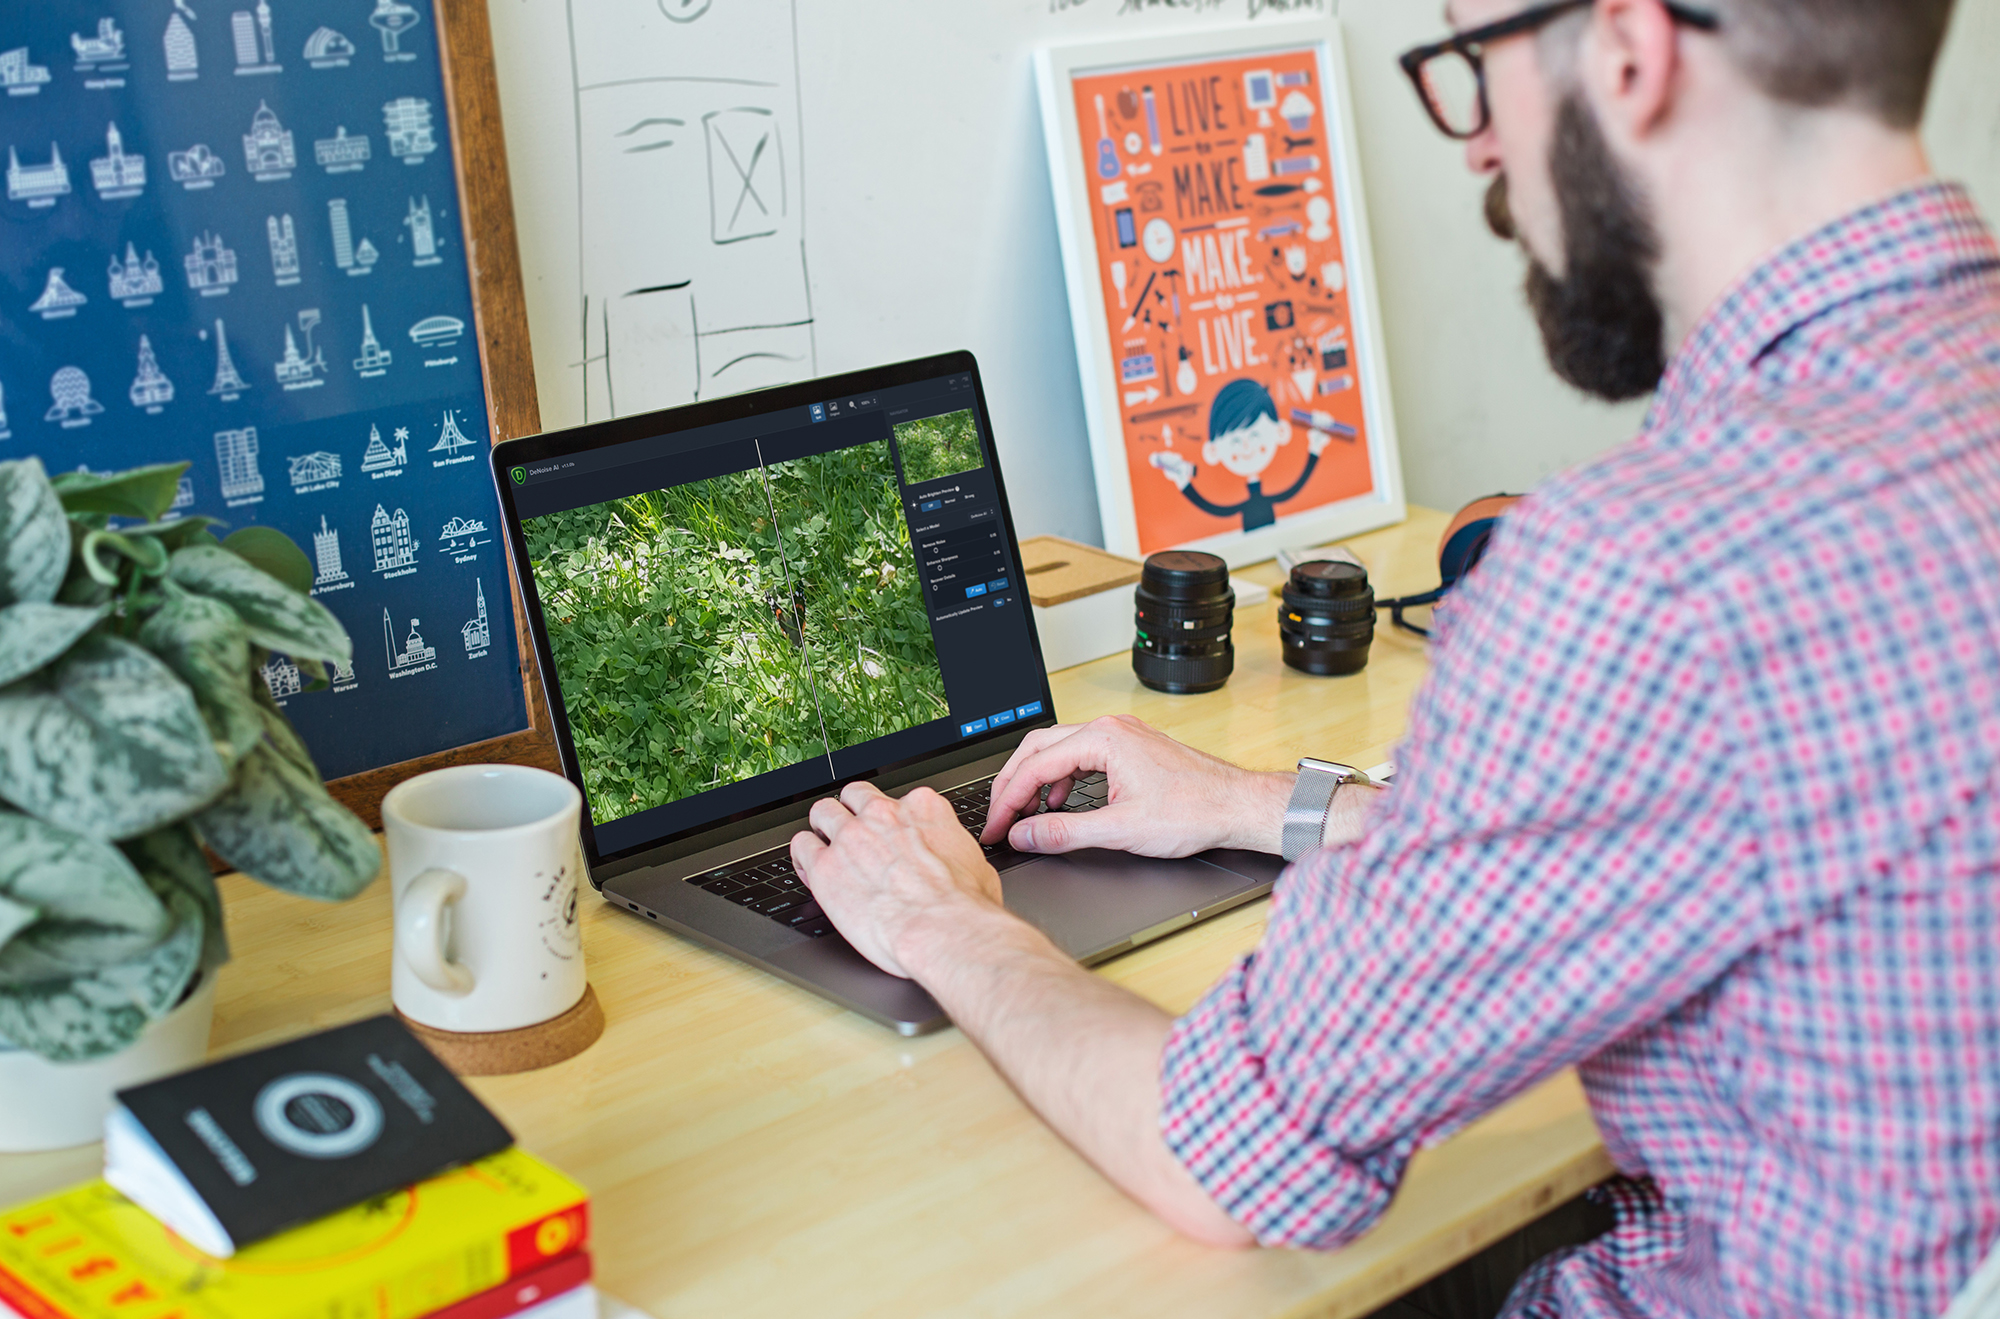
Using DeNoise AI
All you have to do is import your image. DeNoise AI will target the noise in your image and intelligently apply the best solution for removing it without sacrificing too much detail loss.
Though we’ve created DeNoise AI to be an easy, automatic solution, there are three adjustment sliders that allow you to make manual edits beyond the automated detection. With the Remove Noise slider you can apply even stronger noise reduction. Pushing the sliders to the extreme level will not give you the best output all the time. If your noise level is low, then keeping the slider in the lower range should give the best output.
The Enhance Sharpness slider allows you to sharpen images that become blurry after denoising. If you’re looking to add back specific details in your image that may have been removed by denoising, you can try the Restore Detail slider to use alpha-mask blending to restore and improve details.
Other Resources for DeNoise AI
We have a couple other pointers regarding noise reduction. To understand more about the causes of noise and how to avoid them during your next shoot, you can read our staff article Sounding Off on Noise in Images.
You can also find our staff article The Story Behind DeNoise AI that details the process behind the development of DeNoise AI and some of the logic behind designing it.
Still have some questions on DeNoise AI? No worries. We’ve gathered up some frequently asked questions and our knowledge base of DeNoise AI articles.


