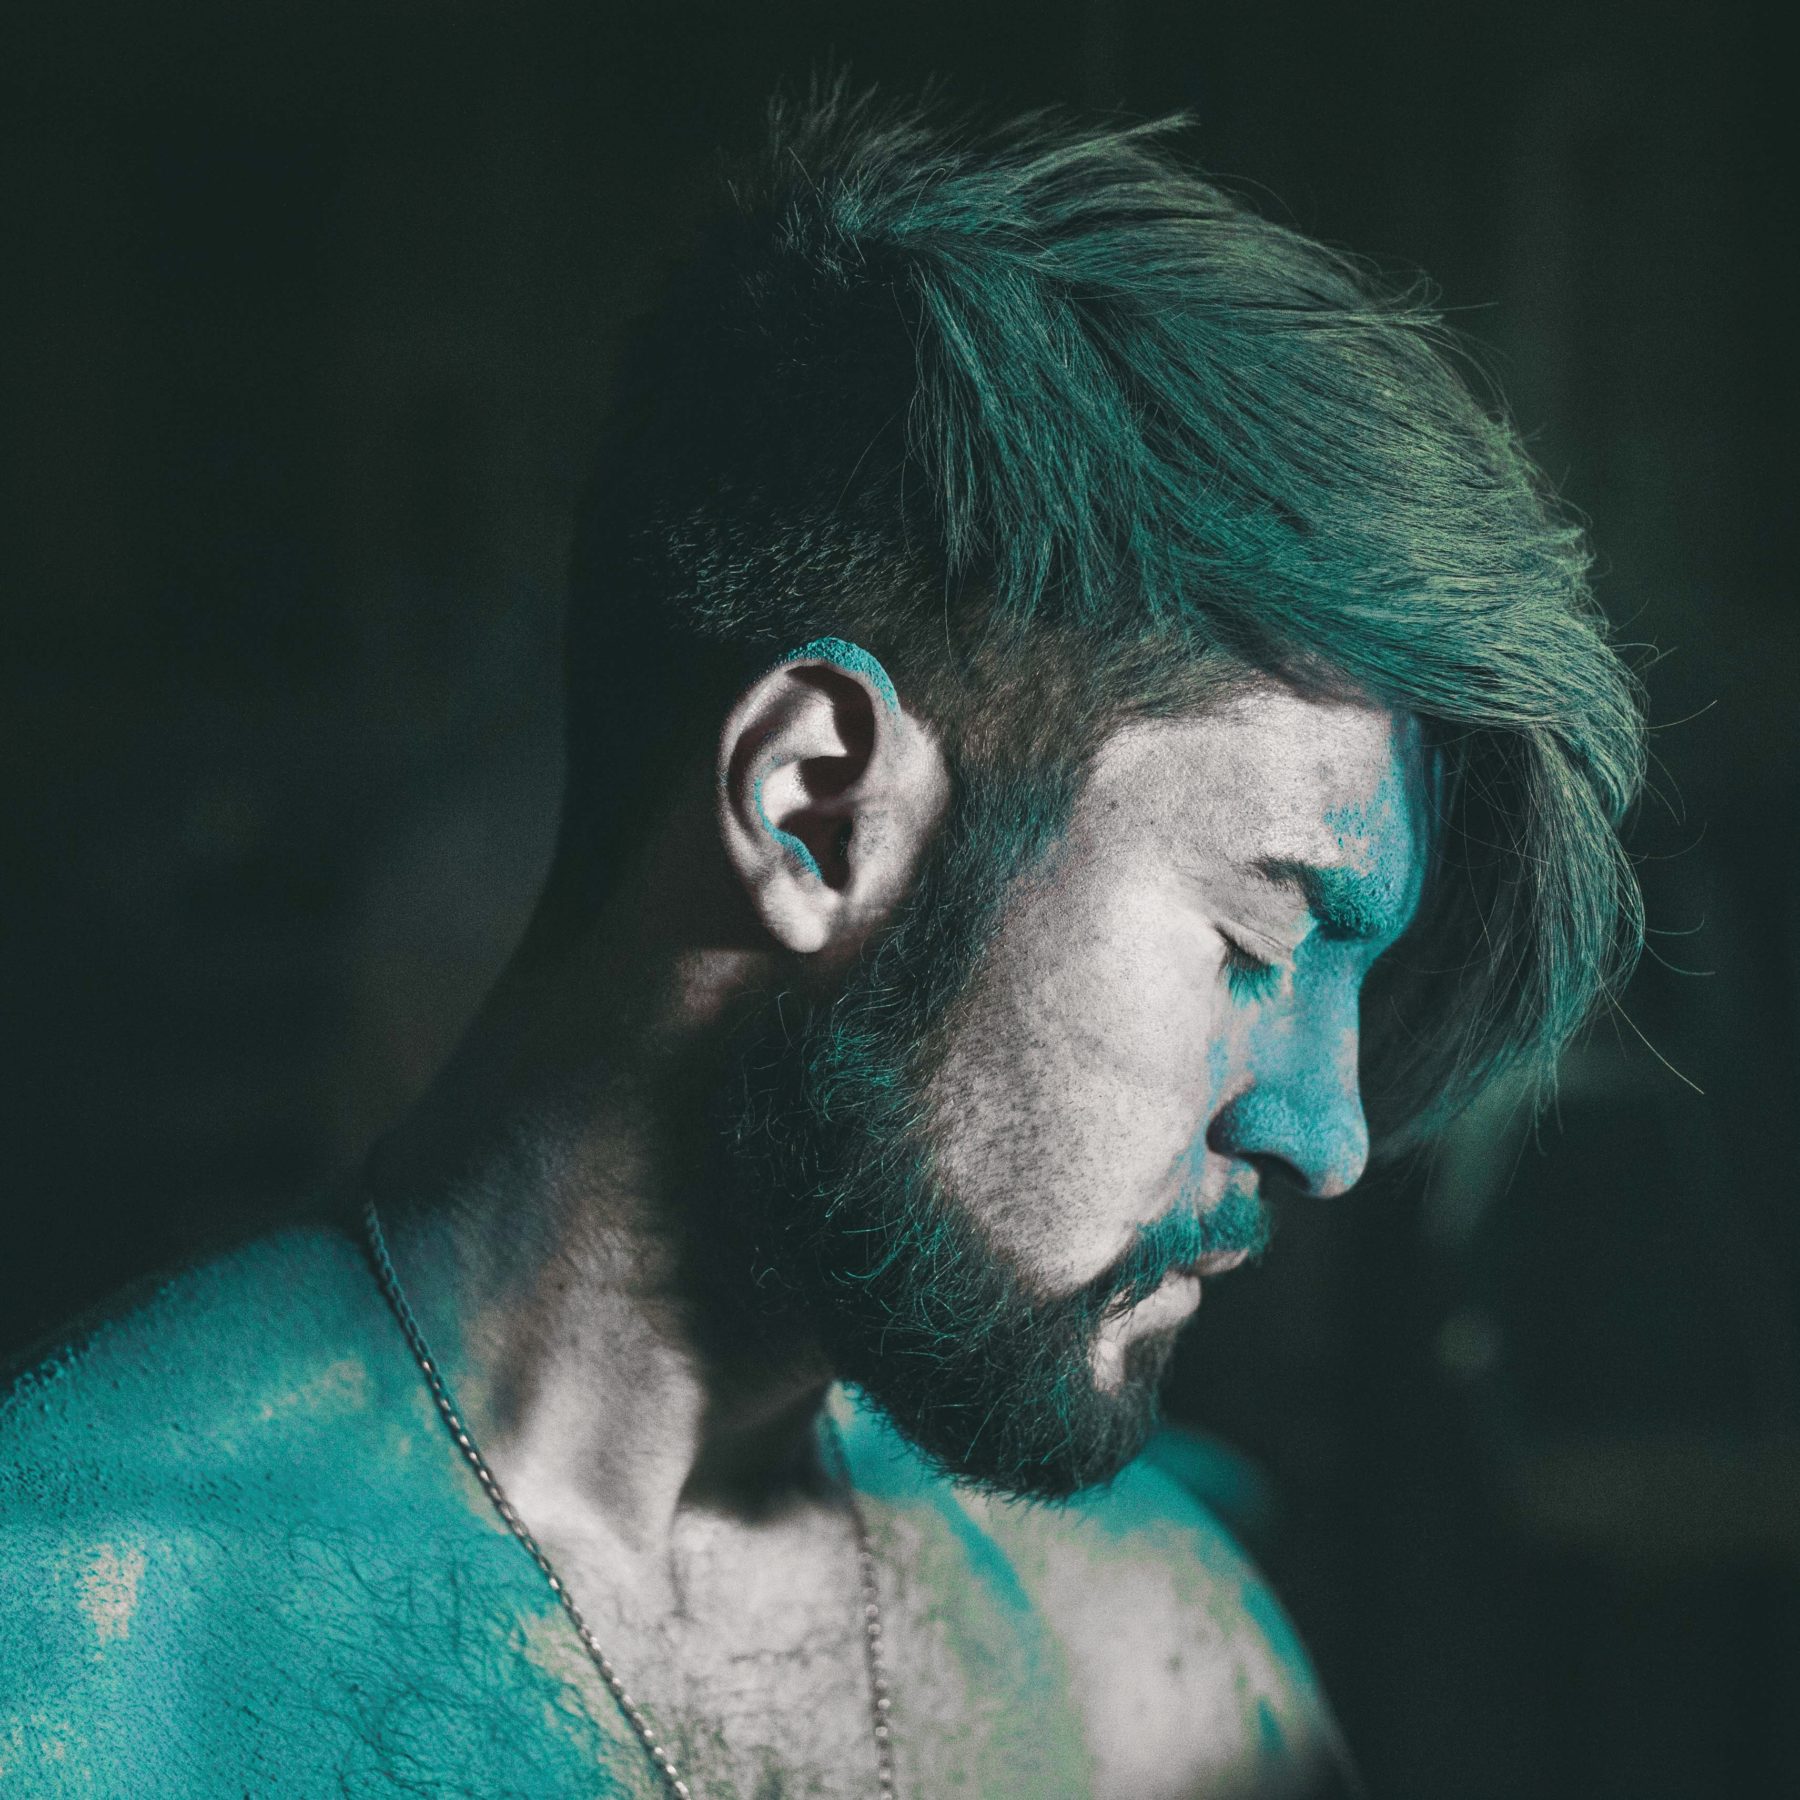
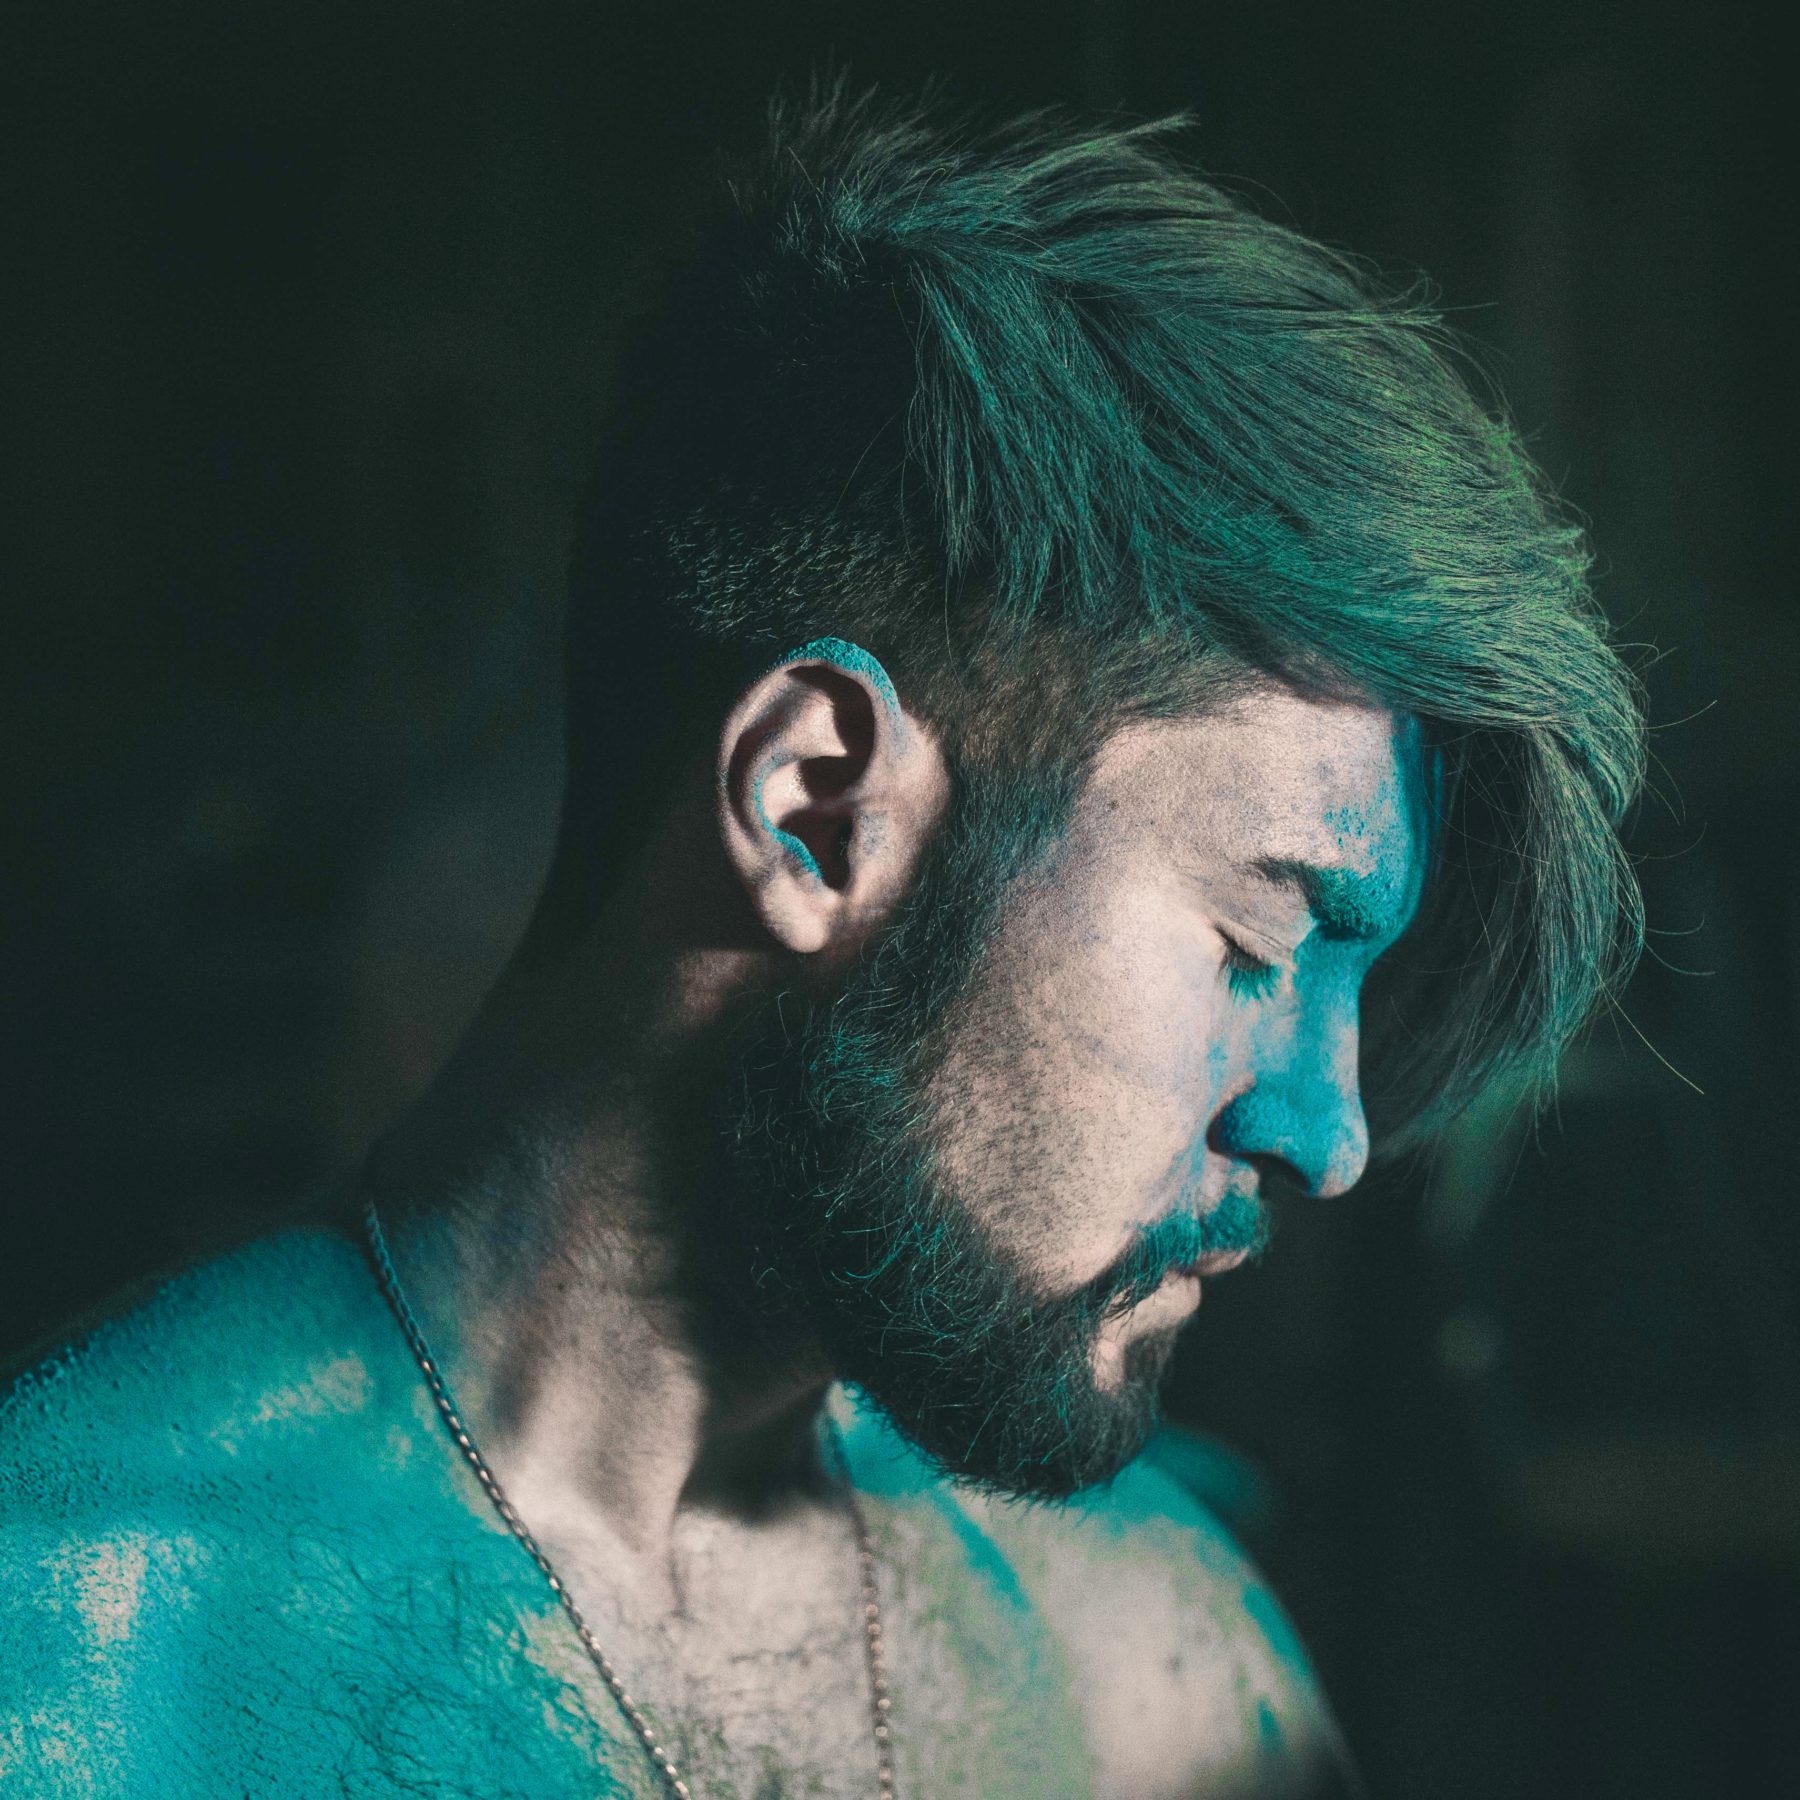
In a matter of just a few seconds you can easily make one (or a few) of the colors in a photo pop. Perhaps you have photographed a fire engine and only want to see it’s vibrant red in your image. Or perhaps your loved one has stunning green eyes that you want to see standing out in your image. Today we’ll show you two simple ways to selectively adjust the saturation of a specific color in your image in Topaz Studio 2 using HSL Color Tuning.
HSL Color Tuning
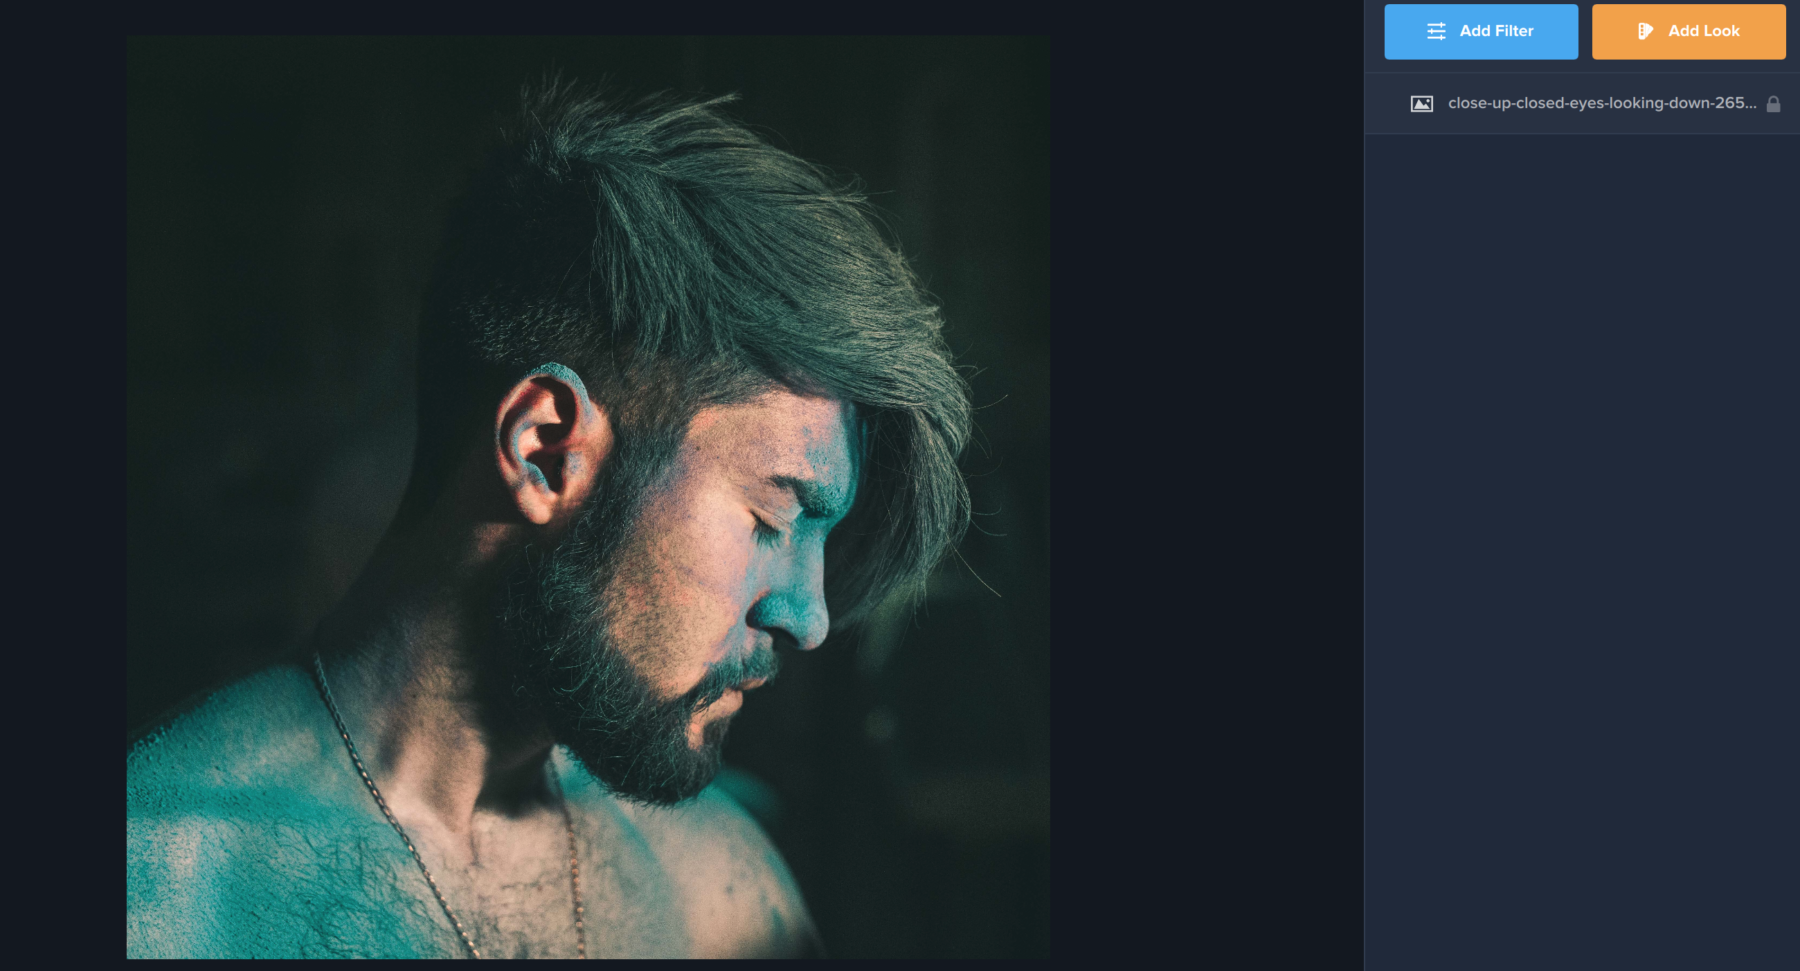
We’ll start off by opening our image in Topaz Studio. Our goal is to make the teal powder on this man’s skin stand out from the rest of the photo. To do this, we’ll want to desaturate the rest of the photo so that the color stands out.
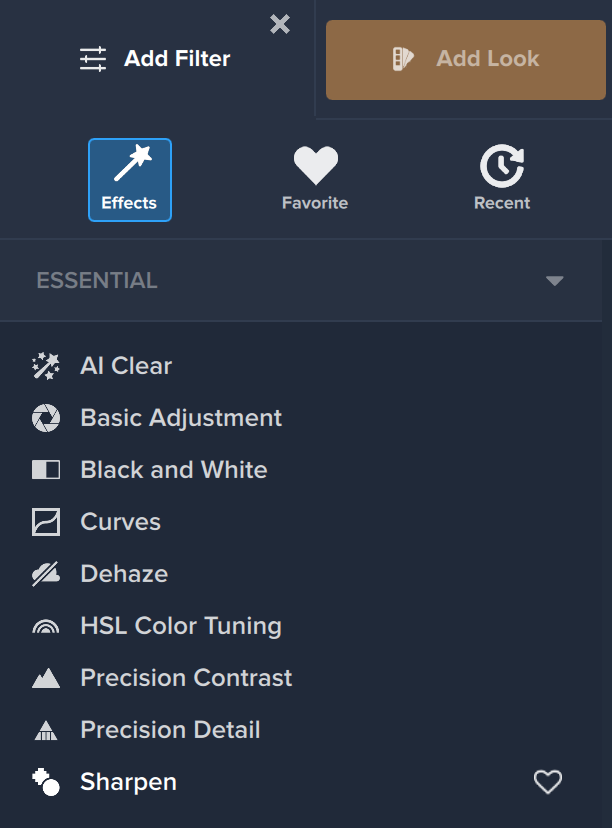
The first thing you’ll want to do is click the blue Add Filter button in the right-hand menu. This is where you’ll find over 30 unique and customizable filters to use on your image. You’ll find HSL Color Tuning under the first Category – Essential. HSL Color tuning deals directly with the colors in your image, so it’s the perfect filter to use when wanting to change, adjust, or desaturate specific colors in your image.
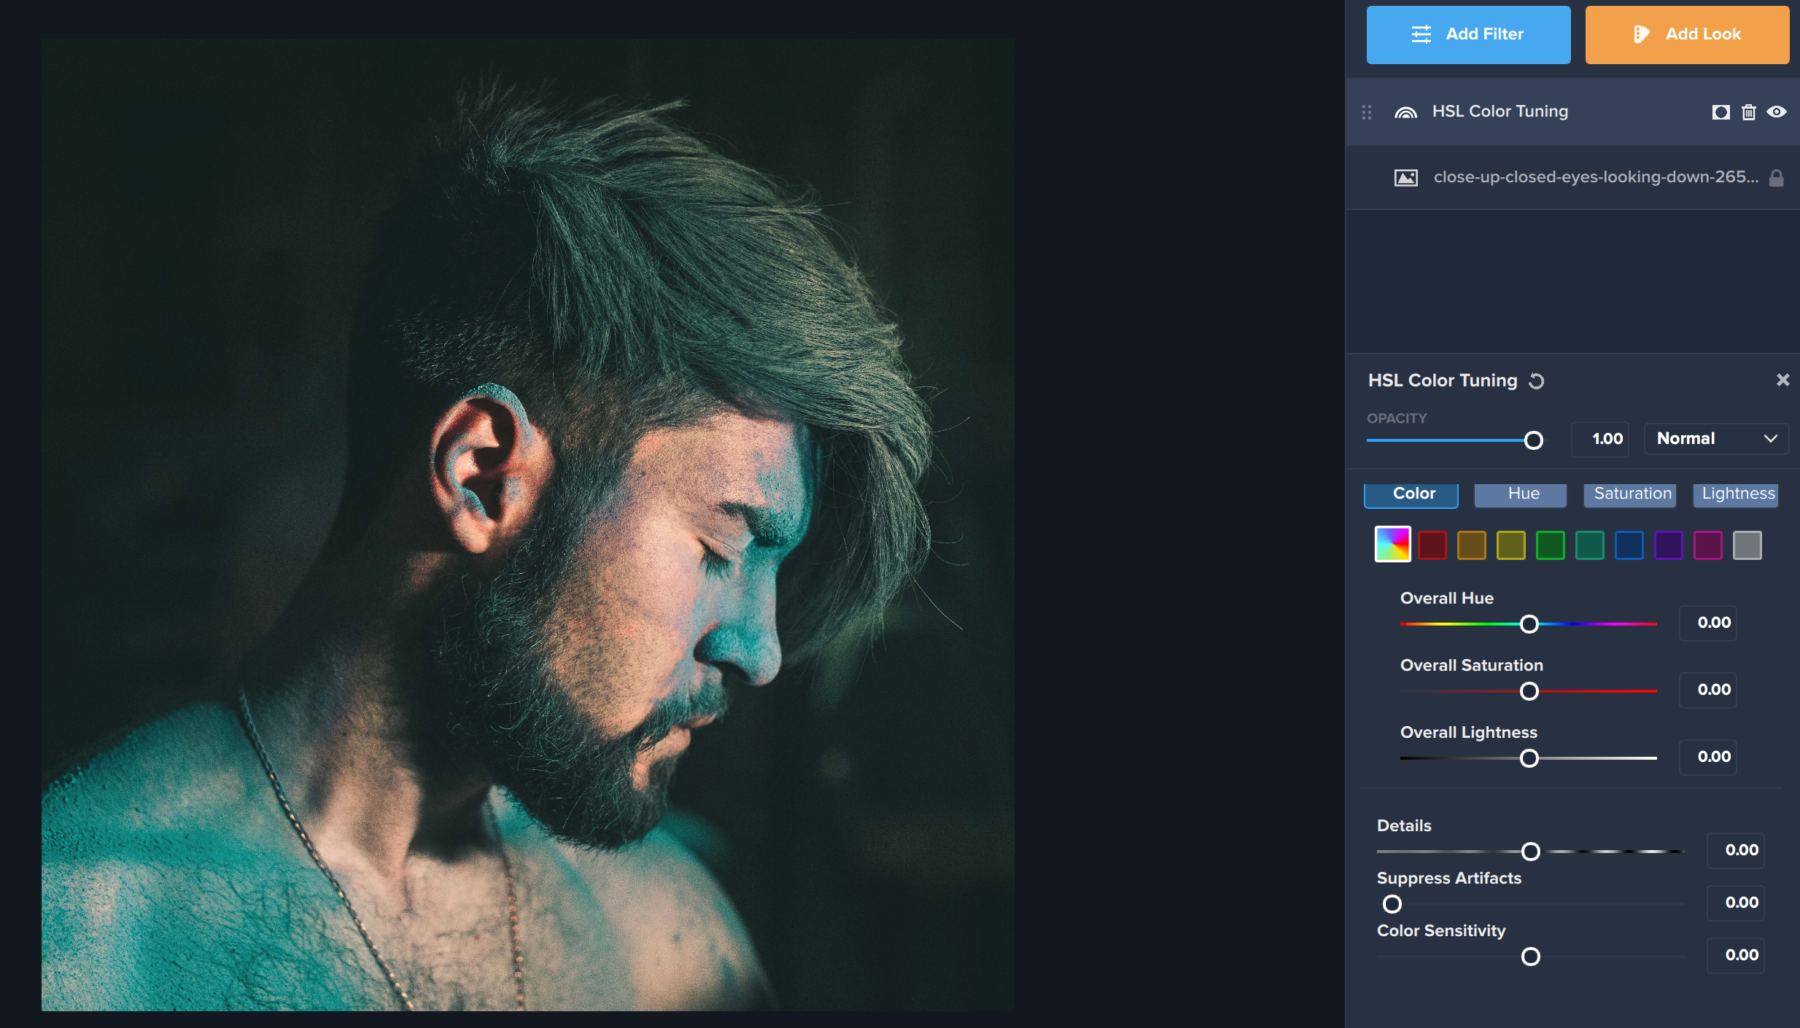
Method 1: Overall Desaturation
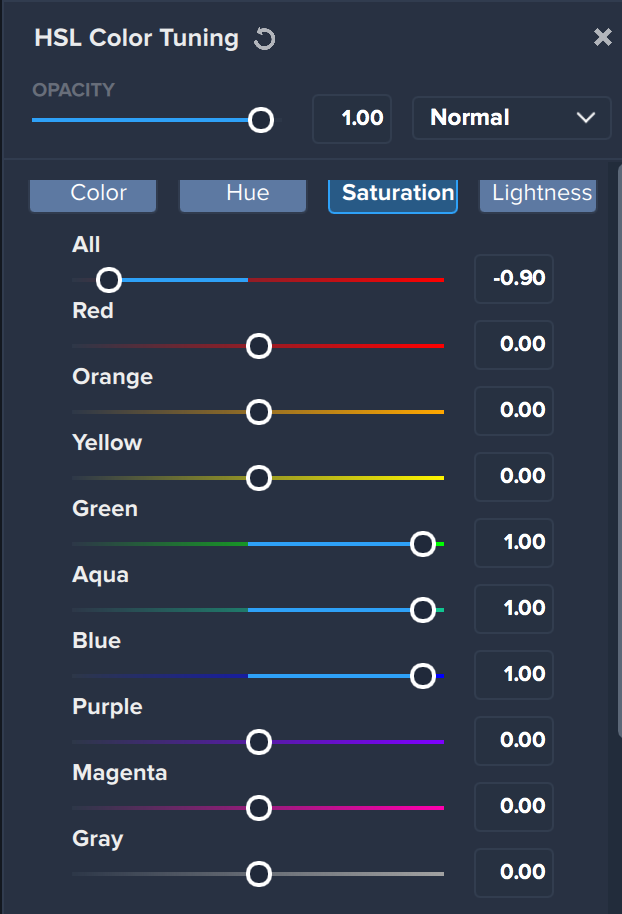
Once you apply HSL Color Tuning, the first thing you’ll want to do is click Saturation Tab near the top of the Filter (between Hue and Lightness). This will help us deal with the saturation of colors in the photo directly.
The first method we’re going to apply is overall desaturation. This is where you remove all the colors from your image before adding back in the color you’d like to see. To do this, we first adjust the “All” slider at the top of the image. You’ll notice that we didn’t move the “All” slider all the way down to -1.00. This is because doing so would make it much more difficult to bring back the teal that exists in the photo. Then, since teal is made up of a combination of Green, Aqua, and Blue, we moved those sliders up as high as they would go so that you could once again see the powder in the image.
You’ll notice that the colors in this image are a bit muted but still stand out in the photo. We also haven’t completely desaturated the entire image since we kept the “All” slider at .91. This creates a slightly more subtle look in the colors of your overall image.
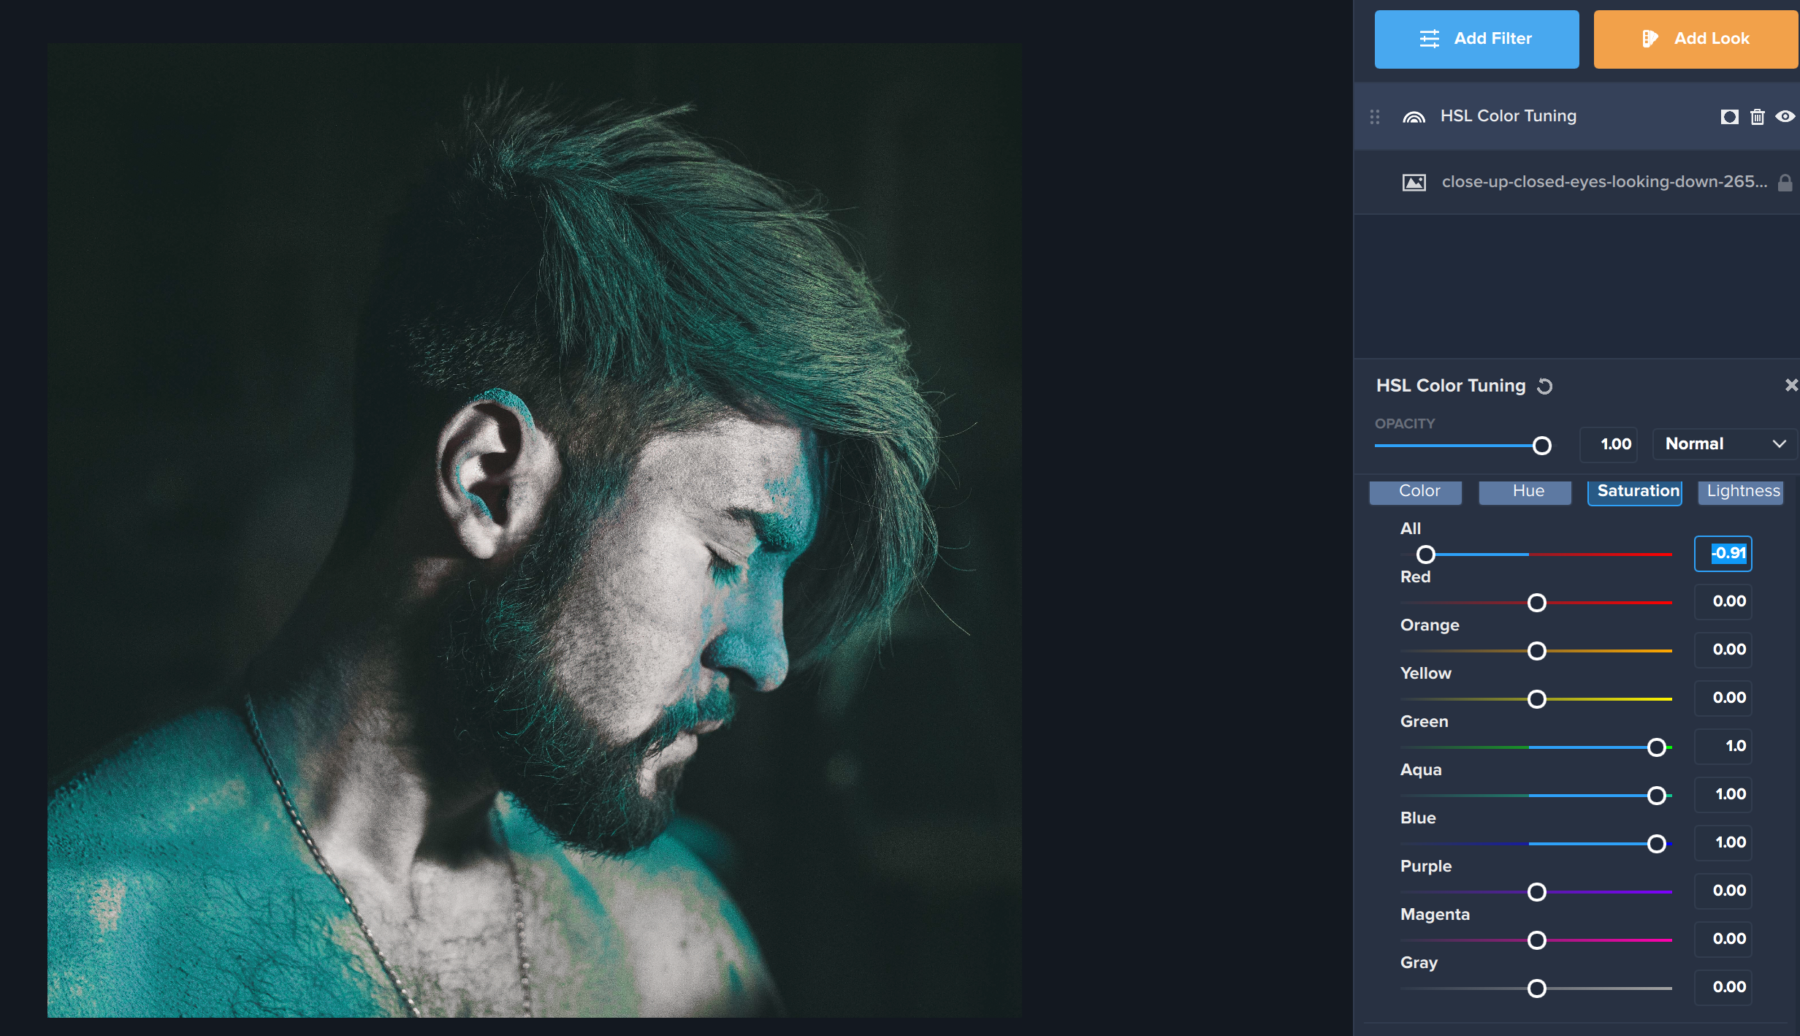
Method 2: Selective Color Desaturation
The second method you can use is to selectively desaturate the colors in your photo you are not interested in. This will completely remove all saturation from the image, except for the colors you’d like to keep. This method could be helpful if you want both a green and a red to stand out in a Christmas photo or if you wanted to see multiple colors in a multi-colored flower while desaturating the rest of the image. To do this, we are just going to lower the saturation for all the colors except for the ones we want to keep in the image. Then, to make our teal stand out even more, we’re going to adjust the Green, Aqua, and Blue sliders about halfway. When moving the sliders all the way up, the blues became a lot more vibrant in the image than we liked, which is why we only moved them halfway. You can play with these sliders to see just how vibrantly you want to see these colors in the image.
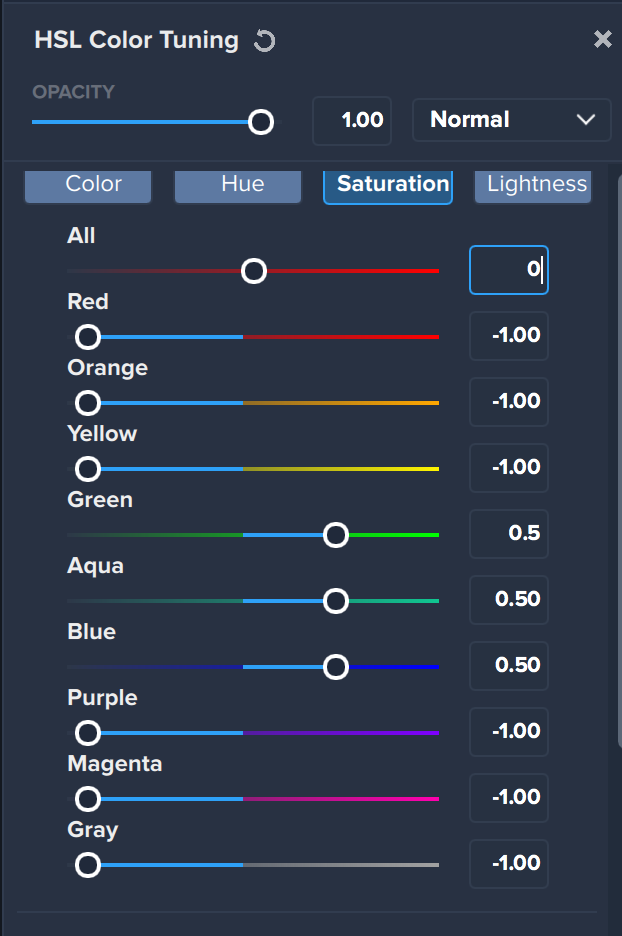
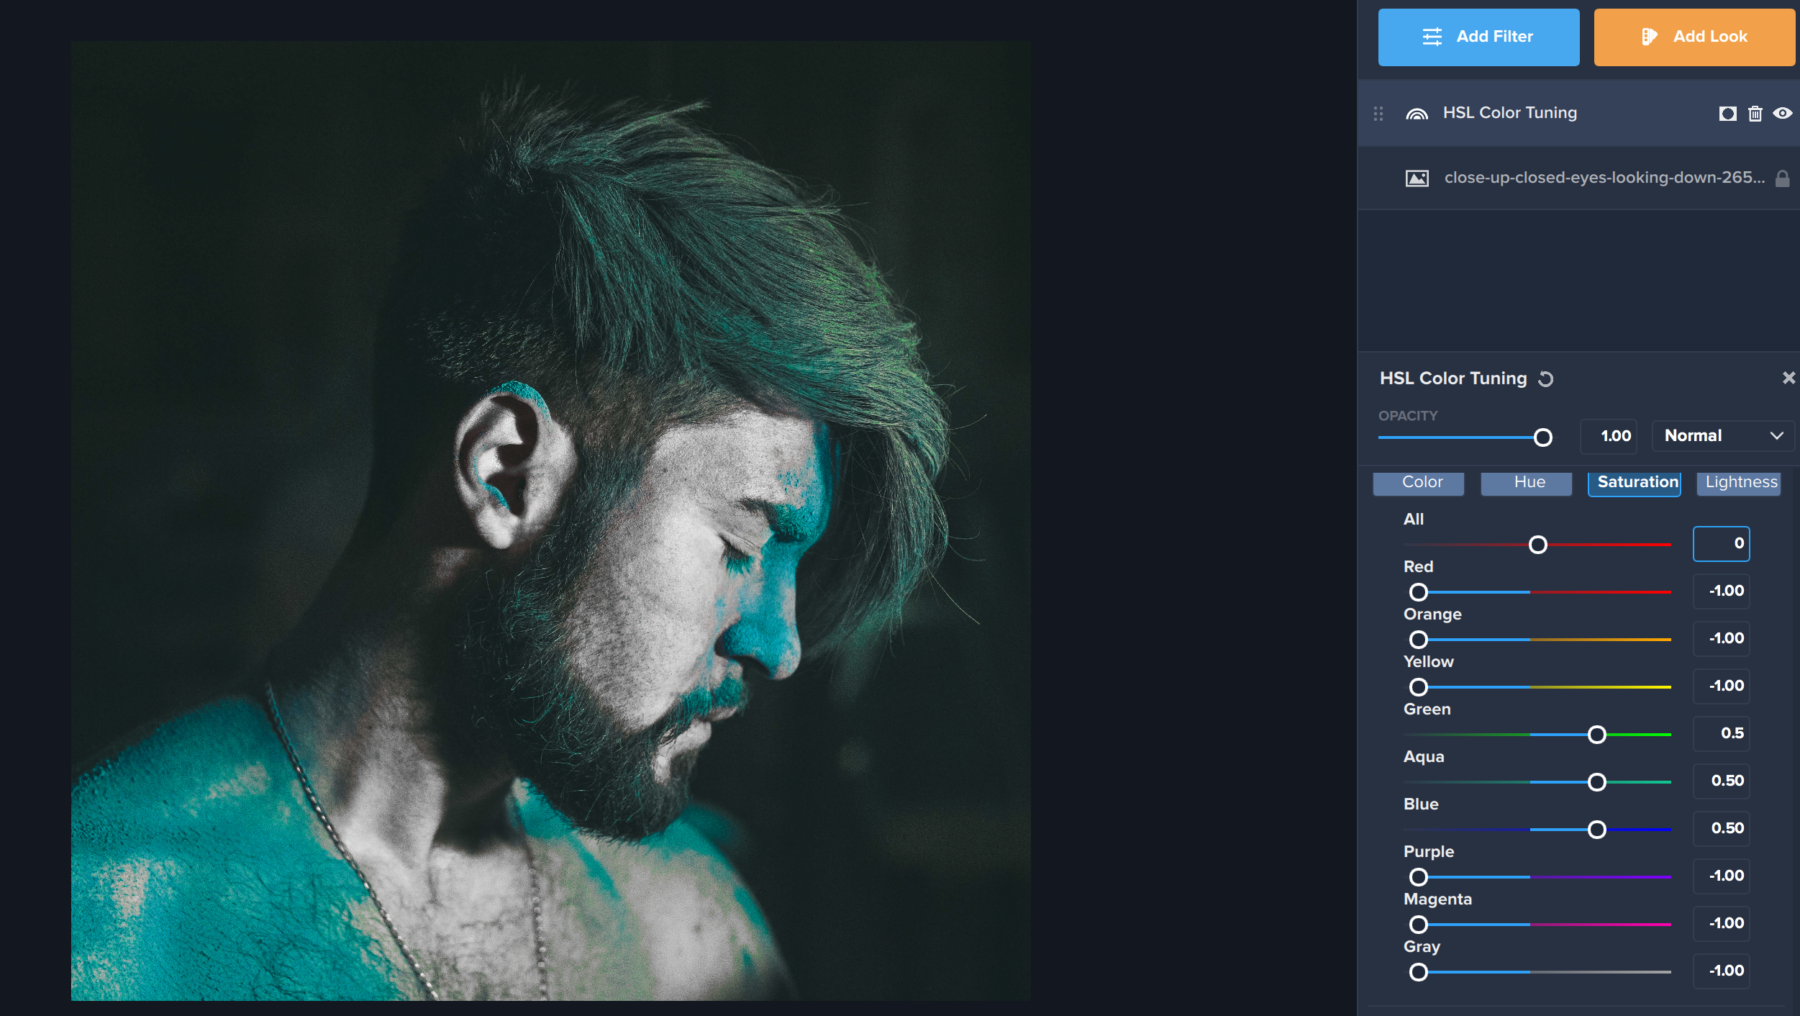
The Final Result!
HSL Color tuning is a powerful way to adjust the saturation in your images, whether it’s blue powder, a yellow sundress, or green eyes. Let us know in the comments how you like to use selective desaturation in Topaz Studio 2!




1 thought on “Tutorial: How to Selectively Saturate and Desaturate in Topaz Studio 2”
I use it mainly for removing colour tints, but also to help paint with light– masking helps here.
Comments are closed.