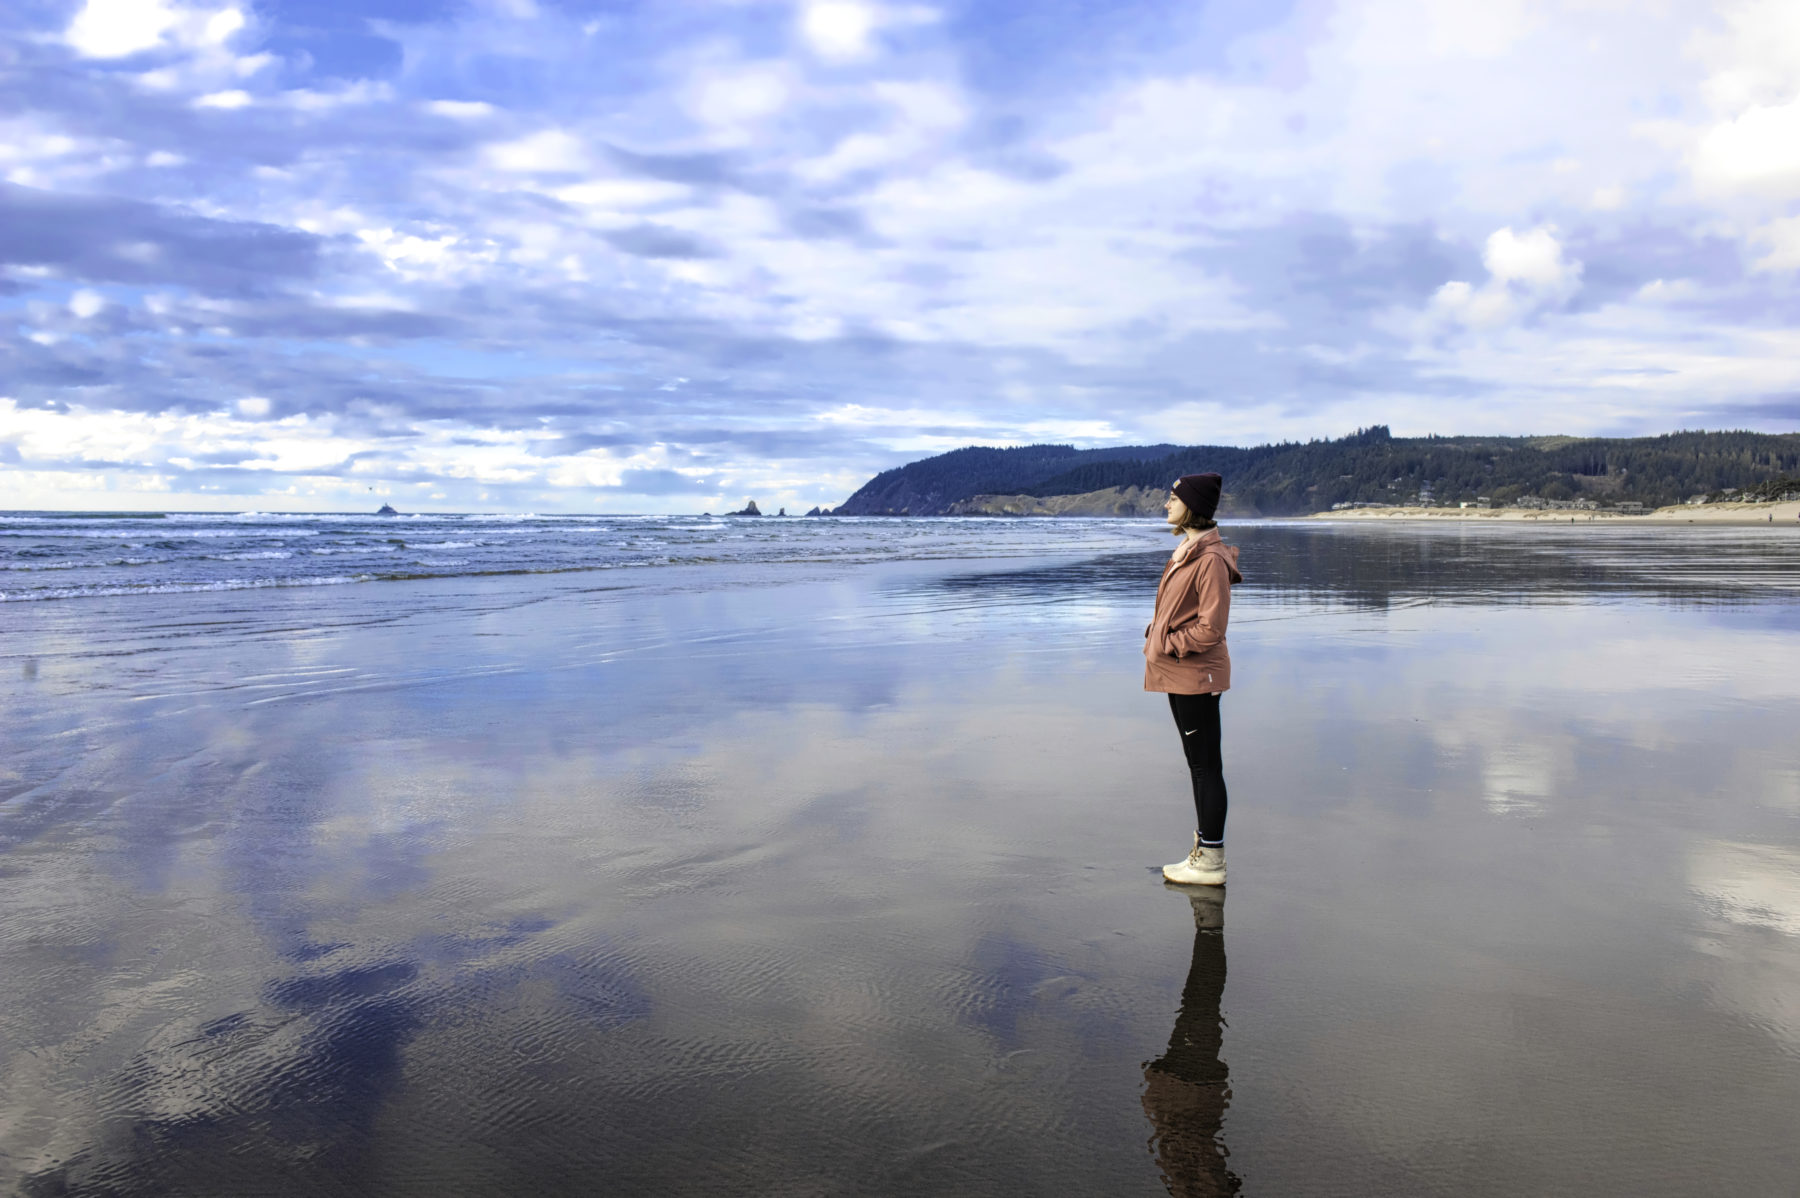
It’s common to take a photo where your colors are a bit too harsh or your shadows are a bit too dramatic. Certain images lend themselves to a softer look, especially morning or golden hour shots. This is why images in pastel are so popular and we’re excited today to show you how to create this effect for your image. In this tutorial, we’ll walk through the process of creating a nice, soft pastel effect in Topaz Studio 2 using Basic Adjustment, Bloom, and Precision Contrast.
Step 1: Basic Adjustment
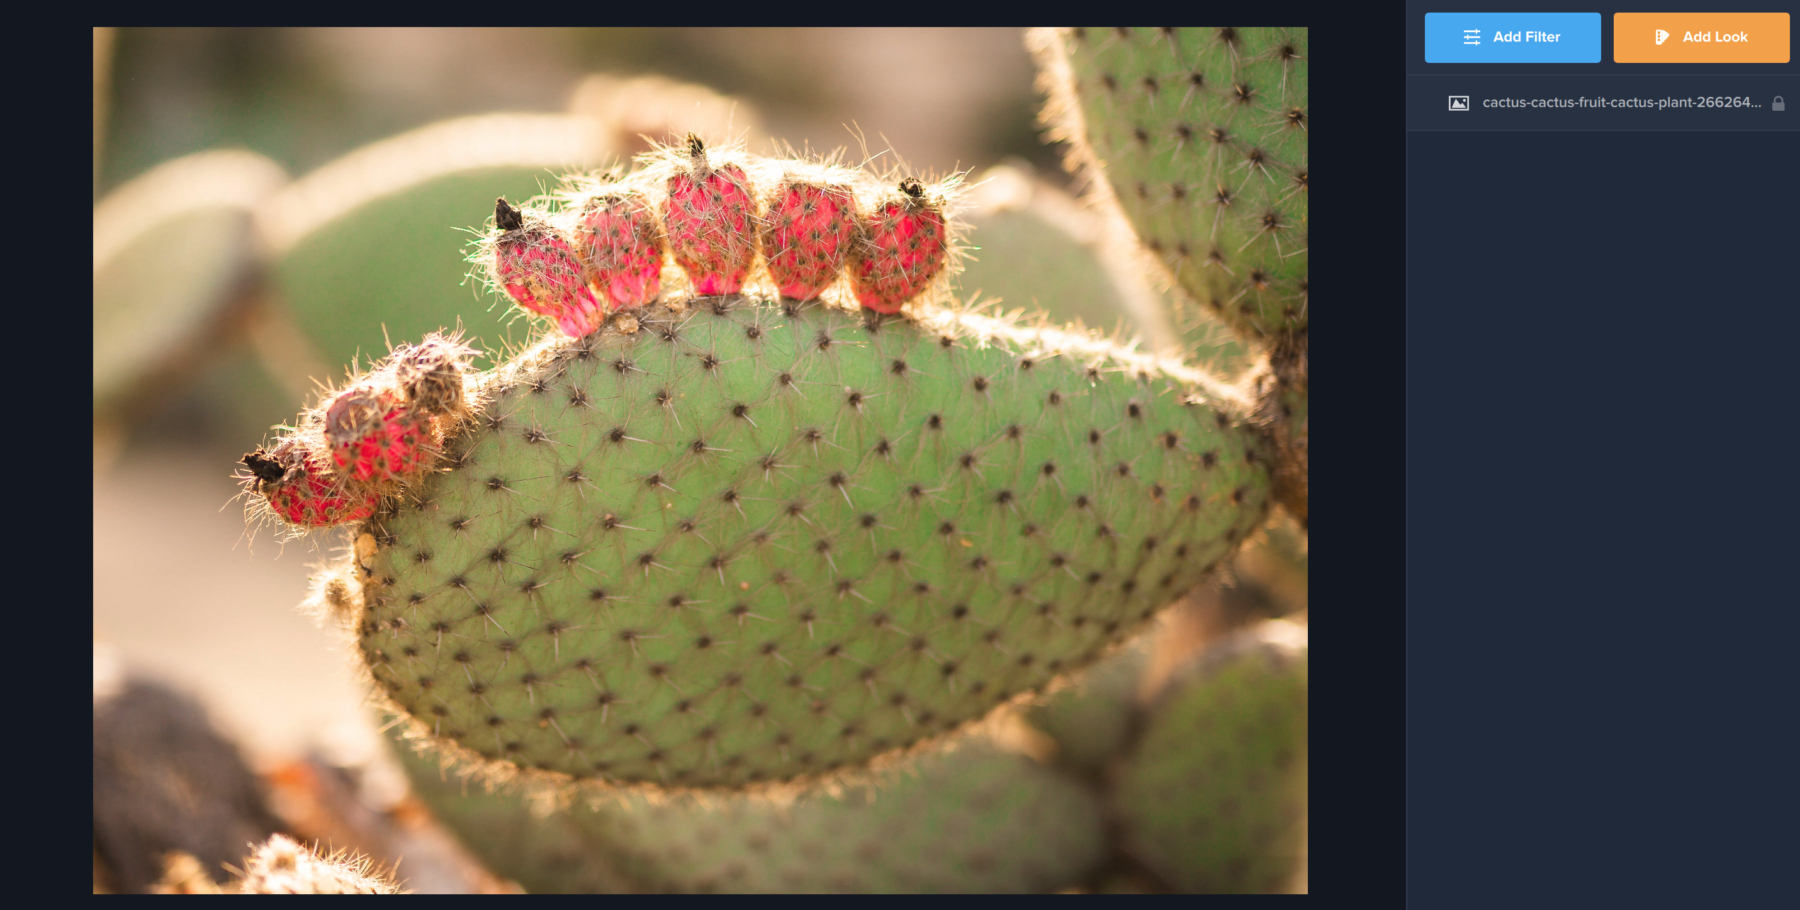
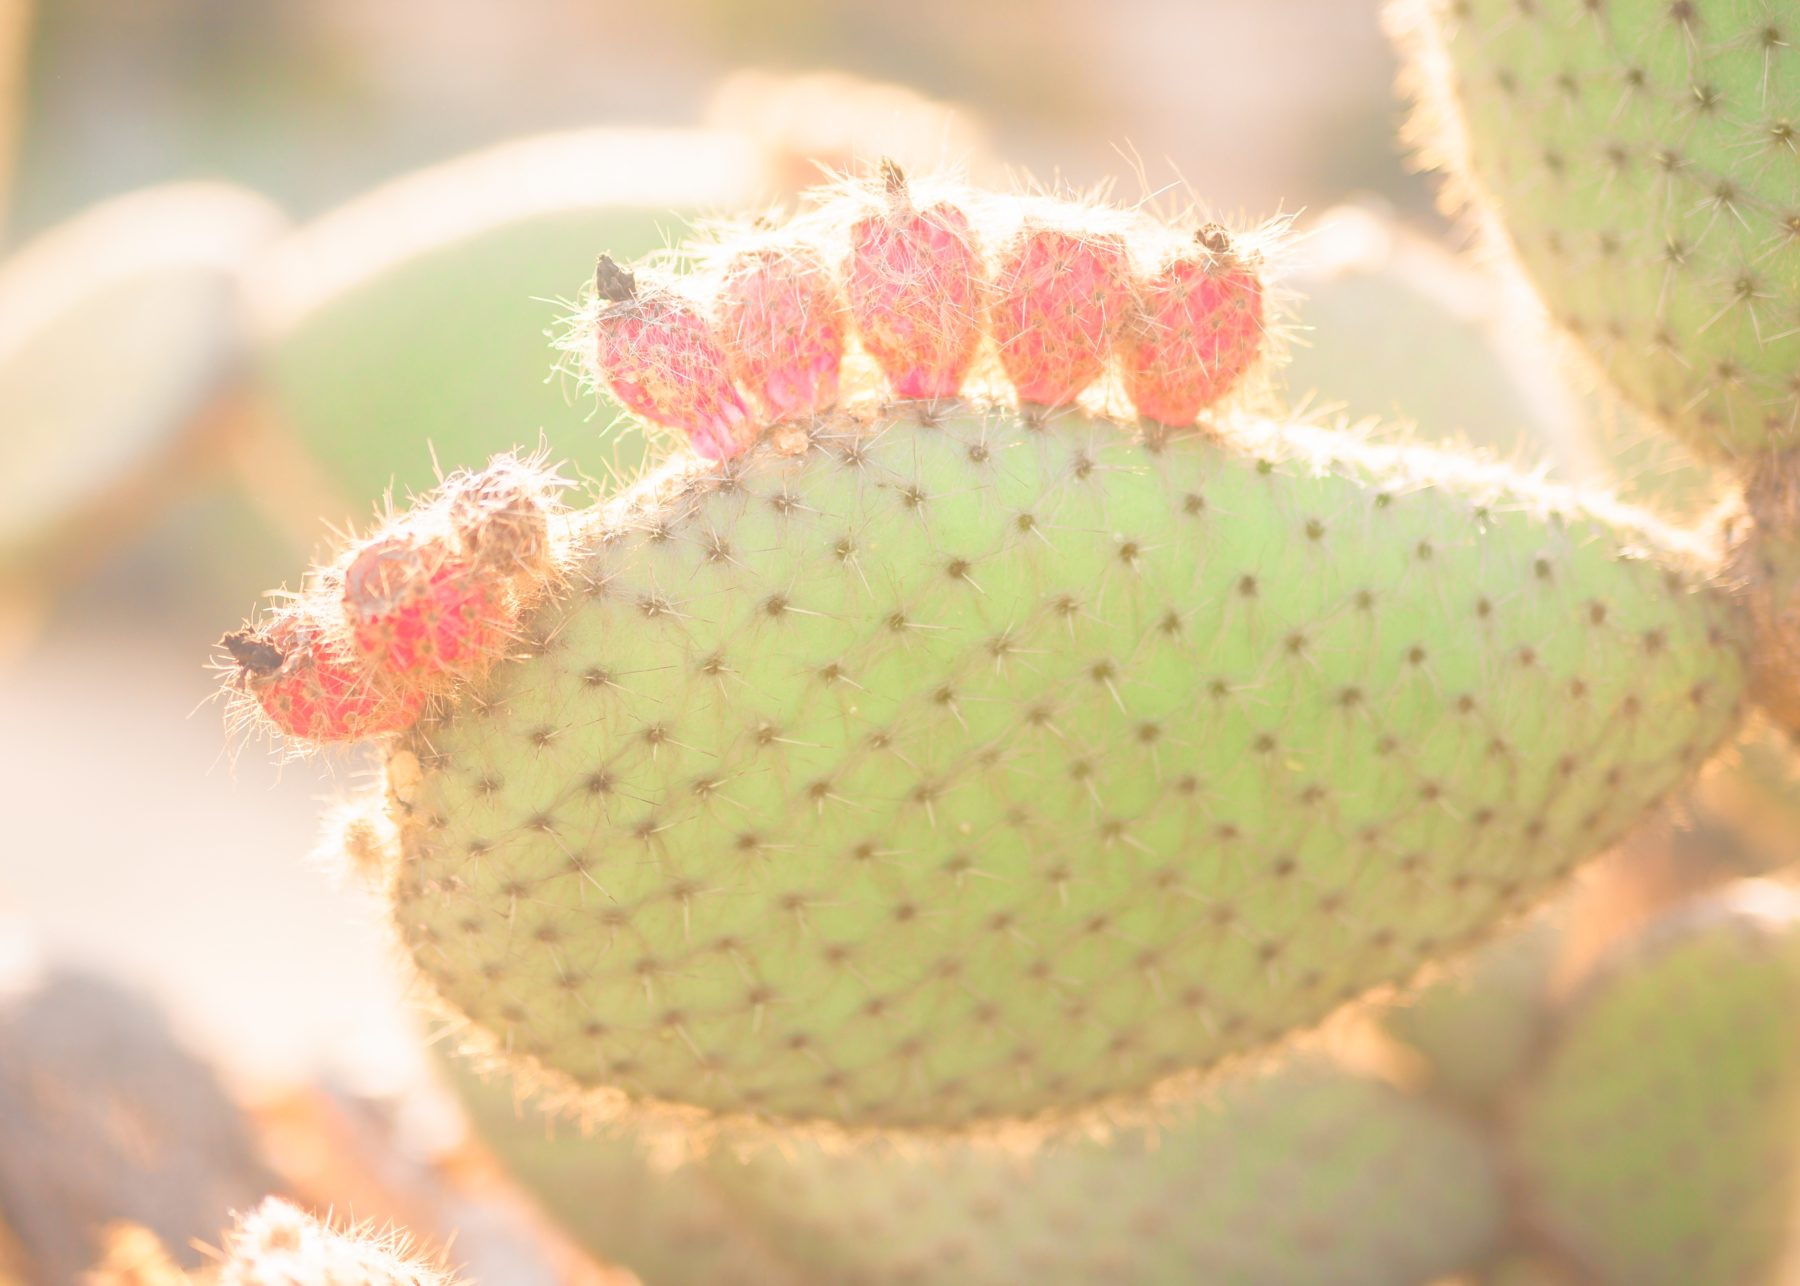
We’ll start off by opening our image in Topaz Studio. Right from the start, you’ll notice that while the colors in our image lend themselves to that soft pastel look (pinks and soft greens) the contrast in this photo is sharp (pun intended) and dramatic. There are a lot of hard edges in the image that we’re going to show you how to eliminate to take the edge off of this prickly image. (Yes, we really like cactus puns.)
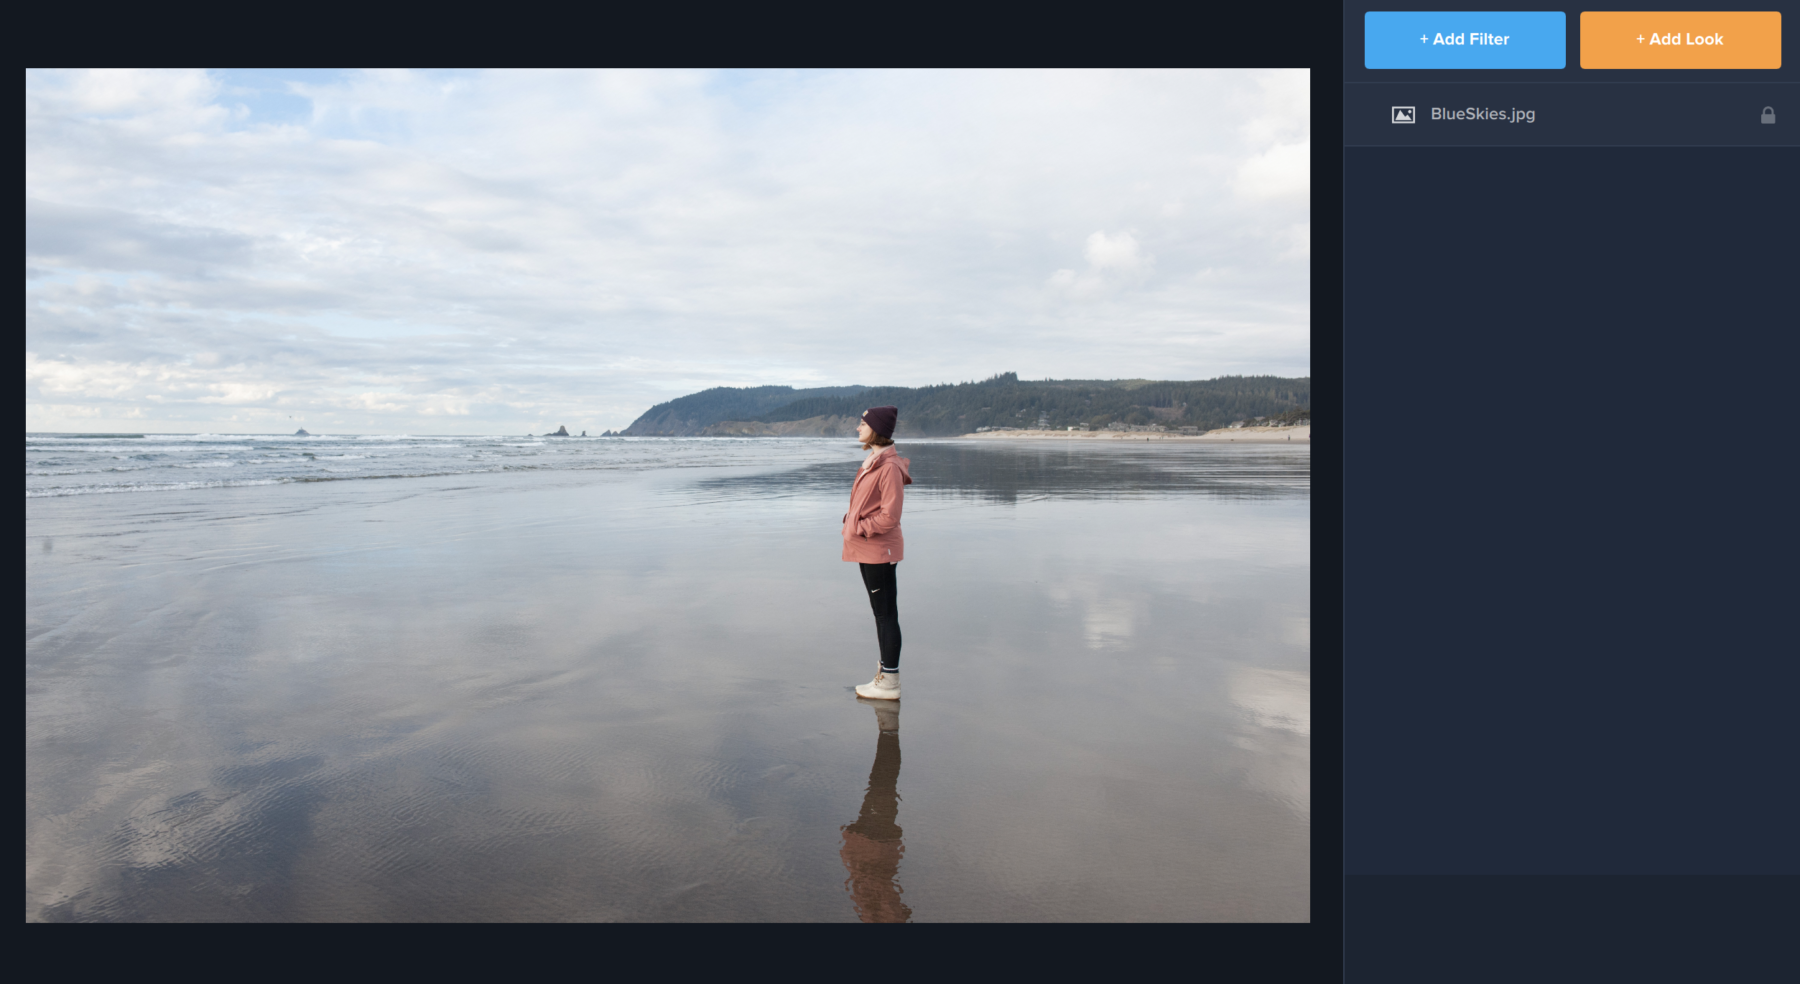
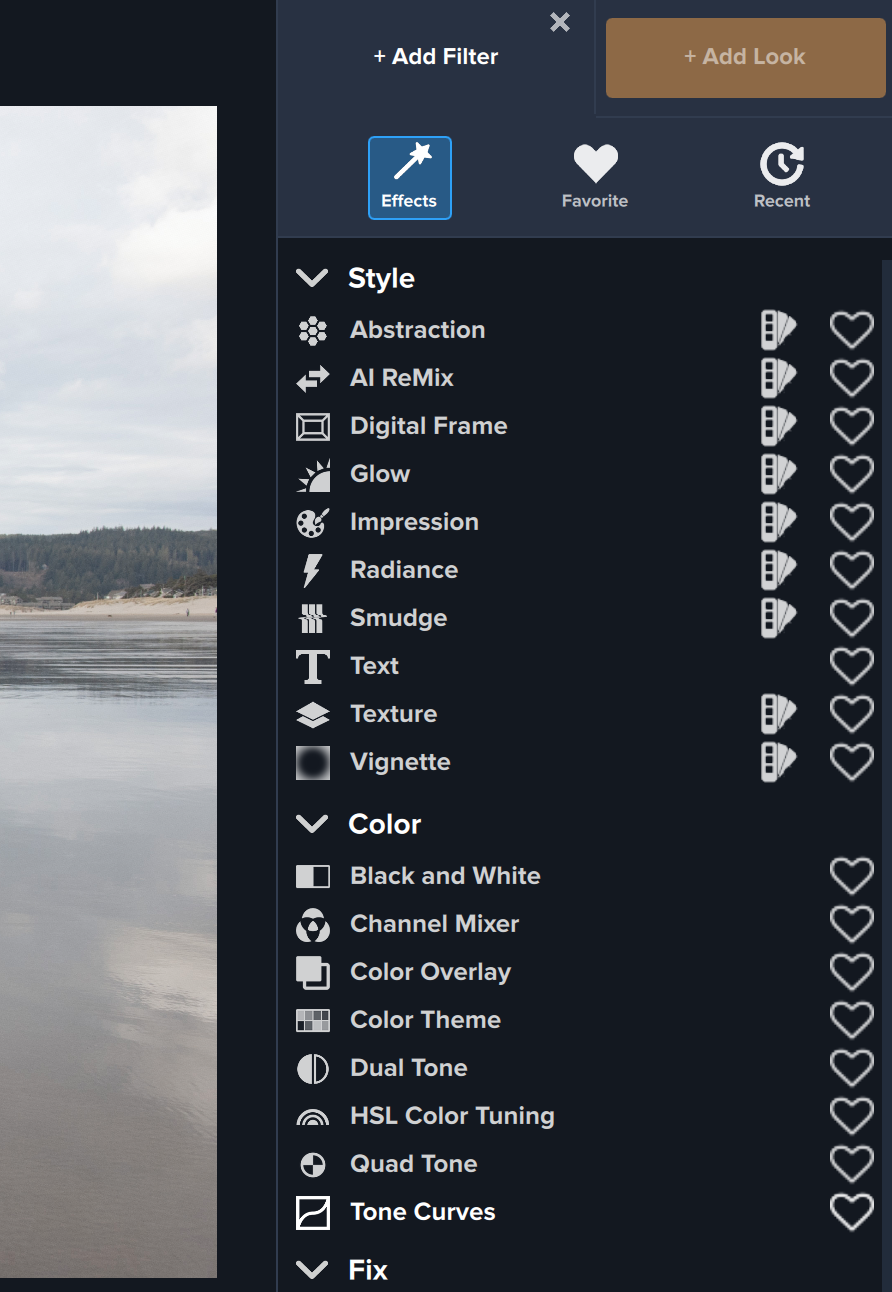
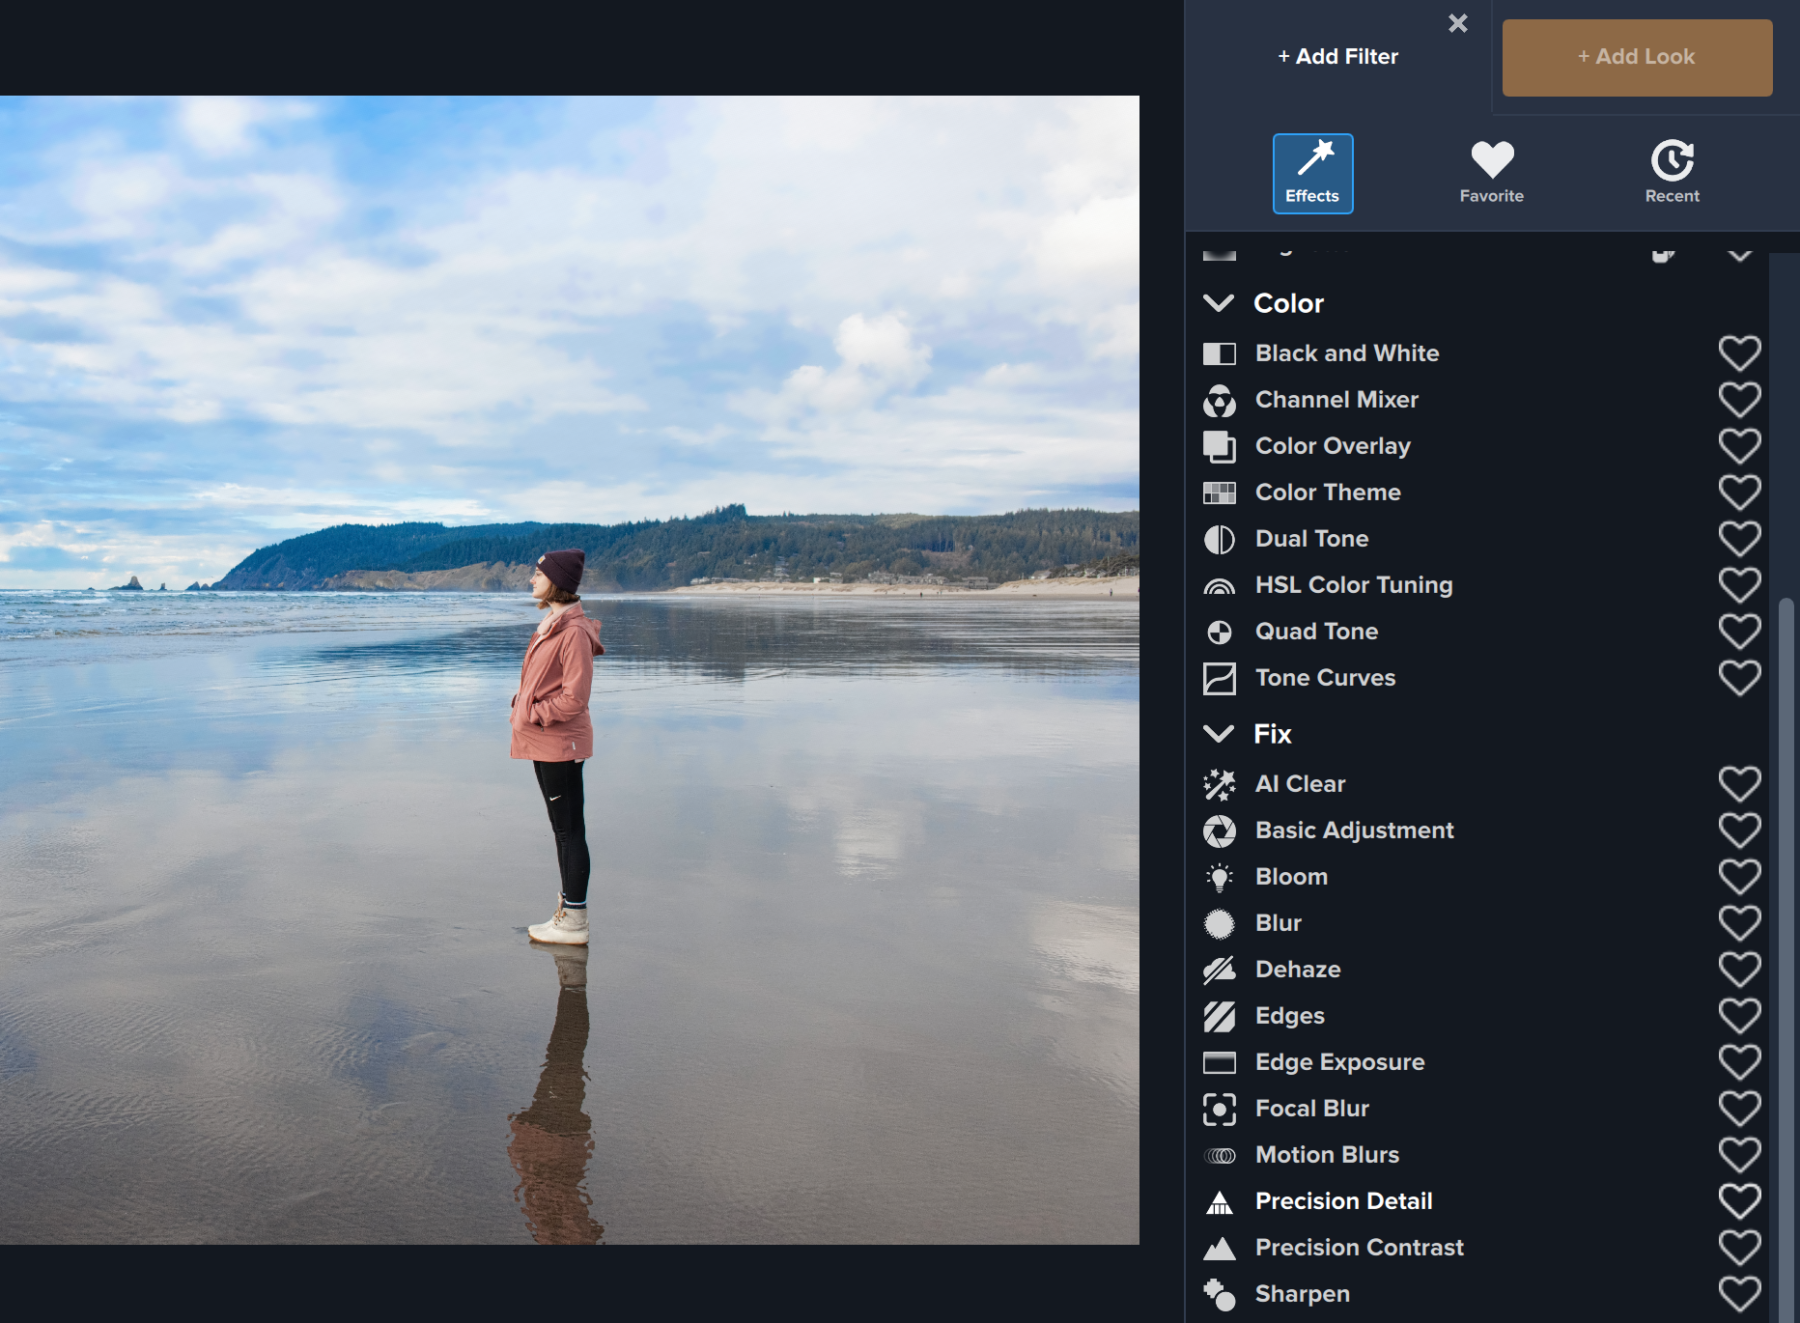
The first thing you’ll want to do is click the blue Add Filter button in the right-hand menu. This is where you’ll find over 30 unique and customizable filters to use on your image. Today we’re going to focus on three filters that will help you soften your image. The first filter you will select is Basic Adjustment, which you’ll find in the Essential category.

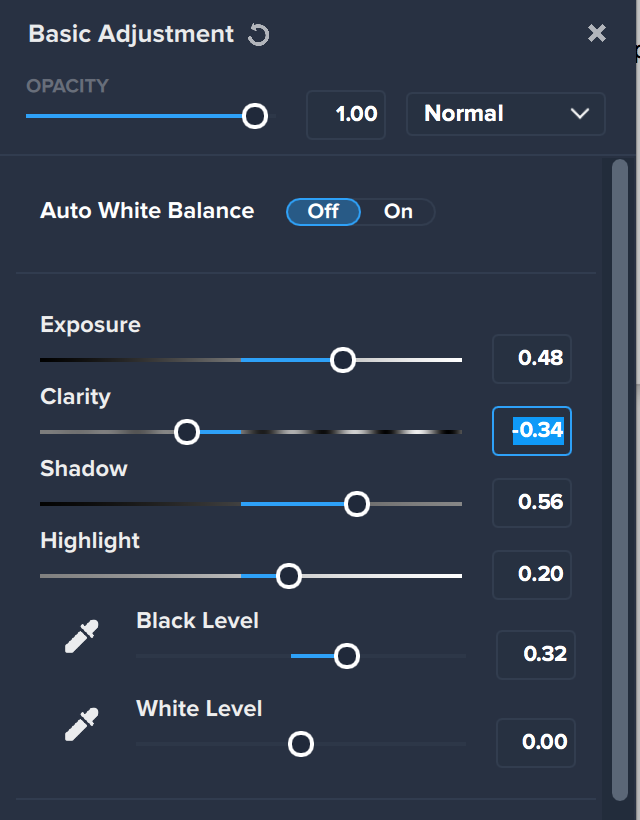
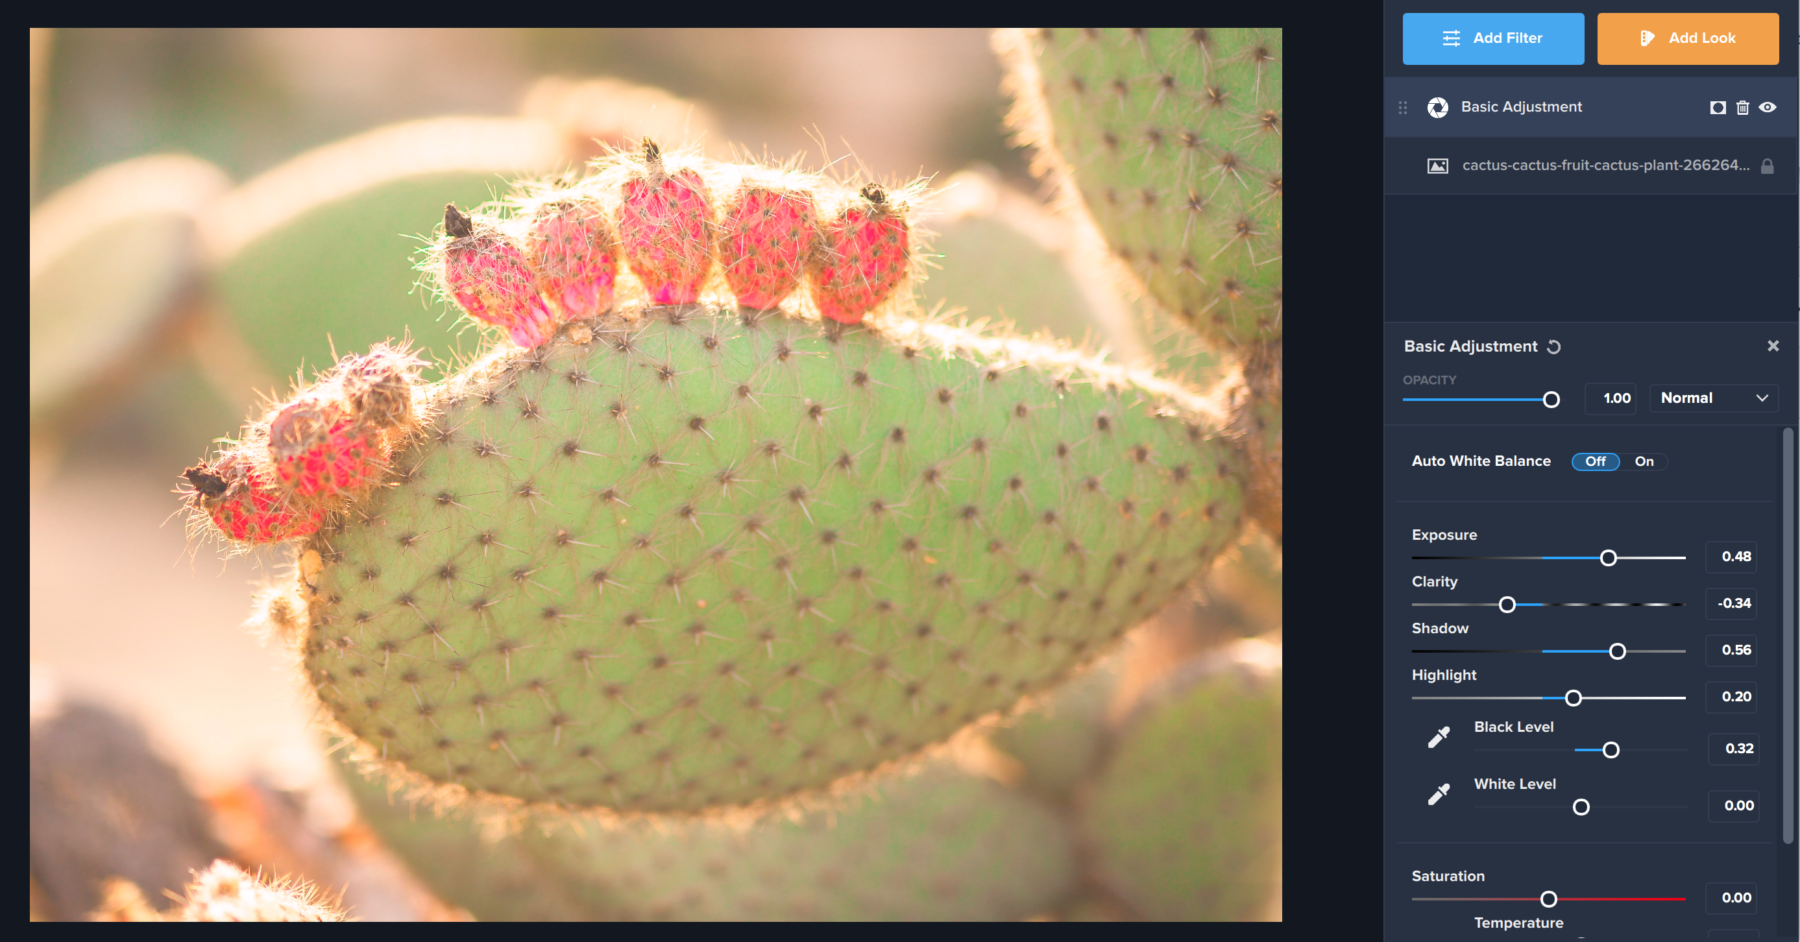
Once you apply Basic Adjustment, the first thing you’ll want to do is enhance your exposure. Since our image started off with some darker spots and an overall gloomy look to our image, it’s important to brighten it up. We are also able to do this by moving our Shadow and Highlight sliders to reduce our shadowy spots and highlight the golden edges created by the sun. To tone down the dramatic look of the dark spots on the cactus caused by the spokes, we’ve also increased our black level slider (moving the slider up softens black areas and moving the slider down darkens them). The last thing we’re going to do is adjust the Clarity slider by moving it down just a little. This will soften the sharp edges around our photo.
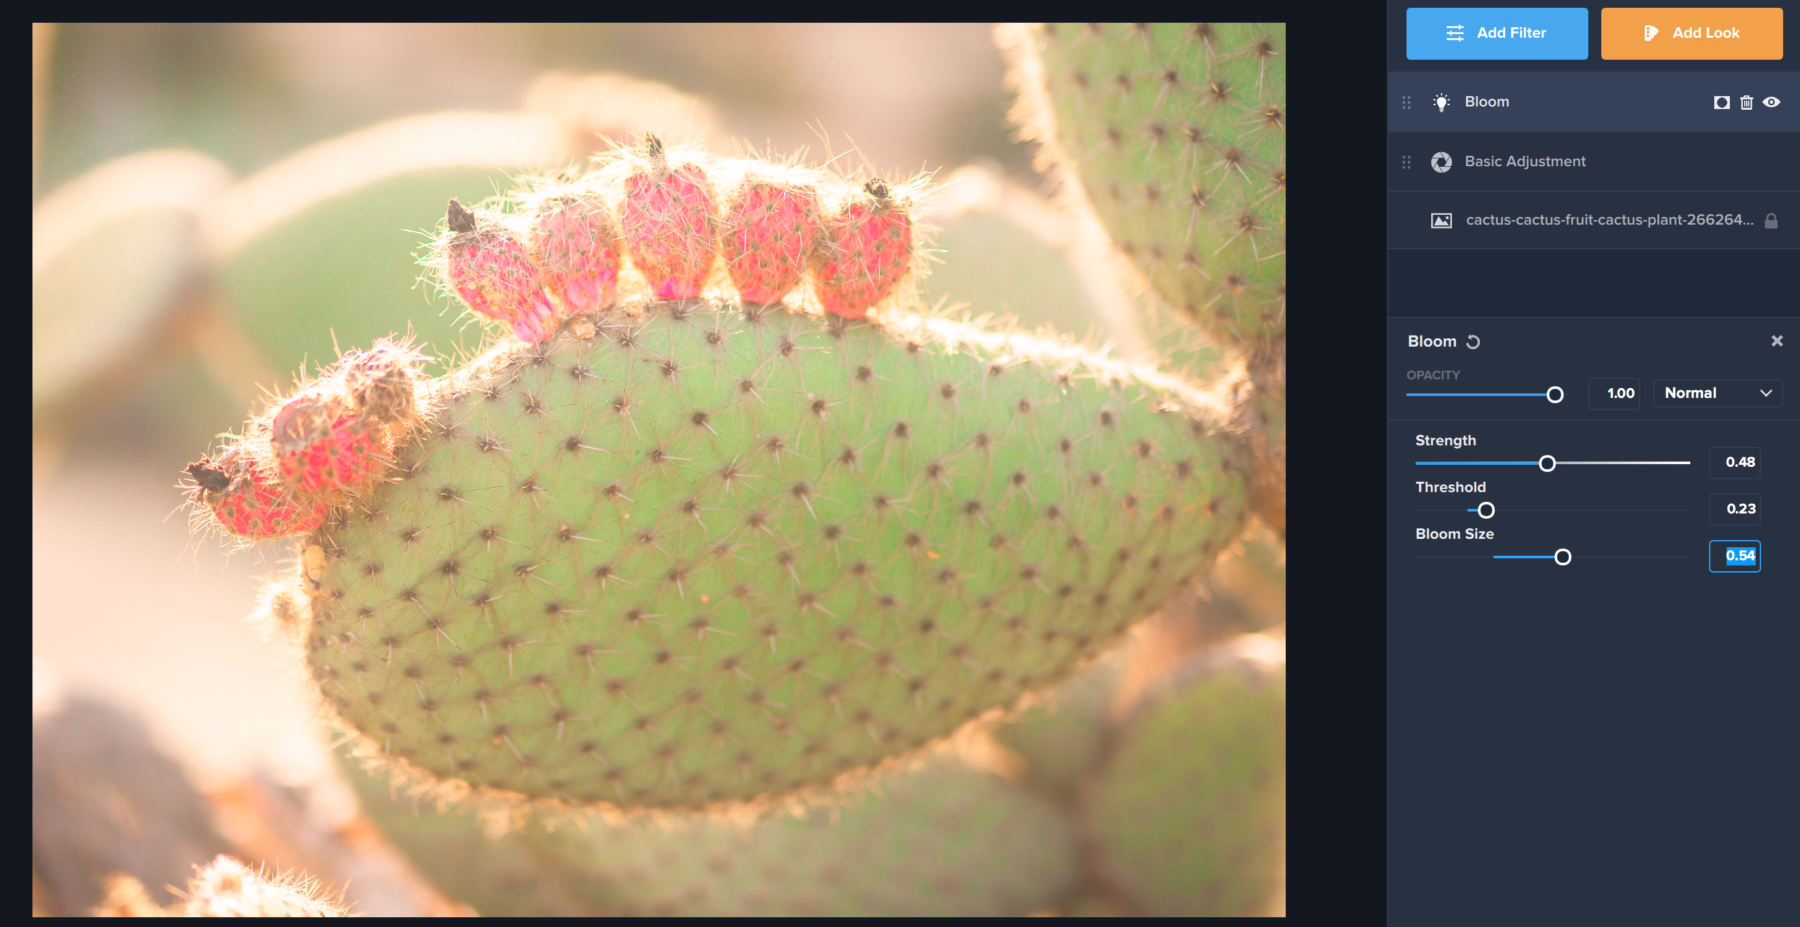
Step 2: Bloom
The second filter we’re applying today is the Bloom filter which can be found in the Creative category. (Pro tip: to add a new filter, simply click the Add Filter button at the top of your screen again!) Bloom can soften or intensify the lighting in your images to change the atmosphere or create a sun-kissed look. For our image, we want to use Bloom to soften the cactus’s overall appearance and highlight the light spots in the image.
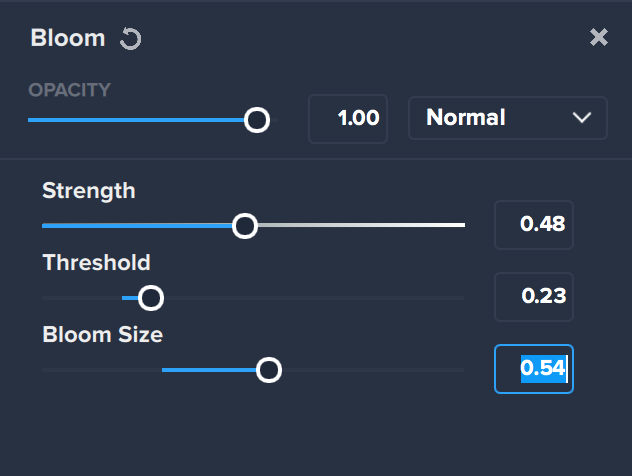
To do so, we’re going to move the Strength slider up about halfway, increase the Threshold slider just slightly, and increase the bloom size to magnify the light in our image. This gives our image the dreamy quality that we’re going for in a soft pastel image.
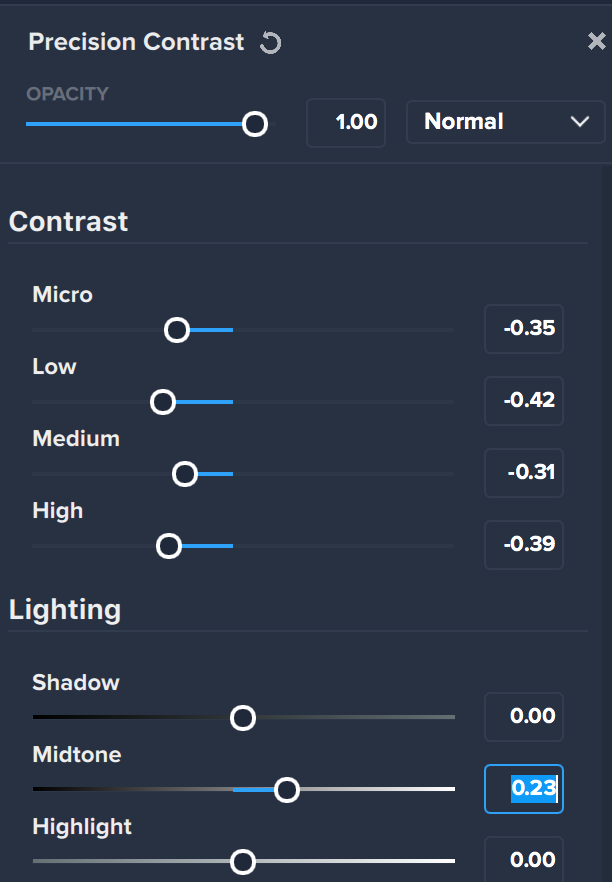
Step 3: Precision Contrast
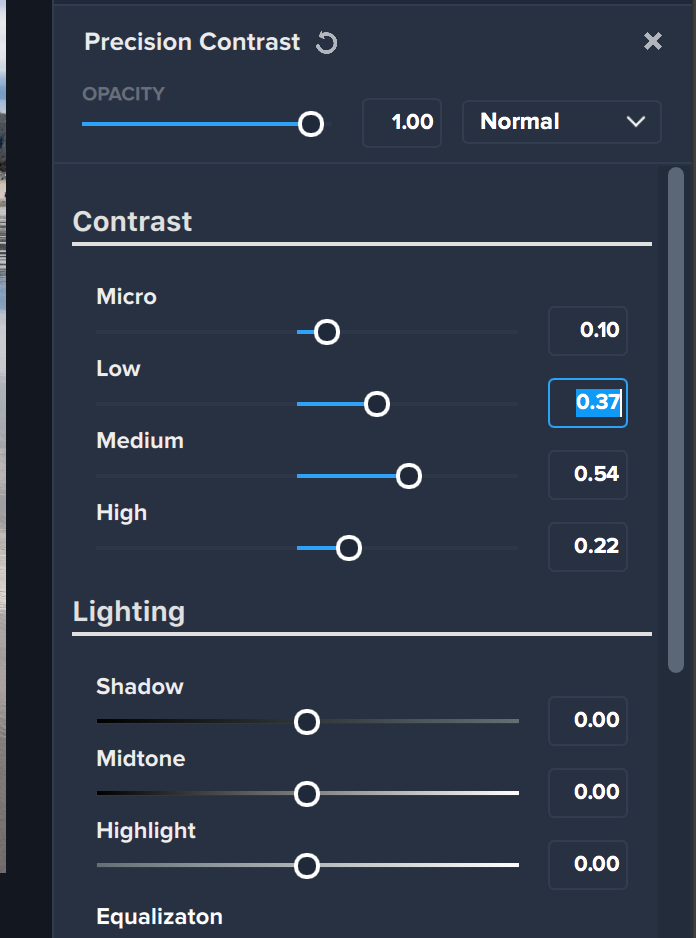
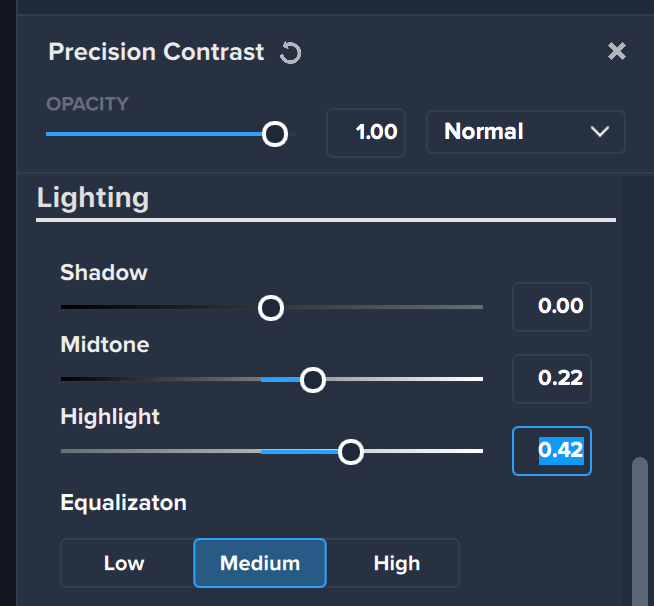
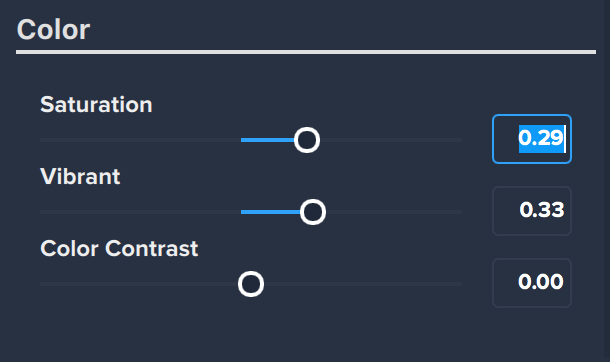
The last Filter we’re going to use is Precision Contrast. To lower the overall contrast in the image, we moved each of our four sliders, Micro, Low, Medium, and High, a little bit to the left in order to create a softer look. To enhance our lighting one last time, we adjusted the Midtone slider in the Lighting section to the left just a hair so that it wouldn’t over-expose our image.
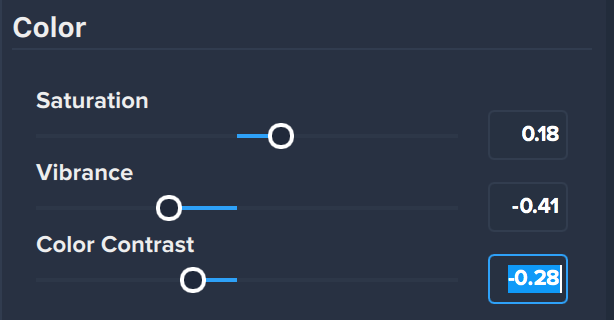
Lastly, it’s important to us to still see the pinks and greens in the image, so we moved the Saturation slider in the color section so that these colors would stand out. However, to create a pastel look rather than a bright, saturated look, we also moved our Vibrance and Color Contrast sliders down to give it that soft effect we wanted to see!
Step 4: The Final Result!
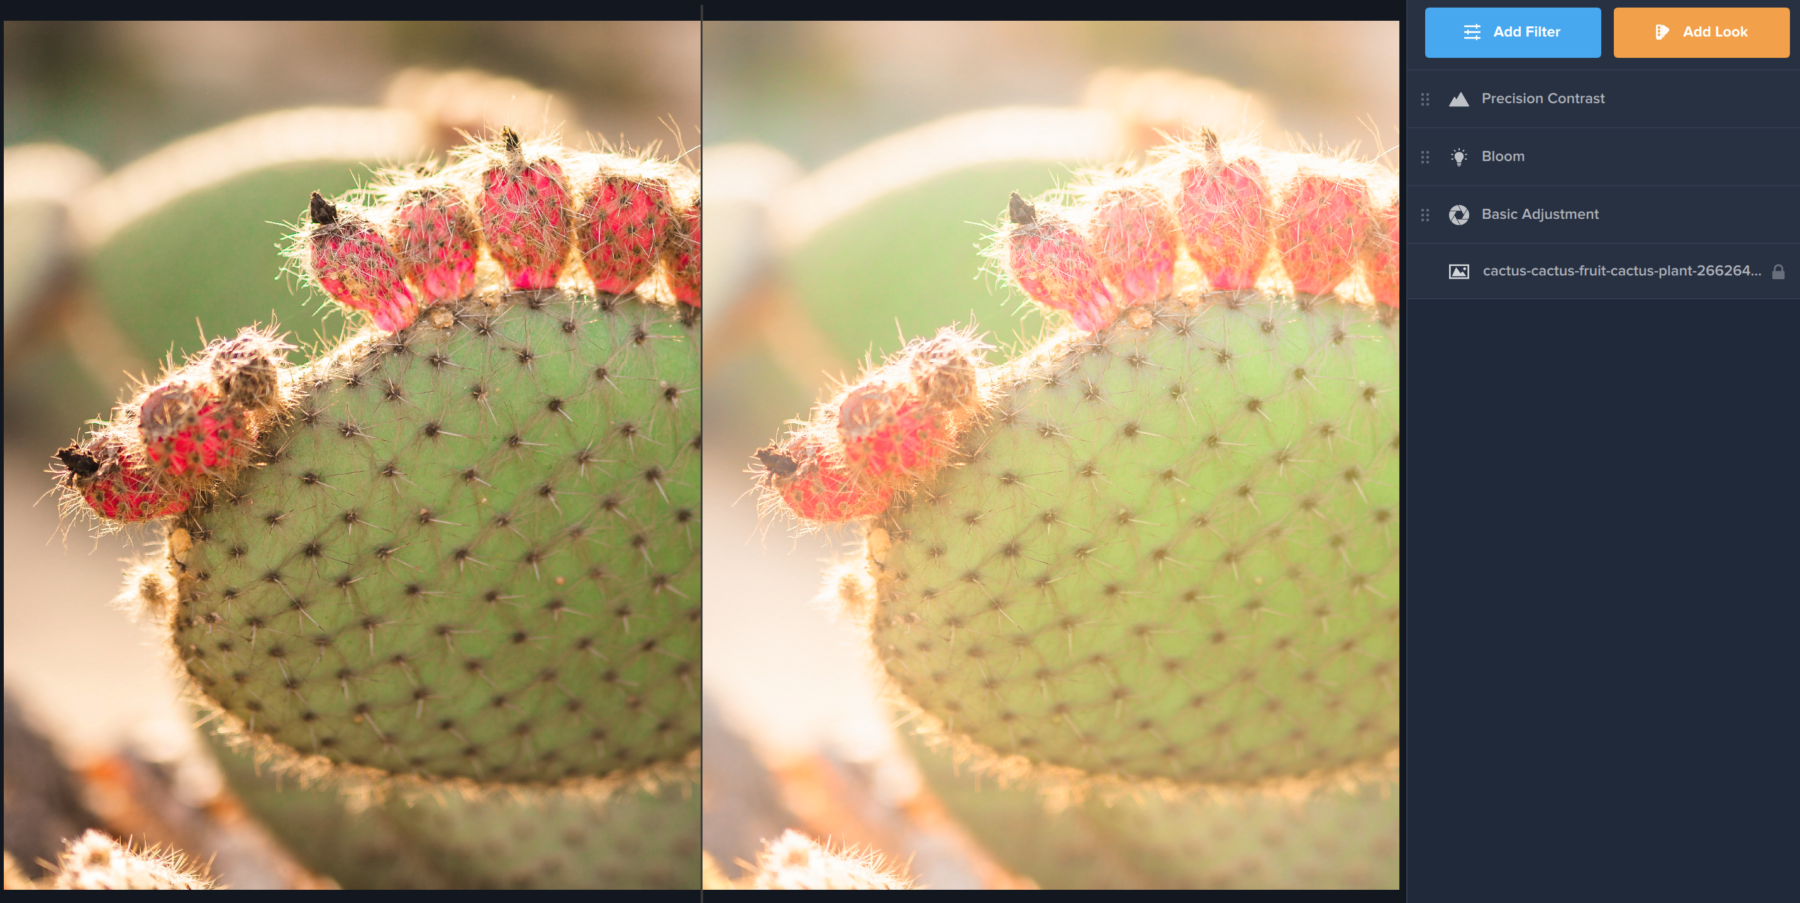
Using a combination of Basic Adjustment, Bloom, and Precision Contrast, we were able to soften our image and brighten it up to give it a soft pastel look that has a dreamy, ethereal quality. While this technique works best on daytime or exposed images, we encourage you to play with this process to see what results you yield! Enjoy creating!