Posted on 4 Comments

Featured Interview: Nature Photographer Joanne Klausner

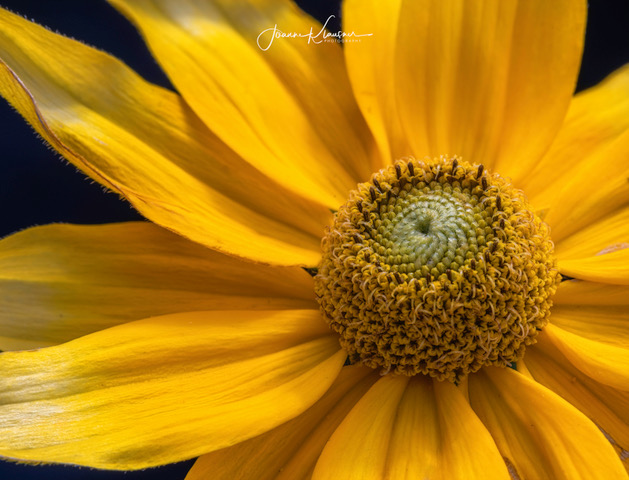
We recently selected photographer Joanne Klausner’s image to be featured on the launch screen of Studio 2. We wanted to learn more about the artist behind the image. Read on for an interview with Joanne Klausner. 

Tell us about your background. How did you get into photography?

Photography was something that was introduced to me at a very young age.  I grew up watching both my father and brothers develop their own black and white photographs they took, and later on, my father dabbled in developing his own color prints.  I always found it fascinating watching my father put a piece of paper into some liquid (developer) and it slowly started to show an image. 

I also remember thinking we would all die when my father would slam on his brakes on a highway and pull over to the side of the road to get a shot!  I grew up in Montreal, Canada and we had beautiful mountains that, in the fall, turned into an absolutely beautiful painting.  Caught at the perfect time (height of color) if I didn’t see it with my own eyes, I wouldn’t believe the colors could be real. 

I always enjoyed taking photos, always had some kind of point and shoot but I didn’t really have any desire to do anything with them.  Fast forward many years, moved to Edmonton Alberta, Canada, kids grew up, moved out and we finally started to travel.  We love to cruise and I just love being in a new port with new photo opportunities daily.

I was frustrated with my point and shoot as I couldn’t get close enough to anything and really wanted a zoom lens.  My first DSLR was purchased about nine years ago with a zoom lens.  I kept it in “auto”, so proud of the pictures I was getting⁠—not when I look back at them now!  

Fast-forward again to about four summers ago, I had my staff over for a BBQ at my house and I pulled out my camera and began to take photos.  One of the girls started asking me questions about the camera and it came out that I was shooting in auto.  She just looked at me and asked why I would have such an expensive piece of equipment and not use it to its potential.  DARE ON!!!  I am very competitive with myself and from that day forward I made it my mission to learn how to shoot in manual.

What is your favorite subject to shoot? 

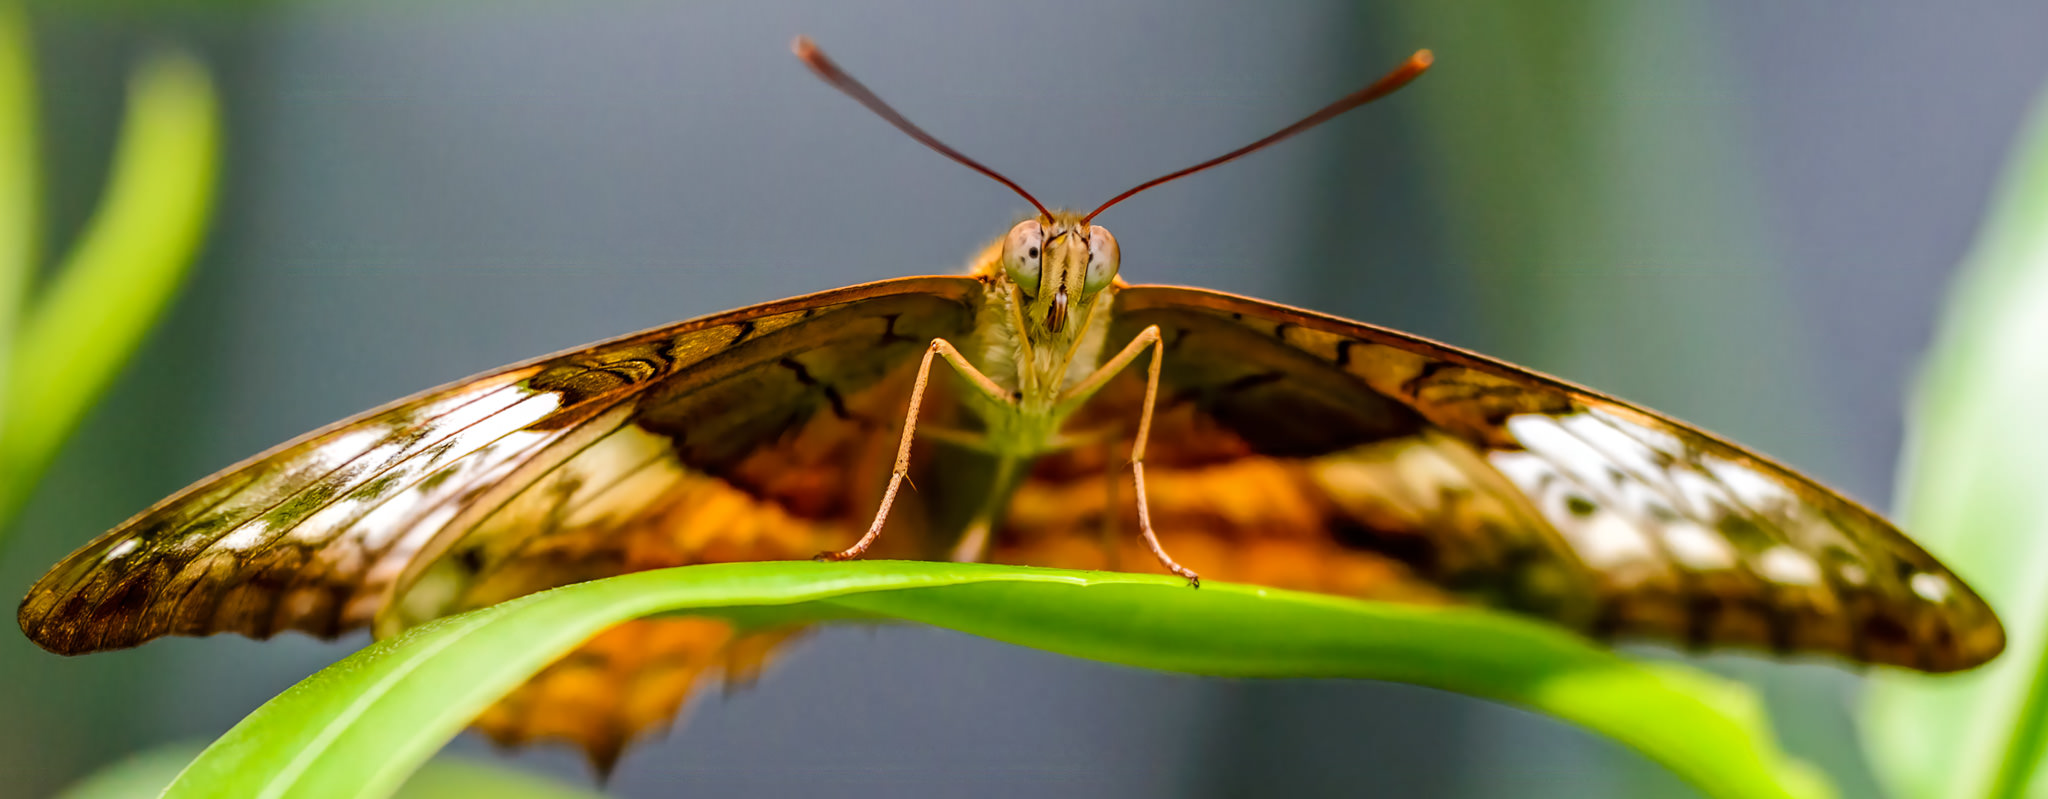
My favorite subject to shoot is anything in nature, but mostly flowers and birds.

Tell us about your photographic style and gear.

I try to capture anything that evokes emotion.  If I see something and it moves me in any way, I am inspired to capture it. 

I am a Nikon gal and over the past 4 years I have changed Camera bodies 3 times.  I am now using the D850 and absolutely love it.  The lens most often on my camera is the Nikon 28-300 mm.  In my bag I also carry my Nikon 105mm, 50mm and my Sigma 14-24mm.

I use a combination of Adobe LR, PS and various Topaz products.  I downloaded Topaz Studio 2 as soon as it came out and loved it right away.  It is now an integral part of my workflow.

How does Topaz Labs software help your editing process?

I have been using Topaz products for probably the past 4 years, which is when I started to take my photography seriously.  As I mentioned, Topaz Studio is always in my workflow.  I will always use AI Clear and basic adjustment.  

When I am doing my macro flower work, I love using a combo of Glow, Radiance and Smudge.  If I really feel like getting creative, I will start diving into the textures!  I recently downloaded the 30 day trial of Sharpen AI and am anxious to test drive it.  

How do you find your inspiration? 

It doesn’t take much to inspire me to pick up my camera.  I find my job can be stressful at times, and there is nothing better for me to calm my nerves than to pick up my camera and go into my backyard in the summer.  I have bird feeders all over so I can just sit quietly and wait for my subjects to show up.  I also love to travel and my husband and I will pick destinations that will offer the best photographic opportunities.

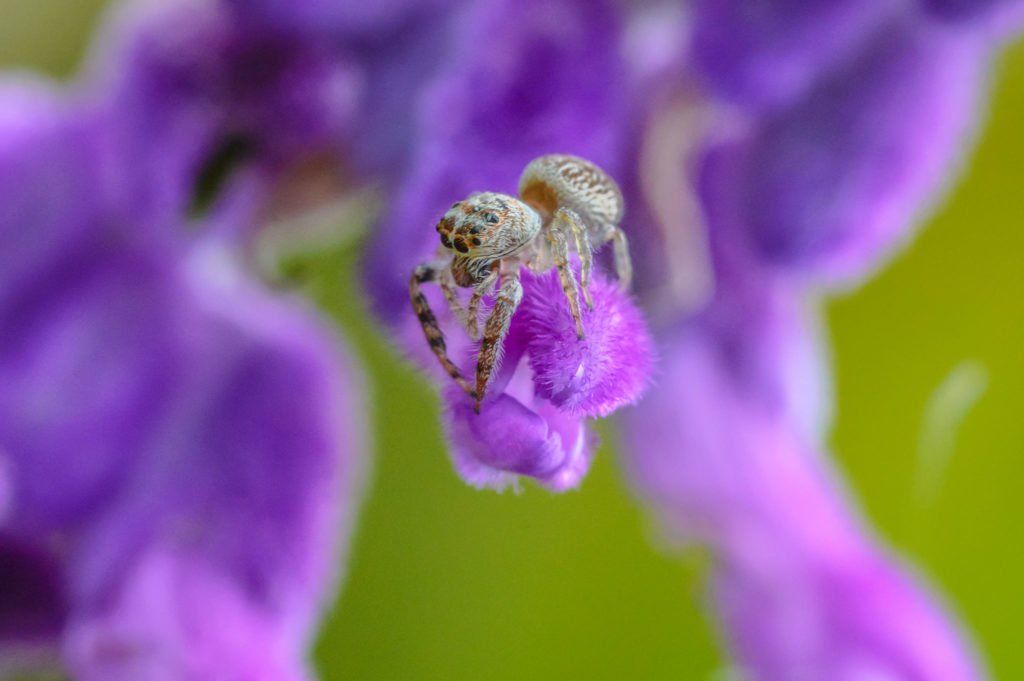
Living in Canada with our long harsh winters I sometimes have to get creative.  I very often will buy a single flower at the supermarket and come home and take shots until I find that special angle that is just a little different.  I also have been dabbling in model train scale people set up with either fruit or vegetables to tell a story.  I probably love Macro photography the best for its shallow debt of field. 

If you could only shoot with one lens, which would it be? 

I would have to say my 28-300 as it is the most versatile and gives me a good range of wide angle to telephoto so I wouldn’t miss many shots.

What is your biggest challenge in photography?

In-studio lighting!!!  One day when I am retired from my full-time job, I will master it.  I am always growing and learning new things every day.  When I compare my photos today from 5 years ago….well there is no comparison.  I hope I say that again in another 5 years.

Do you have prints for sale?

All my prints that you find on my Instagram page or my Facebook Photography page are for sale.  I also sell greeting cards a few times a year, and I am currently taking orders for my 2020 Calendar.

Posted on 3 Comments

5 Things I Wish I Knew When I Started HDR By Jim Nix

1. It’s about light, not color.

When you start with HDR, one of the first things you notice is that all of a sudden, you are getting some incredible colors and high saturation levels. It can be inspiring and interesting, and in a lot of cases, I’ve seen folks getting carried away with it (myself included!). I’m a big color guy at heart, so this one I struggled with. It’s easy to push those sliders, but be careful because otherwise, you may end up with what I have seen referred to as “clown vomit.” Very descriptive.

I believe it was Trey Ratcliff that once said, “HDR is about light, not color,” and his words are so true. The real reason people normally shoot HDR is to balance out light in a scene where it isn’t balanced. So keep that in mind and watch your saturation levels. Nothing wrong with big bright, saturated colors – and it depends on what you are trying to achieve with the shot because this is art after all – but just remember to keep those saturation levels in check if you are trying to appeal to a wider audience.

2. Step outside of your comfort zone.

If you are a landscape person, try some architectural shots.  If you prefer cityscapes, take a drive in the country or head out to the beach.  If you always shoot wide angle, put on a zoom.  Stretch your creativity by forcing yourself to do something you aren’t comfortable with.  This has the added benefit of being fun too! If you are a sunrise person then try shooting at night. It’s good practice to get accustomed to various light situations, because at some point you will likely have to shoot at the one you are least comfortable with.  Practice ahead of time so you are ready when the moment presents itself.

3. Take more shots per HDR.

This is another one of those situations where you will get different responses to the question of how many shots are in each bracket.  Shooting 7 exposures per bracket (all 1 stop apart), is a good idea for cathedrals, or anything highly architectural, unless the light dictates that I don’t need that much (or need more) or if I am shooting handheld for some reason (my arms are not exactly capable of being still for 7 exposures). With the recent advancements in camera technology, however, just 3 exposures per bracket can give you some fabulous HDR photos.

When I first began, I normally shot 3 exposures, 2 stops apart (so it was -2, 0 +2 normally).  It worked fine for me for a while, but the more I experimented, the more I realized that I could get better results if I shot 1 stop apart and more frames per bracket.  Making the jump to 1 stop apart made a big difference in my opinion, and having more exposures to work with just gave me a greater range of light to work with.  So nowadays, it’s usually -3 to +3, but not always… which leads us to the next point.

4. You shouldn't always center your brackets.

The traditional approach is to shoot 3 or 5 frames per bracket, which means either -2, -1, 0, +1, +2 if shooting 5 frames or just -2, 0, +2 if shooting three.

But sometimes a scene is fairly bright and you don’t want that long, bright exposure just being a big white mess.  So, often times I dial down the brackets and start with -4, which after 7 exposures ends my set at +2.  This way, my darkest exposure gives me a somewhat darker sky too (which seems to balance out the light in the sky well against really bright exposures) and the brightest one is only -2, so it’s not a total waste.  I have even shot brackets starting at -5 if the scene is really bright.  Experiment and see what works for you — and have some fun doing it!

5. You can achieve an HDR look in post-processing.

Even if you’ve not mastered true HDR photography just yet, there are ways to achieve the HDR look. The first plugin I ever bought was Topaz Adjust, nearly 10 years ago now. I was blown away with how much it could do with a photo and achieve an HDR look on a single exposure. In years since I’ve used a lot of other products as well, but I’ve always had a fondness for Topaz Adjust, because it was my “first love,” if you will, in terms of post-processing, and now it’s gotten even better with the new Topaz Adjust AI.

Topaz Adjust AI functions as a standalone, or as a Photoshop or Lightroom plugin, so it is simple to incorporate into your workflow. There are two auto-adjust modes that are AI-powered: Standard and HDR Style. The HDR Style mode obviously is geared toward achieving an HDR look, so this particular mode can give your photos a nice, natural enhancement without putting a lot of backbone into manual adjustments.

Adjust AI includes two other Topaz technologies, Topaz Clarity and Topaz Detail.  

Topaz Clarity intelligently enhances contrast and dynamic range without creating a lot of halos or artifacts. By bumping up the contrast, it does a wonderful job making the photo pop and you’ll also be able to isolate contrast in different regions of the photo with the micro, low, medium, and high sliders. So, you get an unprecedented amount of control compared to the global contrast slider.

Getting into Topaz Detail, it basically figures out what is detail and what is not, so you can selectively crisp up certain parts of the content of your photo. Topaz Detail goes beyond edge sharpening — it intelligently divides the small, medium, and large-sized details in the photo, so you can selectively enhance what you want very quickly.

When I started with HDR photography, I tried to follow along with everyone’s ideas, but it got to where I felt like I was doing “their version” of my photos and not my own. These finishing touches of technology make Adjust AI a great fit for achieving an HDR style on any photo, polishing your images to bring out those fine details, and making them unique to your style as a photographer.

From more HDR tips to just about any aspect of photography, I’ve worked hard to build up a wide range of trainings and tutorials on my YouTube channel, so you can learn from anywhere you are, in any stage of your photography journey! Browse my channel, and please feel free to ask me questions on any of my videos. I’d love to hear from you.

About Jim Nix

Hi there, brave reader. I’m Jim – traveler, photographer, wanderlust sufferer.  

My hope is to motivate people to travel and take photographs; to inspire creativity in others by sharing what I create, how I create it, and even what I use to create it with.  I hope to inspire people to go explore someplace new, to just get up and give it all a try.  

So go see something new.  Try something different.  Travel.  Take a photo.  It doesn’t even have to be a good photo.  Just take it.  Create something.  There’s a kind of magic that happens when you do.  

Learn something new on my YouTube channel!

Posted on 2 Comments

Capturing the “Miniature” Moments in Nature with Travis Hale

Tell us a little bit about your background and how you got into photography.

I initially became involved in photography in 2014, starting with general landscape and nature photography. I very quickly developed a passion for the natural world including birds in-flight, insects and spiders (but only the cute ones). It had been a while since I had participated in any photography (back in school with a film camera) and having seen some photos online, I thought it might be time to take up digital photography. Once I started getting back into it, the natural progression for me was expanding into micro and macro photography, since I conduct a significant amount of microscopy through my profession. I quickly discovered the beauty of nature both on the large (e.g. wildlife) and tiny scale (e.g. microbial life).

With your background in microbiology and microscopy, how does that affect how you see a subject in your photographs?

The microscopic world opens up a whole range of possibilities, many are right in front of our eyes without us even knowing. I think the more you get involved in the macro and microscopic worlds, the more you start to look for the finer details in a photo, things like patterns which may not always be visible to the naked eye. This can be things like disused timber, peppercorns and even the colors that appear from a crystal (like Aspirin below) when you cross-polarize the light. These are not manipulated colors but what actually comes from the camera.

Crystals from an aspirin tablet captured by polarized light microscopy.
Benzoic acid crystals captured by polarized light microscopy.

This kind of photography can be so difficult to master, but you make it look so easy! What advice would you give to a photographer looking to take and perfect their own macro and micro photos?

There are two areas to look at; microphotography usually requires some specialized equipment (e.g. a microscope) to get started and is, in my view, the more difficult of the two. I have an article on my specific microscopy setup and some on focus stacking (which is generally required for microscopy due to the shallow depth of field). 

In terms of macro photography, that is much easier to get started in. It may be worth considering extension tubes, which are a cheaper alternative to a macro lens, but eventually the lens is the way to go if you can fit it in your budget. The benefit of digital photography, in general, is that you really get the chance to see what is working and what is not working as you go, so then start to adjust your technique as you take your photos. 

This is especially important with macro photography as this has a shallow depth of field and can be less forgiving than other styles. Essentially though it comes down to practice (there is no shortcut). Start off with simple still objects (pepper, soap bubbles, kitchen items etc.) and progressively move through to leaves, flowers and then to other things such as insects.

Iridium captured under a microscope.
Stained cross section of a pine needle.

I am a strong believer in “do no harm”, so when capturing images of insects, it is important to capture and photograph them in a delicate and harmless way. As you start to progress, also remember to be aware of your surroundings and to treat the creatures with respect. It can be very easy to get lost through the lens when photographing something like a bee, where you may disturb others, possibly resulting in injury.

How did you develop your style? Which tools do you find completely irreplaceable in your workflow?

I have an interest in the natural world, and I think to a certain extent my style came from that. I like showing the detail within a scene or flora or fauna, which can include things like the structure, but also equally the colors. I think photography is a great tool that really allows us to share the fascinating world with others who may not always be able to see / experience these things.

I use a number of different tools based on the style and look of the photo. I usually start off with Lightroom as a digital asset manager, from there I begin to work on the photo using a range of different photo editing tools. This often includes Topaz Adjust AI to bring out the colors, clarity and detail. 

For the macro work, Topaz Gigapixel AI has become a great tool within my workflow as it allows me to really increase the resolution of the image. This is especially important when the image is tightly cropped as is often the case with macro work.

For night and low light photos, I find Topaz DeNoise AI invaluable as it is rare that a night photograph is taken without having some noise (be it from high ISO, or thermal / sensor noise from long exposures).

Several of your presets appear in the new Adjust AI, including: HDR Natural Boost, Vivid Night, and Landscape Pro. Would you tell us a bit more about the inspiration behind these presets? 

Vivid Night is all about taking some of your night-time cityscape photos and bringing them to life through boosting the colors, contrast and clarity. This preset was inspired from a night photo I took at Docklands, Victoria which included the Melbourne Star Observation wheel which lights up at night. The photo did not do the scene justice and this preset was designed to bring out the detail and color we often see in night scenes but don’t always replicate in the photos themselves.

Melbourne Star Observation wheel.

Landscape Pro is all about making your landscape images pop. This uses the AI (Standard mode), as well as making adjustments to contrast and clarity, which is often an issue with landscape photos.

Finally, HDR Natural Boost was designed around making improvements to your animal and wildlife photos. It does this by using the auto-adjust AI tool (HDR mode) and then making a range of changes to the clarity, contrast and sharpness.

What images do you particularly cherish? What is one of your most memorable shoots?

I have a range of photos I really cherish, especially the one below. I love this because of the beauty of the butterfly. They really are incredible creatures and a delight to photograph. This was at a zoo, so it made it much easier since they practically landed on you. I did try and return with my six-year-old daughter, however, it turns out she is terrified of butterflies (and especially them landing on her) so that was a very short-lived stay in the butterfly house!

Previous slide
Next slide