Posted on 2 Comments

Capturing the “Miniature” Moments in Nature with Travis Hale

Tell us a little bit about your background and how you got into photography.

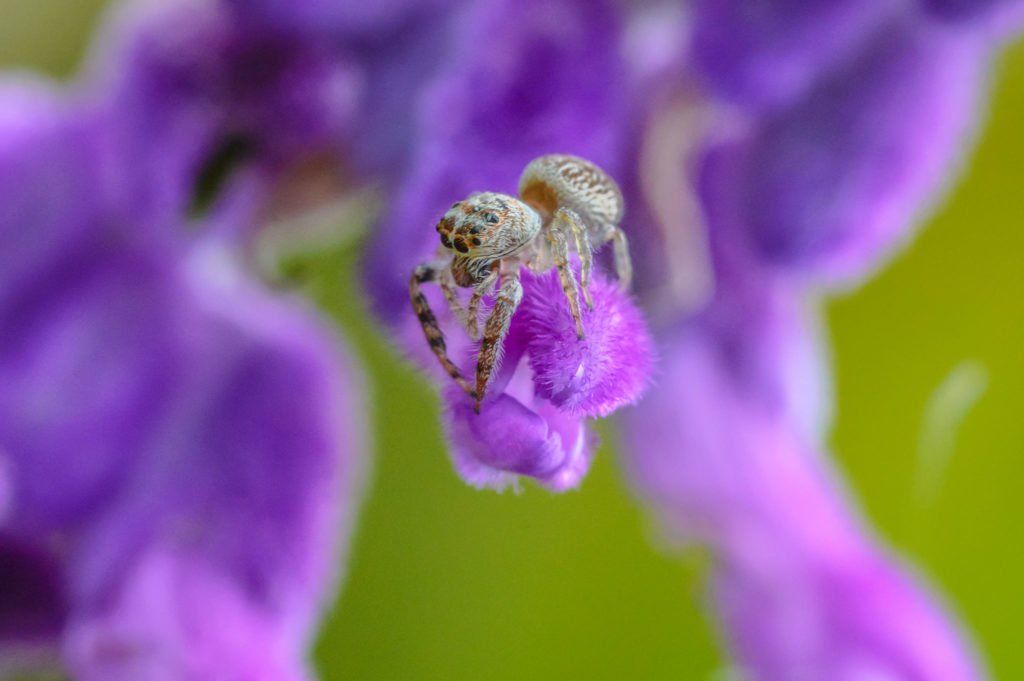
I initially became involved in photography in 2014, starting with general landscape and nature photography. I very quickly developed a passion for the natural world including birds in-flight, insects and spiders (but only the cute ones). It had been a while since I had participated in any photography (back in school with a film camera) and having seen some photos online, I thought it might be time to take up digital photography. Once I started getting back into it, the natural progression for me was expanding into micro and macro photography, since I conduct a significant amount of microscopy through my profession. I quickly discovered the beauty of nature both on the large (e.g. wildlife) and tiny scale (e.g. microbial life).
With your background in microbiology and microscopy, how does that affect how you see a subject in your photographs?

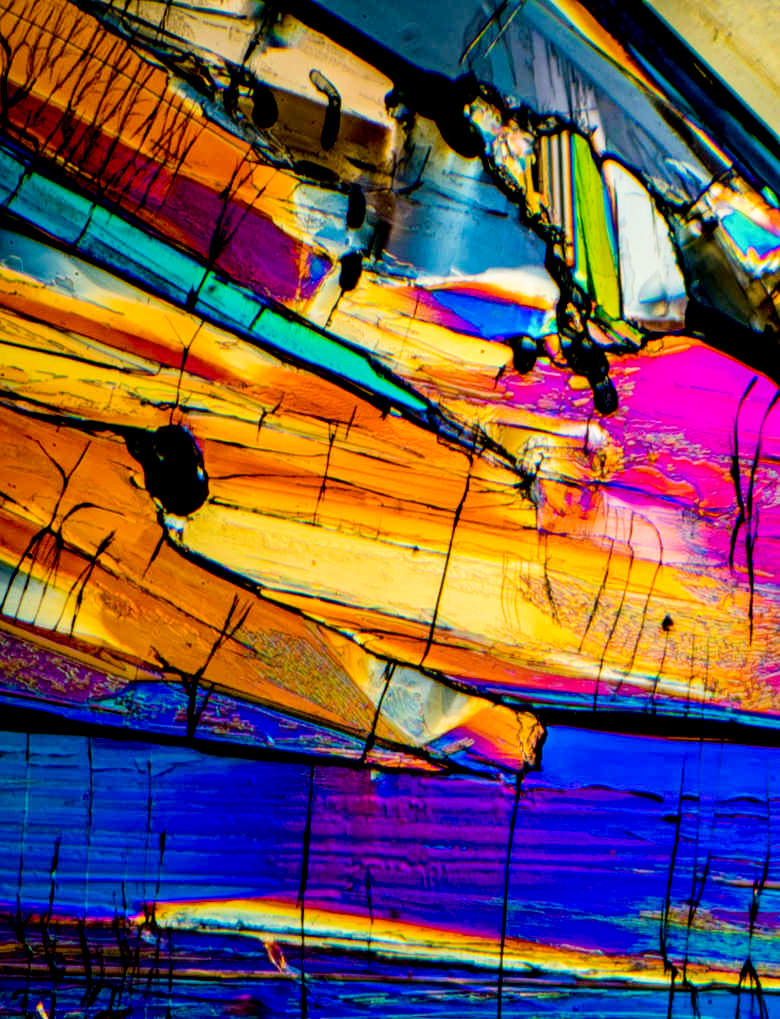
The microscopic world opens up a whole range of possibilities, many are right in front of our eyes without us even knowing. I think the more you get involved in the macro and microscopic worlds, the more you start to look for the finer details in a photo, things like patterns which may not always be visible to the naked eye. This can be things like disused timber, peppercorns and even the colors that appear from a crystal (like Aspirin below) when you cross-polarize the light. These are not manipulated colors but what actually comes from the camera.
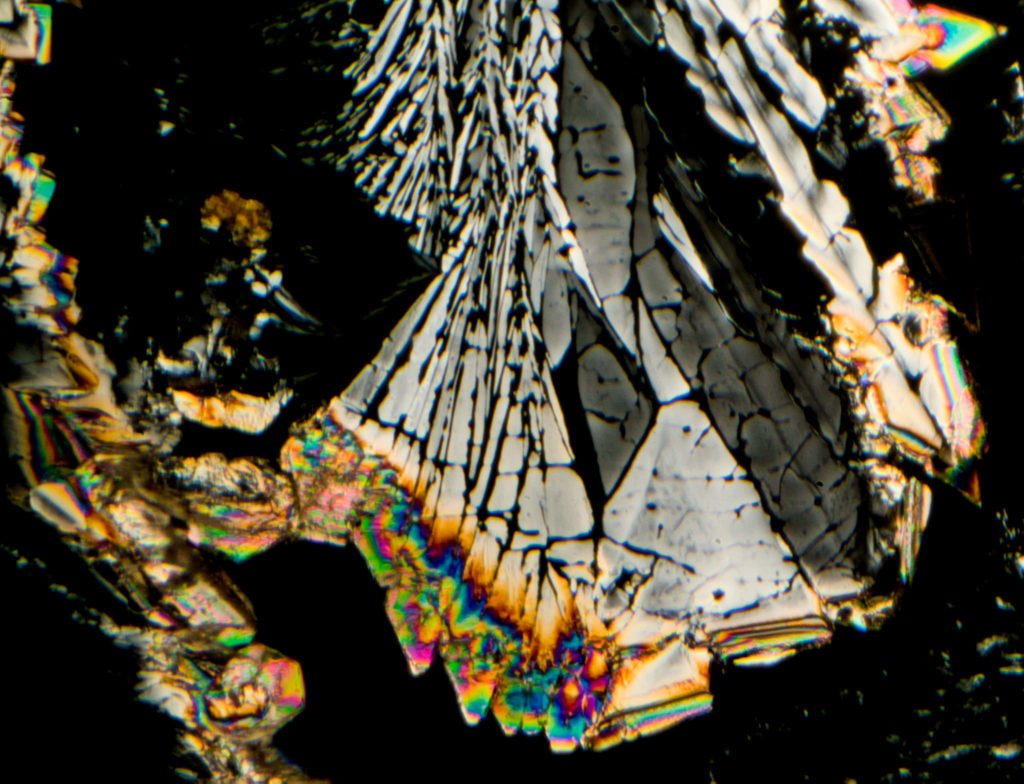
Crystals from an aspirin tablet captured by polarized light microscopy.
Benzoic acid crystals captured by polarized light microscopy.

This kind of photography can be so difficult to master, but you make it look so easy! What advice would you give to a photographer looking to take and perfect their own macro and micro photos?

There are two areas to look at; microphotography usually requires some specialized equipment (e.g. a microscope) to get started and is, in my view, the more difficult of the two. I have an article on my specific microscopy setup and some on focus stacking (which is generally required for microscopy due to the shallow depth of field). 

In terms of macro photography, that is much easier to get started in. It may be worth considering extension tubes, which are a cheaper alternative to a macro lens, but eventually the lens is the way to go if you can fit it in your budget. The benefit of digital photography, in general, is that you really get the chance to see what is working and what is not working as you go, so then start to adjust your technique as you take your photos. 

This is especially important with macro photography as this has a shallow depth of field and can be less forgiving than other styles. Essentially though it comes down to practice (there is no shortcut). Start off with simple still objects (pepper, soap bubbles, kitchen items etc.) and progressively move through to leaves, flowers and then to other things such as insects.
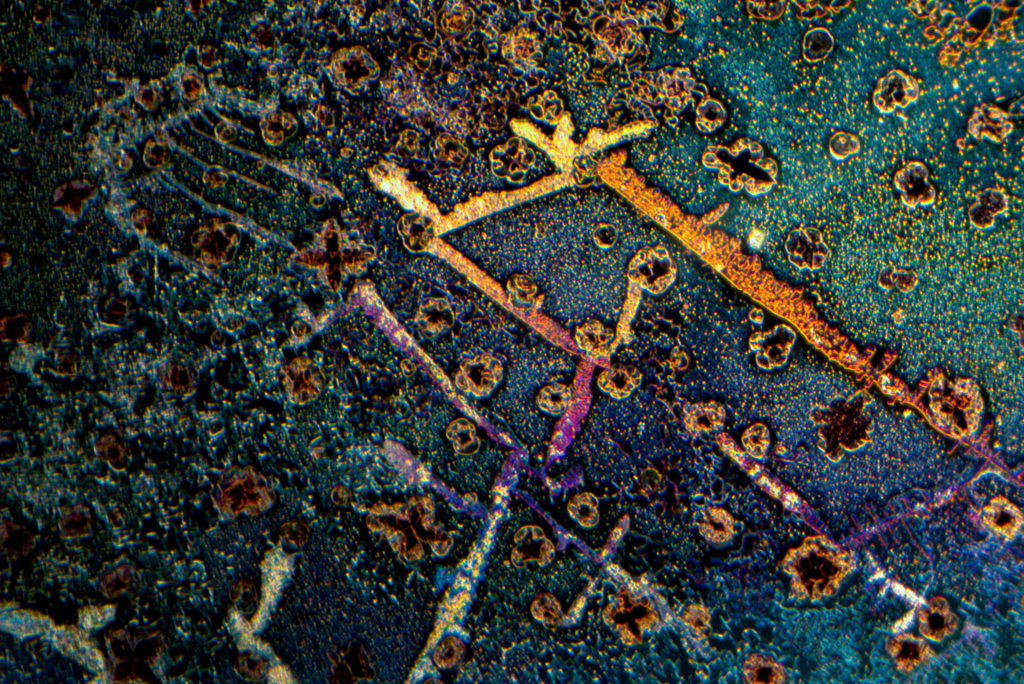
Iridium captured under a microscope.
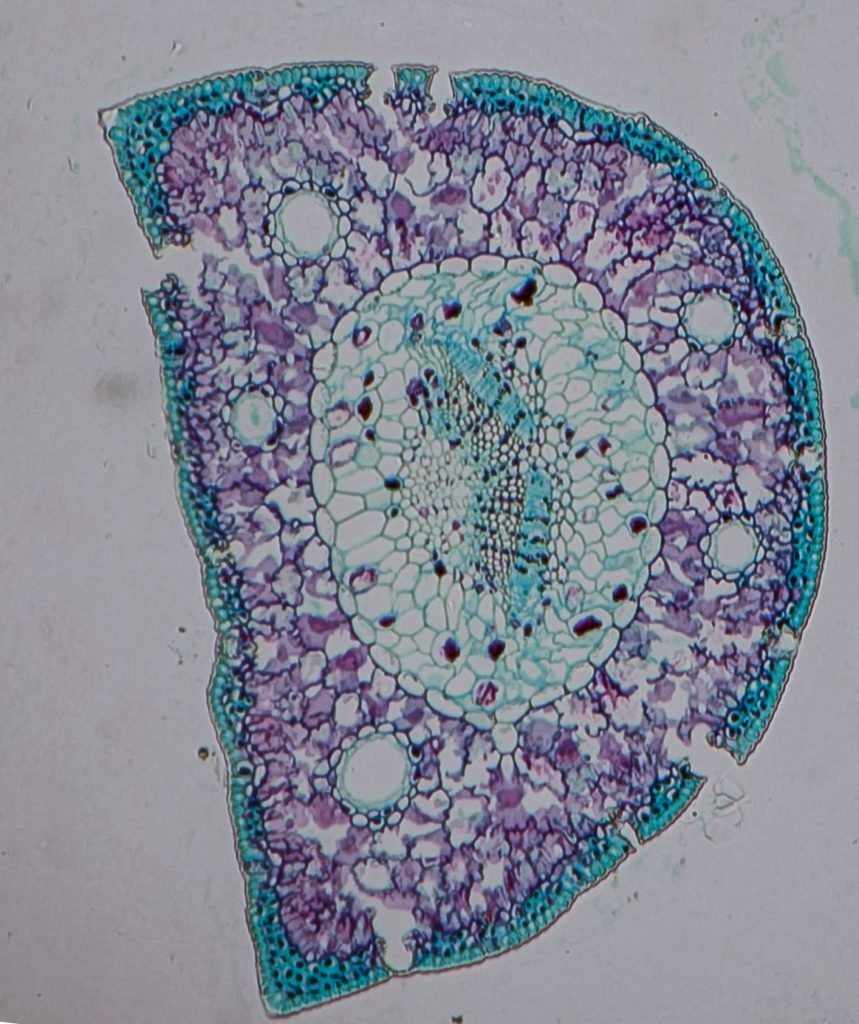
Stained cross section of a pine needle.

I am a strong believer in “do no harm”, so when capturing images of insects, it is important to capture and photograph them in a delicate and harmless way. As you start to progress, also remember to be aware of your surroundings and to treat the creatures with respect. It can be very easy to get lost through the lens when photographing something like a bee, where you may disturb others, possibly resulting in injury.

How did you develop your style? Which tools do you find completely irreplaceable in your workflow?

I have an interest in the natural world, and I think to a certain extent my style came from that. I like showing the detail within a scene or flora or fauna, which can include things like the structure, but also equally the colors. I think photography is a great tool that really allows us to share the fascinating world with others who may not always be able to see / experience these things.

I use a number of different tools based on the style and look of the photo. I usually start off with Lightroom as a digital asset manager, from there I begin to work on the photo using a range of different photo editing tools. This often includes Topaz Adjust AI to bring out the colors, clarity and detail. 

For the macro work, Topaz Gigapixel AI has become a great tool within my workflow as it allows me to really increase the resolution of the image. This is especially important when the image is tightly cropped as is often the case with macro work.

For night and low light photos, I find Topaz DeNoise AI invaluable as it is rare that a night photograph is taken without having some noise (be it from high ISO, or thermal / sensor noise from long exposures).

Several of your presets appear in the new Adjust AI, including: HDR Natural Boost, Vivid Night, and Landscape Pro. Would you tell us a bit more about the inspiration behind these presets? 

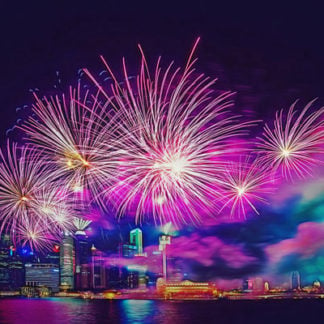
Vivid Night is all about taking some of your night-time cityscape photos and bringing them to life through boosting the colors, contrast and clarity. This preset was inspired from a night photo I took at Docklands, Victoria which included the Melbourne Star Observation wheel which lights up at night. The photo did not do the scene justice and this preset was designed to bring out the detail and color we often see in night scenes but don’t always replicate in the photos themselves.
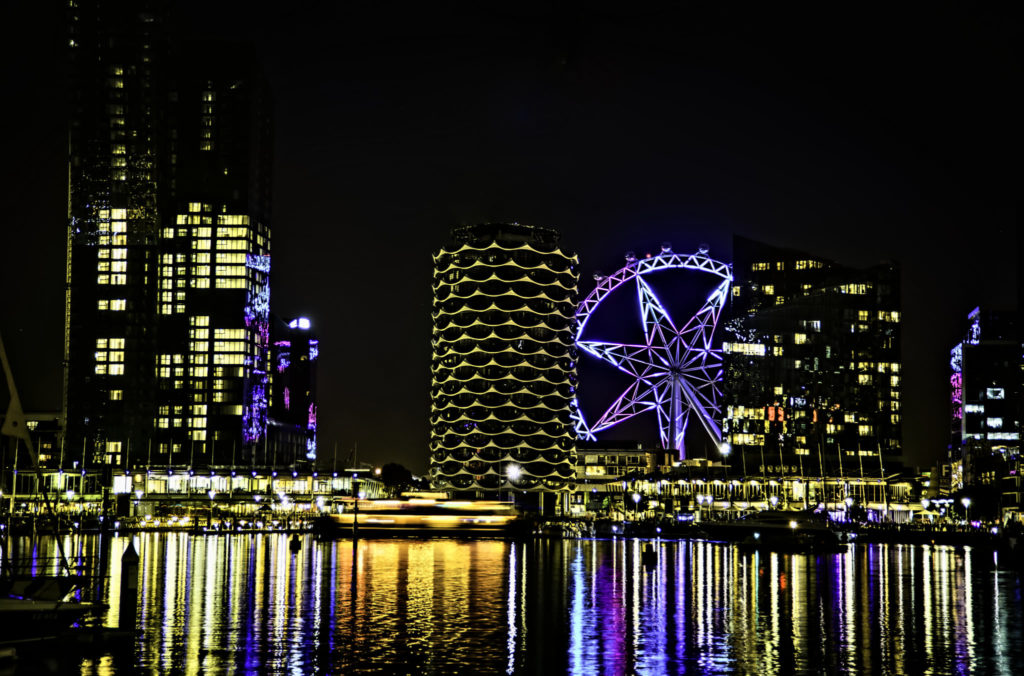
Melbourne Star Observation wheel.

Landscape Pro is all about making your landscape images pop. This uses the AI (Standard mode), as well as making adjustments to contrast and clarity, which is often an issue with landscape photos.

Finally, HDR Natural Boost was designed around making improvements to your animal and wildlife photos. It does this by using the auto-adjust AI tool (HDR mode) and then making a range of changes to the clarity, contrast and sharpness.

What images do you particularly cherish? What is one of your most memorable shoots?

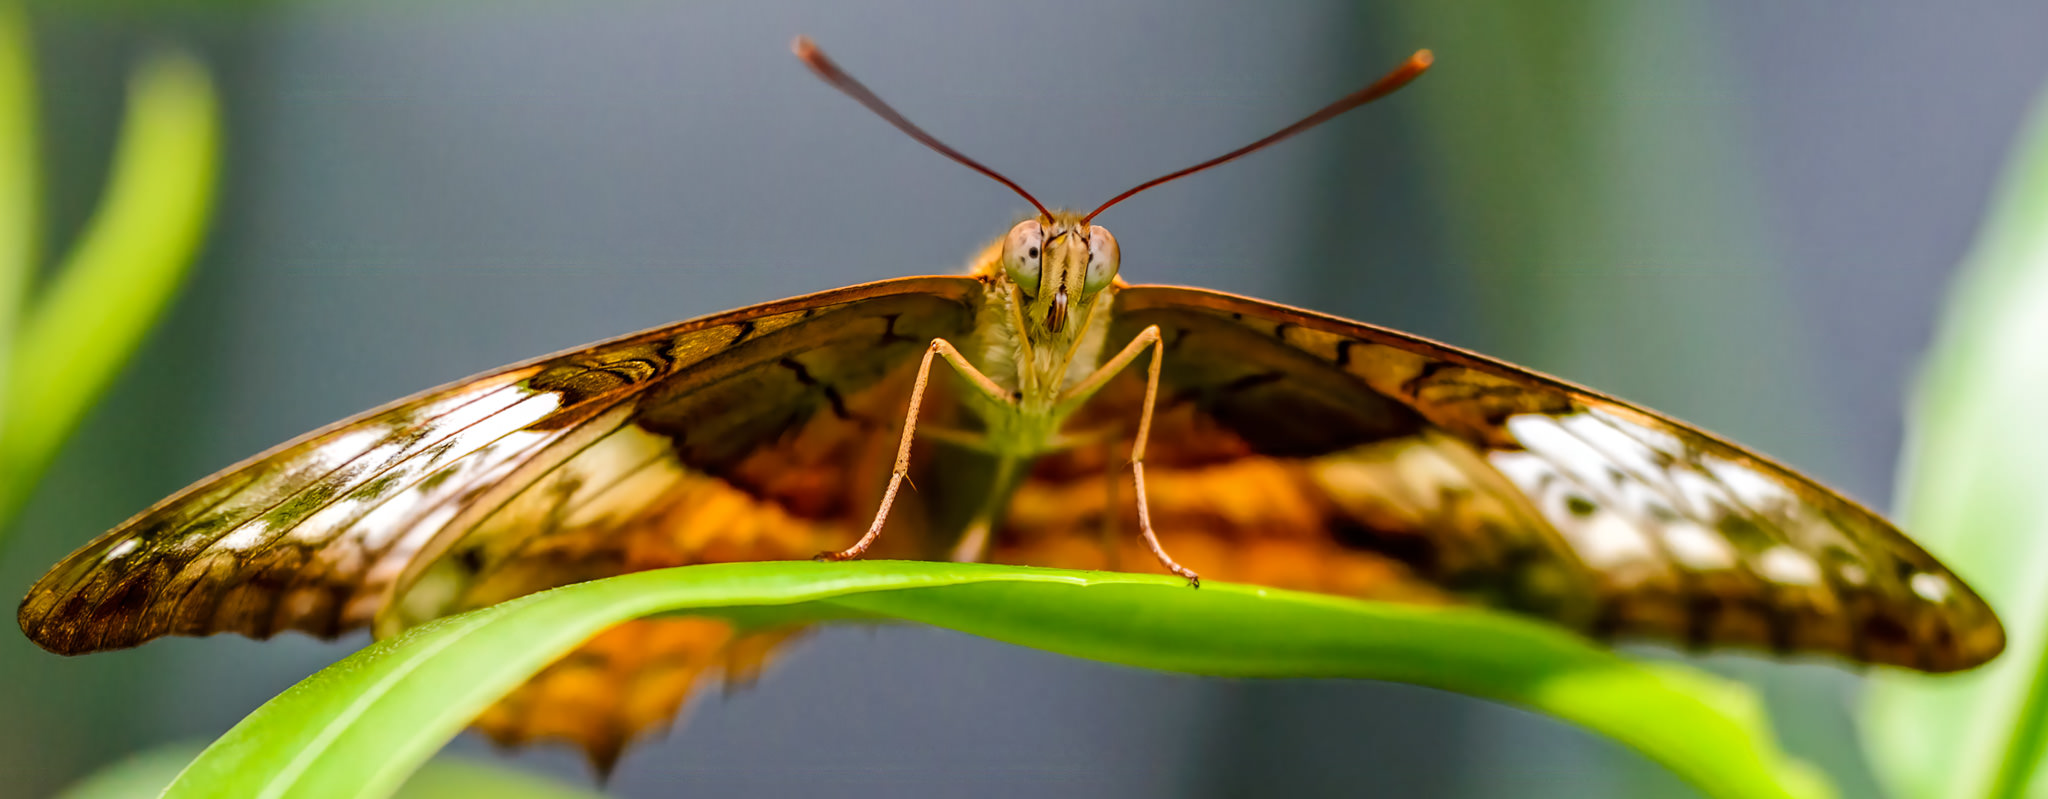
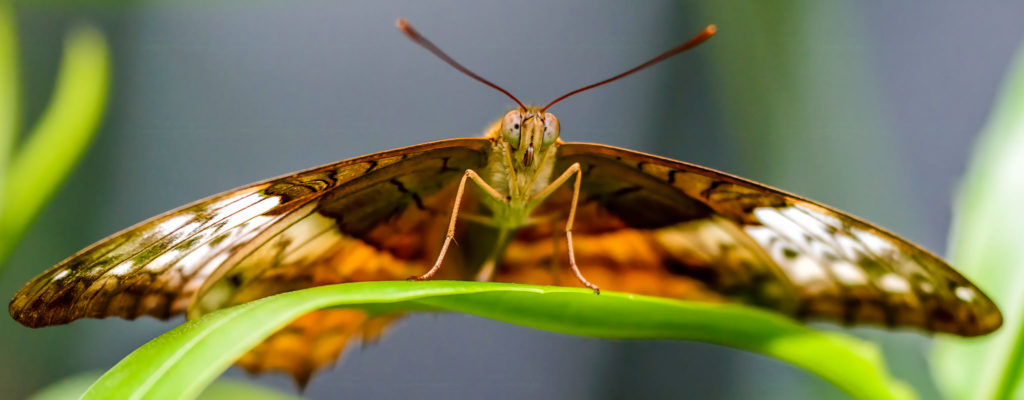
I have a range of photos I really cherish, especially the one below. I love this because of the beauty of the butterfly. They really are incredible creatures and a delight to photograph. This was at a zoo, so it made it much easier since they practically landed on you. I did try and return with my six-year-old daughter, however, it turns out she is terrified of butterflies (and especially them landing on her) so that was a very short-lived stay in the butterfly house!
Previous slide
Next slide
Posted on 7 Comments

Developing a Unique Style with Hazel Meredith

Tell us a little bit about your background and how you got involved in photography.

I have always had an interest in art, crafts, and photography – taking snapshots of family and on vacations back in the day. I also have a graphic design/typesetting background (pre-desktop publishing!). I purchased my first SLR in 1979 – a Minolta XG1 – which I loved. Primarily I was still taking snapshots, but I was learning more as time went on. 

My husband, Dave, and I began covering auto racing around 1991. We had both grown up going to races – me at Riverside Park (MA) and Danbury (CT) with my parents, and Dave in Western NY. We both liked the modified-style cars and when we met someone at a racing show that was starting a new monthly regional newspaper, we offered to contribute articles and photos. We did that for about 13 years pretty regularly, but after ten years of photographing mostly cars, I felt the need to get back to some other kinds of photography too. That’s when I joined a local camera club and really began learning “the rules” and then how to break them. I’m still very involved with camera organizations at the local, state, regional and national levels.

How did you develop your style? Which tools do you find completely irreplaceable in your workflow?

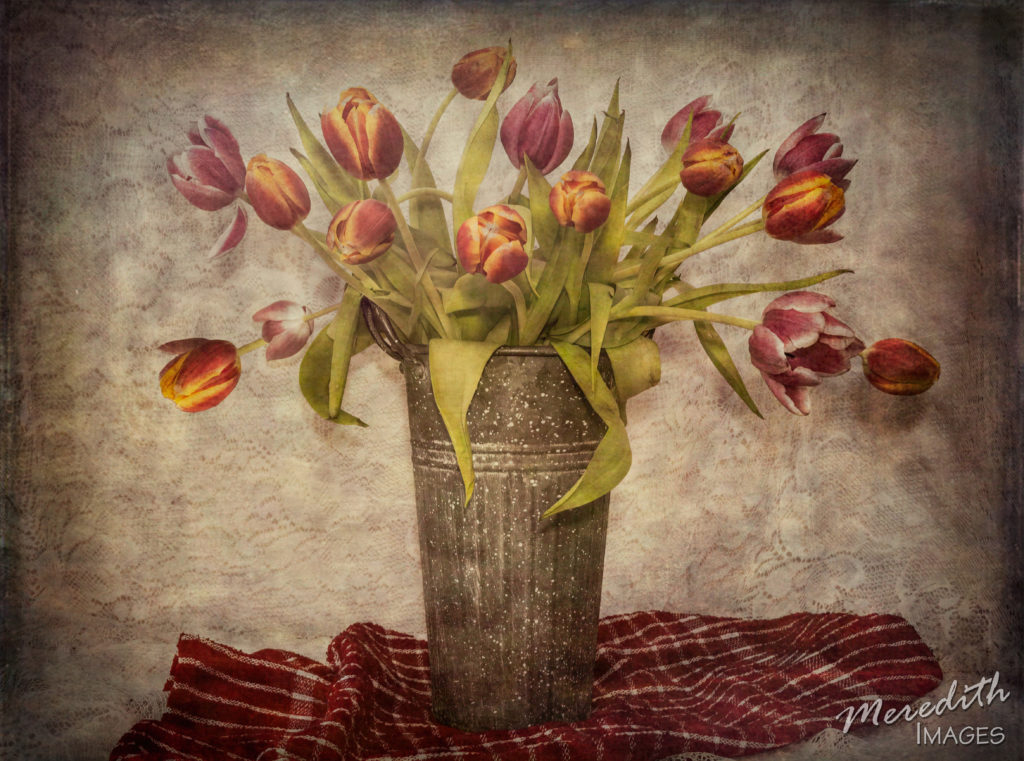
I purchased the original Topaz Adjust after seeing it demonstrated at a regional camera conference. I was hooked on Topaz from then on! In the past six years or so, I really began to work more with textures, so of course, Topaz Texture Effects is my favorite!  I was honored that Topaz included some of the textures I created in the program too! I’ve written two e-books on working with textures, and often combine Topaz and Textures into a seminar or workshop. To me, they go hand-in-hand as creative “partners”.

Tulips with Topaz Texture Effects

I have regularly used Topaz DetailClarity, and Impression as well – now with the new AI products, my workflow is shifting to DeNoise AI and the new Adjust AI.

A hint of your style appears in your contributed preset, Painterly, in the new Adjust AI. What kind of images are best for this particular preset?

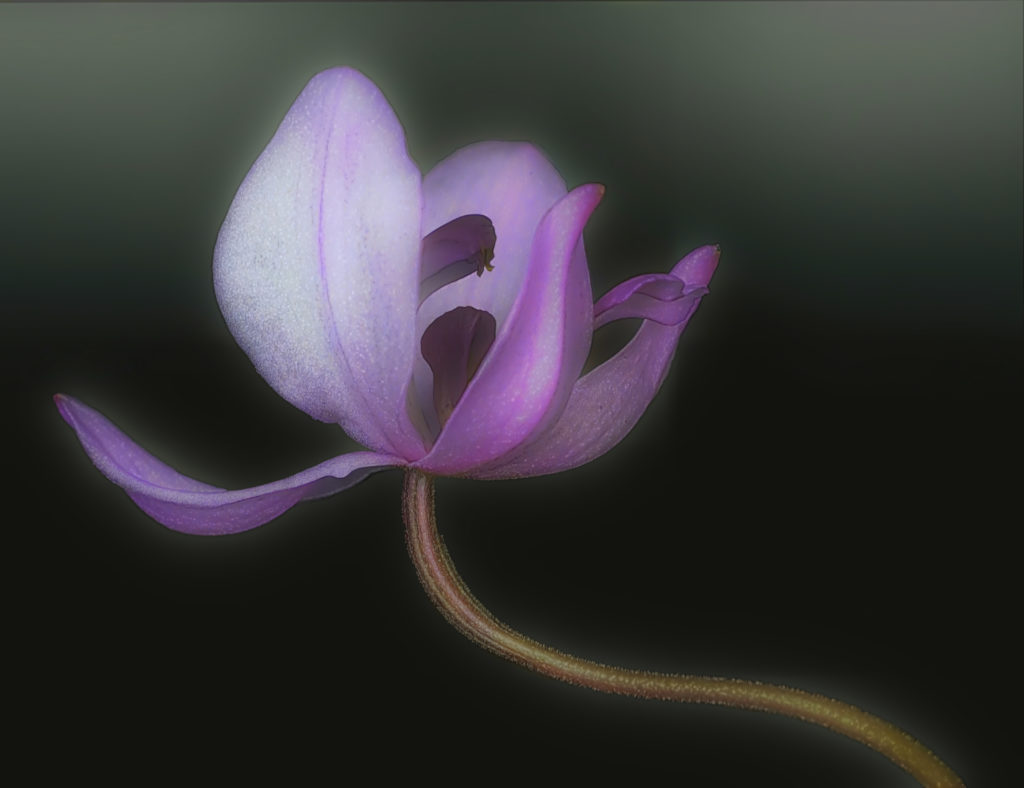
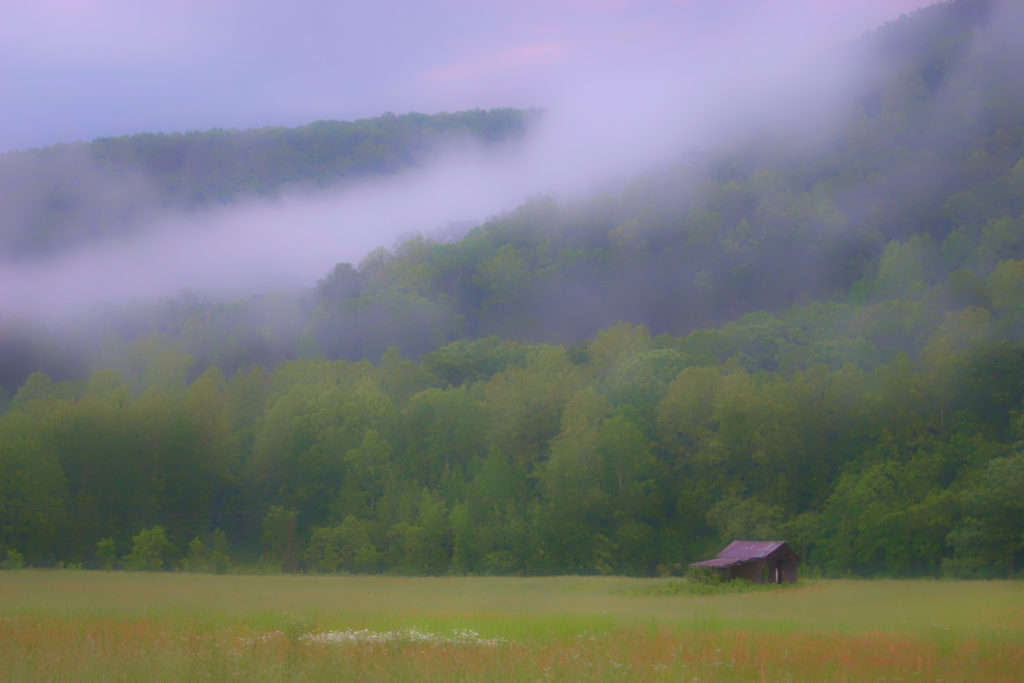
I created this preset to use on a landscape image that I had processed in a painterly style with the original Adjust. I was trying to recreate that look in the new AI version. I think this new preset is even better than the original! I like the ethereal quality it gives my images. This preset will work especially well on florals and landscapes, two of my favorite things to photograph. You can give it a try on your own images right now by downloading Adjust AI! The Painterly preset is under “Soft Effects” in the preset panel.

I love to take shots of iconic locations and with the use of Topaz and textures, turn them into something uniquely my own.

Purple Curves with Painterly Preset
Smoky Mountains Cabin with Painterly Preset

What images do you particularly cherish? What’s your most memorable shoot?

Hmmm, that’s a really tough question! I’ve traveled to quite a few of our national parks, especially in the Southwest, and the majesty of those areas are just breathtaking. The Red Rocks of Sedona; the hoodoos of Bryce Canyon; the Grand Canyon…all amazingly beautiful! 

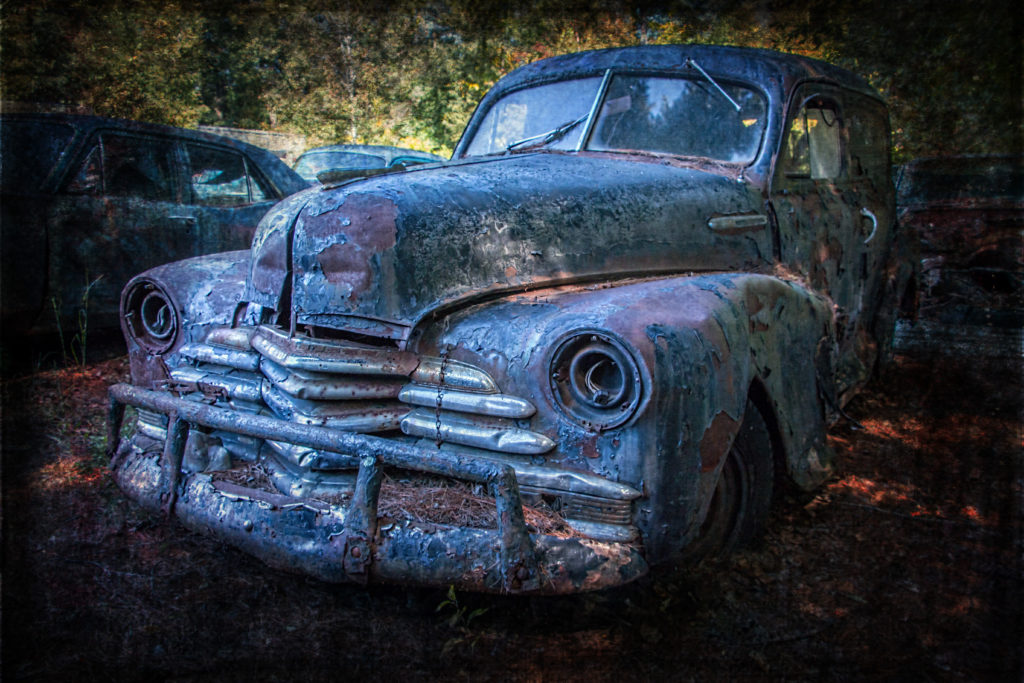
On the other hand, I also love to photograph old abandoned places, old rusty cars and trains and such! The mystery of the stories that old buildings could tell fascinates me.

Those that have been able to catch one of your workshops live are lucky! Tell us a little bit about teaching photography around the country.

It’s been a busy spring and will continue into the fall! I recently did a seminar for the Photographic Society of Chattanooga called “Alternative Visual Artistry with Topaz & Textures”, and then a half-day hands-on workshop on Topaz products for the group. At the end of July, I will be heading to the Southwestern Michigan Council of Camera Clubs conference; in October to Mike Moats’ Macro Conference in Cleveland; and next March to the PSA Southern California Chapter event. And more events are on the horizon! 

My husband and I also run our own Creative Photography Conference, and we held our 3rd event in May here in New England. We will begin moving the conference to other areas of the country next year. This conference focuses on all things creative – both in-camera and post-processing. Fellow Topaz webinar presenter, John Barclay, was a speaker at this year’s event along with seven other talented photographers. 

I’ve also been busy with developing a new series of online videos and doing online one-on-one training. The internet makes it easy to work with people anywhere!

And, we are going to be relocating from Connecticut to Tennessee this fall, so things are extra busy right now with purging and packing!

For those that won’t be able to see you in person, what advice would you give to a photographer looking to achieve their own unique style or get started with photography?

For those just starting in photography, I think joining a local camera club or MeetUp group is a great way to learn as well as have fun with like-minded people. There is a TON of information on the web – watch videos (Topaz has past webinars on their YouTube channel), read tutorials, and just get out and practice! 

And yes, you do need to read the camera manual! You need to become intimately familiar with the workings of your camera so you can concentrate on what you are shooting when out in the field, and not fumbling about trying to get the settings right. You can download your camera manual to your phone or tablet to have it handy when on the road.

If you can, take a workshop with a pro. It’s another great way to get some insight, tips and techniques. You’ll develop your own style as you learn more and get inspired by the work of other photographers. 

Previous slide
Next slide