Topaz Studio 2 can be used as both a standalone application and plugin for Adobe Photoshop and Lightroom. Here are step-by-step instructions to set up Topaz Studio 2 as a plugin.
Photoshop CC + Mac Instructions
- Open “Finder”
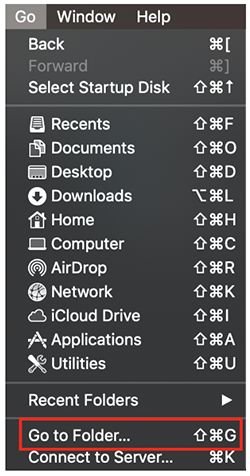
- Select “Go” > “Go to Folder”

3. Copy and paste the following path: /Applications/Topaz Studio 2/Topaz Studio 2.app/Contents/Resources/PS_Plugins/TopazStudio2.plugin
4. Click “Go”.
5. Right-click (or CTRL+Click) on the “TopazStudio2.plugin file”.
6. Select Copy “TopazStudio2.plugin”.
7. Open your Applications folder.
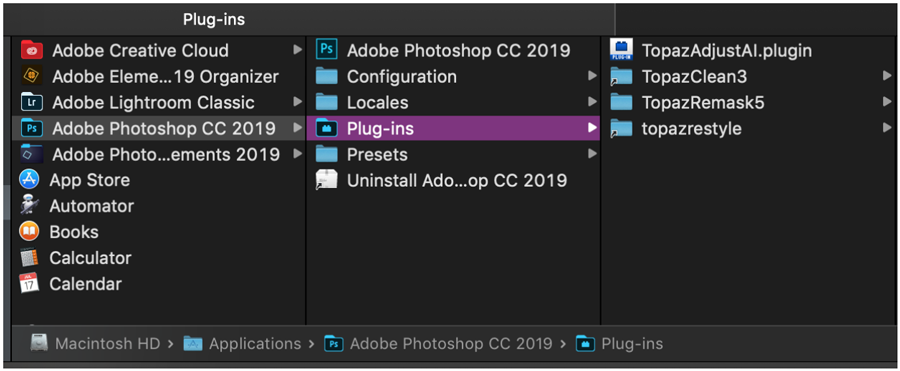
8. Go to /Applications/Adobe Photoshop CC [year number]/Plug-ins
9. Paste “TopazStudio2.plugin” file in the “Plug-ins” folder.

Photoshop CC + Windows Instructions
- Open Windows Explorer.
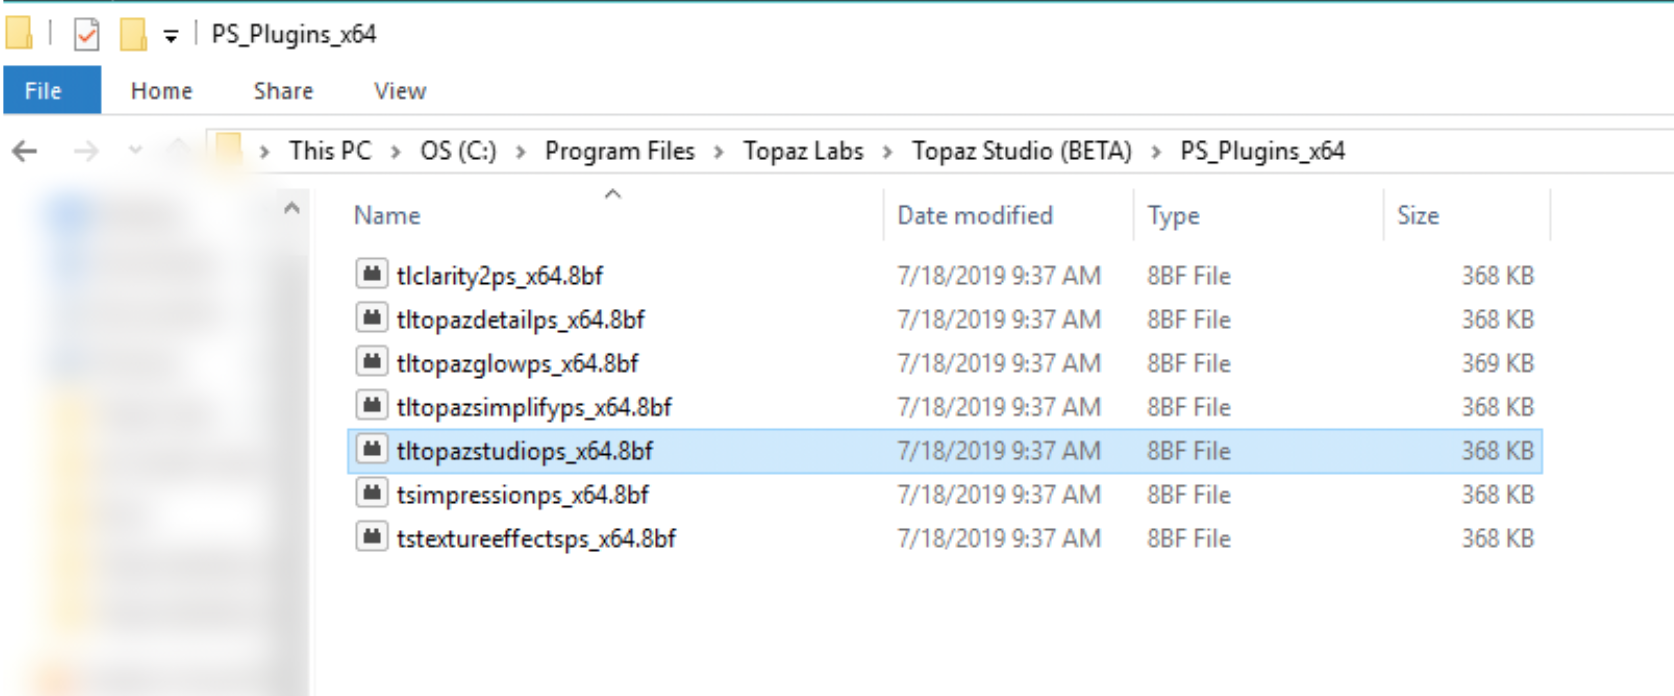
- Go to C:\Program Files\Topaz Labs\Topaz Studio 2\PS_Plugins_x64

3. Right-click and copy the “tltopazstudiops_x64.8bf” alias file.
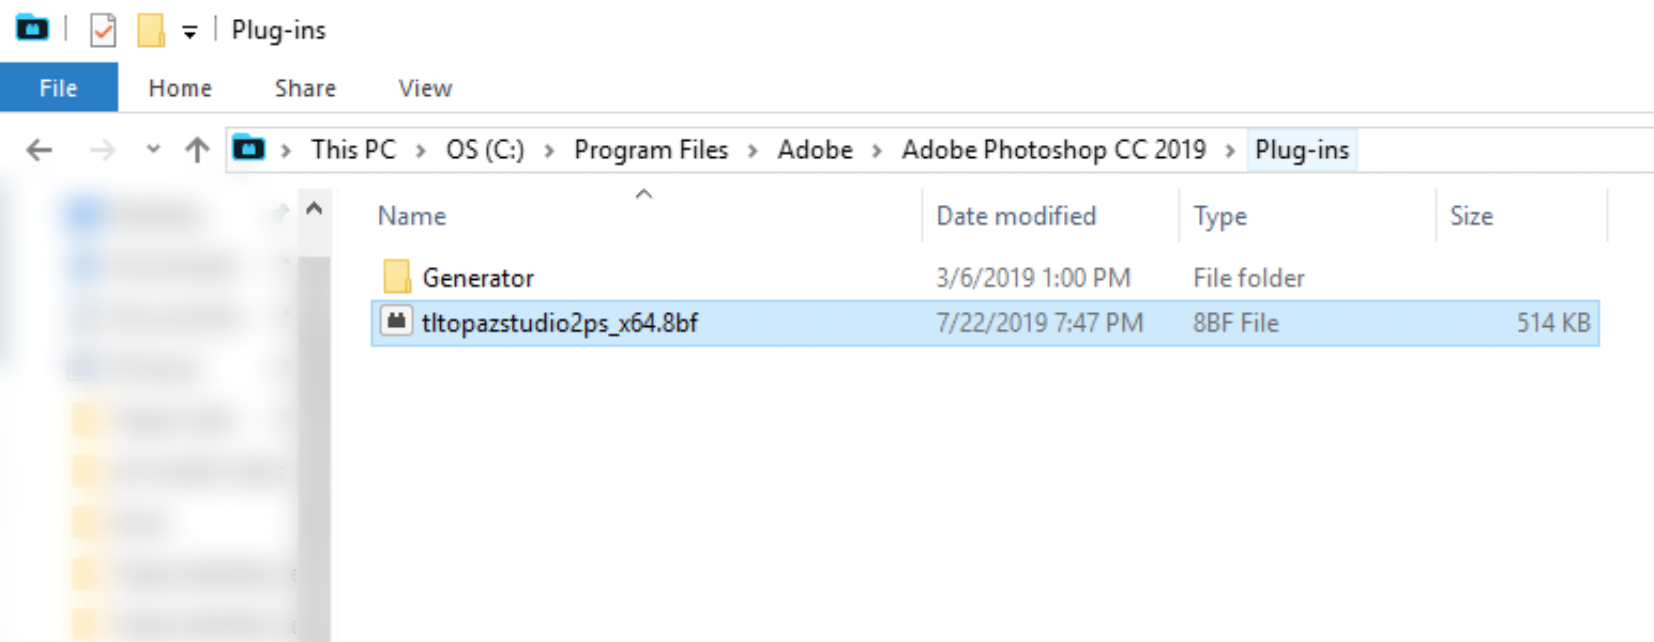
4. Navigate to C:\Program Files\Adobe\Adobe Photoshop CC\Plug-ins

5. Right-click in this folder, next to “Generator”, and paste the file.
6. Restart Photoshop CC and try invoking your plug-in once more.
Lightroom Instructions (for Mac and Windows)
To use Topaz Studio 2 in Lightroom, follow these steps:
- Click “Preferences” → “External Editing”.
- In the Additional External Editor section under preset, please select “Choose” and search for Studio 2. Check that you have the application selected (make sure it is the actual icon and not the entire folder).
- Next, click on the preset dropdown menu and select “Save current settings as a new preset” and enter the name of your application.
Now that you have Topaz Studio 2 set up as an external editor, just click “Photo” > “Edit In” > “Topaz Studio 2”.
Note: For Topaz Studio 2 to save back to Lightroom you will have to use “File → Save” in order to save.
Have questions about getting started or troubleshooting with plugins? Visit our Help Center or submit a support request and one of our specialists will come to your rescue!


8 thoughts on “Setting Up Topaz Studio 2 as an Adobe Photoshop or Lightroom Plugin”
Can you tell us how to get the look of the cover image in studio 2?
Hi paradis,
Glad you enjoy the image! AI ReMix in Studio 2 was applied to it and then the texture “A Neon Rise” which is the first, or default setting under AI Remix.
Note: For Topaz Studio 2 to save back to Lightroom you will have to use “File → Save” in order to save.
I use Lightroom and I started to try Topaz Studio 2 and I see 2 problems. In Topa Studio 2 there is no File – Save, It says Accept to save back to Lightroom.
I and others save a file as File As, . I tried to work on 4 files and Accept was last somewhere. Please chance this to and allow us to save as we want to, Save As and or Save , that Topaz Studio has. I see many things from Topaz Studio to Topaz Studio 2 that no not work or are not there but I will wait for more updates before I add more ideas.
Something that might put off potential buyers is the section above entitled “Photoshop CC+ windows Instructions” – my first thought was “no support for the CS versions of Photoshop” which would very likely stop me from buying.
However, I was pleasantly surprised to see that when I installed the Demo of Topaz Labs 2, it automatically put a shortcut into the plugins folder for Photoshop CS4 64-bit, and the program then appears in Photoshop as a plugin, making workflow much easier. I would think that Topaz would make this much more widely known as it is a definite selling point in a market where a lot of companies no longer support older versions. Thank you to whoever it was on the development team that added this.
Great tip, thank you! 🙂
Will these instructions work on a Mac with PSE19. Thanks
Can Topaz Studio 2 be used as an Adobe Photoshop CS5 Plugin?
Hi Paul,
Yes, it can! Here are some quick instructions for you:
https://help.topazlabs.com/hc/en-us/articles/115004587027-Adobe-Photoshop-Using-Your-Topaz-Labs-Plug-ins
Comments are closed.