1. It’s about light, not color.
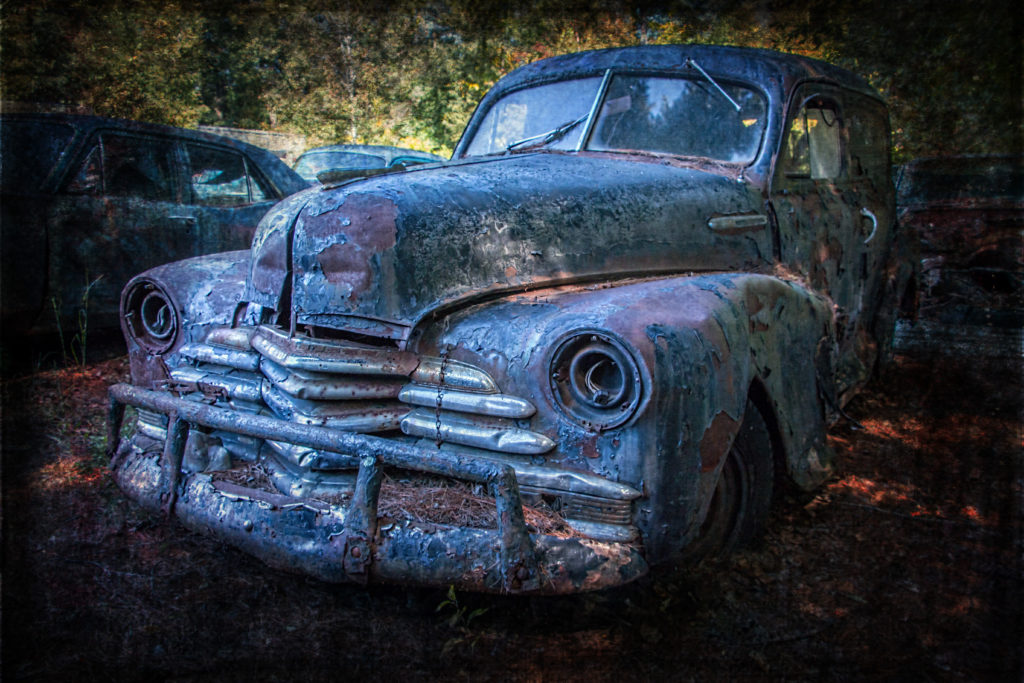
When you start with HDR, one of the first things you notice is that all of a sudden, you are getting some incredible colors and high saturation levels. It can be inspiring and interesting, and in a lot of cases, I’ve seen folks getting carried away with it (myself included!). I’m a big color guy at heart, so this one I struggled with. It’s easy to push those sliders, but be careful because otherwise, you may end up with what I have seen referred to as “clown vomit.” Very descriptive.
I believe it was Trey Ratcliff that once said, “HDR is about light, not color,” and his words are so true. The real reason people normally shoot HDR is to balance out light in a scene where it isn’t balanced. So keep that in mind and watch your saturation levels. Nothing wrong with big bright, saturated colors – and it depends on what you are trying to achieve with the shot because this is art after all – but just remember to keep those saturation levels in check if you are trying to appeal to a wider audience.
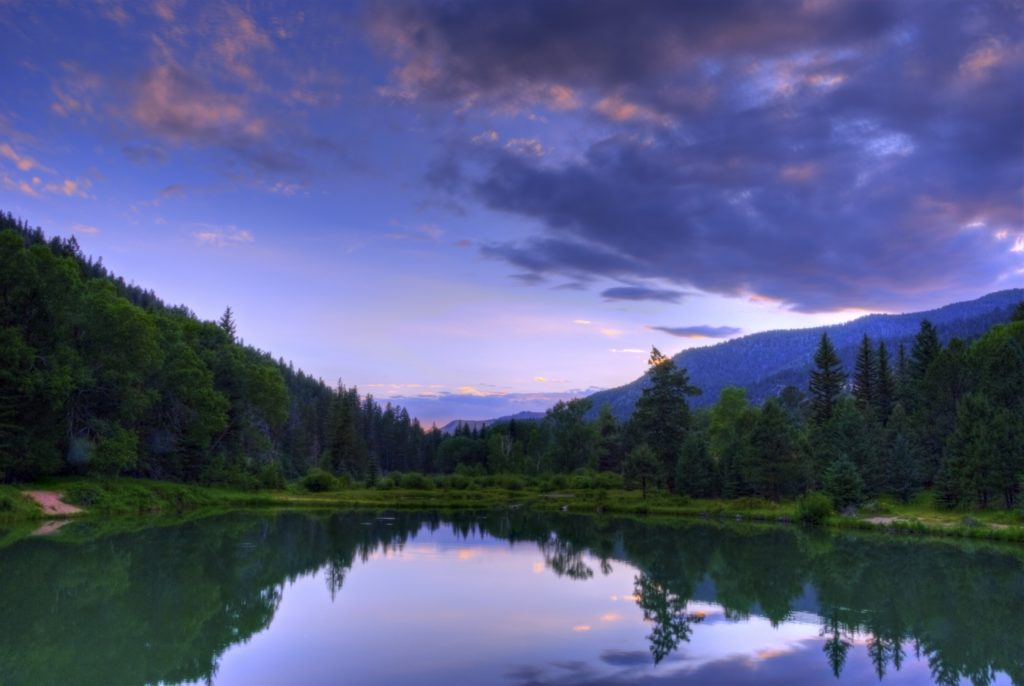
2. Step outside of your comfort zone.
If you are a landscape person, try some architectural shots. If you prefer cityscapes, take a drive in the country or head out to the beach. If you always shoot wide angle, put on a zoom. Stretch your creativity by forcing yourself to do something you aren’t comfortable with. This has the added benefit of being fun too! If you are a sunrise person then try shooting at night. It’s good practice to get accustomed to various light situations, because at some point you will likely have to shoot at the one you are least comfortable with. Practice ahead of time so you are ready when the moment presents itself.
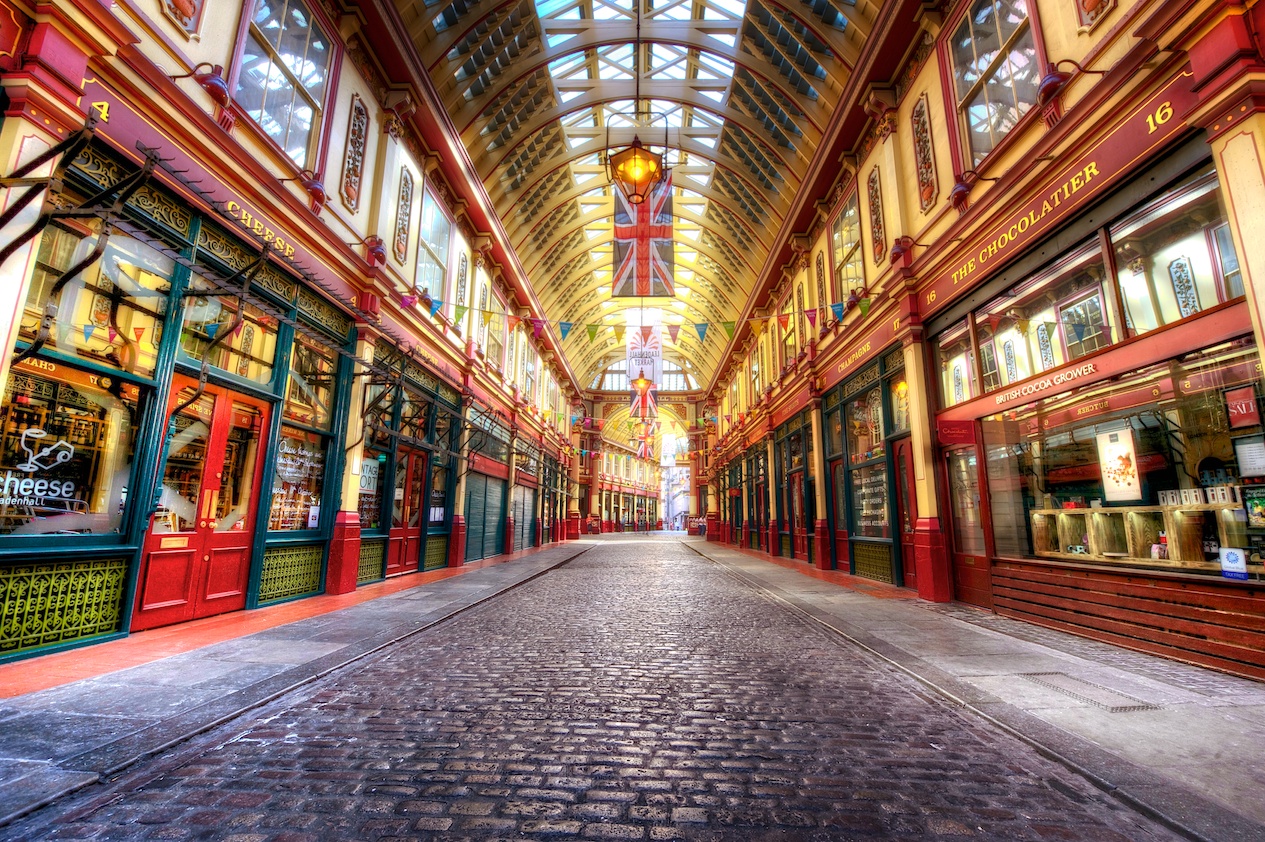
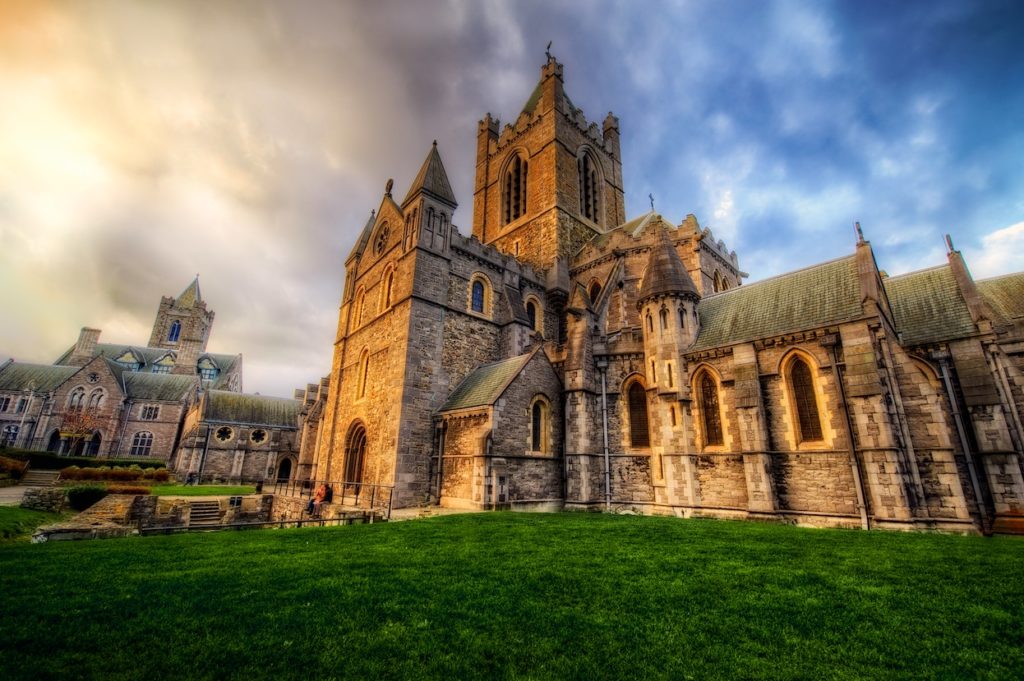
3. Take more shots per HDR.
This is another one of those situations where you will get different responses to the question of how many shots are in each bracket. Shooting 7 exposures per bracket (all 1 stop apart), is a good idea for cathedrals, or anything highly architectural, unless the light dictates that I don’t need that much (or need more) or if I am shooting handheld for some reason (my arms are not exactly capable of being still for 7 exposures). With the recent advancements in camera technology, however, just 3 exposures per bracket can give you some fabulous HDR photos.
When I first began, I normally shot 3 exposures, 2 stops apart (so it was -2, 0 +2 normally). It worked fine for me for a while, but the more I experimented, the more I realized that I could get better results if I shot 1 stop apart and more frames per bracket. Making the jump to 1 stop apart made a big difference in my opinion, and having more exposures to work with just gave me a greater range of light to work with. So nowadays, it’s usually -3 to +3, but not always… which leads us to the next point.
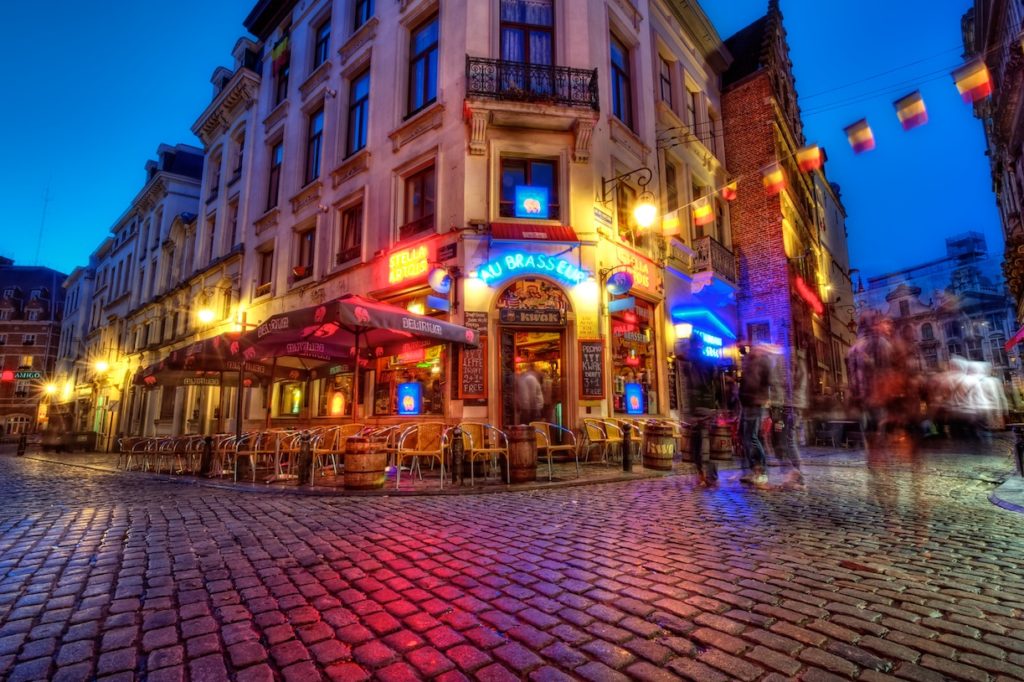
4. You shouldn't always center your brackets.
The traditional approach is to shoot 3 or 5 frames per bracket, which means either -2, -1, 0, +1, +2 if shooting 5 frames or just -2, 0, +2 if shooting three.
But sometimes a scene is fairly bright and you don’t want that long, bright exposure just being a big white mess. So, often times I dial down the brackets and start with -4, which after 7 exposures ends my set at +2. This way, my darkest exposure gives me a somewhat darker sky too (which seems to balance out the light in the sky well against really bright exposures) and the brightest one is only -2, so it’s not a total waste. I have even shot brackets starting at -5 if the scene is really bright. Experiment and see what works for you — and have some fun doing it!
5. You can achieve an HDR look in post-processing.
Even if you’ve not mastered true HDR photography just yet, there are ways to achieve the HDR look. The first plugin I ever bought was Topaz Adjust, nearly 10 years ago now. I was blown away with how much it could do with a photo and achieve an HDR look on a single exposure. In years since I’ve used a lot of other products as well, but I’ve always had a fondness for Topaz Adjust, because it was my “first love,” if you will, in terms of post-processing, and now it’s gotten even better with the new Topaz Adjust AI.
Topaz Adjust AI functions as a standalone, or as a Photoshop or Lightroom plugin, so it is simple to incorporate into your workflow. There are two auto-adjust modes that are AI-powered: Standard and HDR Style. The HDR Style mode obviously is geared toward achieving an HDR look, so this particular mode can give your photos a nice, natural enhancement without putting a lot of backbone into manual adjustments.
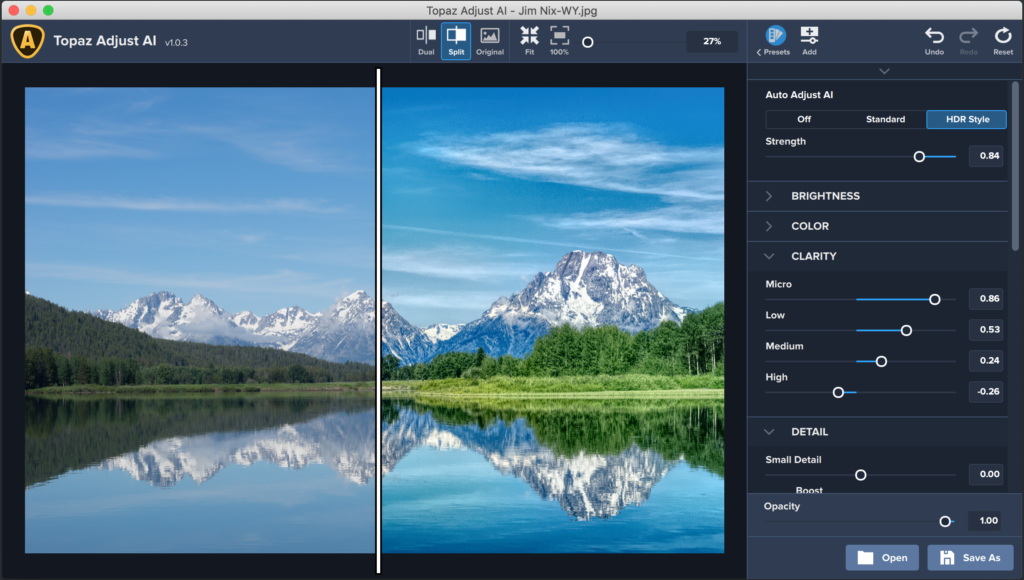
Adjust AI includes two other Topaz technologies, Topaz Clarity and Topaz Detail.
Topaz Clarity intelligently enhances contrast and dynamic range without creating a lot of halos or artifacts. By bumping up the contrast, it does a wonderful job making the photo pop and you’ll also be able to isolate contrast in different regions of the photo with the micro, low, medium, and high sliders. So, you get an unprecedented amount of control compared to the global contrast slider.
Getting into Topaz Detail, it basically figures out what is detail and what is not, so you can selectively crisp up certain parts of the content of your photo. Topaz Detail goes beyond edge sharpening — it intelligently divides the small, medium, and large-sized details in the photo, so you can selectively enhance what you want very quickly.
When I started with HDR photography, I tried to follow along with everyone’s ideas, but it got to where I felt like I was doing “their version” of my photos and not my own. These finishing touches of technology make Adjust AI a great fit for achieving an HDR style on any photo, polishing your images to bring out those fine details, and making them unique to your style as a photographer.
From more HDR tips to just about any aspect of photography, I’ve worked hard to build up a wide range of trainings and tutorials on my YouTube channel, so you can learn from anywhere you are, in any stage of your photography journey! Browse my channel, and please feel free to ask me questions on any of my videos. I’d love to hear from you.
About Jim Nix
Hi there, brave reader. I’m Jim – traveler, photographer, wanderlust sufferer.
My hope is to motivate people to travel and take photographs; to inspire creativity in others by sharing what I create, how I create it, and even what I use to create it with. I hope to inspire people to go explore someplace new, to just get up and give it all a try.
So go see something new. Try something different. Travel. Take a photo. It doesn’t even have to be a good photo. Just take it. Create something. There’s a kind of magic that happens when you do.