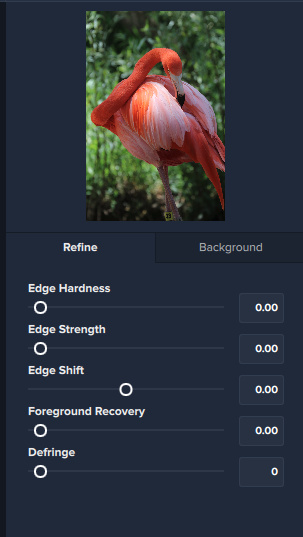
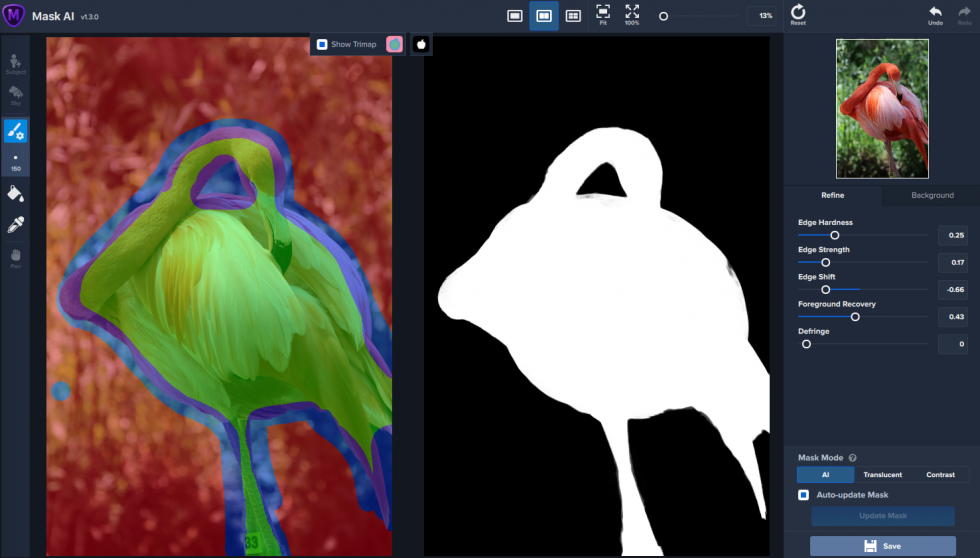
Post-Processing Sliders
- Slider Overview
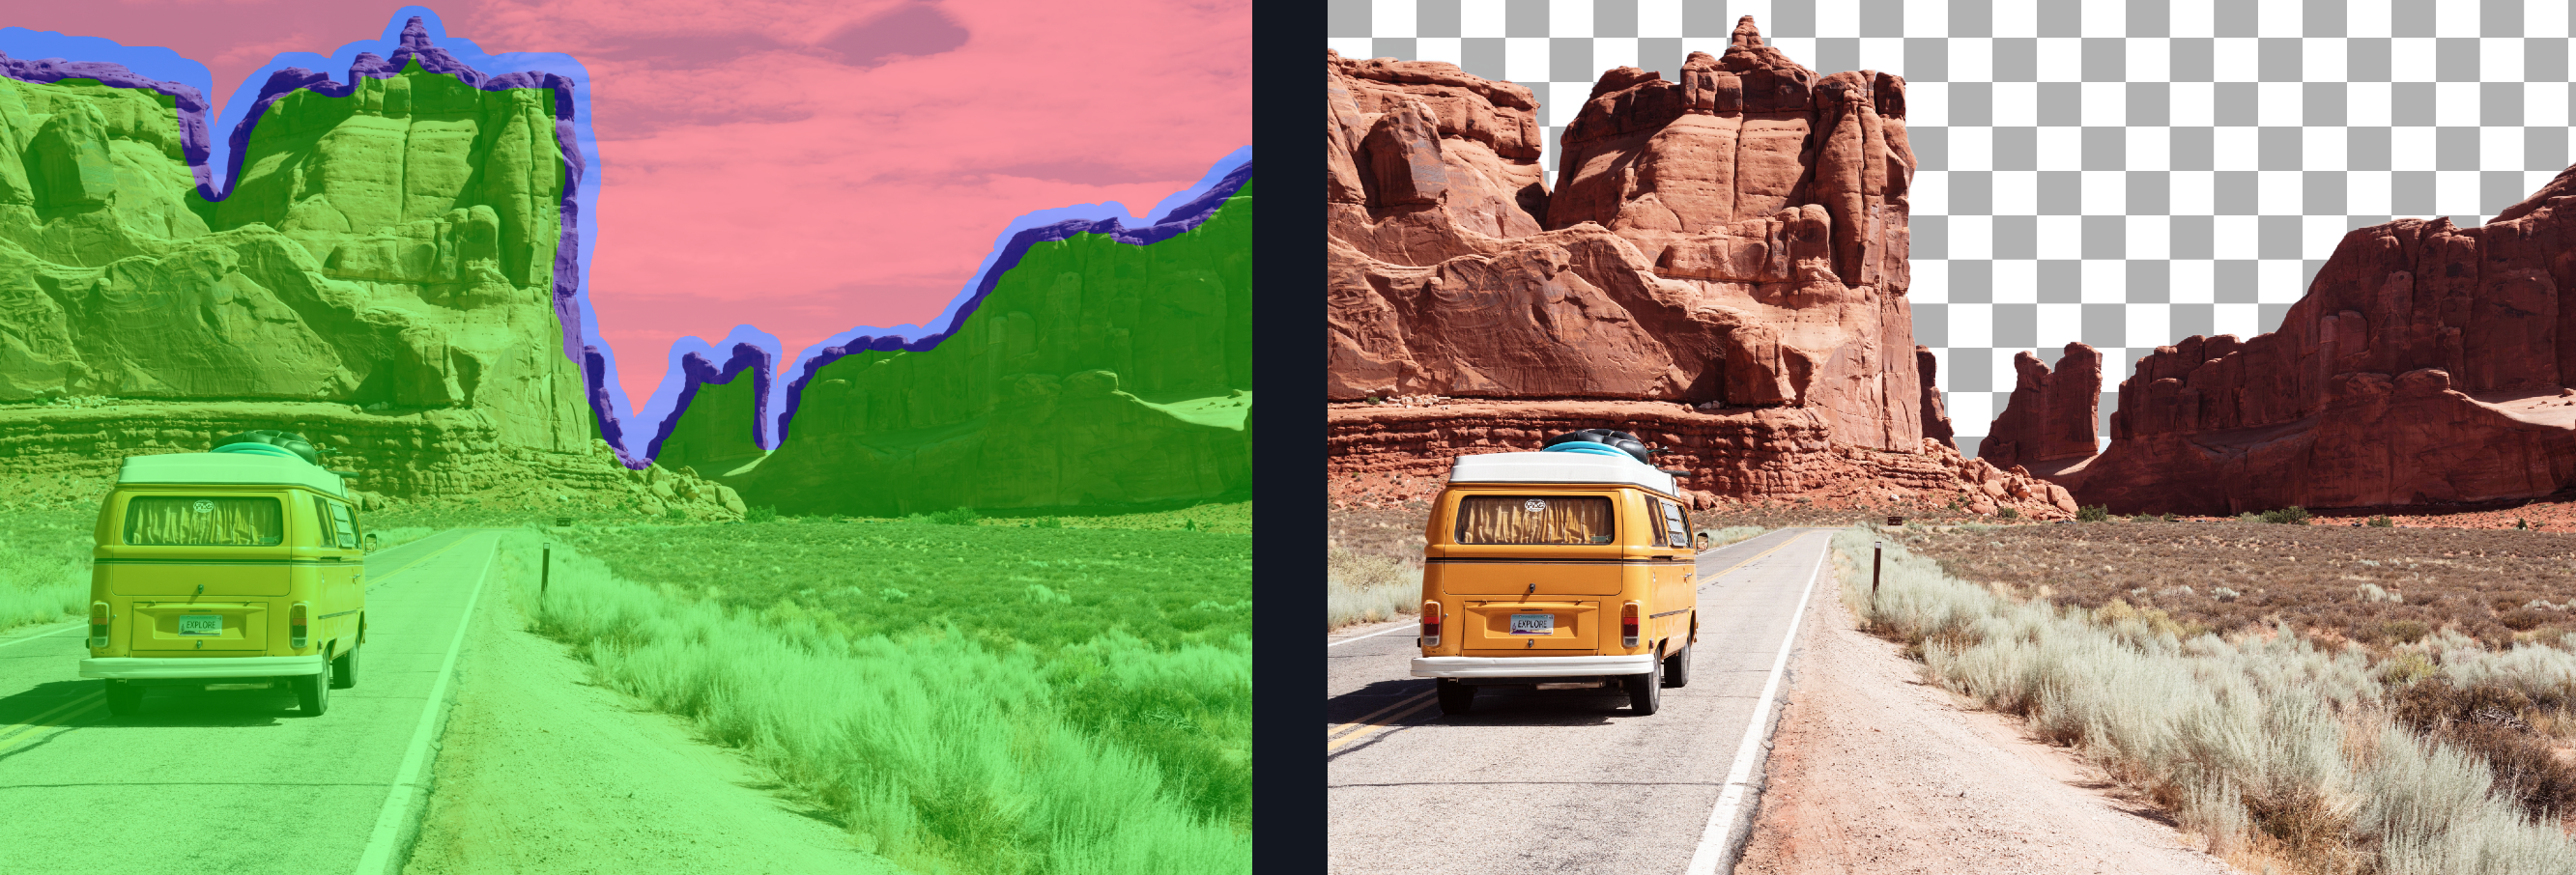
Use the post-processing sliders to perfect your mask quickly. The Edge Hardness, Shift or Strength sliders come in handy if you want to add more sharpness to a rocky landscape, or perhaps soften the edges for a portrait.
- The Edge Hardness makes the edge softer or harder.
- The Edge Strength shows the edge more sharp or more feathered.
- The Edge Shift shows the edge more or less.
- The Foreground Recovery slider revives the color of your foreground in weaker or more transparent areas. This can be a great tool for fur, whiskers, or wispy hair.
- The Defringe slider desaturates the edges of your mask to help with color contamination and bleeding.
- Edge hardness
The Edge hardness slider comes in handy if you want to add more sharpness to a rocky landscape, or perhaps soften the edges for a portrait.
- Edge Strength
The Edge Strength slider measures the local contrast across the edge and it can offer you a more defined edge or something feathered or slightly out of focus.
- Edge Shift
- Foreground Recovery
- Defringe
Topaz Labs Blog
Find written and video tutorials to guide you through creative processes in Topaz software. Start creating a masterpiece today!
Topaz Help Center
Got a question? We’ve got answers. Find troubleshooting, tips, and more, or contact our Support Team.