Posted on

Post-Processing Sliders

Post-Processing Sliders

Mask AI allows you to create tricky masks in record time thanks to our intuitive machine learning technology and trimap technique.

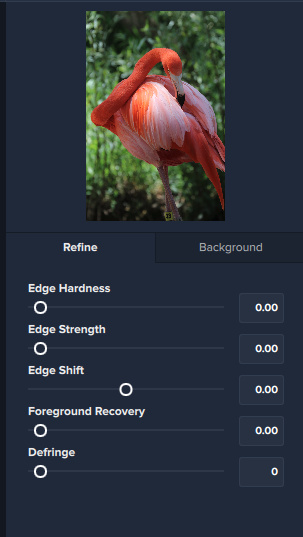
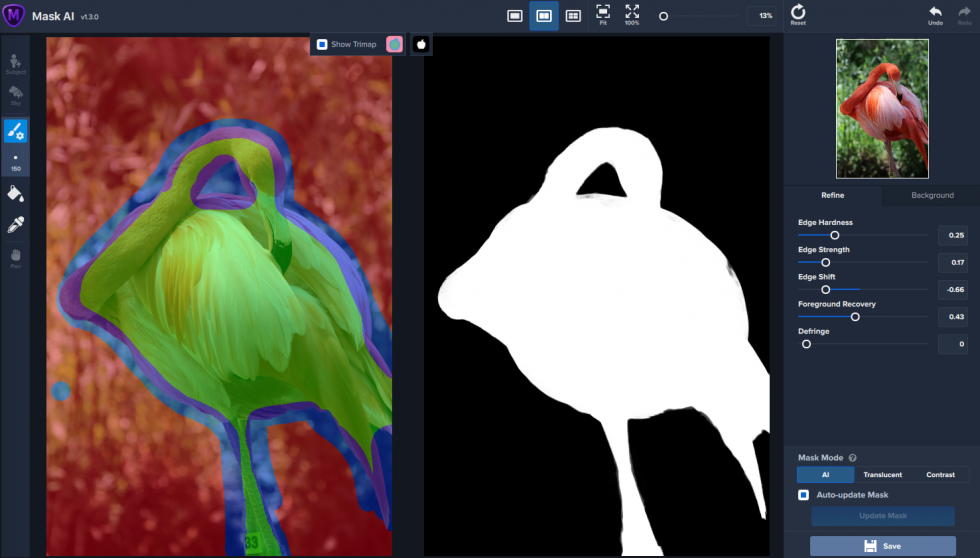
Use the post-processing sliders to perfect your mask quickly. The Edge Hardness, Shift or Strength sliders come in handy if you want to add more sharpness to a rocky landscape, or perhaps soften the edges for a portrait.

  • The Edge Hardness makes the edge softer or harder.
  • The Edge Strength shows the edge more sharp or more feathered.
  • The Edge Shift shows the edge more or less.
  • The Foreground Recovery slider revives the color of your foreground in weaker or more transparent areas. This can be a great tool for fur, whiskers, or wispy hair.
  • The Defringe slider desaturates the edges of your mask to help with color contamination and bleeding.
Read below for more information on each of these sliders.
Determines how hard your mask is applied to subject edges in your image. The higher the parameter the harder your edges will be. The lower the parameter, the softer (more feathered) your edges will be.
 

The Edge hardness slider comes in handy if you want to add more sharpness to a rocky landscape, or perhaps soften the edges for a portrait. 

The Edge Strength slider measures the local contrast across the edge and it can offer you a more defined edge or something feathered or slightly out of focus. 

The Edge Shift slider shifts the mask edge in either direction. This could be helpful when wanting to adjust the location of your mask by only a pixel or two. If for any reason the mask is not settling in exactly where you want it to, this slider can help you get the exact masking area you want for your image.
Foreground recovery revives the color of your foreground in weaker / more transparent areas after your image has been processed. This can be a great tool for fur, whiskers, or wispy hair, by bringing back more detail in areas of your image that are desaturated by the masking process.
Sometimes after masking, you may see a stubborn ring of pixels around your initial selection. This is known as an edge halo, fringing or matting. The Defringe slider desaturates the edges of your mask to help with color contamination and bleeding.

Topaz Labs Blog

Find written and video tutorials to guide you through creative processes in Topaz software. Start creating a masterpiece today!

Topaz Help Center

Got a question? We’ve got answers. Find troubleshooting, tips, and more, or contact our Support Team.

Posted on

Understanding the Trimap Technology and Tools

Understanding the Trimap Technology and Tools

Mask AI allows you to create tricky masks in record time thanks to our intuitive machine learning technology and trimap technique.

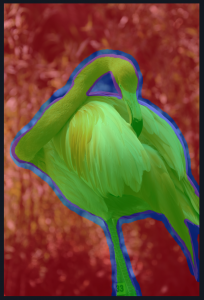
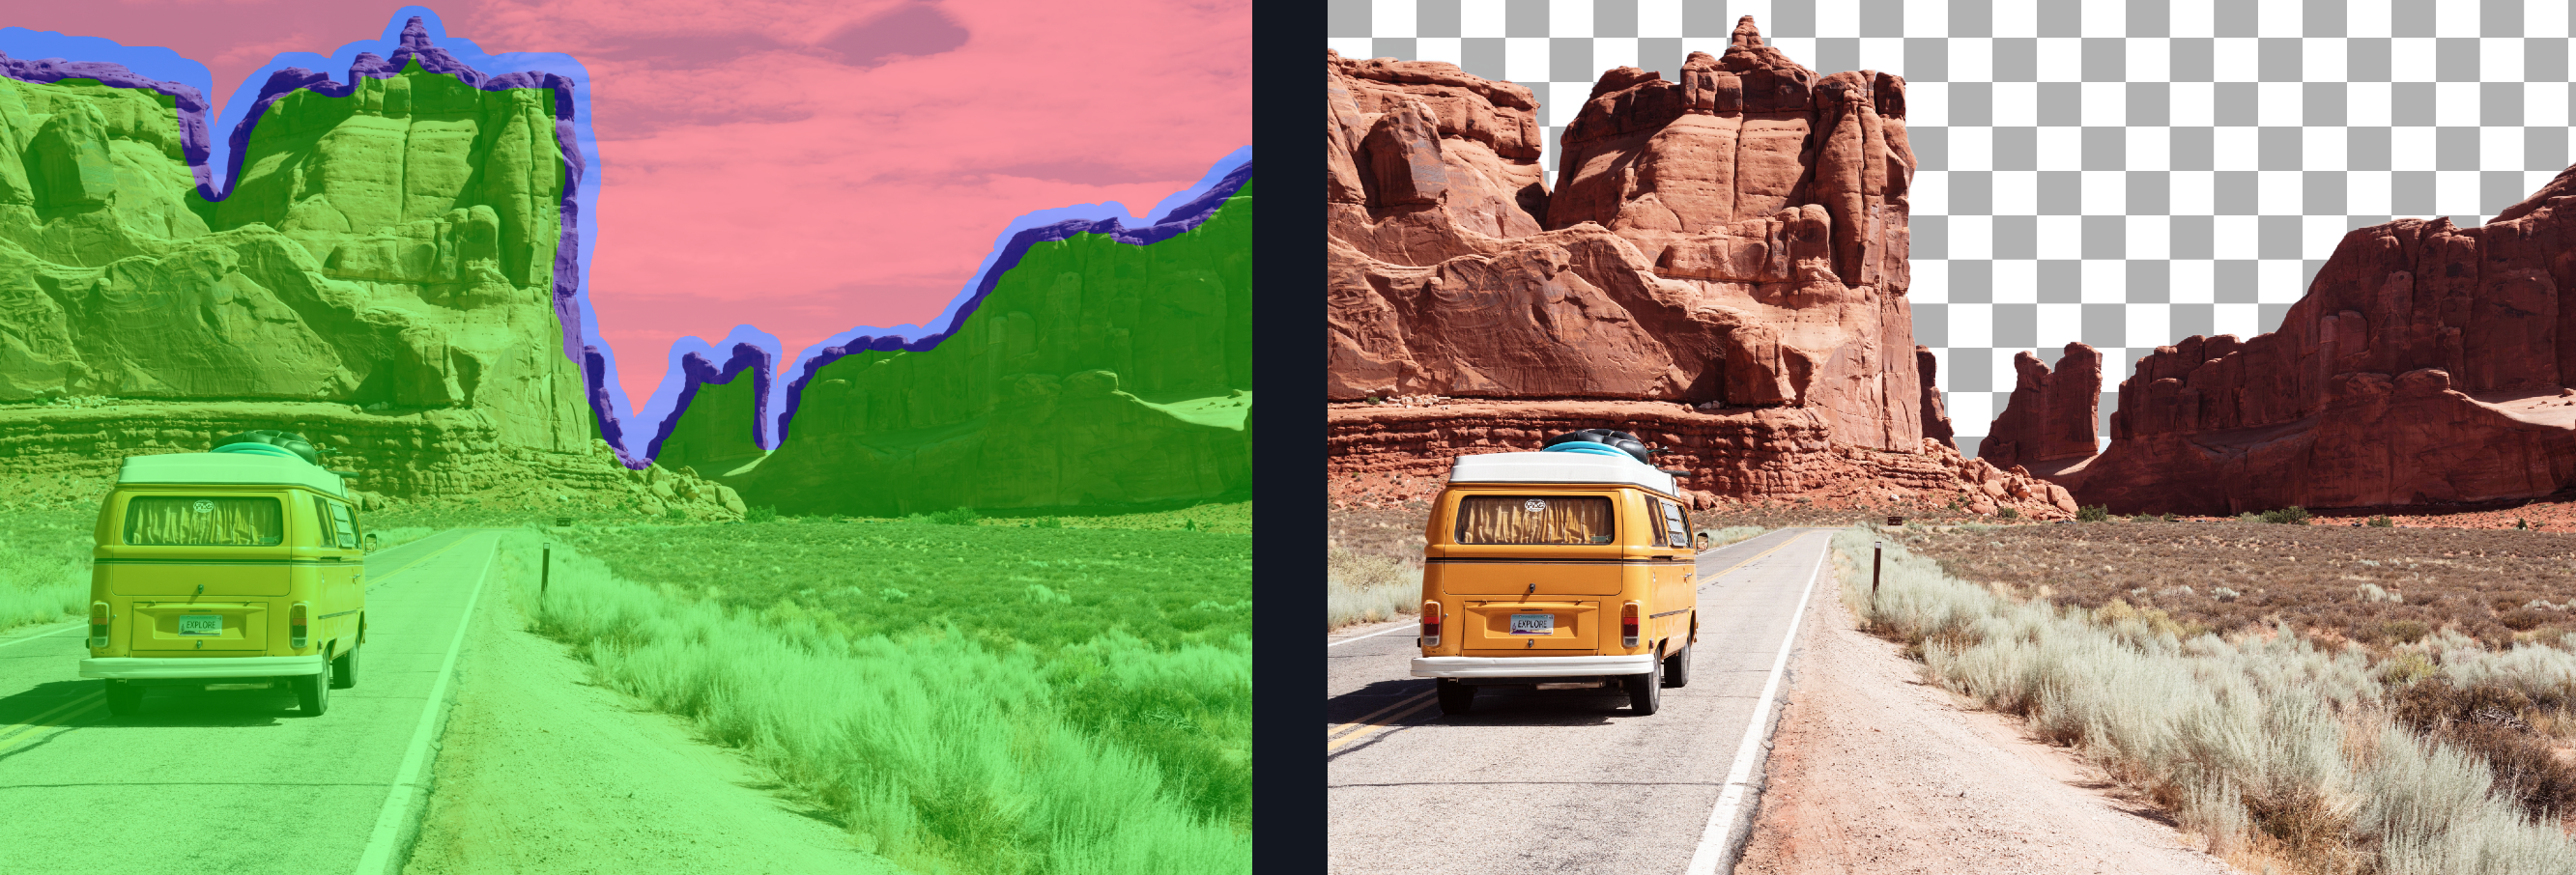
Mask AI streamlines the masking process using a new innovative Trimap technique. The Trimap is made up of three tones: green, red, and blue. Users are able to quickly define the elements in their image that they want to keep using green; elements that they want to cut using red; and elements that they want Mask AI to compute using blue. Selections are made using the brush tools and then Mask AI is able to analyze the user-made selections and isolate the image subject with precision. 

Computing

Simply paint a blue line around the edges of what you’d like to compute. The best part is, you don’t have to be perfect — just keep a little bit of the subject and the immediate area you’d like to mask inside of it. Our technology will do the heavy lifting.

Select the red fill button to fill the area you’d like to remove and fill any areas to keep with green. Select either AI, Translucent, or Contrast mode to generate your mask! The AI mode is the ideal model for more complex masking tasks, like trees, hair, fur, or any image containing a lot of details. The Translucent mode is a special AI mode perfect for fabrics and semi-transparent materials such as veils or mesh. Please note this mode is not meant to work on glass objects because of its reflective qualities. The Contrast mode is great for simpler subjects with simpler backgrounds, which have little contrast separation between foreground and background. For example, objects with straight lines and buildings. 

Using the Mask AI Shortcuts can save you time when editing in Mask AI. See link to the  Mask AI Shortcuts Guide.

Smart Brushes

Our smart brushes (Mask, Keep, Cut) utilize our technology and enable you to make clean and accurate refinements without the pressure of painting perfectly. Our machines will make the decisions for you and speed up your workflow! 

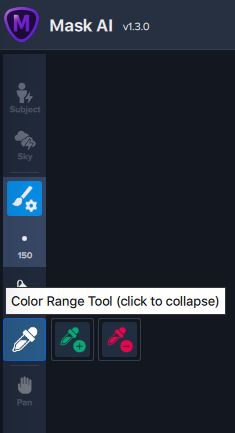
The Color Range tool can be used to select the color range you want to Keep or Cut from the image. It can be used to construct your mask or as a refining tool. If you use it to construct your mask you use the Keep or Cut brush and paint over the image after selecting a color. If you are going to use it as a refinement tool, once you have computed your mask, you select a color and then use the Keep or Cut to refine the edges of the mask. 

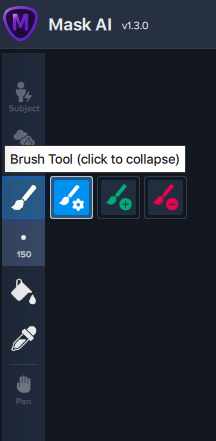
Brush Tool

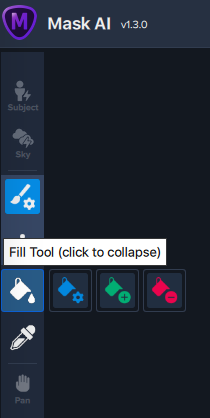
Fill Tool

Color Range tool

Completed Trimap

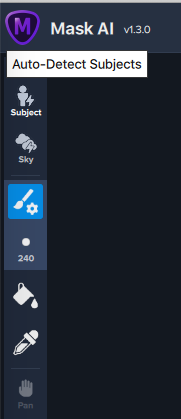
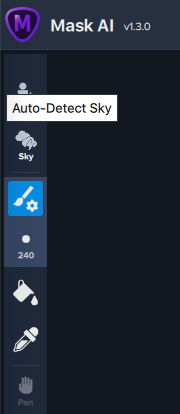
  1. With the Auto- Detect tools, you can let Mask AI auto-detect your subject and create a Trimap for you as a quick starting point!  The Auto buttons are designed to save you even less input time and work great with so many visual options (people, cars, animals, etc.), but it might not be the right solution for every subject, so be sure to check over it before hitting compute!

Auto- Detect Subject:

Auto- Detect Sky:

  1. Mask AI will make lots of decisions for you, but it needs your help to work efficiently. This works best if Mask AI gets the most accurate usage of red, green, and blue (cut, keep, and mask). Red and green add information, while blue uses it. For example, a small dot of green within an object (like the stem of a flower) you indeed on keeping versus a whole line of blue will go a long way. Similarly, a small line or dot of red on an area you want to remove (like the area between flower petals) will also help the program make more decisions!

Topaz Labs Blog

Find written and video tutorials to guide you through creative processes in Topaz software. Start creating a masterpiece today!

Topaz Help Center

Got a question? We’ve got answers. Find troubleshooting, tips, and more, or contact our Support Team.
Posted on

Using Mask AI

Using Mask AI

Are you ready to start using Mask AI? On this page, learn how to use Mask AI as a standalone program or as a plugin!

Mask AI can handle masking from start to finish, all without having to ever leave the program. Export the transparency, the mask, or your composite image! To use Mask AI as a Standalone editor, download Mask AI from the Topaz Downloads page, then login! You can use it as a standalone editor after purchasing or start a free trial for 30 days!

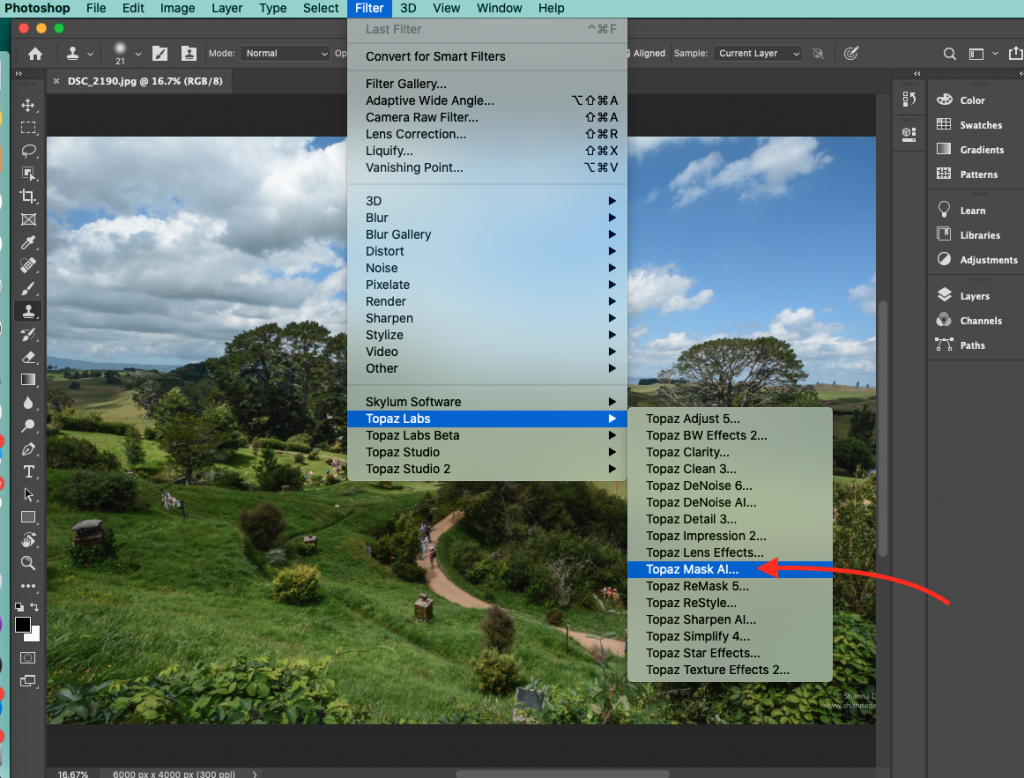
To use Mask AI as a plugin in Photoshop CC, you must first run it as a standalone editor. Mask AI will then be available to use in Photoshop via the Filter menu. Download and install Mask AI, run the program, then restart Photoshop to find Mask AI in the filters list! Should Mask AI not appear in the Filter menu, you may need to exit out of Photoshop and then re-open.

  1. Close and Quit out of Photoshop
  2. Download your installer
  3. Restart your machine
  4. Install the program without any other applications running
  5. Open the program as a standalone first to make sure it’s working for you
  6. Close the program
  7. Open Photoshop and try invoking the plug-in under Filter >> Topaz Labs >> Topaz Mask AI

Topaz Labs Blog

Find written and video tutorials to guide you through creative processes in Topaz software. Start creating a masterpiece today!

Topaz Help Center

Got a question? We’ve got answers. Find troubleshooting, tips, and more, or contact our Support Team.