Posted on

Featured Interview: Wildlife Photographer Harry Collins

We interviewed pro wildlife & nature photographer Harry Collins. His love for the outdoors shines through his photos.

Tell me about your background. How did you get into photography?

I have always been interested in wildlife and photography in general however it was a family trip to Alaska that really accelerated my photography interests. Everywhere I went was like a postcard and there was so much wildlife but all I had was a point and shoot camera and no idea how to use it. 

After returning home I bought my first DSLR. I would spend the next several years reading “how to” books and watching countless YouTube videos to learn. I had no idea what an obsession it would turn into. Being a winner in the National Geographic Nature Photographer of the Year contest also accelerated my career as I become more well known in the photography community. 
Describe your photographic style and setup.

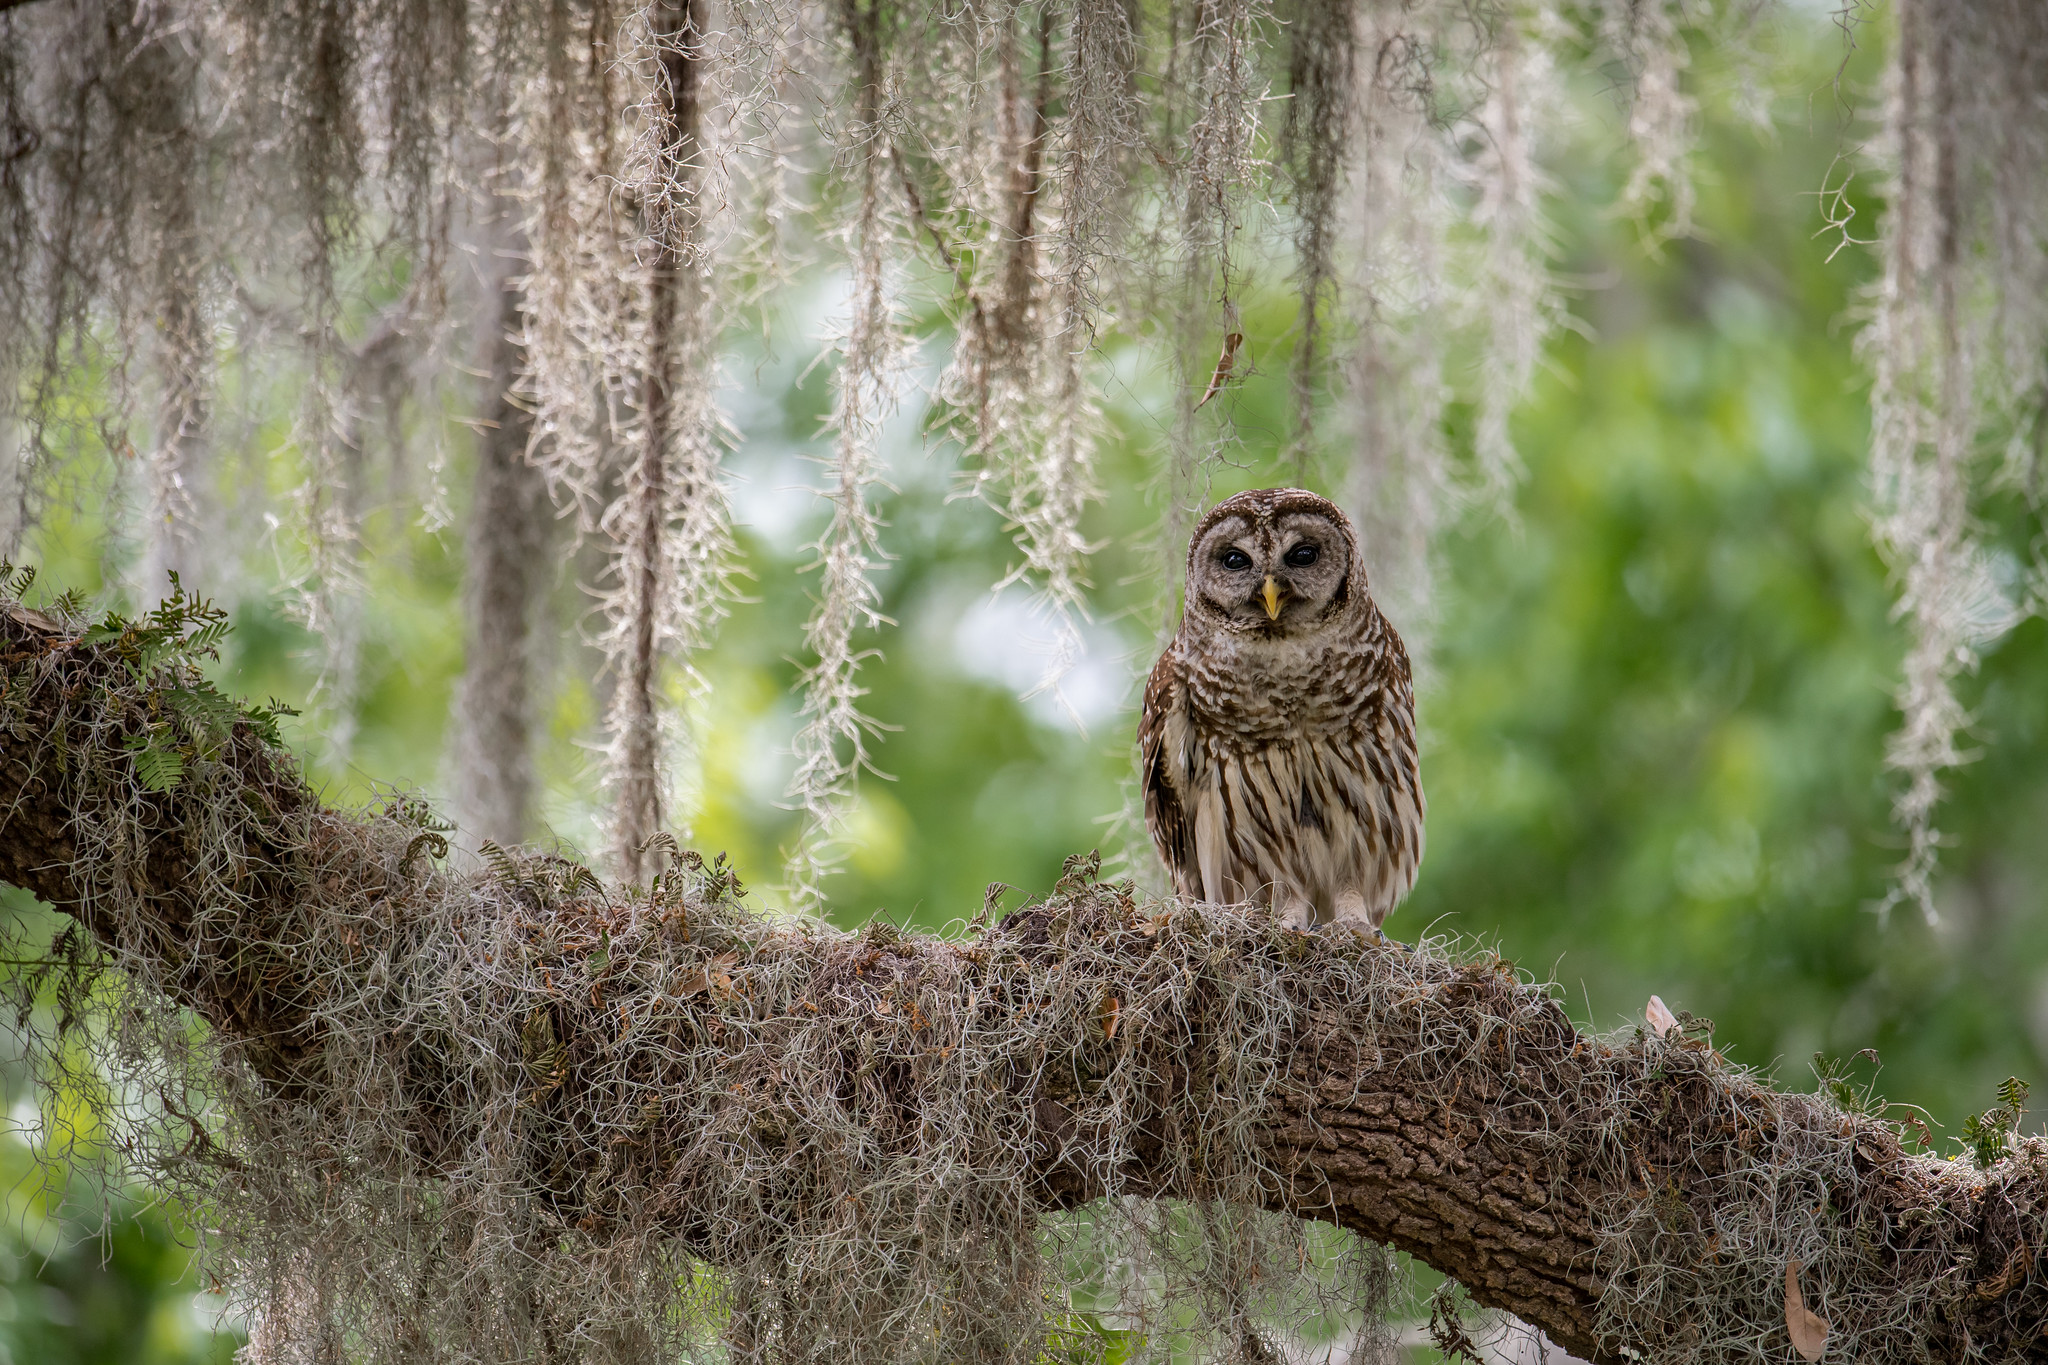
Being a wildlife photographer primarily it is often difficult to have a specific style as many times you have to work with what you are given. That said, I put a lot of effort into always being at eye level with animals or trying to get action photos such as osprey diving for fish or peregrine falcons in flight. 

I also like to do wide angle wildlife photography using remote sensors with camera traps to get a more intimate closeup view of animals not often seen. 

My primary gear at the moment is a Nikon D5 and 600mm f4 VR lens along with a Nikon D810 and 80-400mm lens.
What is your favorite subject to shoot?

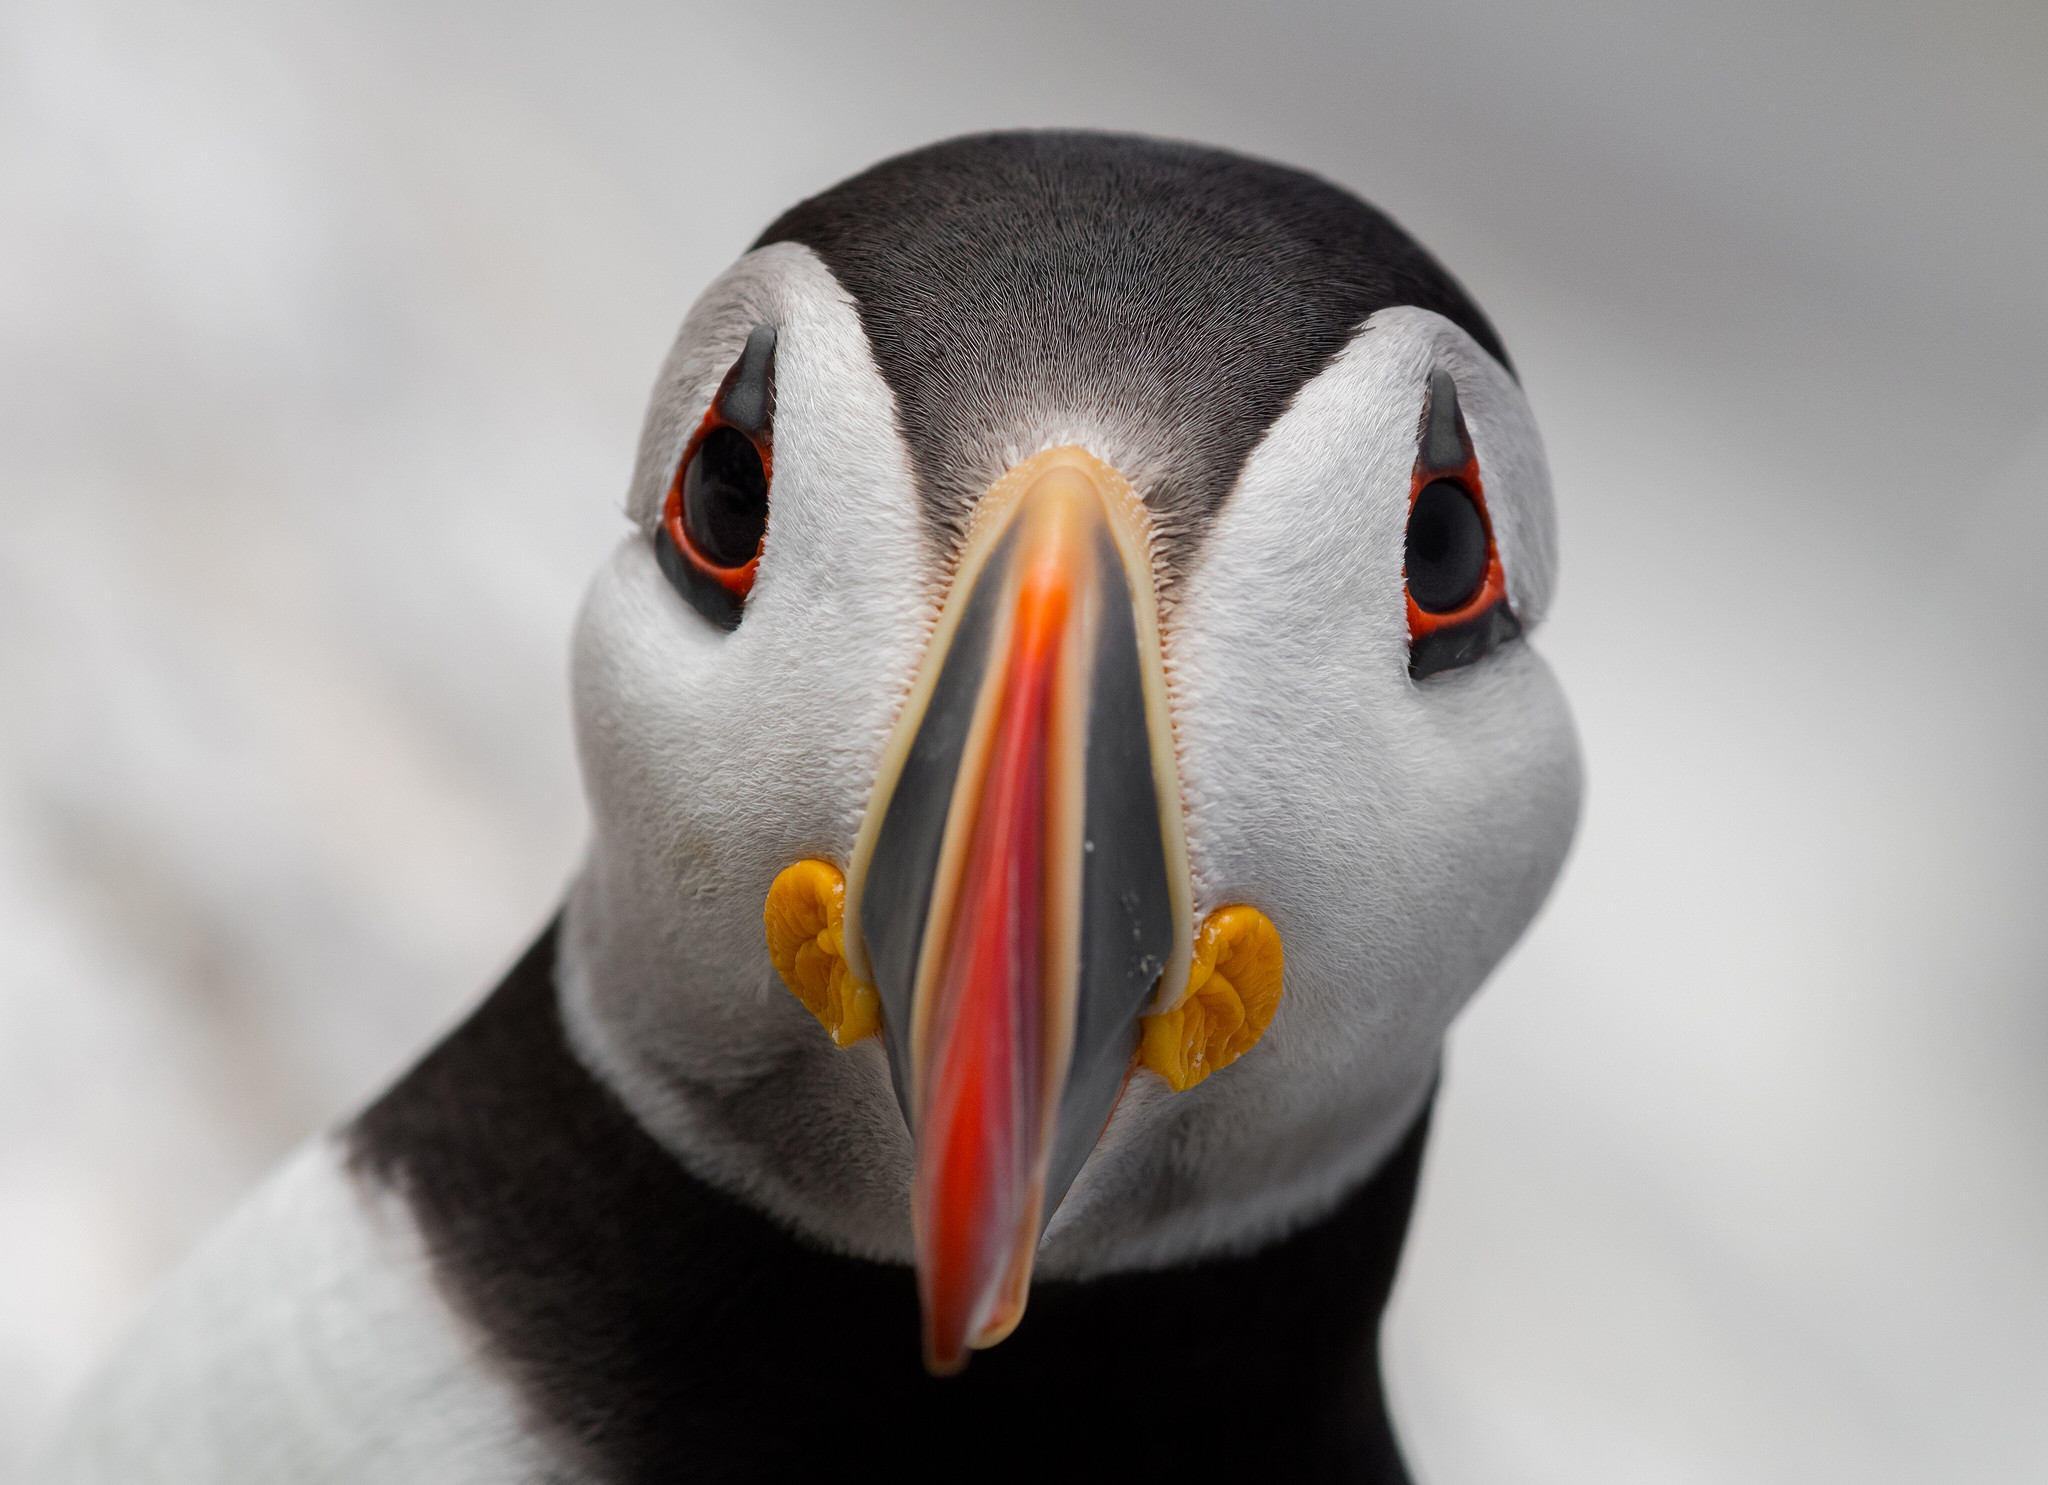
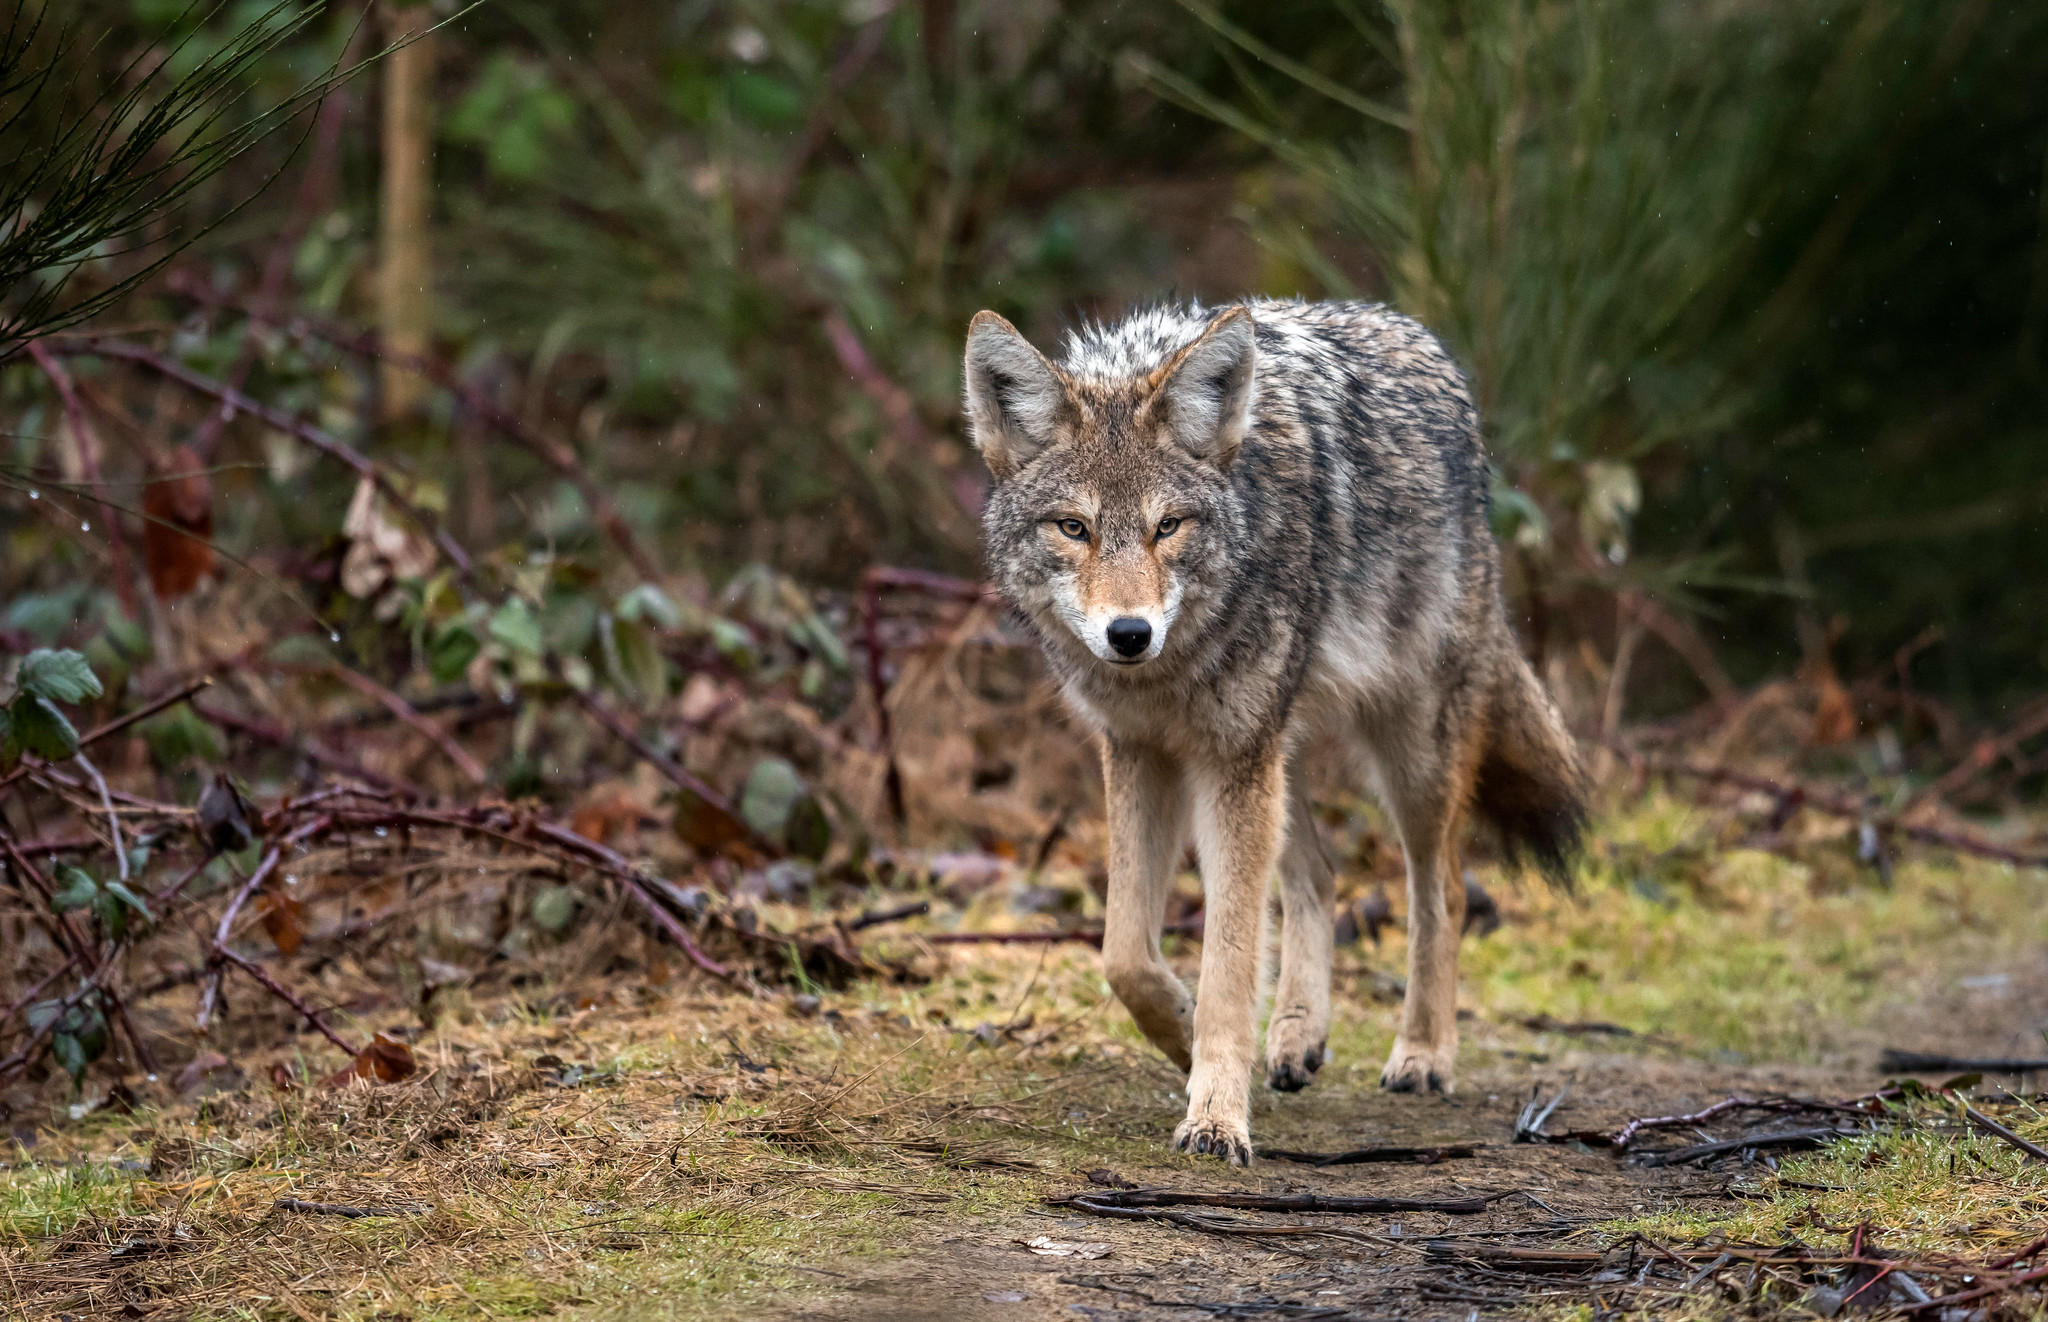
Birds of prey are easily my favorite subject to photograph. There is something so majestic about seeing owls flying or bald eagles fishing, etc.
How does Topaz Labs software help your editing process?

Topaz software has completely changed my editing process. DeNoise specifically is a miracle software. It has allowed me to keep shooting much longer than I ever have been able to by letting me crank my ISO and still get useable images. Even when it’s not needed I still run my photos through DeNoise or Sharpen AI as they make photos that are already sharp that much better!
How do you find your inspiration?

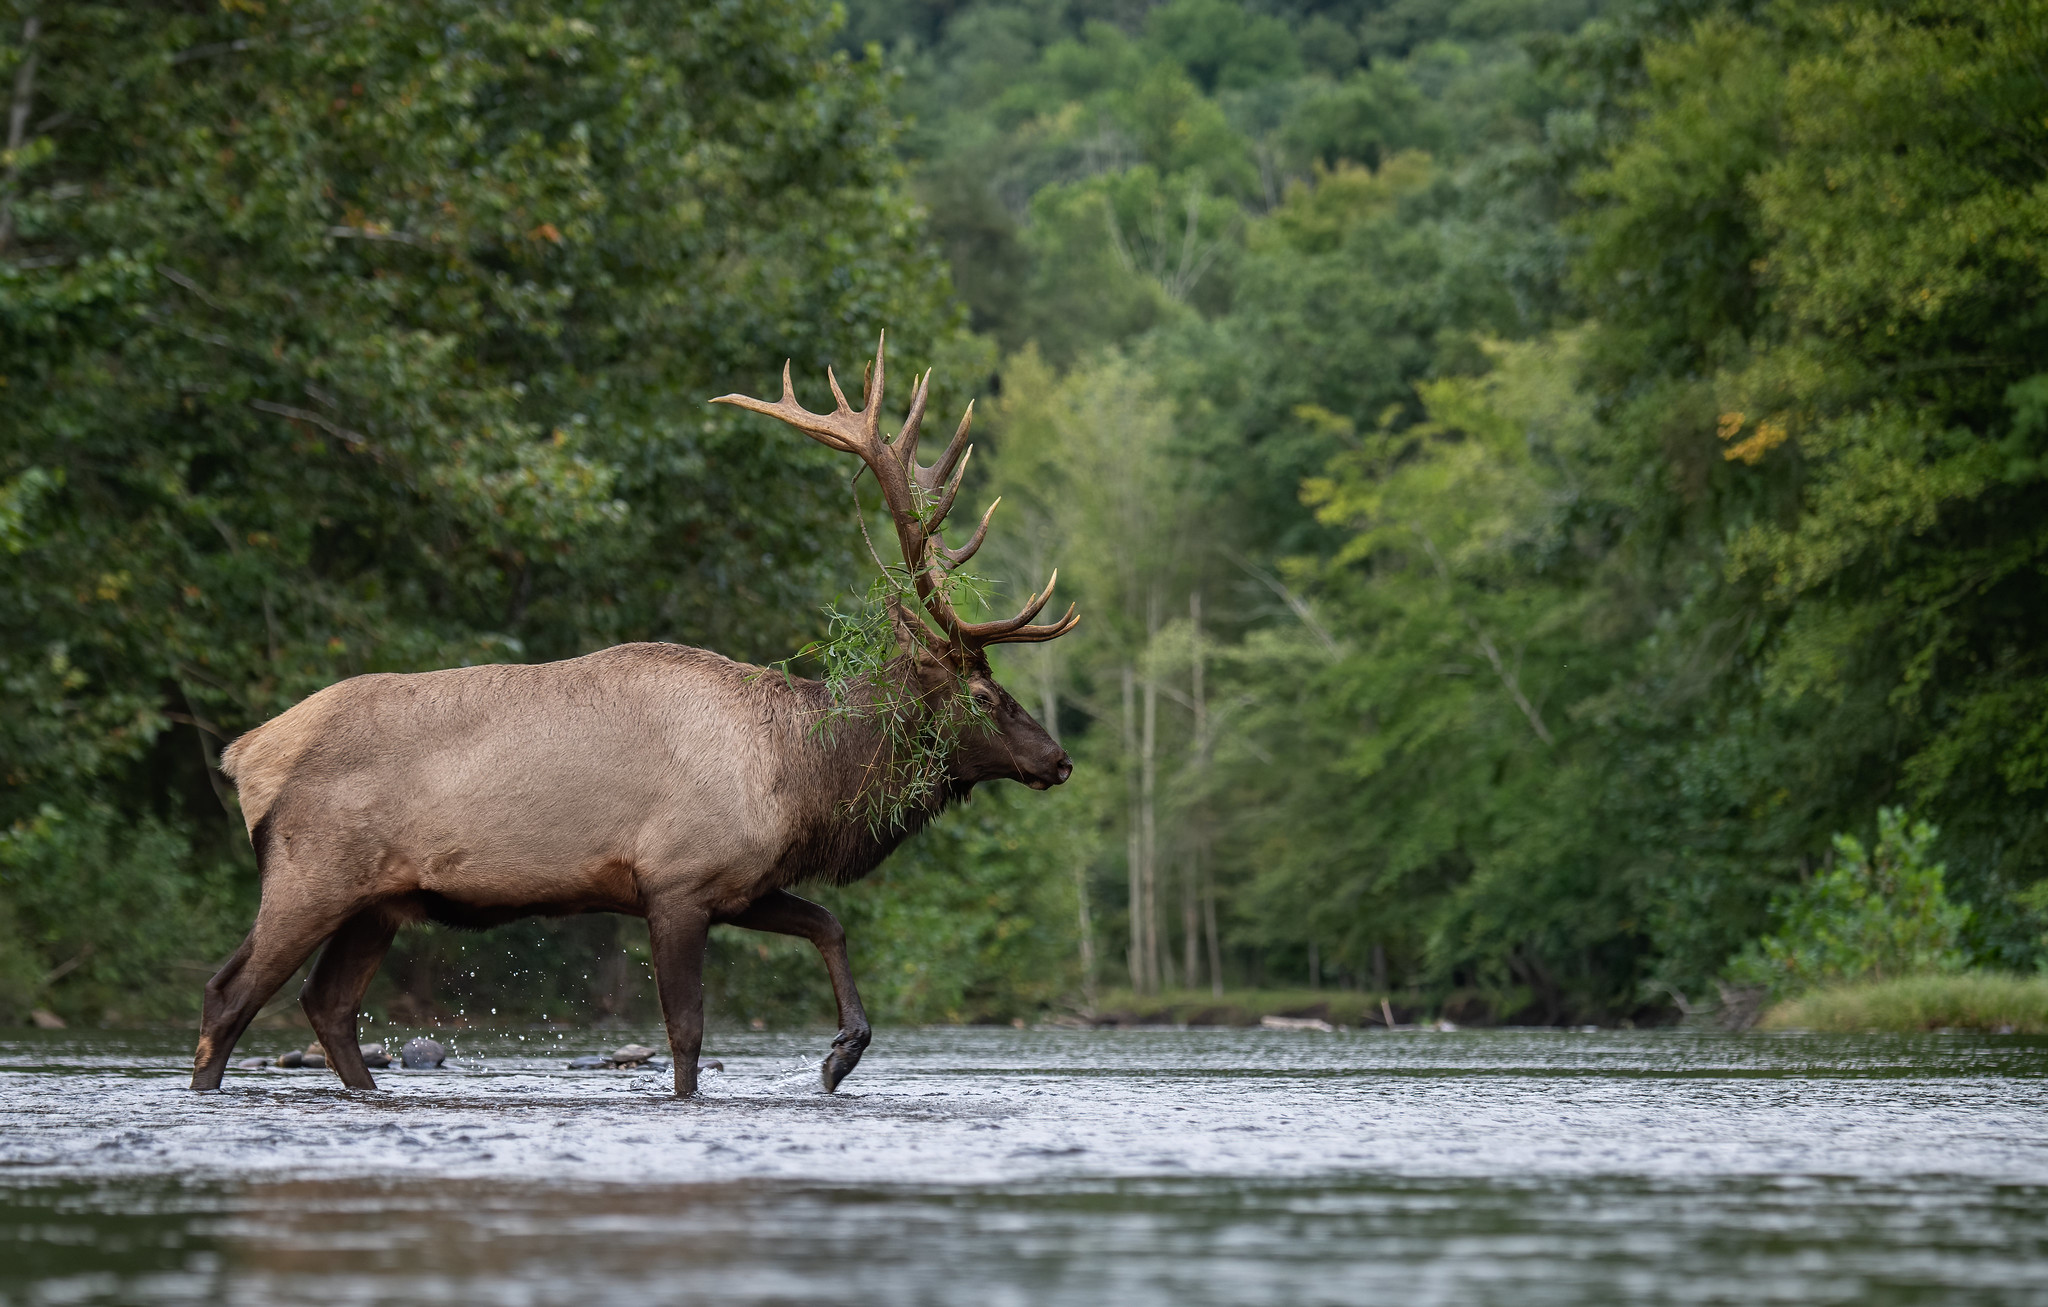
My inspiration is simple these days. Since becoming a full time wildlife photographer it’s become so much more apparent how fragile this planet is and how much help it needs. My inspiration and goal is to both raise awareness as well as helping people relate to wildlife. I have seen distinct personalities in many animals and I believe they should be treated equally. They feel fear, pain, and build bonds with each other that should not be broken by humans. I’m afraid people will not realize how important animals are to the environment and our own existence until they are gone. 
If you could only shoot with one lens, what would it be?

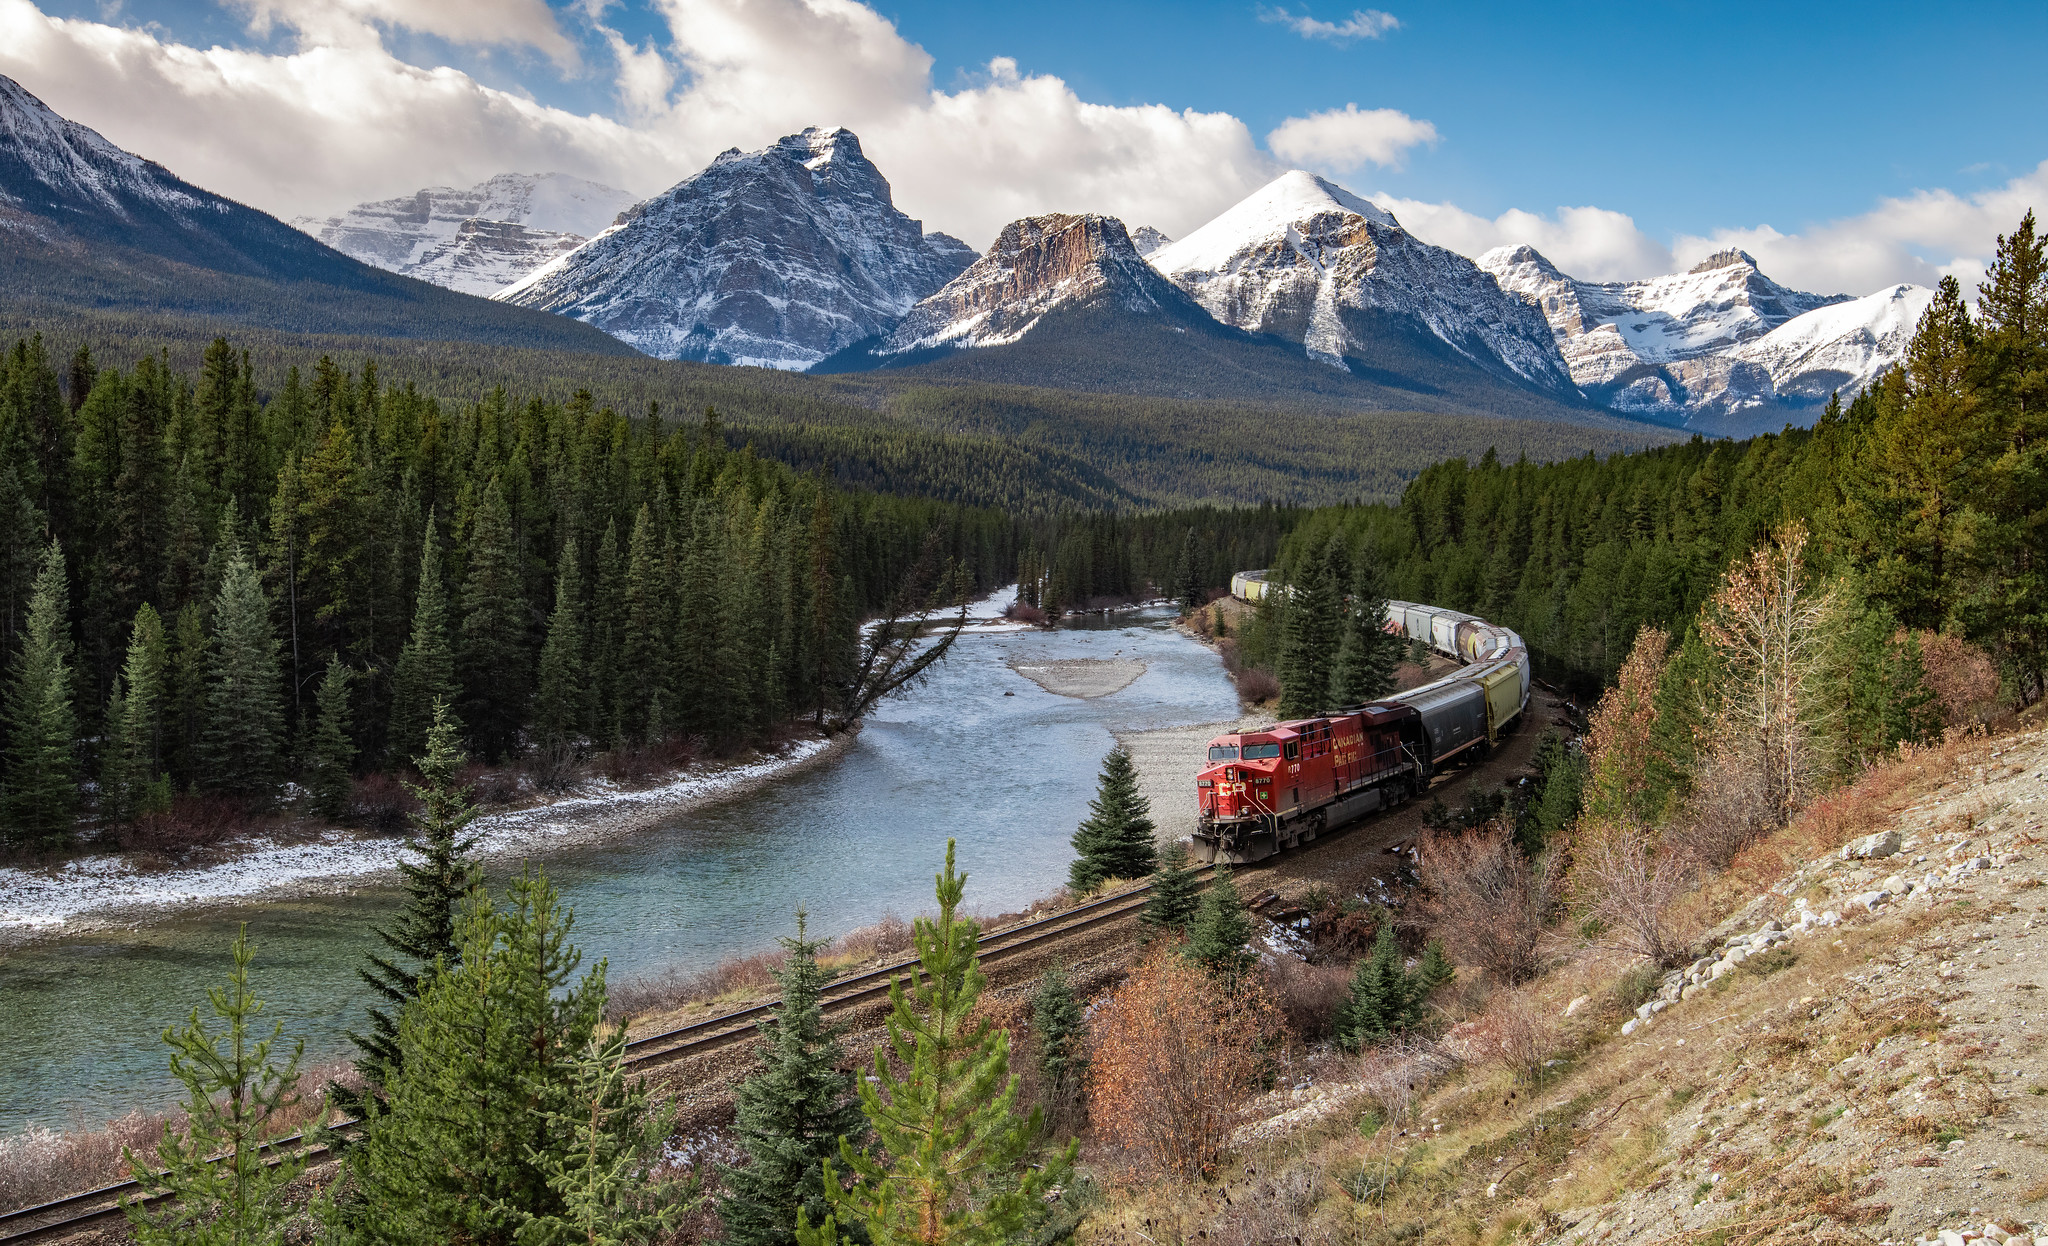
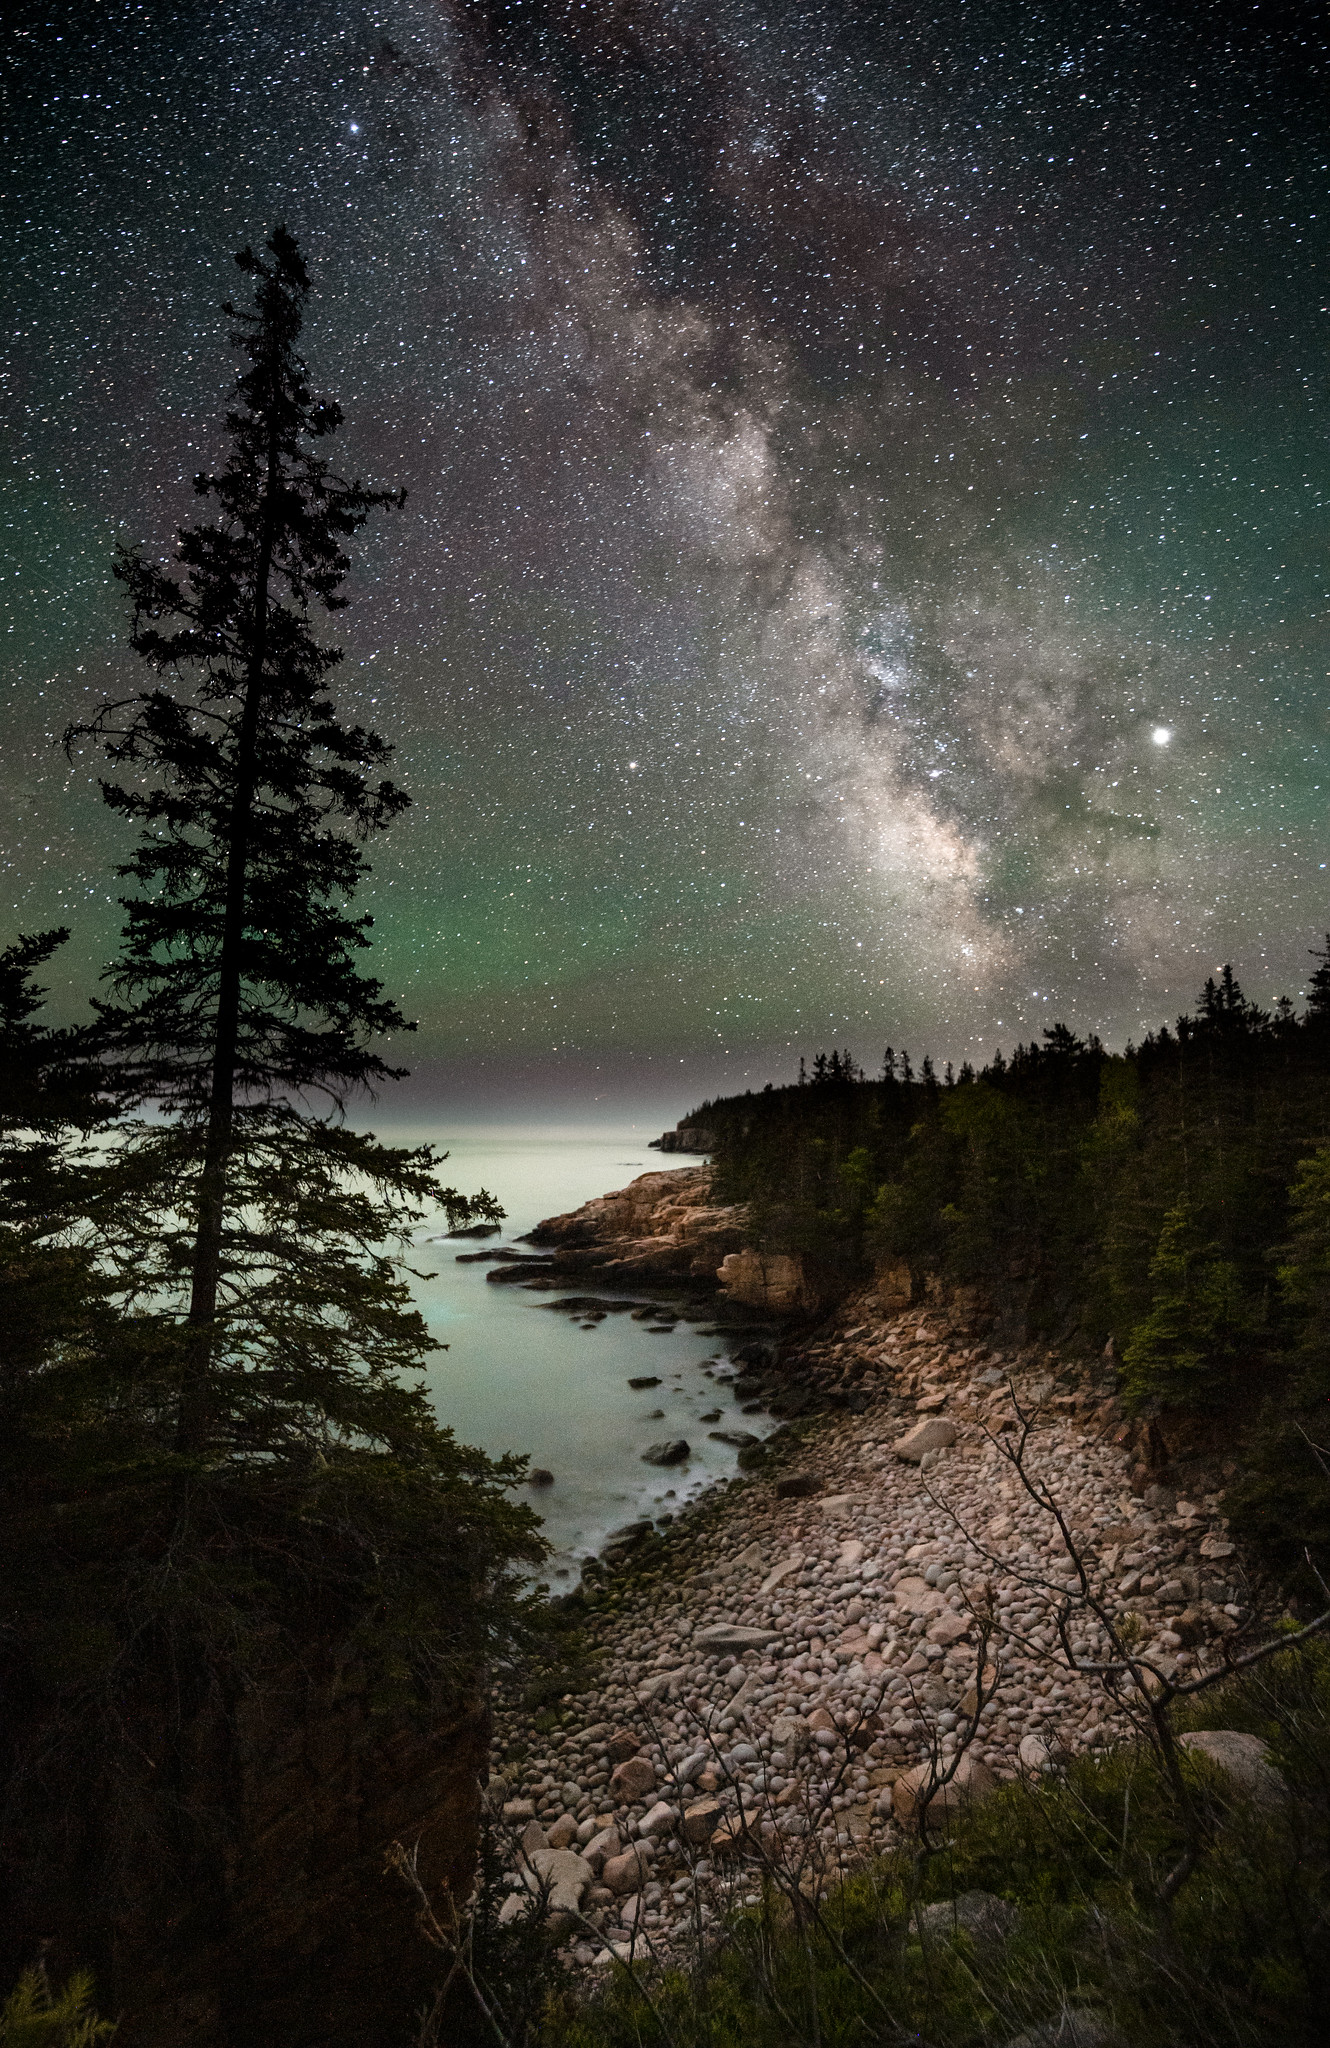
Very tough question. I think if I could only have one it would be my 600mm lens. I love many types of photography such as landscape and astrophotography but my passion is wildlife and the 600mm is the perfect lens. 
What is your biggest challenge in photography?

The biggest challenge for me and many others these days is being different. There are so many photographers now but locations with wildlife are becoming less and less. Now with social media and other internet sites, once an animal or location is found, word travels quickly and it’s rare that I am ever alone with an animal anymore sadly. 

Follow Harry Collins on Instagram at @harrycollinsphotography or visit his website at harrycollinsphoto.com.

Posted on

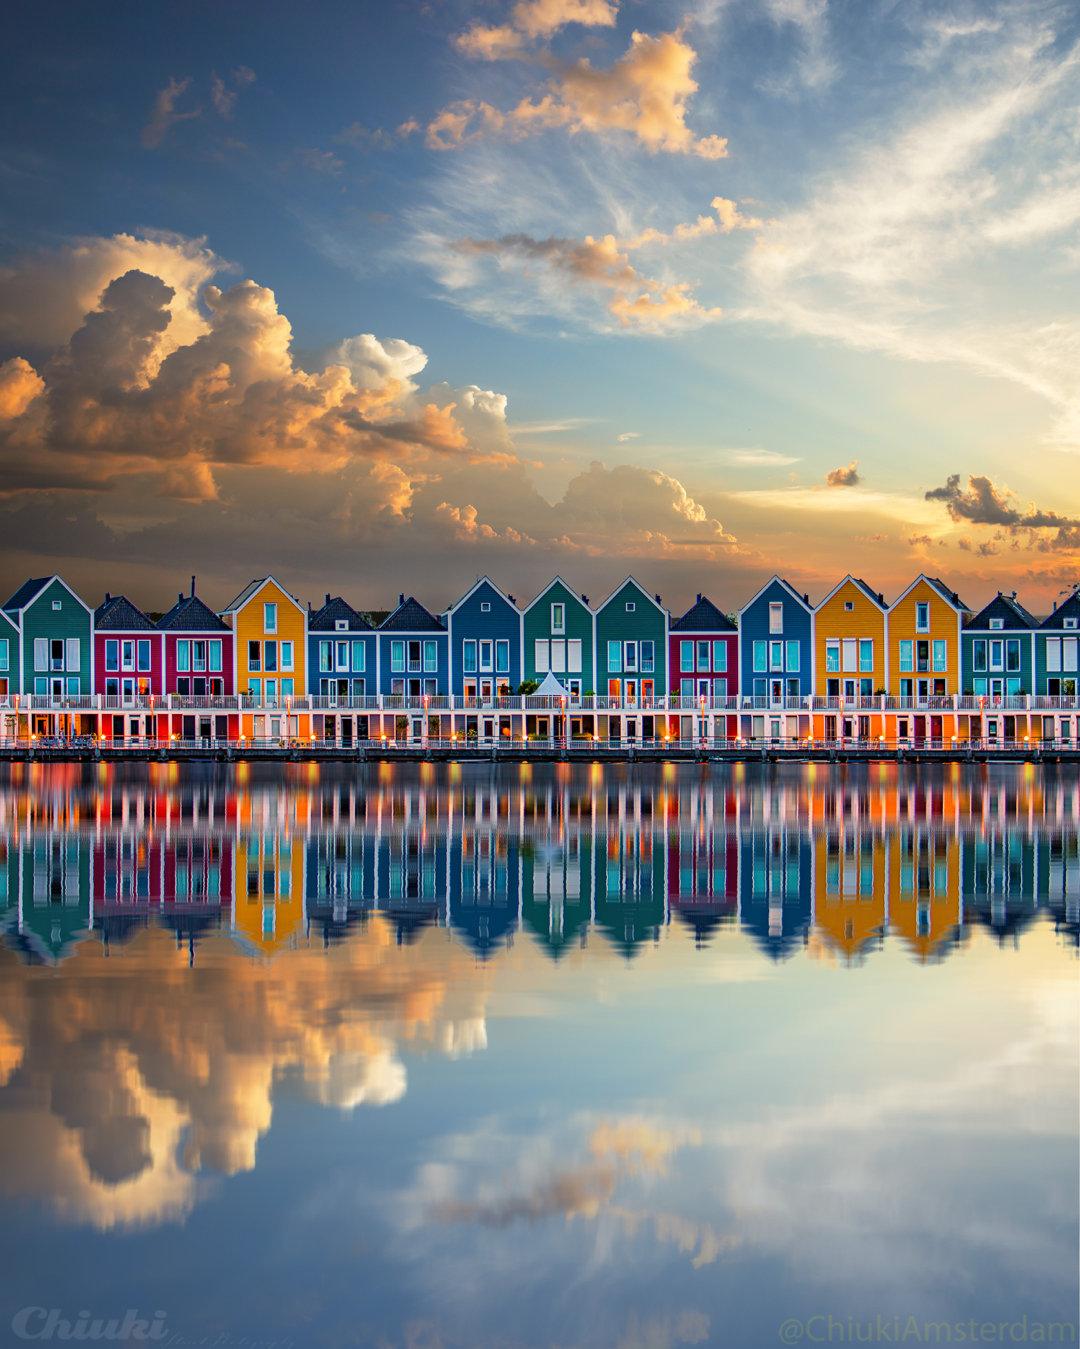
Featured Interview: Travel Photographer Chiuki

We interviewed pro photographer Chiuki. He’s traveled most of the world — 167 countries and counting — and captures stunning images that will make you see travel photography in a whole new light.

Tell me about your background. How did you get into photography?

I’ve always been around cameras and photographers since I can remember, but I got my first photography job when I was 14. A local newspaper hired and trained me to be a photojournalist. I was given assignments to cover, but was also free to find other newsworthy items — which started my love of street photography. I was taught to ‘tell a story’ in as few pictures as possible, but also write a small article to give more context and detail to the photos. At that time, everything was shot on film. I made contact sheets then decided which frames to print, how they would be cropped, etc., then handed them over to the editor with my story.

Some years later, my best friend (a pinup artist) asked me to help him make reference photos for his paintings. He would ask random people to pose for him, and I built a photo studio. Eventually he wanted to approach specific models from magazines and movies to collaborate. After seeing his work and the pictures we had been making, everyone said yes. Other artists also began to approach me, as did the models’ friends and agents. Before long, I was approached by Playboy, Penthouse, and several other magazines and video companies to shoot their models as well as promotional material. It went so well, that I soon created a merchandising and promotions company around the artwork.

Describe your photographic style and setup.

I shoot 2 types of images — travel/hospitality as well as female nude/erotic & lingerie/boudoir. For studio work, I use Hasselblad and Canon with Elinchrom. For travel, I use Canon and Sony/Sigma ART plus SLIK & 3 Legged Thing with Manfrotto gearhead. I especially like the increased cropping options I get from the bigger sensor.

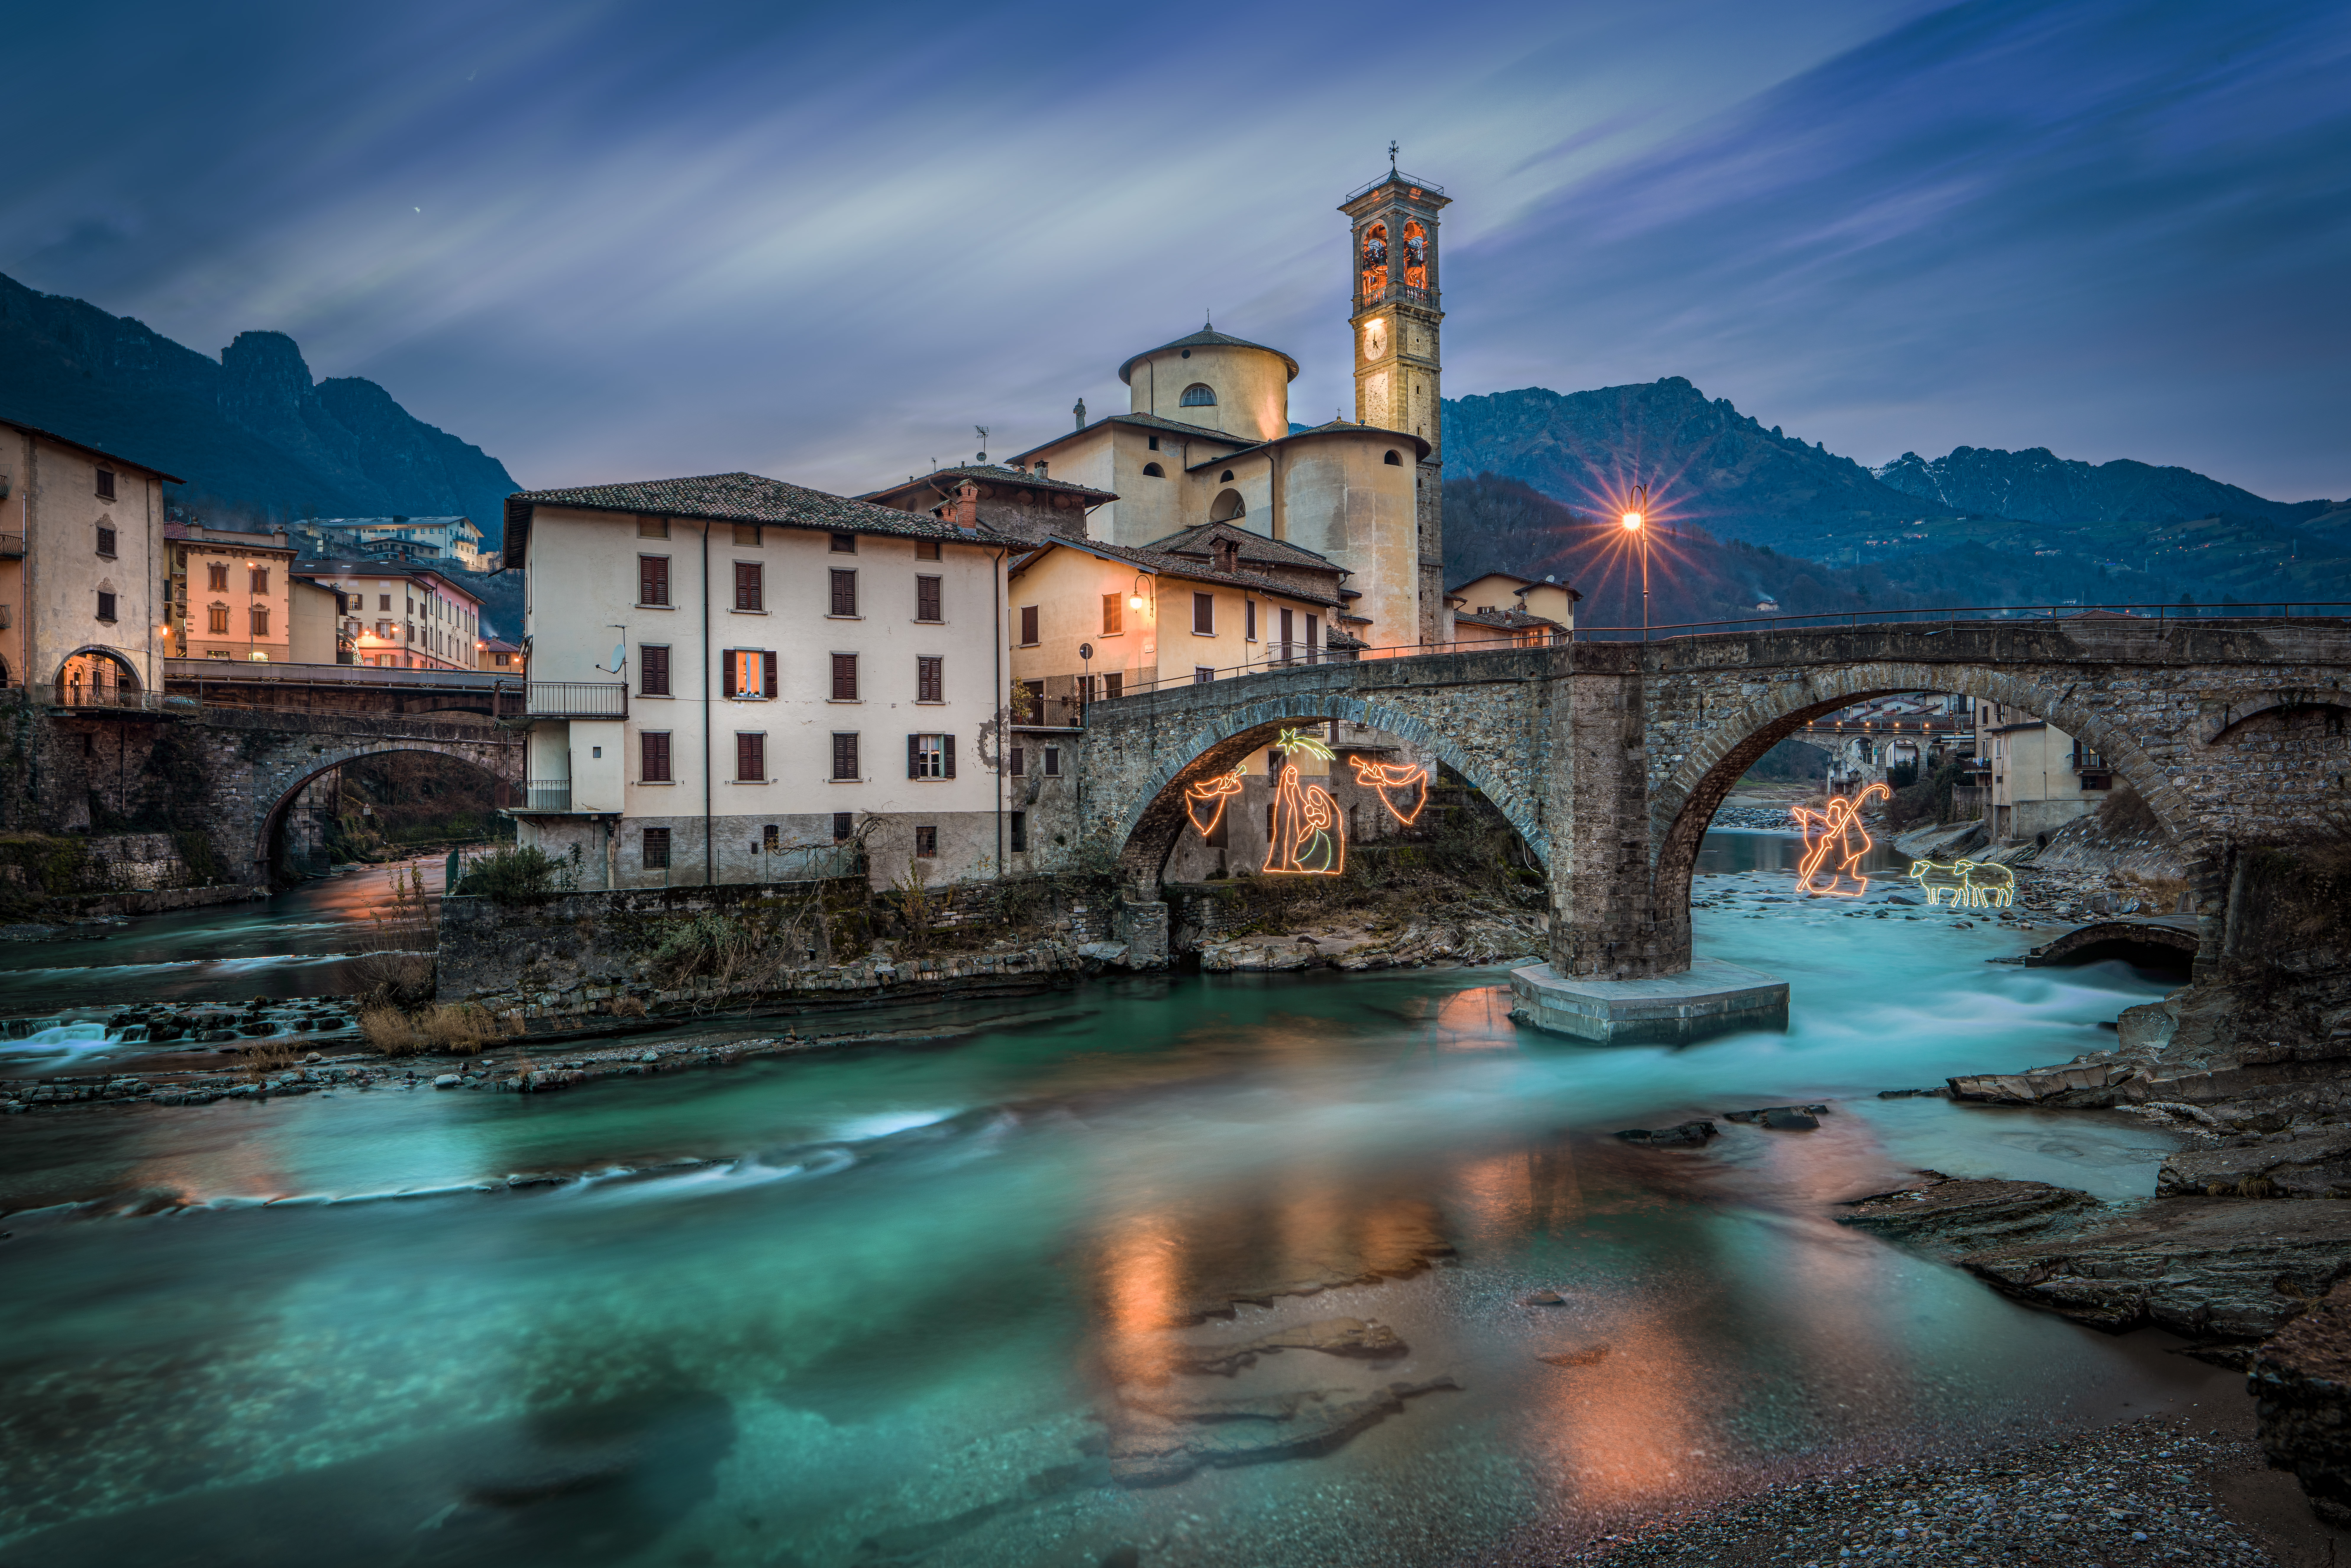
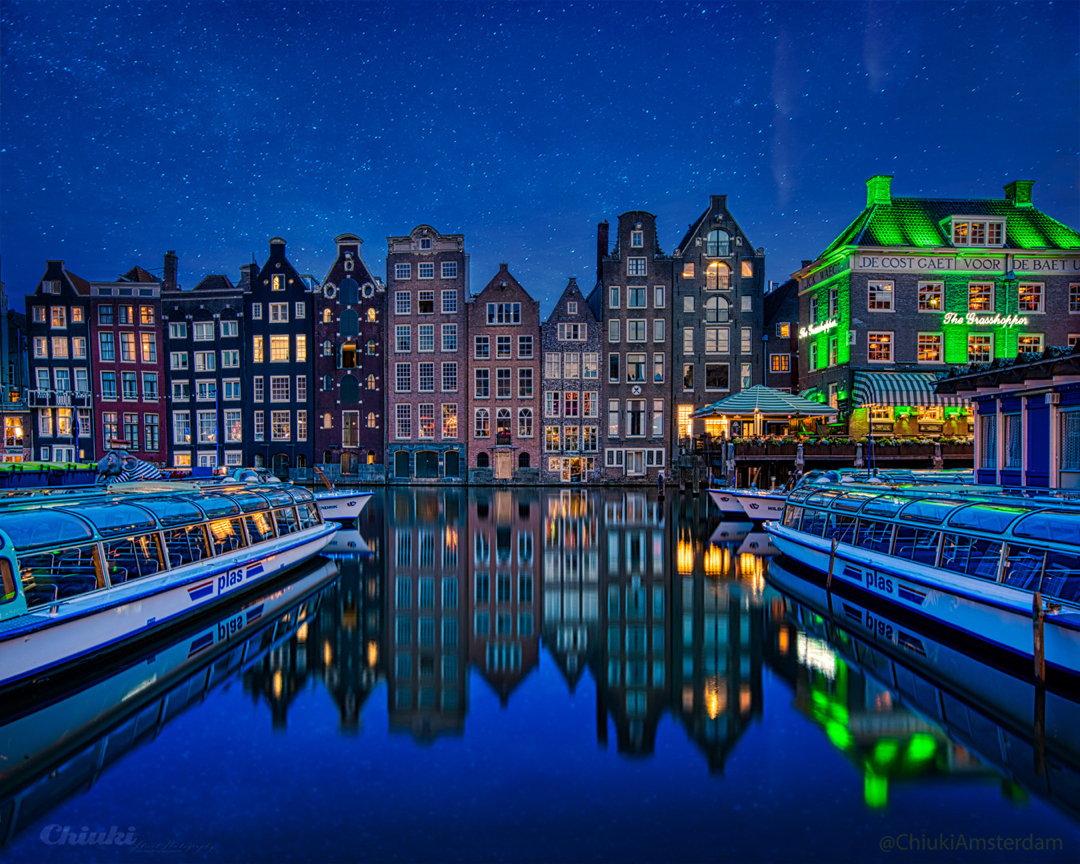
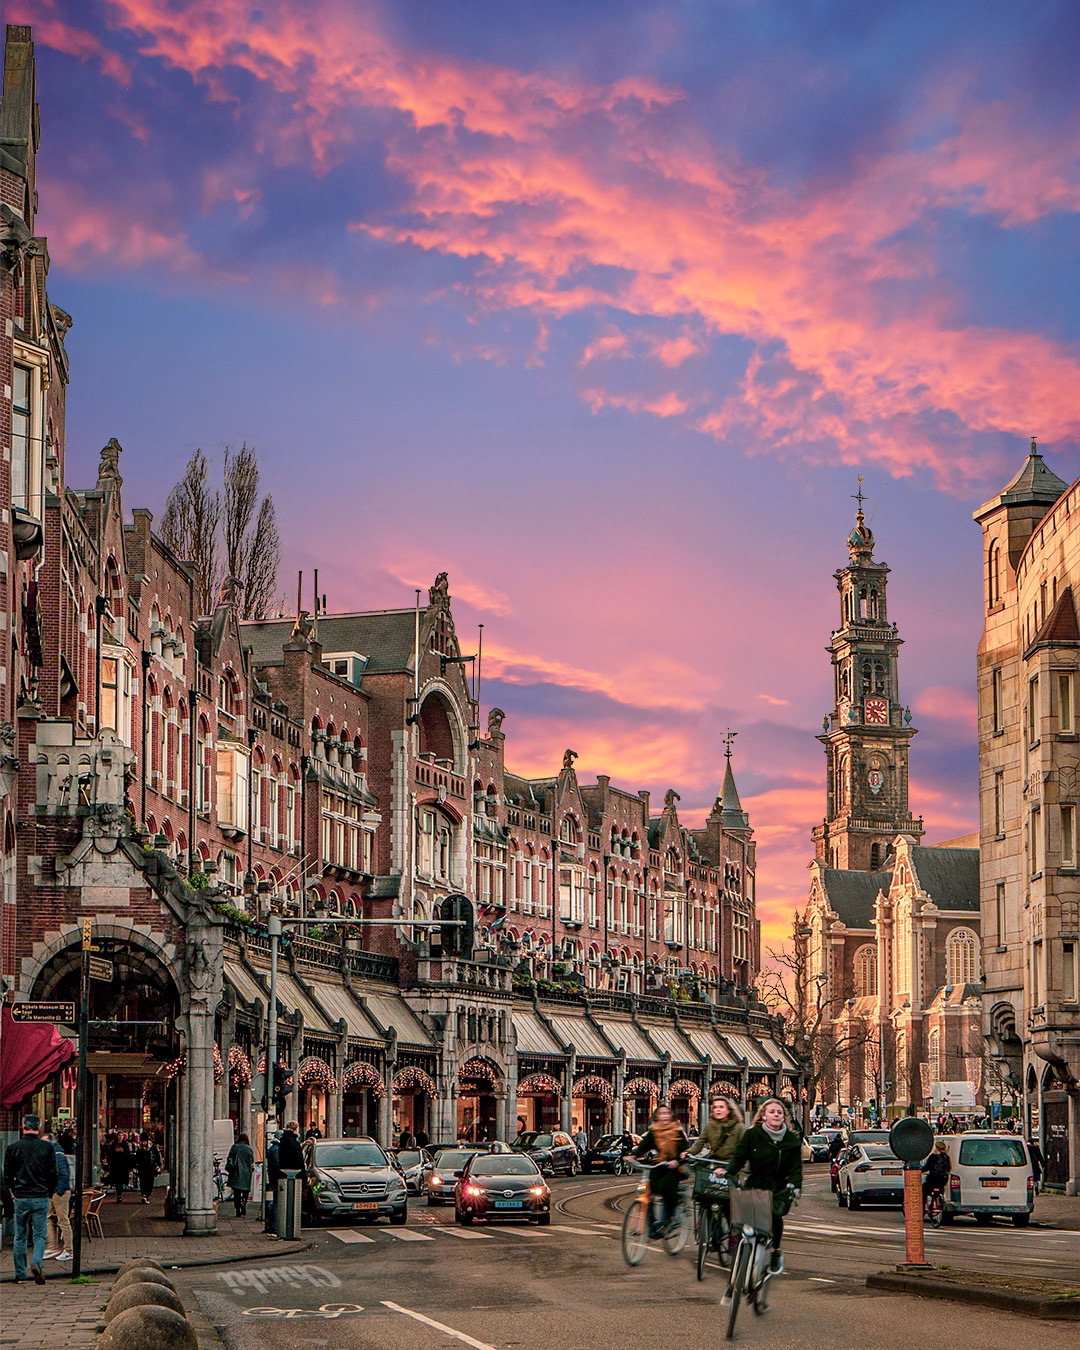
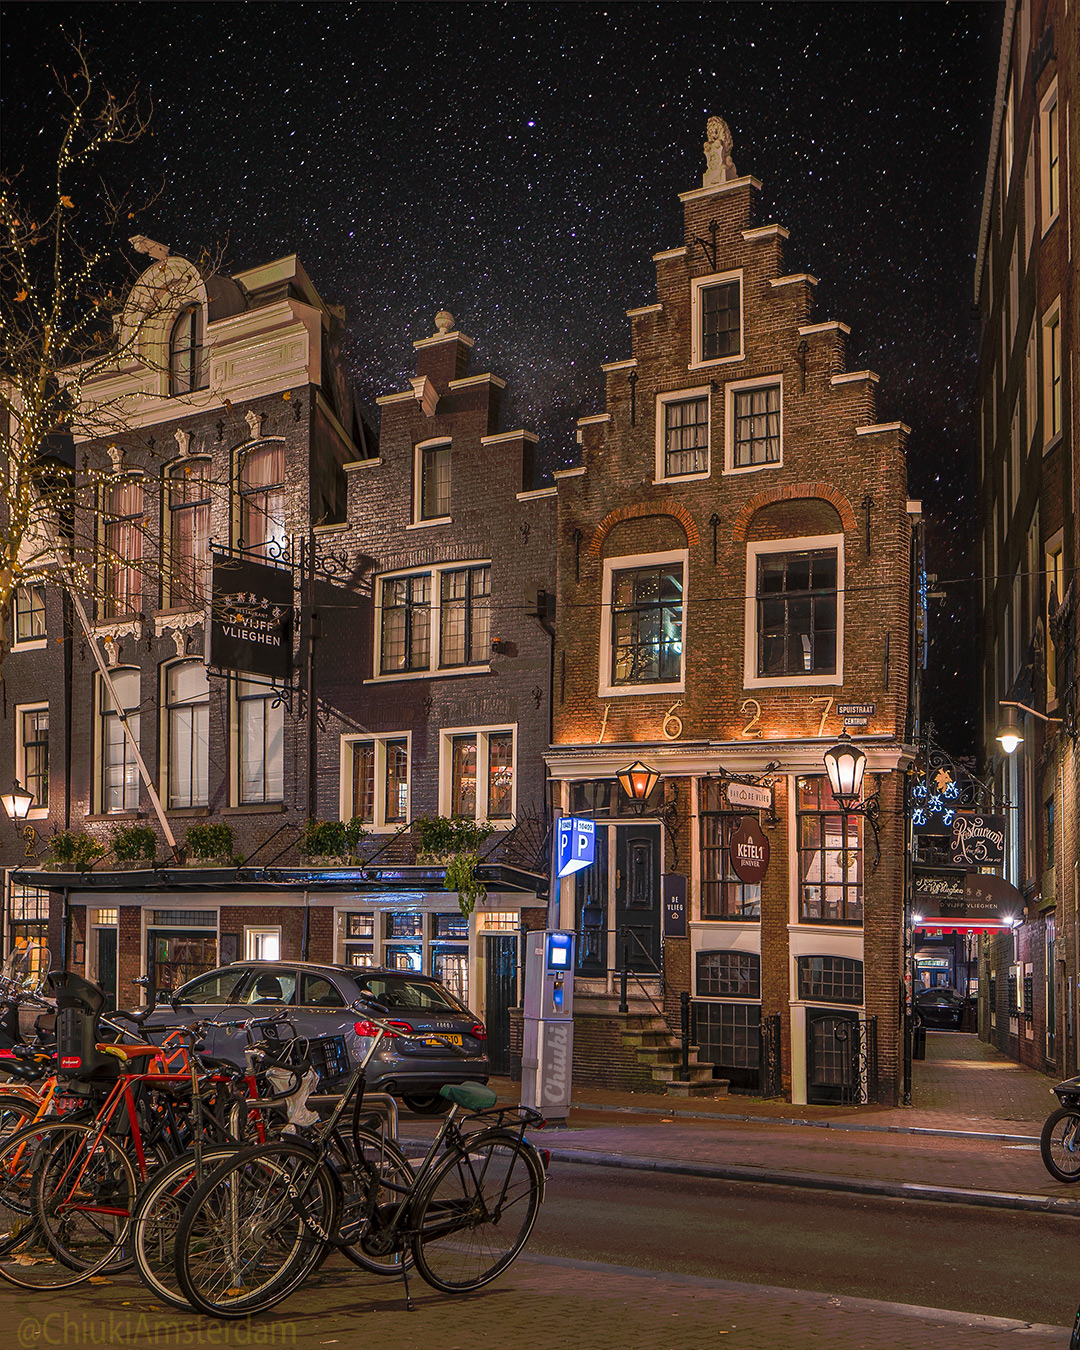
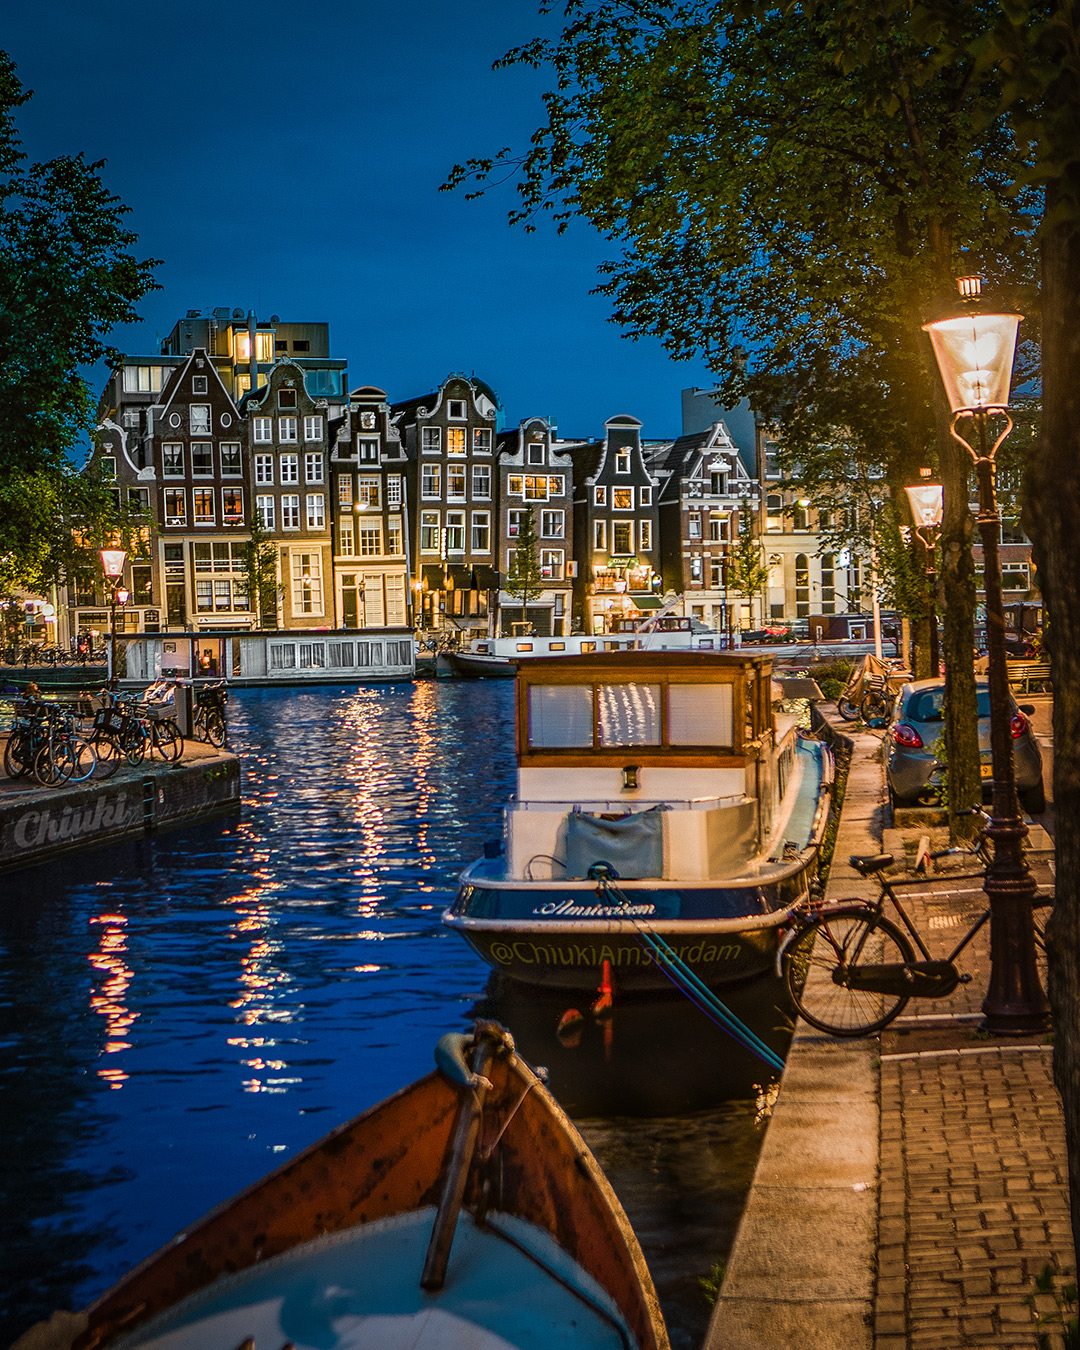
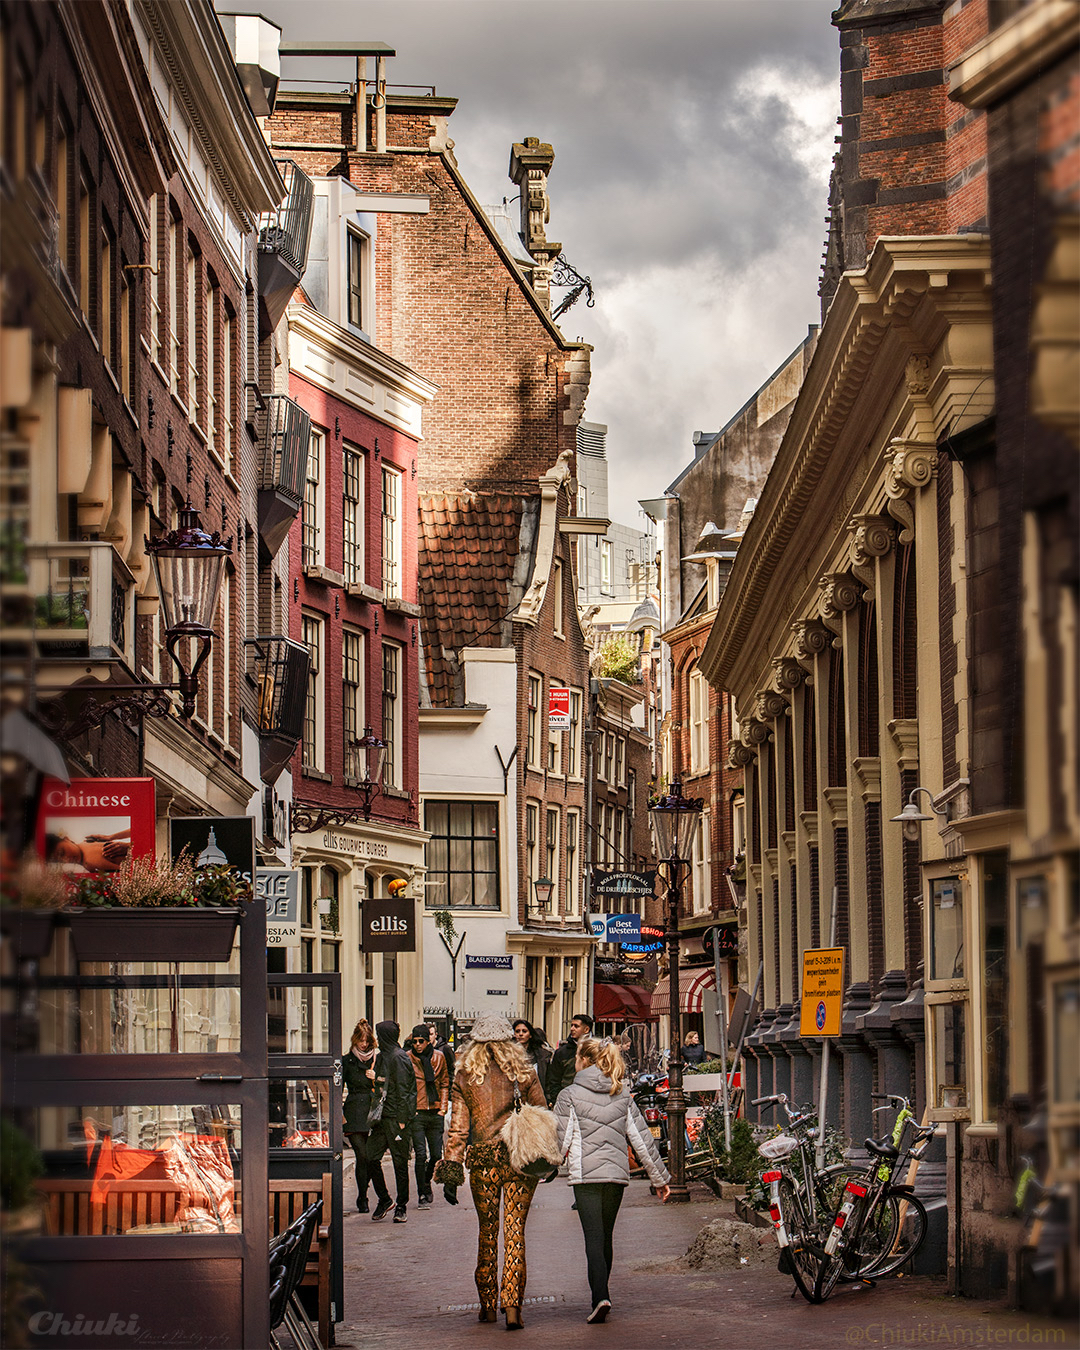
I live in Amsterdam, and from the moment I saw it, I fell in love with the beauty of the city and people. I had no preconceived notions but rather took the time to explore and really ‘see’ the city. I used a cheap crop-sensor camera for a 365 project — every day for a year, I posted a picture of something unusual, beautiful or amazing and wrote about it in Dutch (with help). This accomplished 2 things — to motivate me to get out there and explore, as well as interact with the locals in their language. I highly recommend exploring rather than picking up the travel guide or going to those few famous photo-op spots. Make the story your own.

What is your favorite subject to shoot?

I love to shoot travel images — but you don’t always get the conditions you want — even with the best planning. The light, the weather, the clouds, construction — a million variables often make it a real challenge. In the studio is much easier. Almost every aspect can be precisely controlled, which is why my favorite subject to photograph is women. To be able to pose and capture the beauty of a woman in a photograph — for me, there’s nothing better.

How does Topaz Labs software help your editing process?

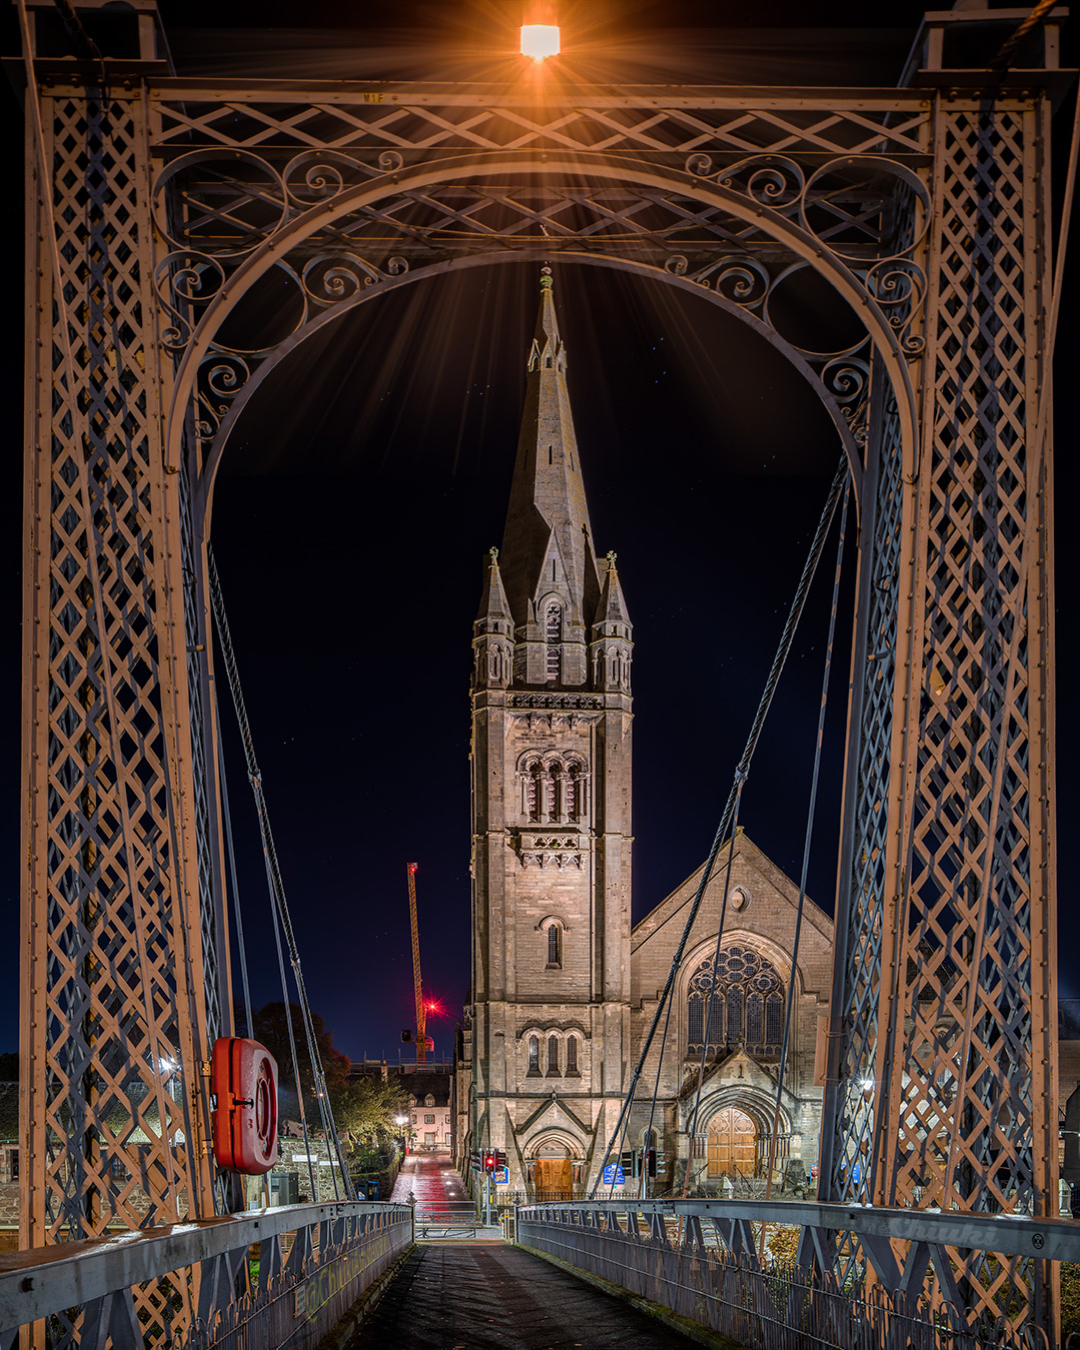
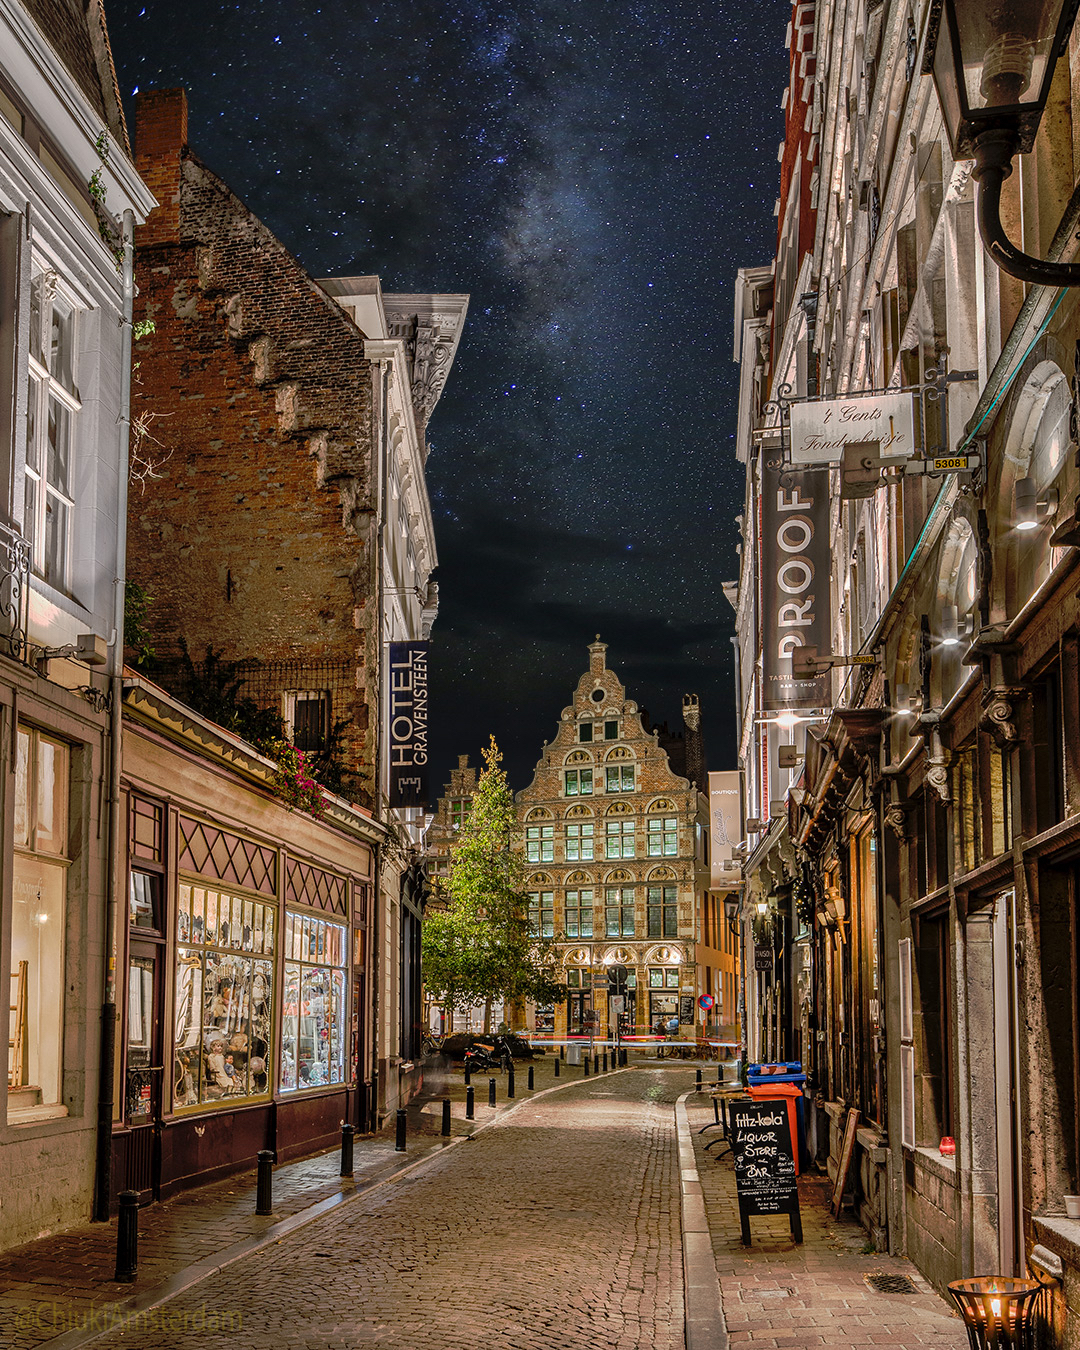
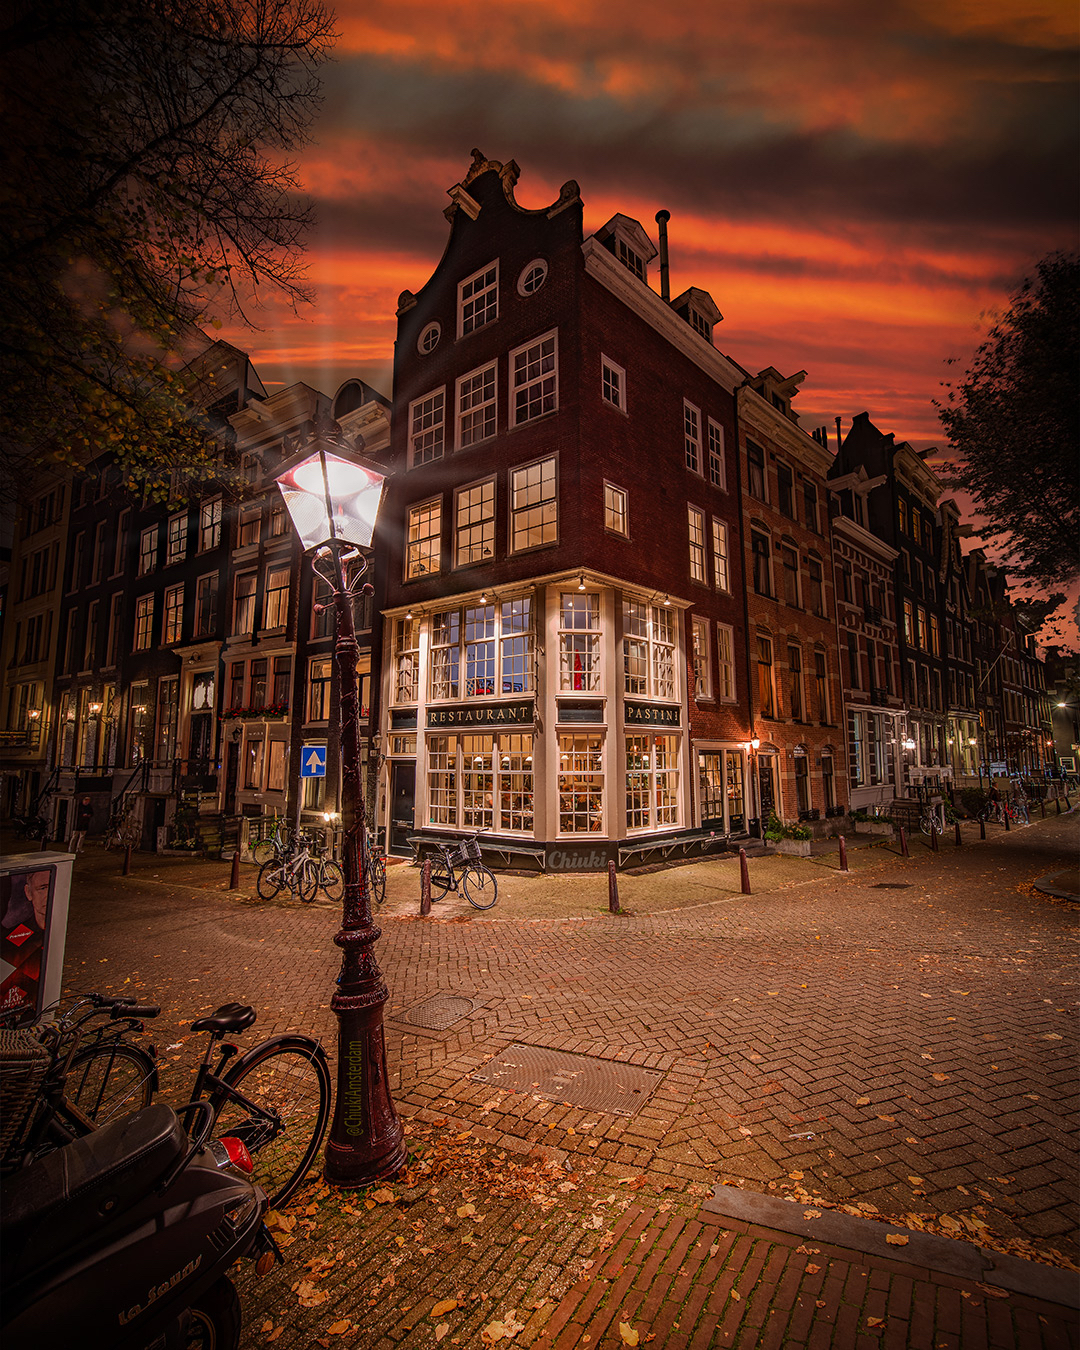
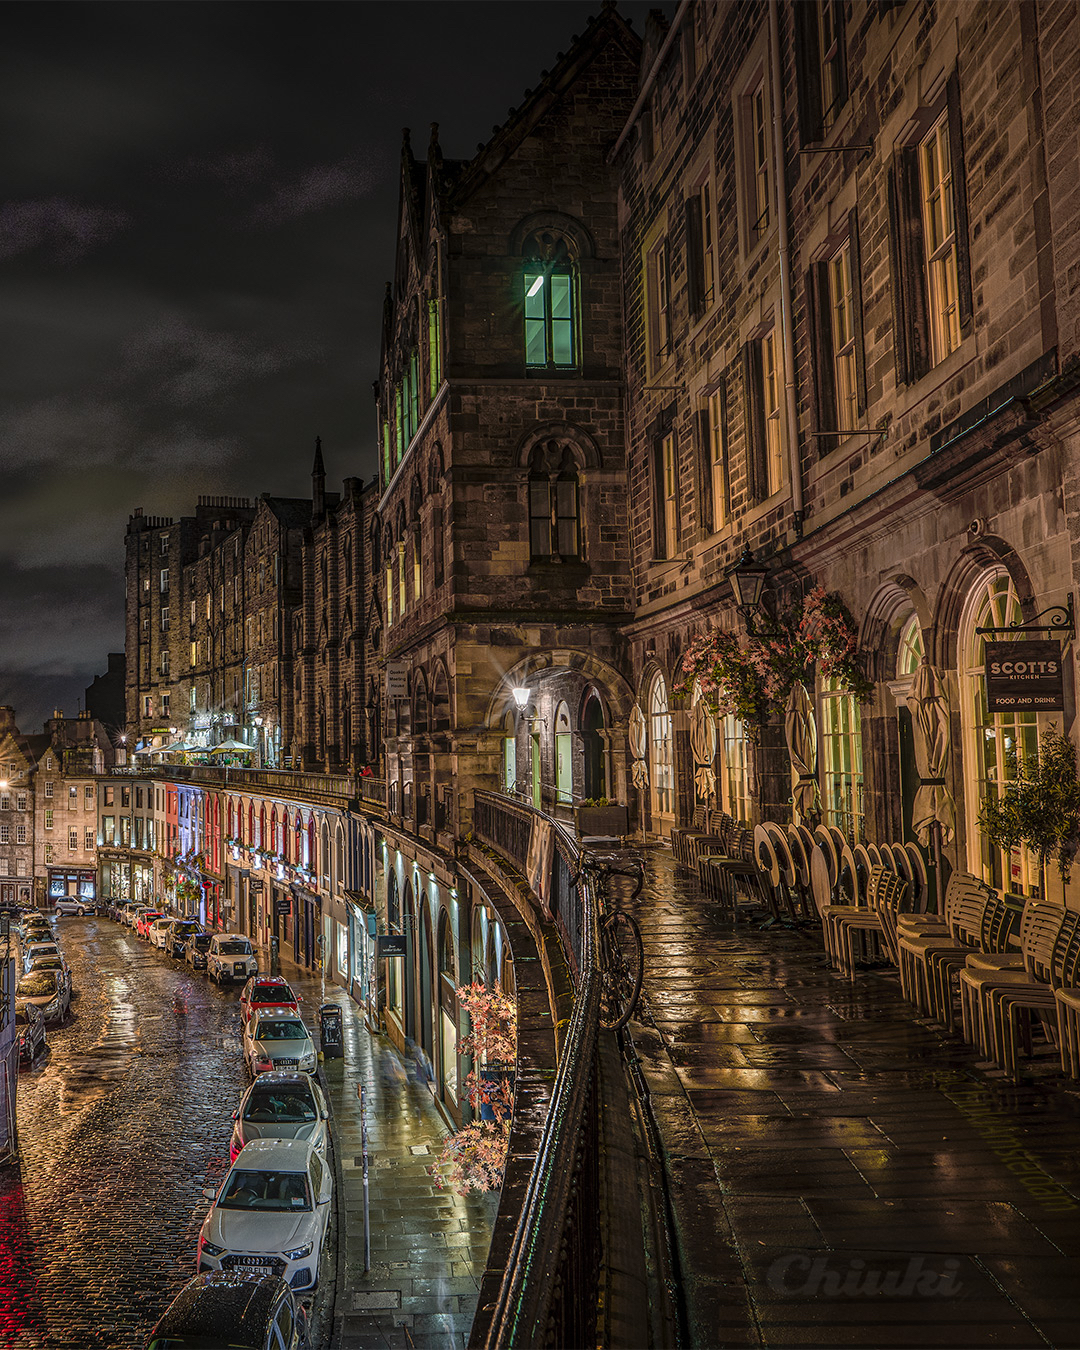
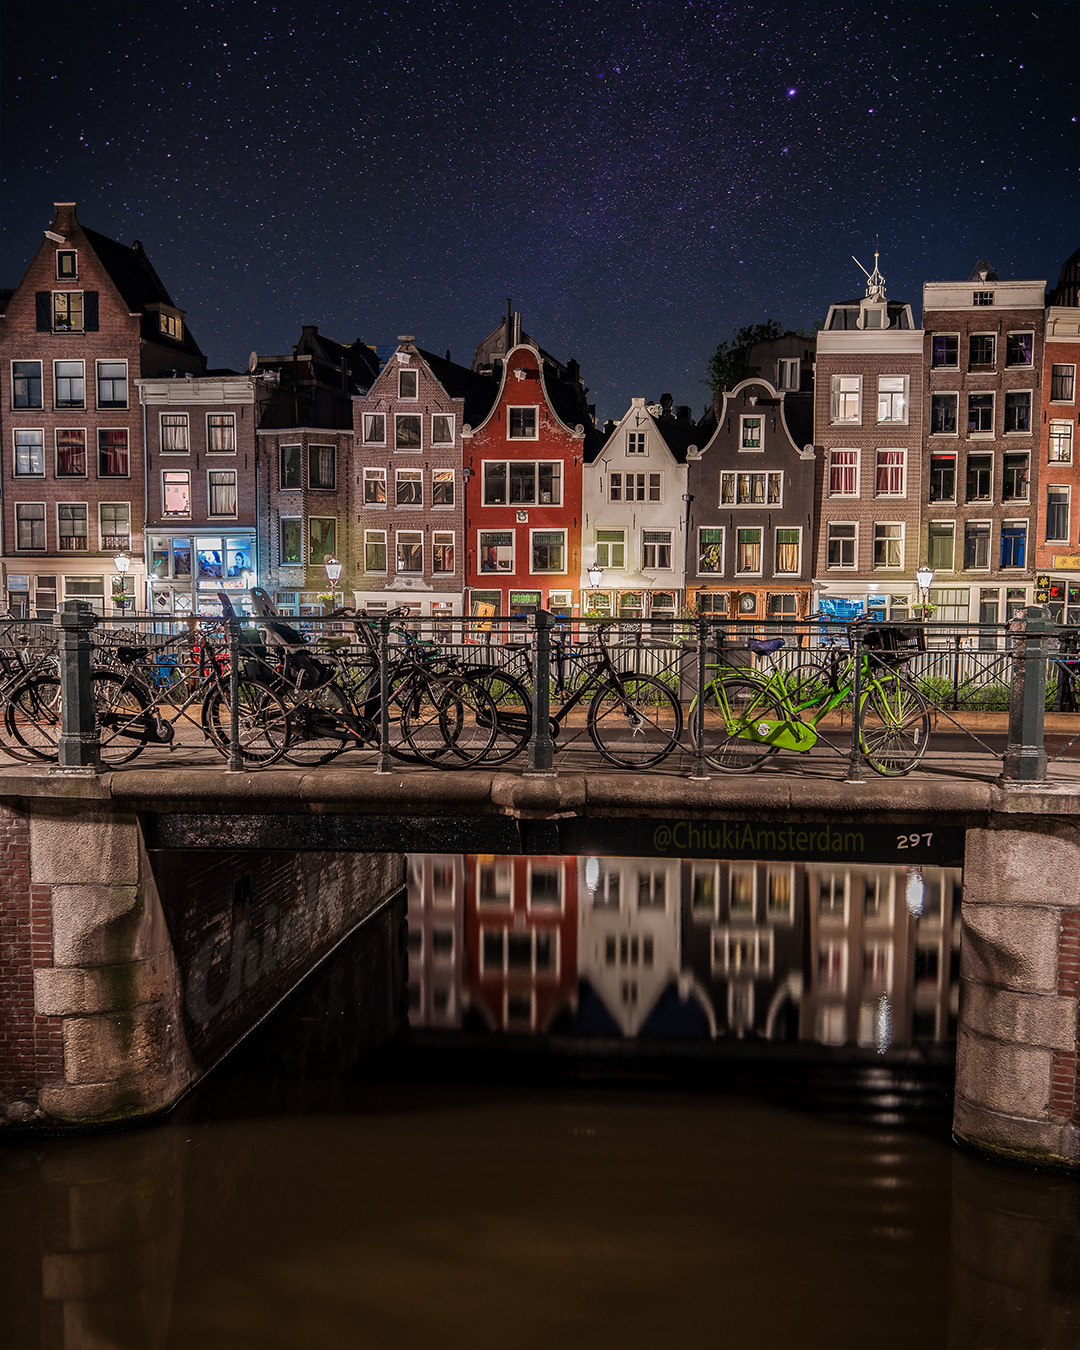
For my travel photography, I often shoot in the evening and at night. I love the light coming from windows and highlighting the texture of the buildings and streets — small details of light and shadow and colors — can tell a story. I love creating images that show the power of a building or city combined with dramatic lighting that transports the viewer into the scene. So rather than making snapshots, I take a lot of time to really look around and capture the scene in a way that says something, that invites the viewer to envision themselves in those scenes. But shooting in the evenings has huge challenges. People move, ISO needs to be very high to freeze motion at night. Topaz has the best software for my workflow — to remove the noise from high ISO shooting, to mask windows and objects, to sharpen fuzzy details from wide open lenses and to prepare images for large format printing. It’s simply the best application suite available for my workflow.

How do you find your inspiration?

I get inspiration from taking my time to explore and look at a scene. If I move too quickly I miss a lot. There are so many details and angles to take in — so take your time. Don’t rush. For me, it’s a process — to see, to understand, to choose, and to capture. In the studio it’s the same — before we get started I get to know the person. I ask a lot of questions to better understand how they see themselves, but also because I’m extremely curious. By asking questions, I get not only a deeper understanding but also inspiration. Someone will say things that trigger ideas and enthusiasm — it’s those moments that make me say ‘Oh! Let’s try this, or let’s try that’. Asking questions is only a part of the process — the equally important parts are listening, and really seeing.

If you could only shoot with one lens, what would it be?

Tough question! I prefer prime lenses, and I love my TSE24 and Laowa 12, but would go for the Sigma ART 20mm for travel. Sorry to say, it won’t cut it in the studio. I would struggle between a few, but ultimately probably the Sigma ART 135 because of the way it renders the face and body. The 105 and 85 are great but I think the 135 is more flattering and also has great color with both Sony and Canon. Let’s not talk about Hasselblad.

What is your biggest challenge in photography?

Making time. We get so busy and have so many commitments. We all have the exact same amount of time every day — 24 hours. It’s up to use to prioritize that time in the optimum way. We make choices and compromises. For me it’s taking the time I need to enjoy both the process and the result. If I rush — I’m almost always disappointed with the result.

Follow Chiuki on Instagram at @chiukiamsterdam.

Posted on 1 Comment

Creating Imagery Driven by Imagination with Topaz Studio

Today we are going over a few adjustments in Topaz Studio, to show you the creativity and control you can have over your images.

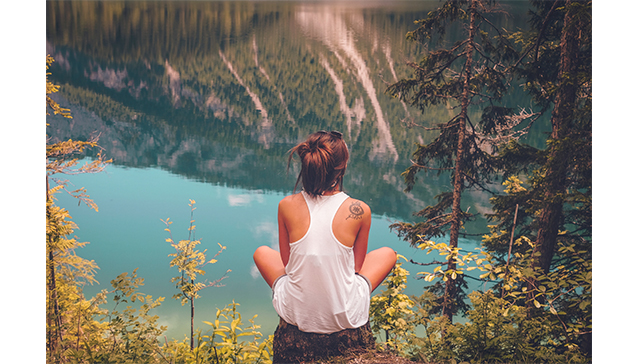
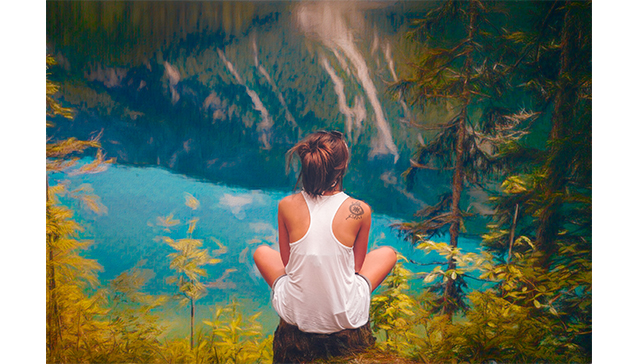
Today we start with this image of a girl sitting on a stump overlooking a river. What we are going to do is make the background seem more painterly, while keeping her realistic. This way it looks as if she was dropped into a painting.

We will be using one helping of Impression, one spoonful of Ai Remix, and one healthy scoop of HSL Color Tuning. We will also be using masks, blending modes, and opacity setting to help control the effects of each adjustment and how it is applied to our photo.

(before)
(after)


Wanna See how it’s done? Watch the video below!


With that being said, lets jump feet first into these edits.

1. Impression

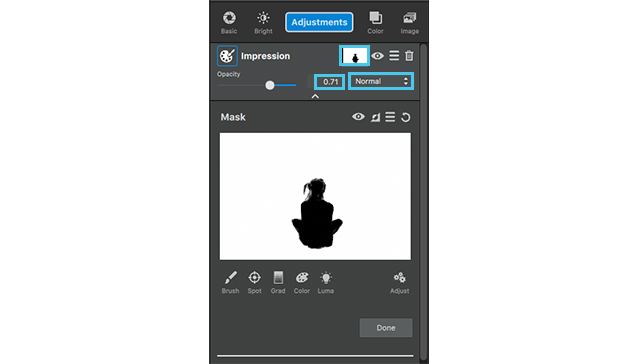
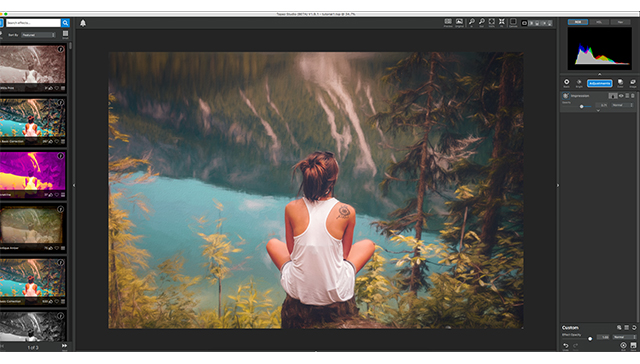
First we’re going to start with Impression. Go to  the adjustments drop down menu and select impression. The VERY FIRST thing I want to do is mask out my girl, this way any effects we put on the photo does not affect her in any way.

So, go to the mask icon, which is the white box in-between the adjustments name and the eye icon, and click it. This will open the mask menu. We’re going to select a slightly smaller brush, keep the masking area white, and the mask its self black. Select the black square, to be sure we have the black MASK OUT brush selected, and color in the girl and her hair. When this is completed select done at the bottom.

Now we’ll get into the adjustment settings.
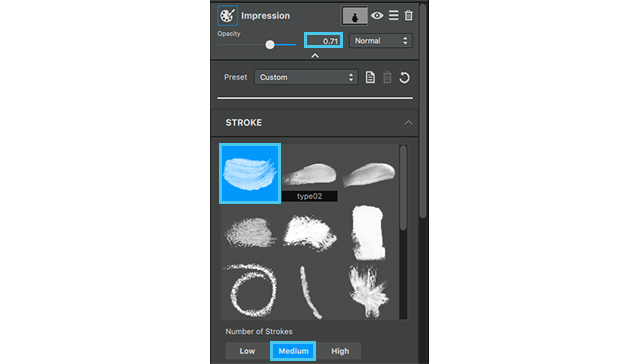
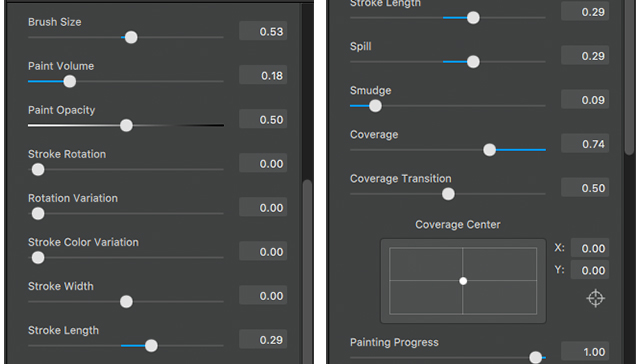
Select the first brush to apply to this image. I want this to look a bit like an acrylic painting and a little messy.

  1. Number of strokes: Medium
  2. Brush Size: .53
  3. Paint Volume: .18
  4. Paint Opacity: .50
  5. Stroke length: .29
  6. Spill: .29
  7. Smudge: .09
  8. Coverage: .74

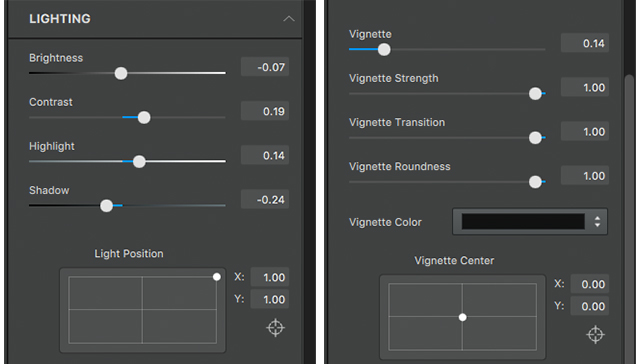
Next we will go into the lighting drop down at the bottom of this adjustment menu just to give the image a more vibrant feeling, like you often get with acrylic paint.

Lighting drop down:

  1. Brightness: .-07
  2. Contrast: .19
  3. Highlight: .14
  4. Shadow: -.24
  5. Vignette: .14

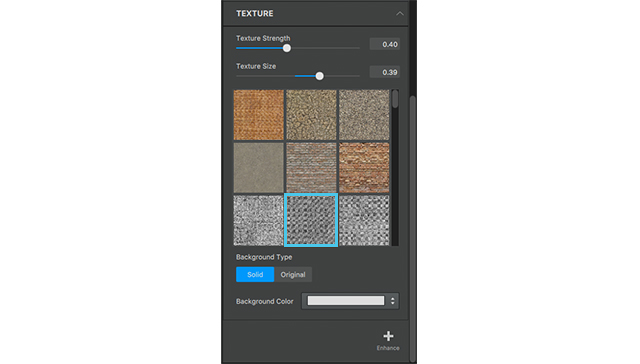
We are also going to add a little bit of texture to give this image a canvas feeling to play more of the idea of making this more and more like an acrylic painting in the background.

  1. The Texture we are going to select is in the 3rd row 2nd column.
  2. Texture Strength: .40
  3. Texture Size: .39

Woo!

Now that we are through all of that bring the opacity to .71, and lets move on to the next adjustment.

As you can see this brings an impressionistic feel to the background.

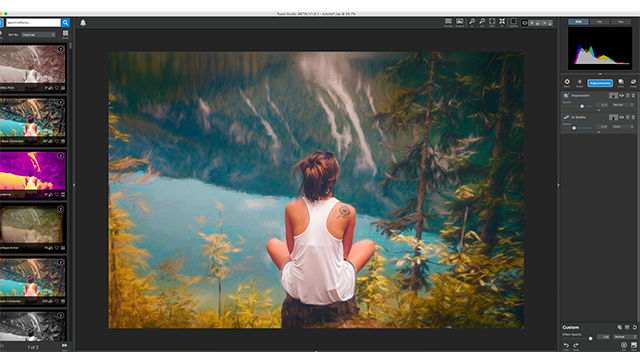
The colors still seem a little muted to me so we’re going to add an Ai ReMix adjustment to add a little bit a texture and bring some life to this color!
2. Ai ReMix

Go to adjustments menu, select AI Remix.
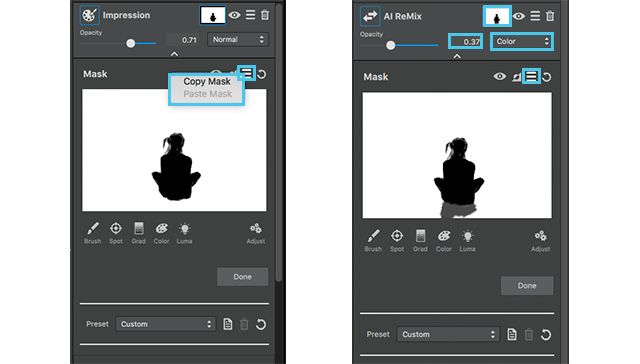
First thing we are going to do with this adjustment is copy the mask from the previous adjustment.

Click the mask icon on the previous adjustment, and select the hamburger menu (in-between the invert icon and the reset icon). Click this menu and select copy mask.

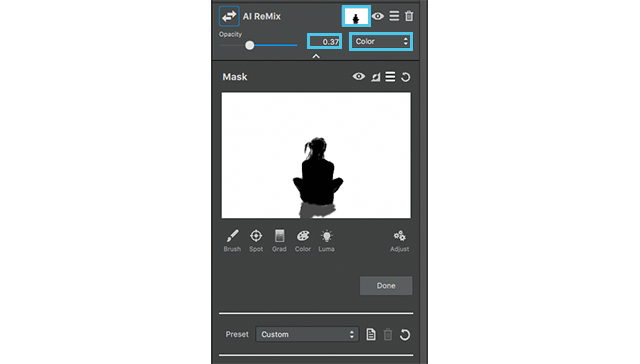
Close that adjustment but using the arrow at the top, and select the mask on the AI Remix. Go to the same hamburger menu on this adjustment and select past mask. This time we are going to add a little bit to this mask. Select a grey brush and brush in the tree stump, that way the Adjustment doesn’t fully affect this area.

After completing this close the masking menu, by clicking done, now we can go into the actual setting of this adjustment.

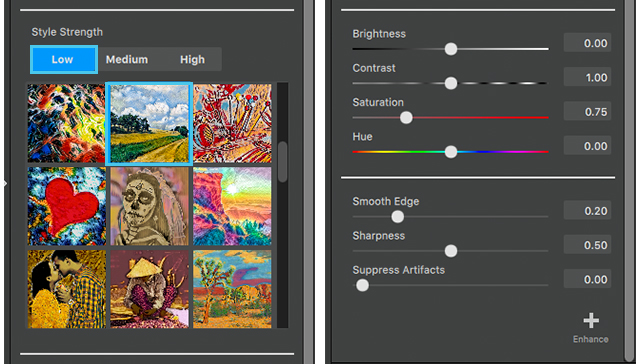
  1. The style we are going to choose is in the 5th row 2nd column, it looks like a pasture, click and apply. We aren’t going to do too much to the setting, so close the drop down menu and go into the opacity.
  2. We are going to set our opacity to .37 and the blending mode to color.

This allows Ai ReMix to adapt better to the colors of the image and the previous adjustments.

With the addition of the Ai ReMix the look of a textured background is a lot more evident in addition, the color of the water is more vibrant, the yellow of the trees pops (but isn’t distracting), and we even added a bit more green to the mountains across from her. I would still like to play with a few of the colors in the background, to make the seem more painterly, so we’re going to apply an HSL Color Tuning adjustment.

3. HSL Color Tuning

The Final Adjustment is an HSL Color tuning.

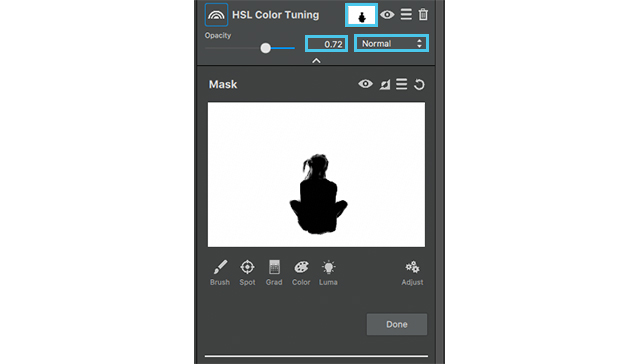
We are going to apply the mask from the first adjustment one more time, but since we already have it copied all we have to do is going into the mask menu on this layer, go to the hamburger menu and select past mask.
Now we get to play with the settings of the adjustment.

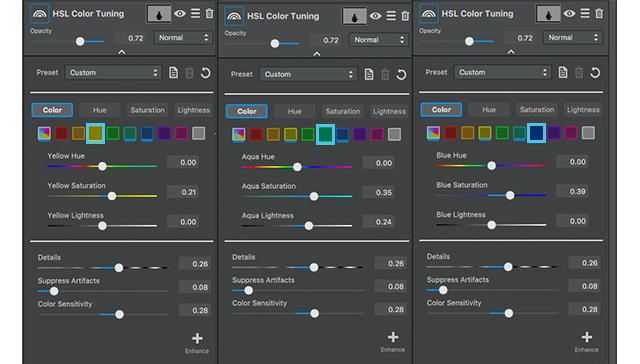
The colors we’re going to edit the overall color, yellow, aqua, and blue.

  1. Yellow Settings:
    Yellow Saturation: .21
  2. Aqua Settings:
    Aqua Saturation: .35
    Aqua Lightness: .24
  3. Blue Settings:
    Blue Saturation: .39
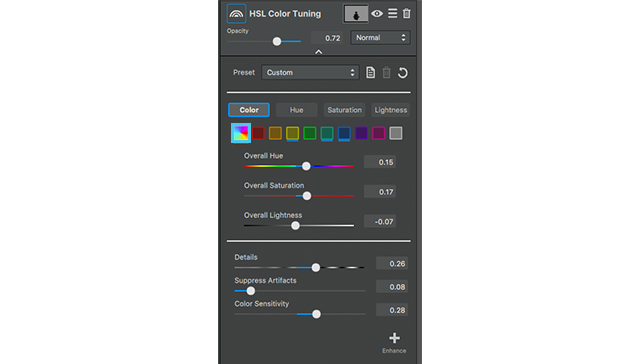
  4. Overall Settings:
    Overall Hue: .15
    Overall Saturation: .17
    Overall Lightness: -.07

No we are going to go into  the detail settings

  1. Details: .26
  2. Suppress artifacts: .08
  3. Color Sensitivity: .28
  4. Finally go to the opacity and bring it down to .72.

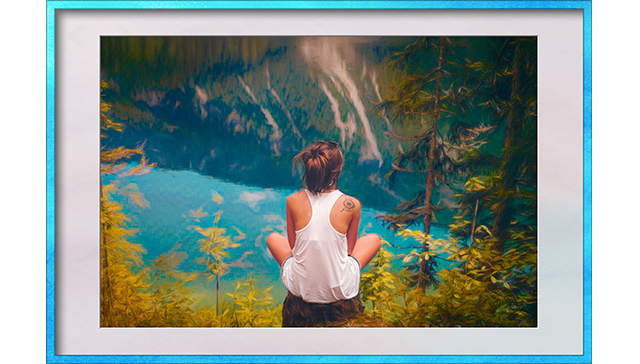
As you can see all these setting make the background mimic an almost impressionistic acrylic painting.

Additional tip:

Since we haven’t had a tutorial on digital frame either I thought I would take the time to add an extra tidbit to this top tip.

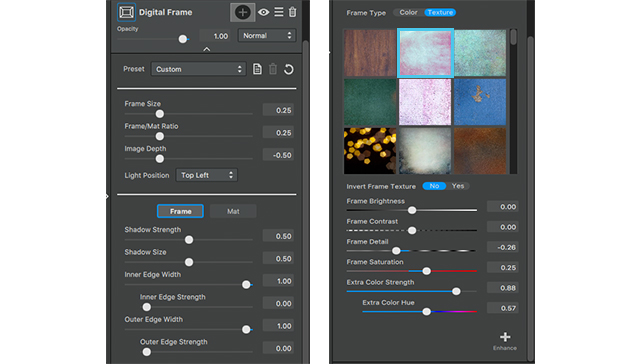
Now I’m going to do a pretty simplistic frame with the default setting because I like the way it fits the photo, but what I am going to go in an edit is the texture around the frame.
We are going to select 2nd texture out of the 1st row, this is actually one of my favorite textures in studio as a whole so I tend to lean toward it often.

After selecting this texture we are going to go down to the color setting, because I want the colors of the frame to play more off the blue of the water; and instead of picking a frame that mimics the color we’re going to edit the color of this frame to our liking.

So go to the frame color setting menu at the bottom and set them to the following:

  1. Frame brightness: -.22
  2. Frame contrast: .27
  3. Frame Detail: -.26
  4. Frame Saturation: .25
  5. Extra color strength: .88
  6. Extra Color Hue: .57

As you can see this just adds an extra touch to our image to give it more of a professional presentation

Well thats it for this Topaz Studio tutorial! Join us next time to see what you can learn.