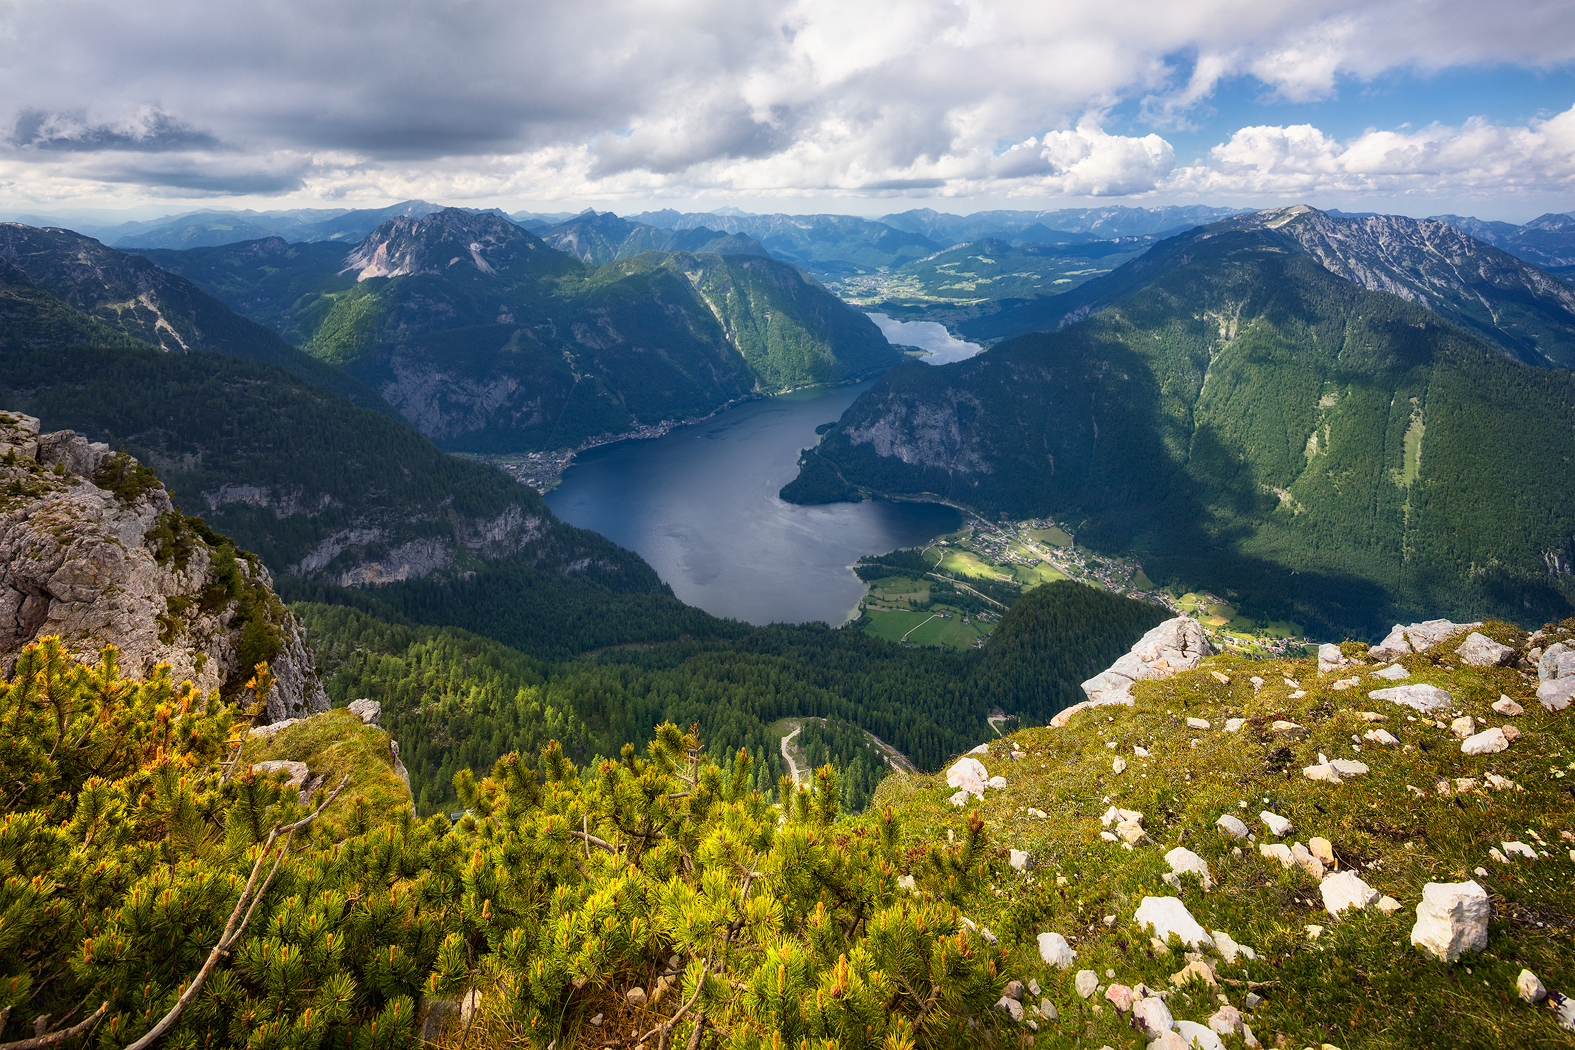
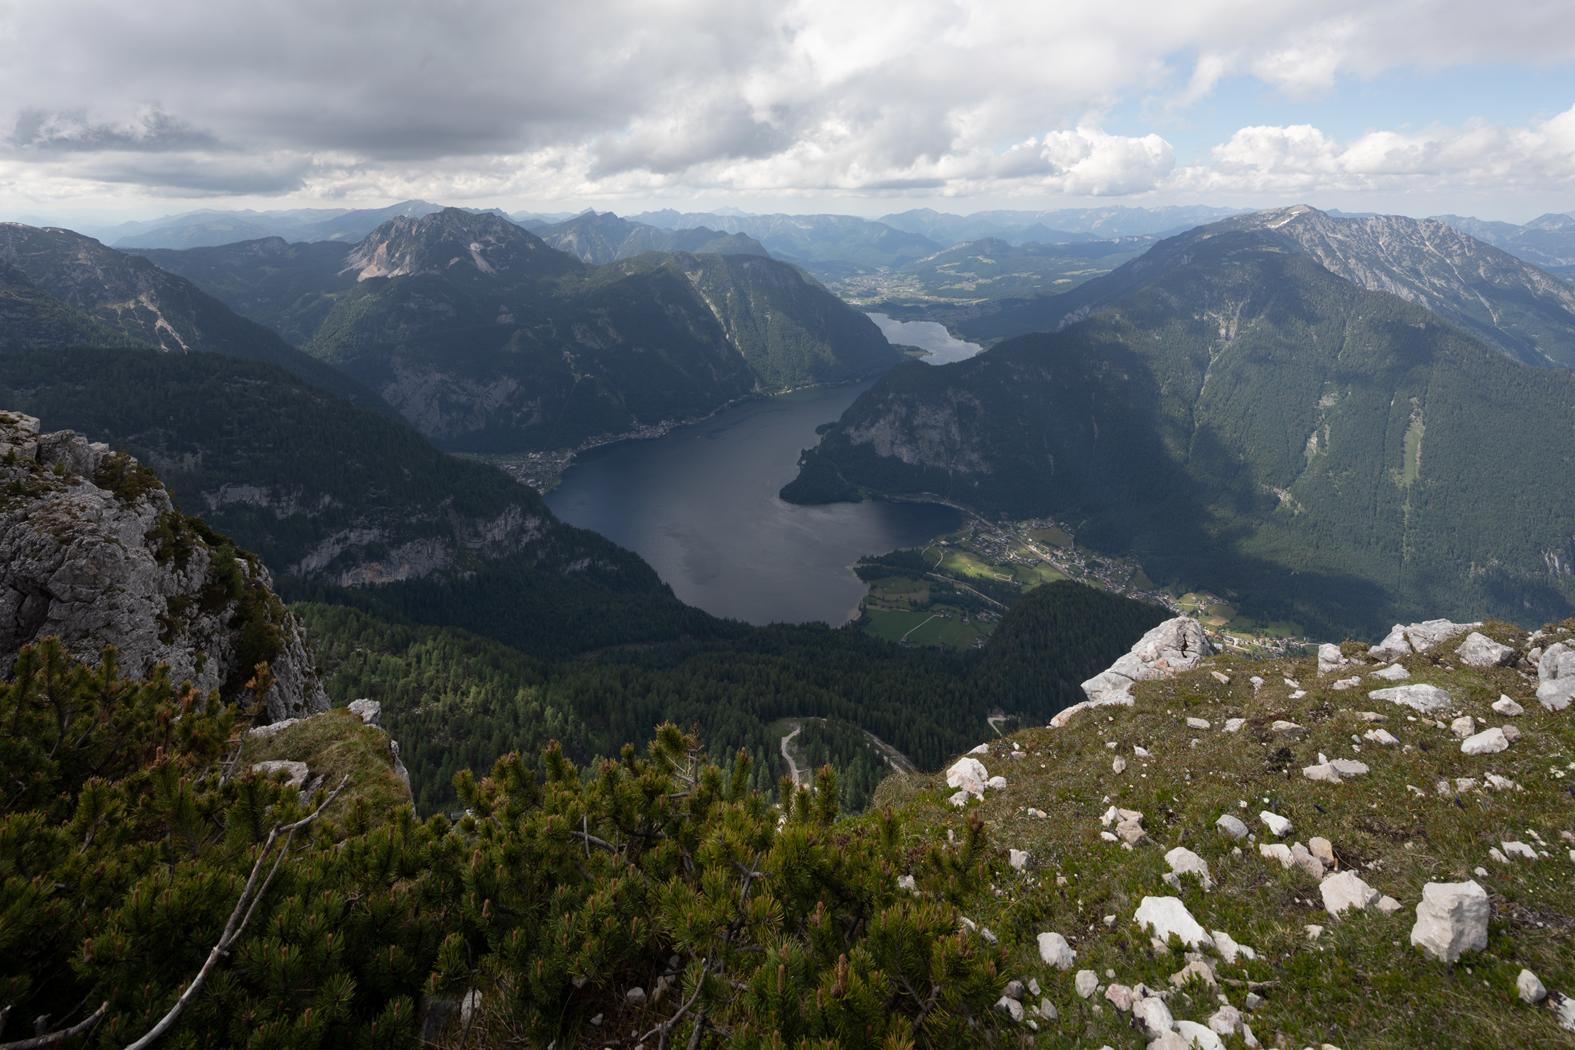

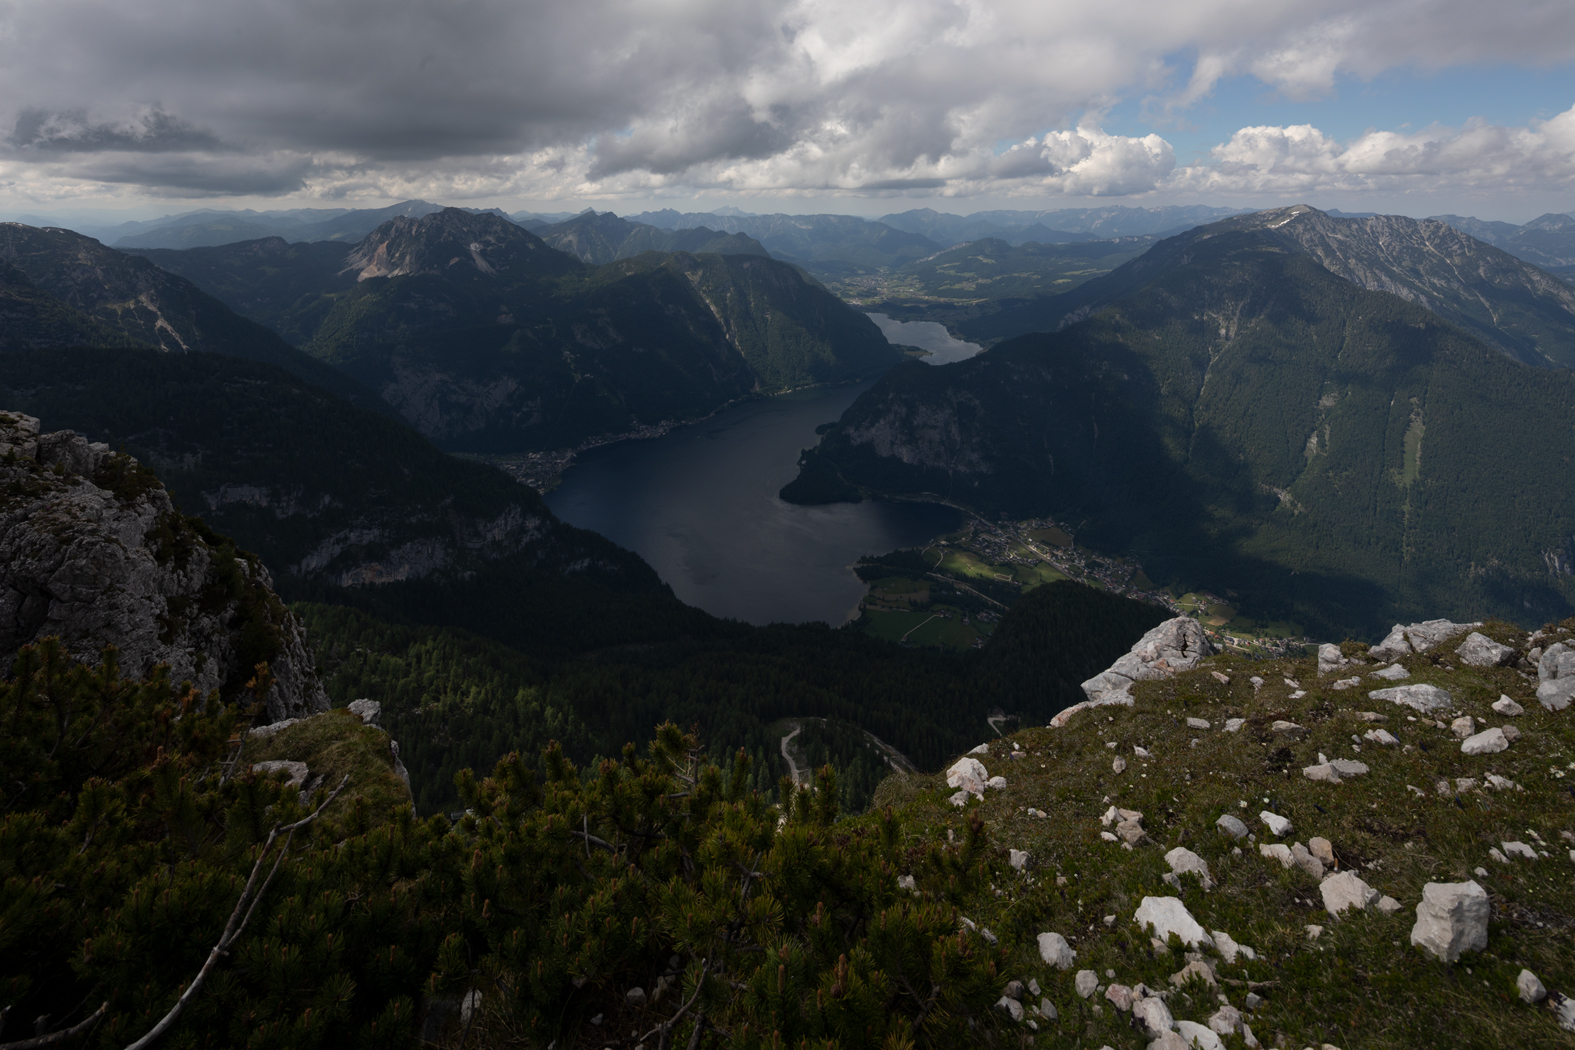


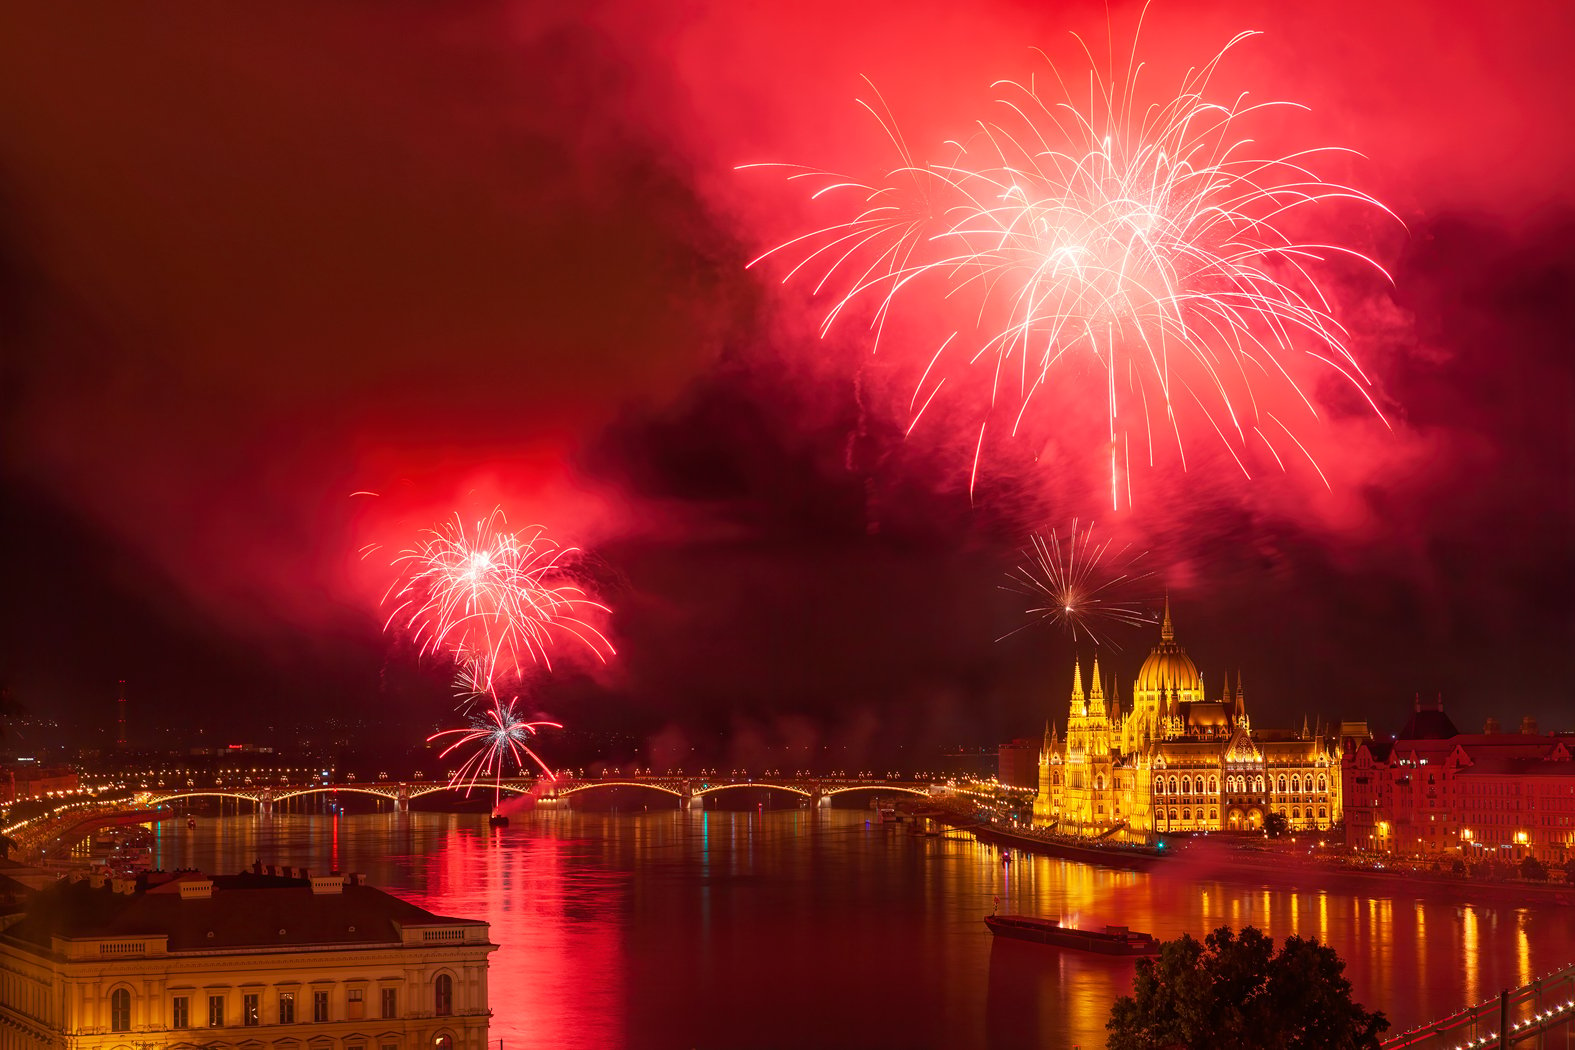
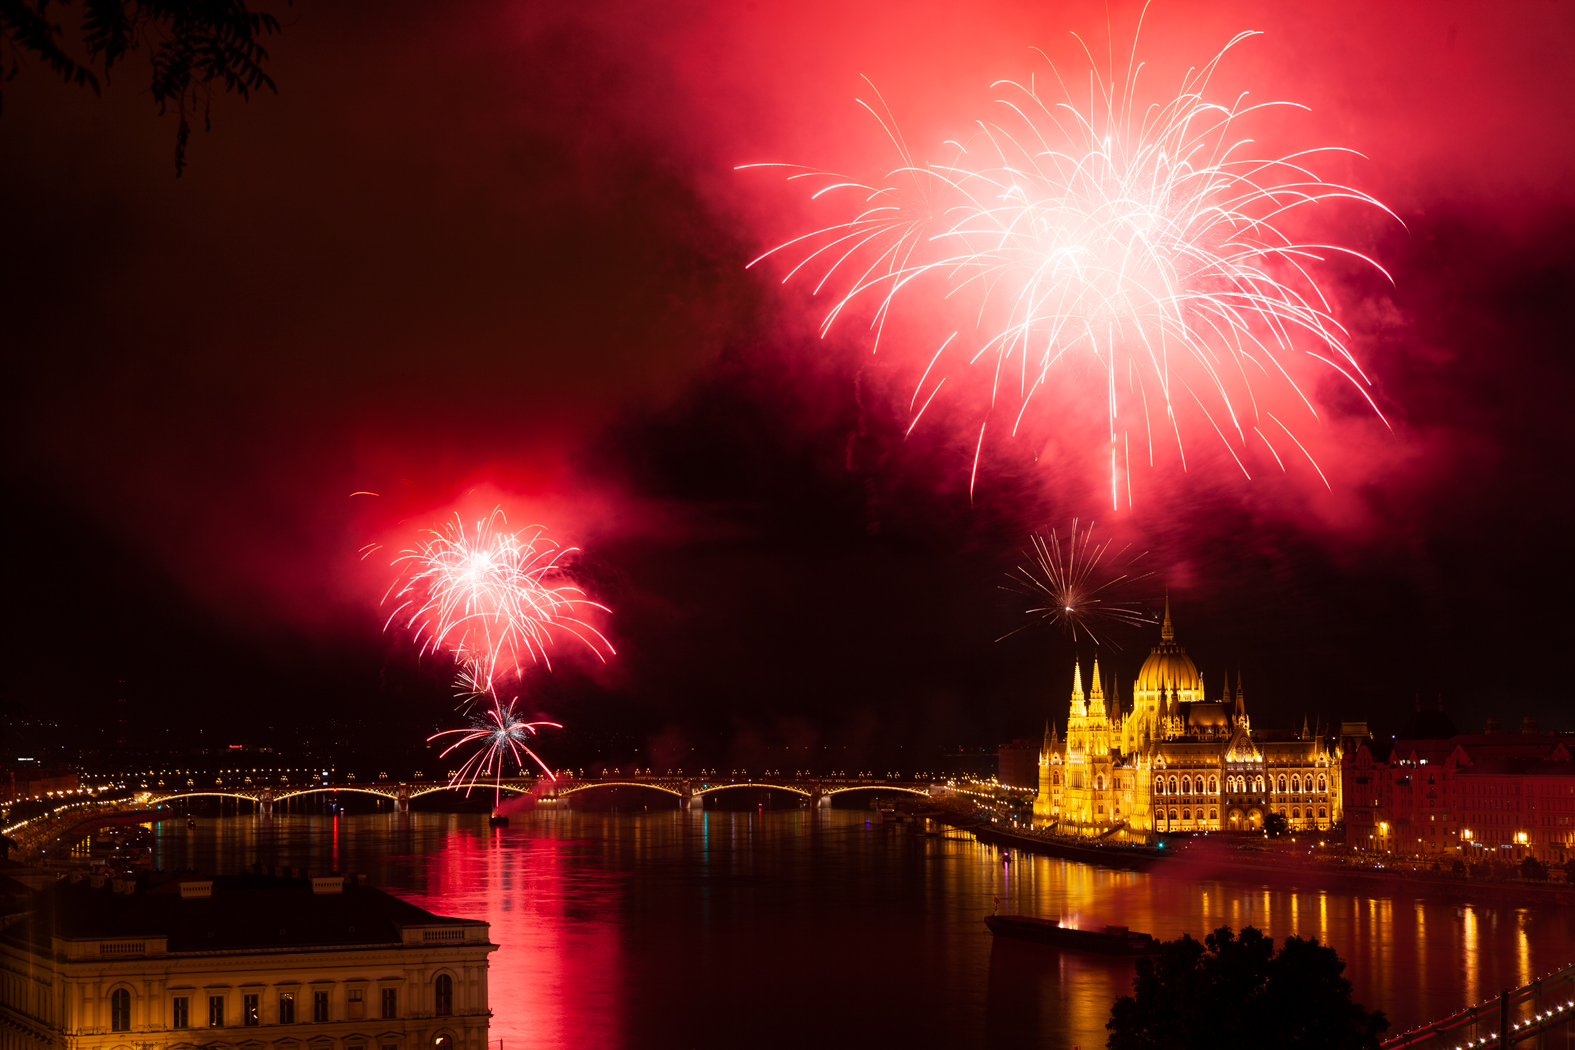


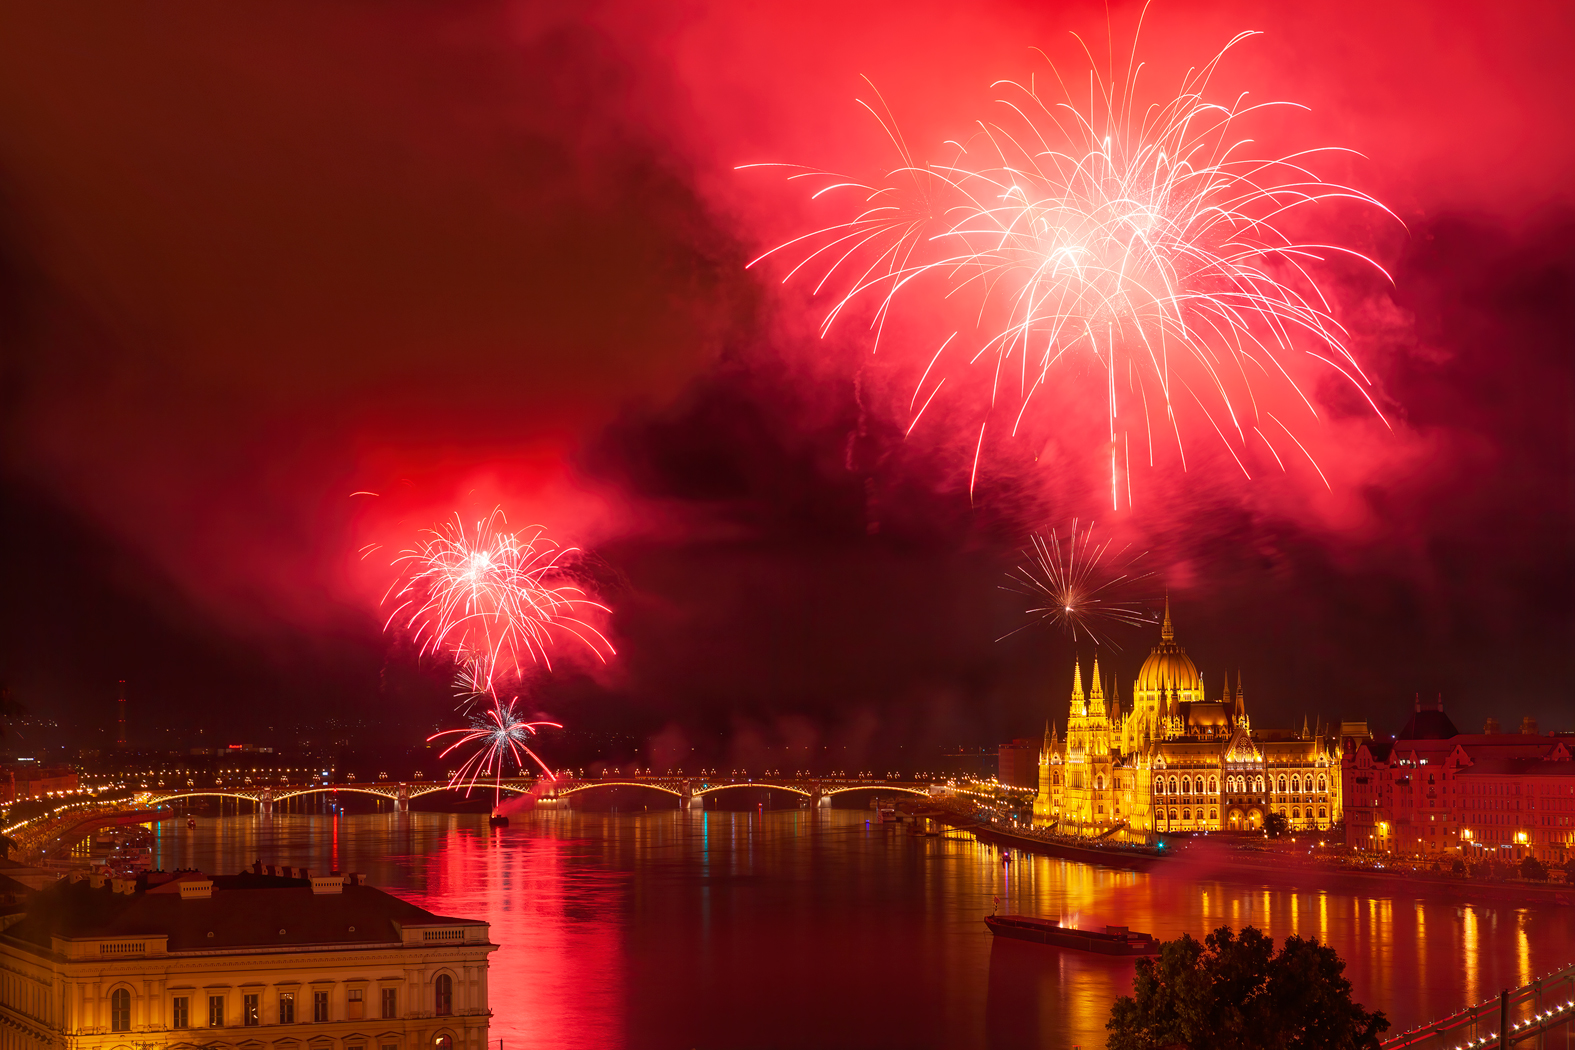
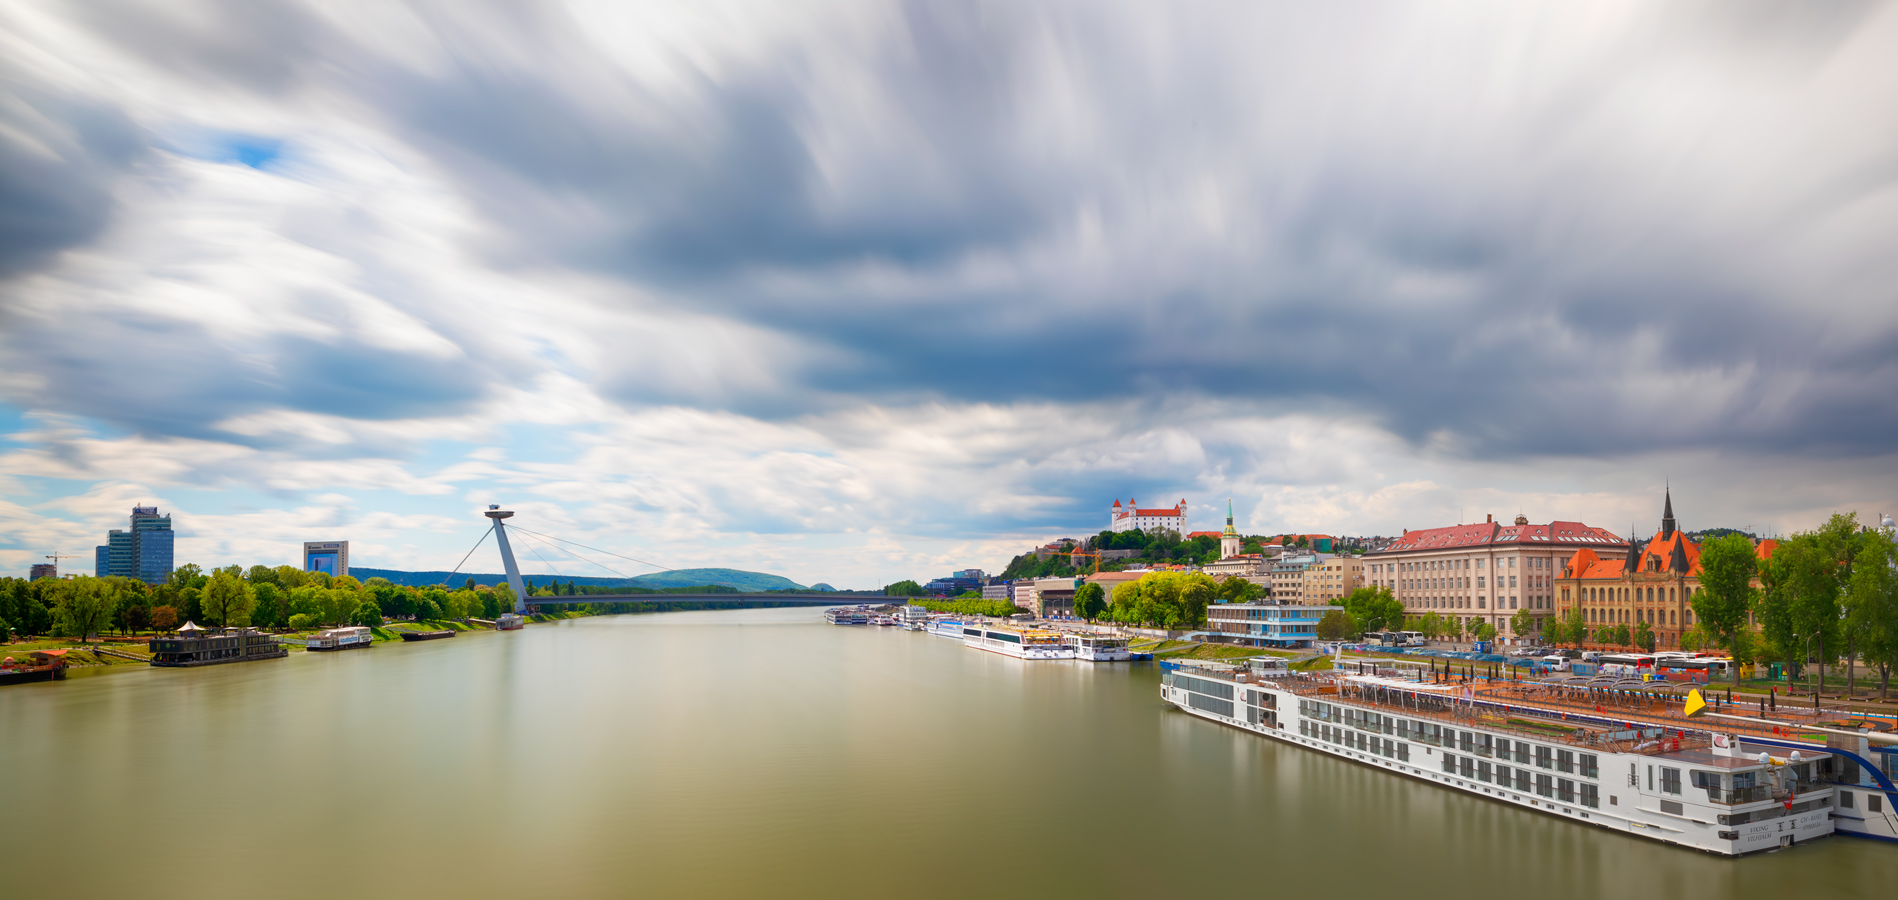
What do all the images below have in common?
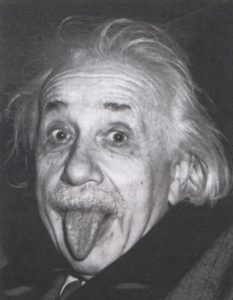
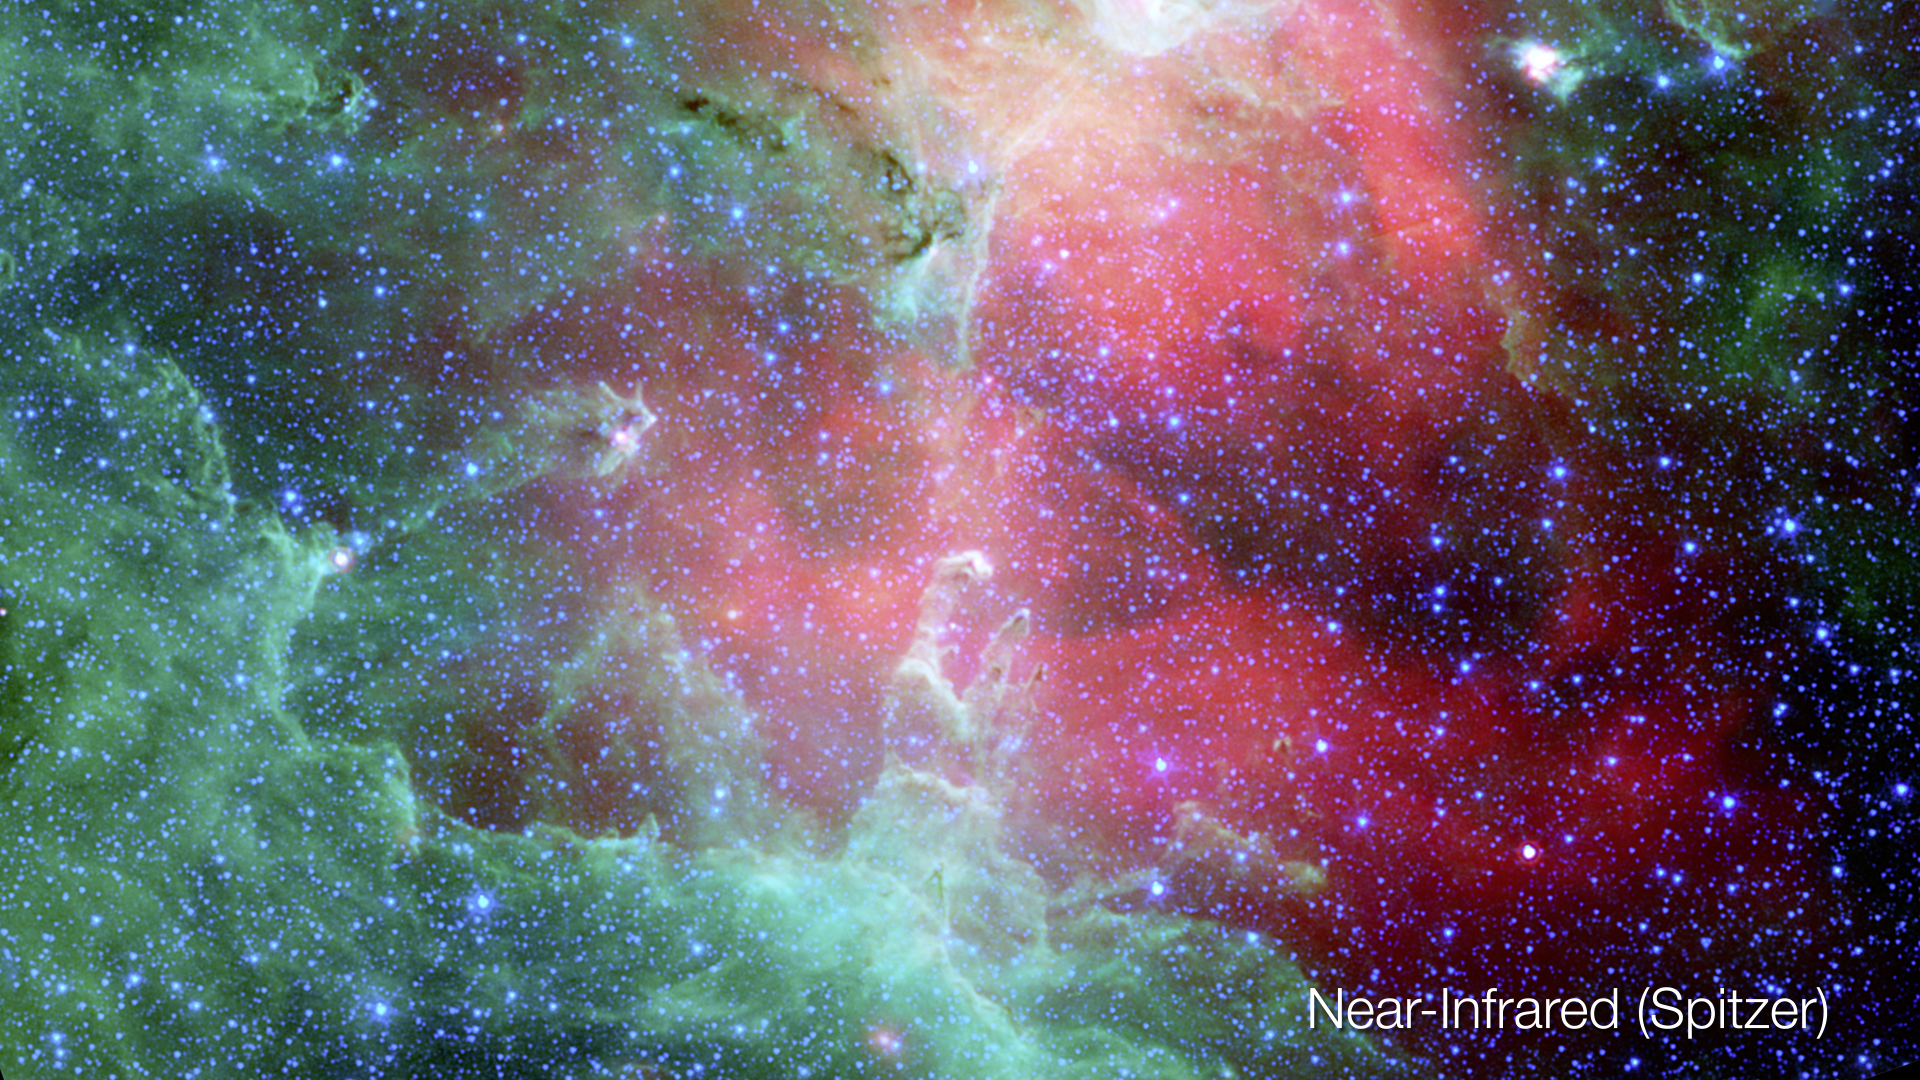
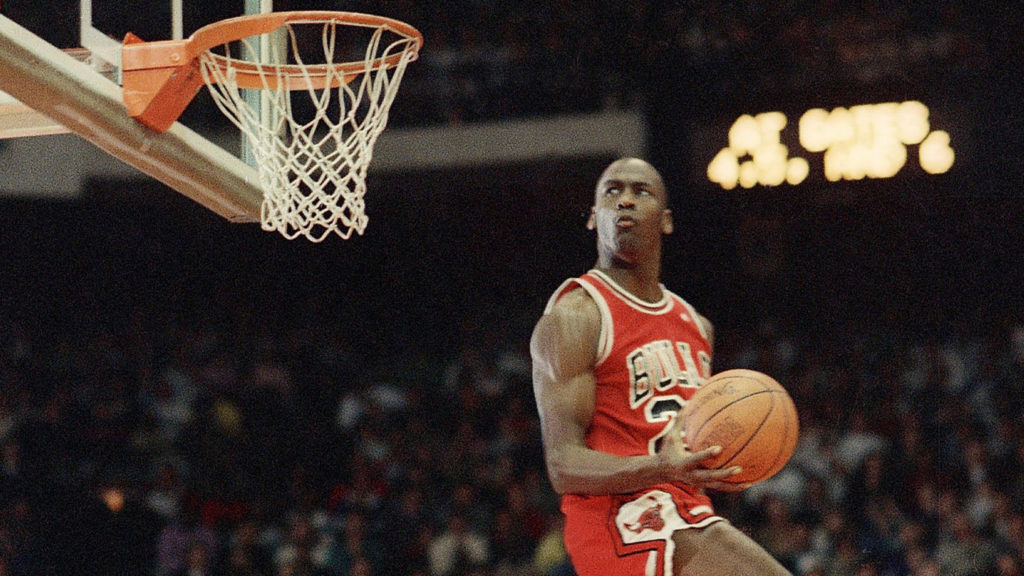
So, what do all these images have in common? Well, besides all being very iconic?
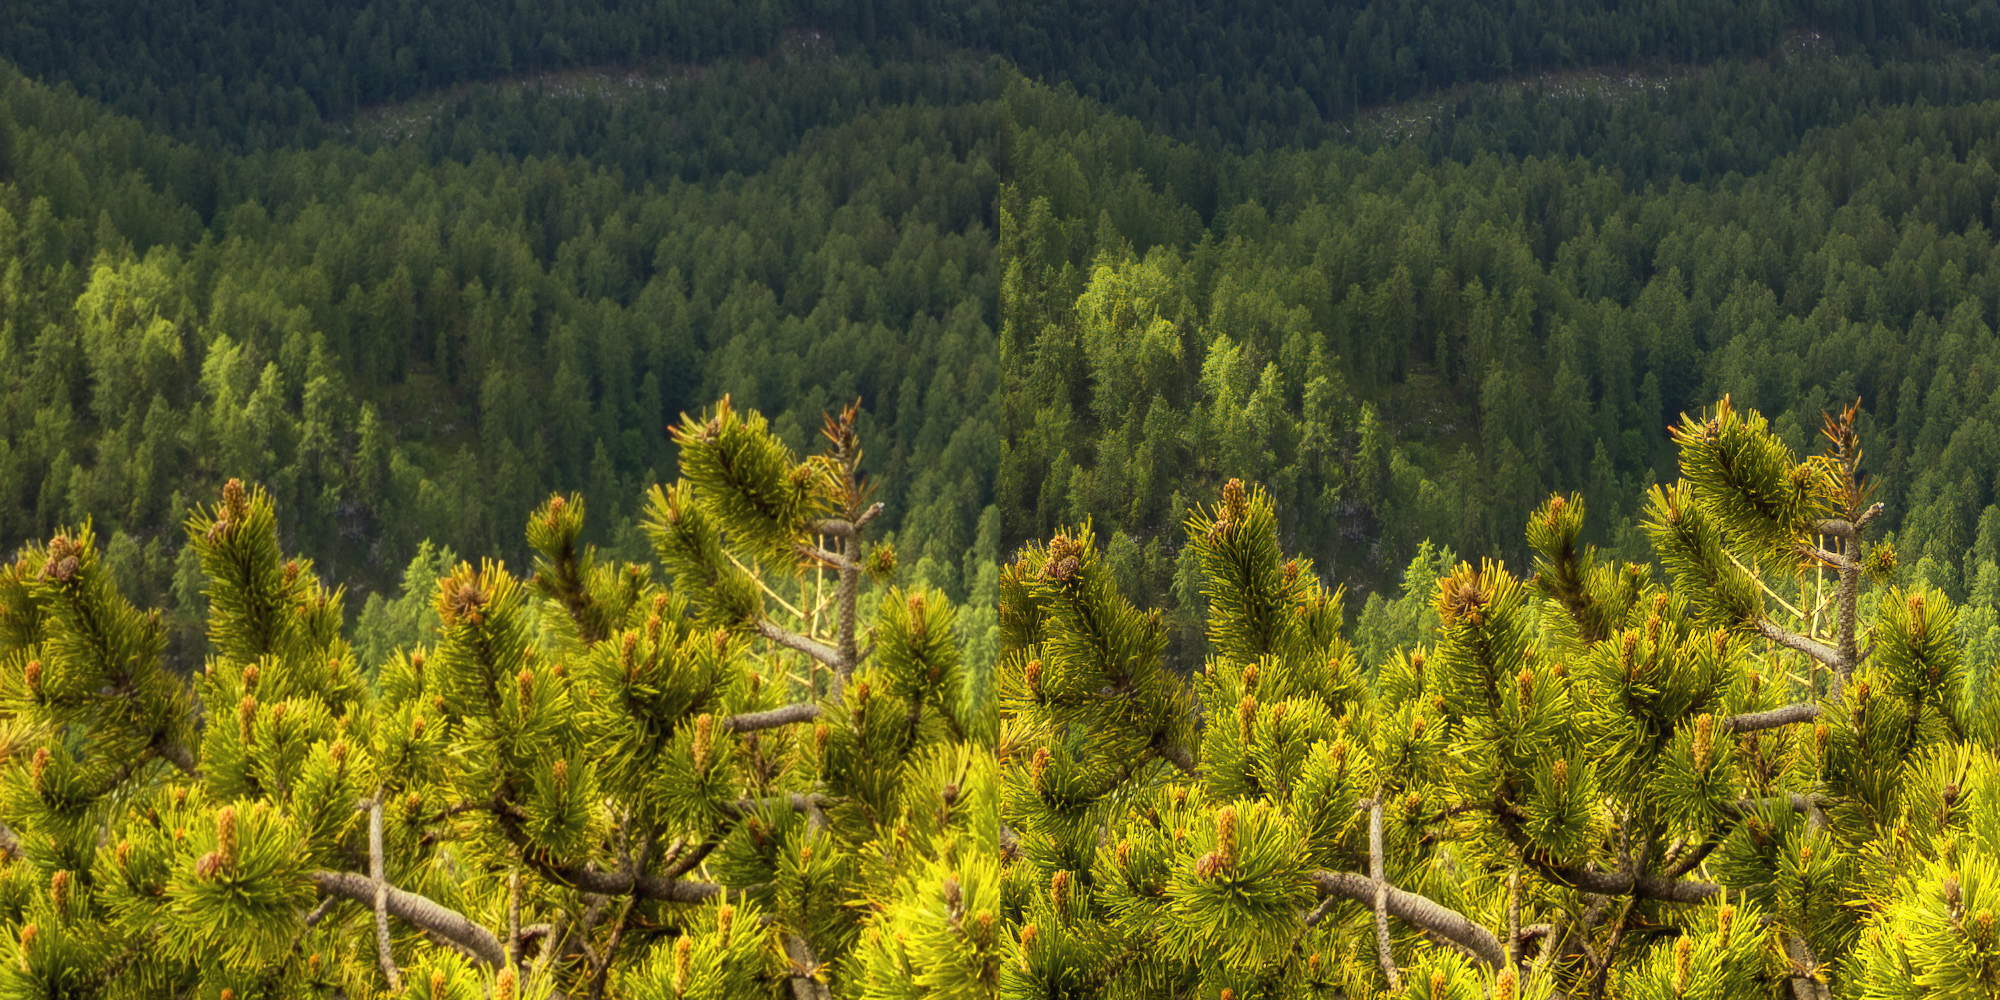
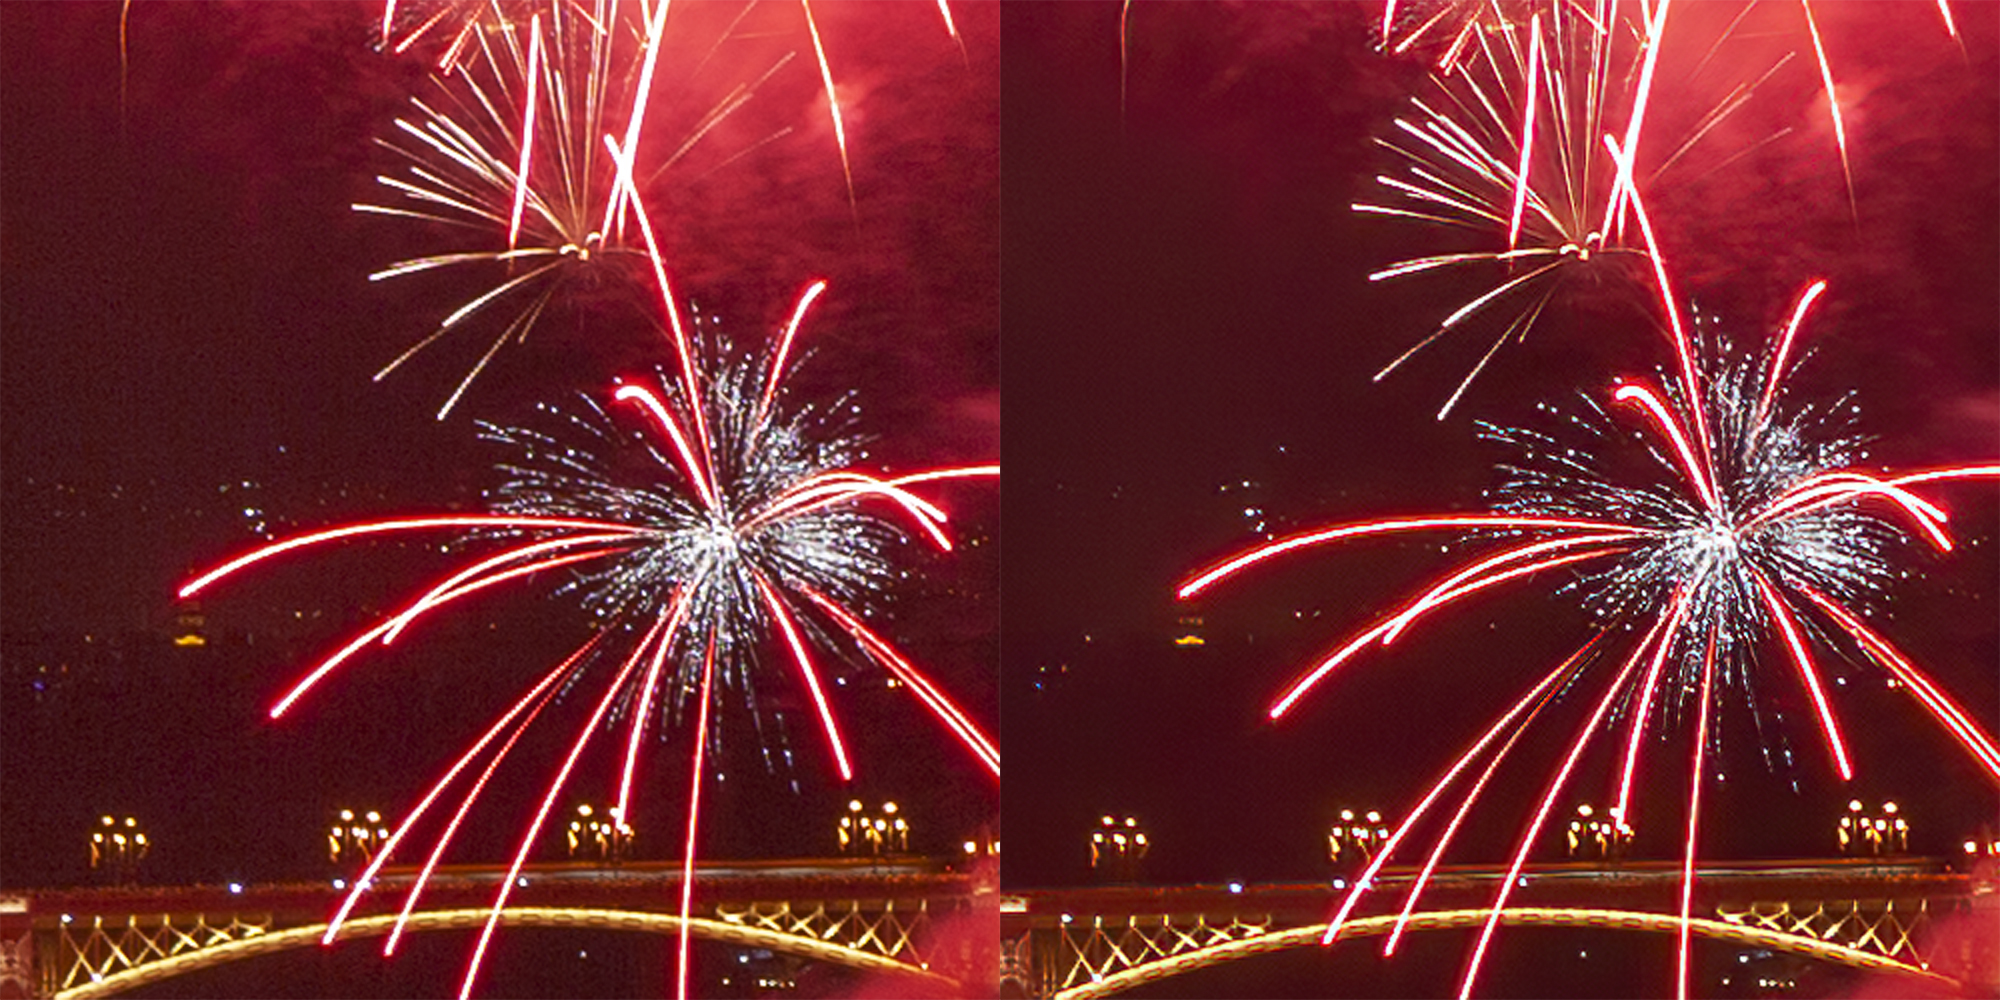
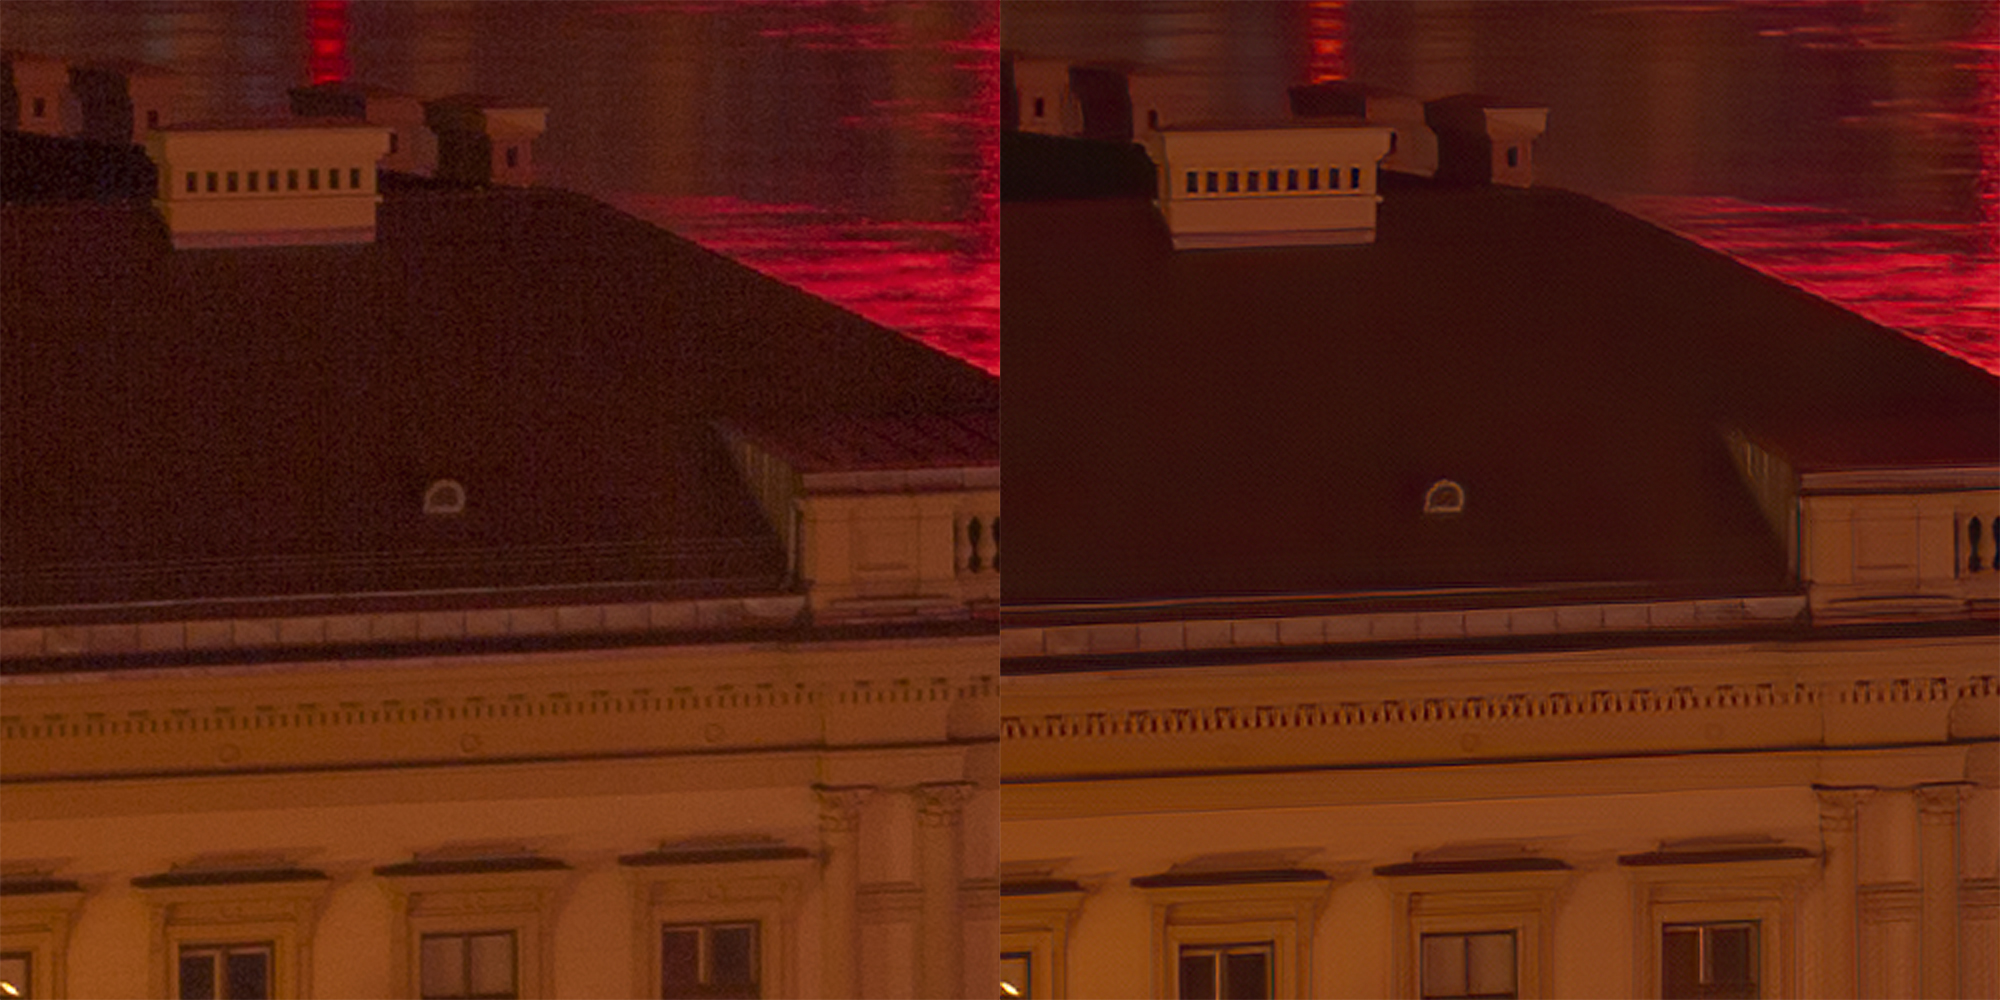
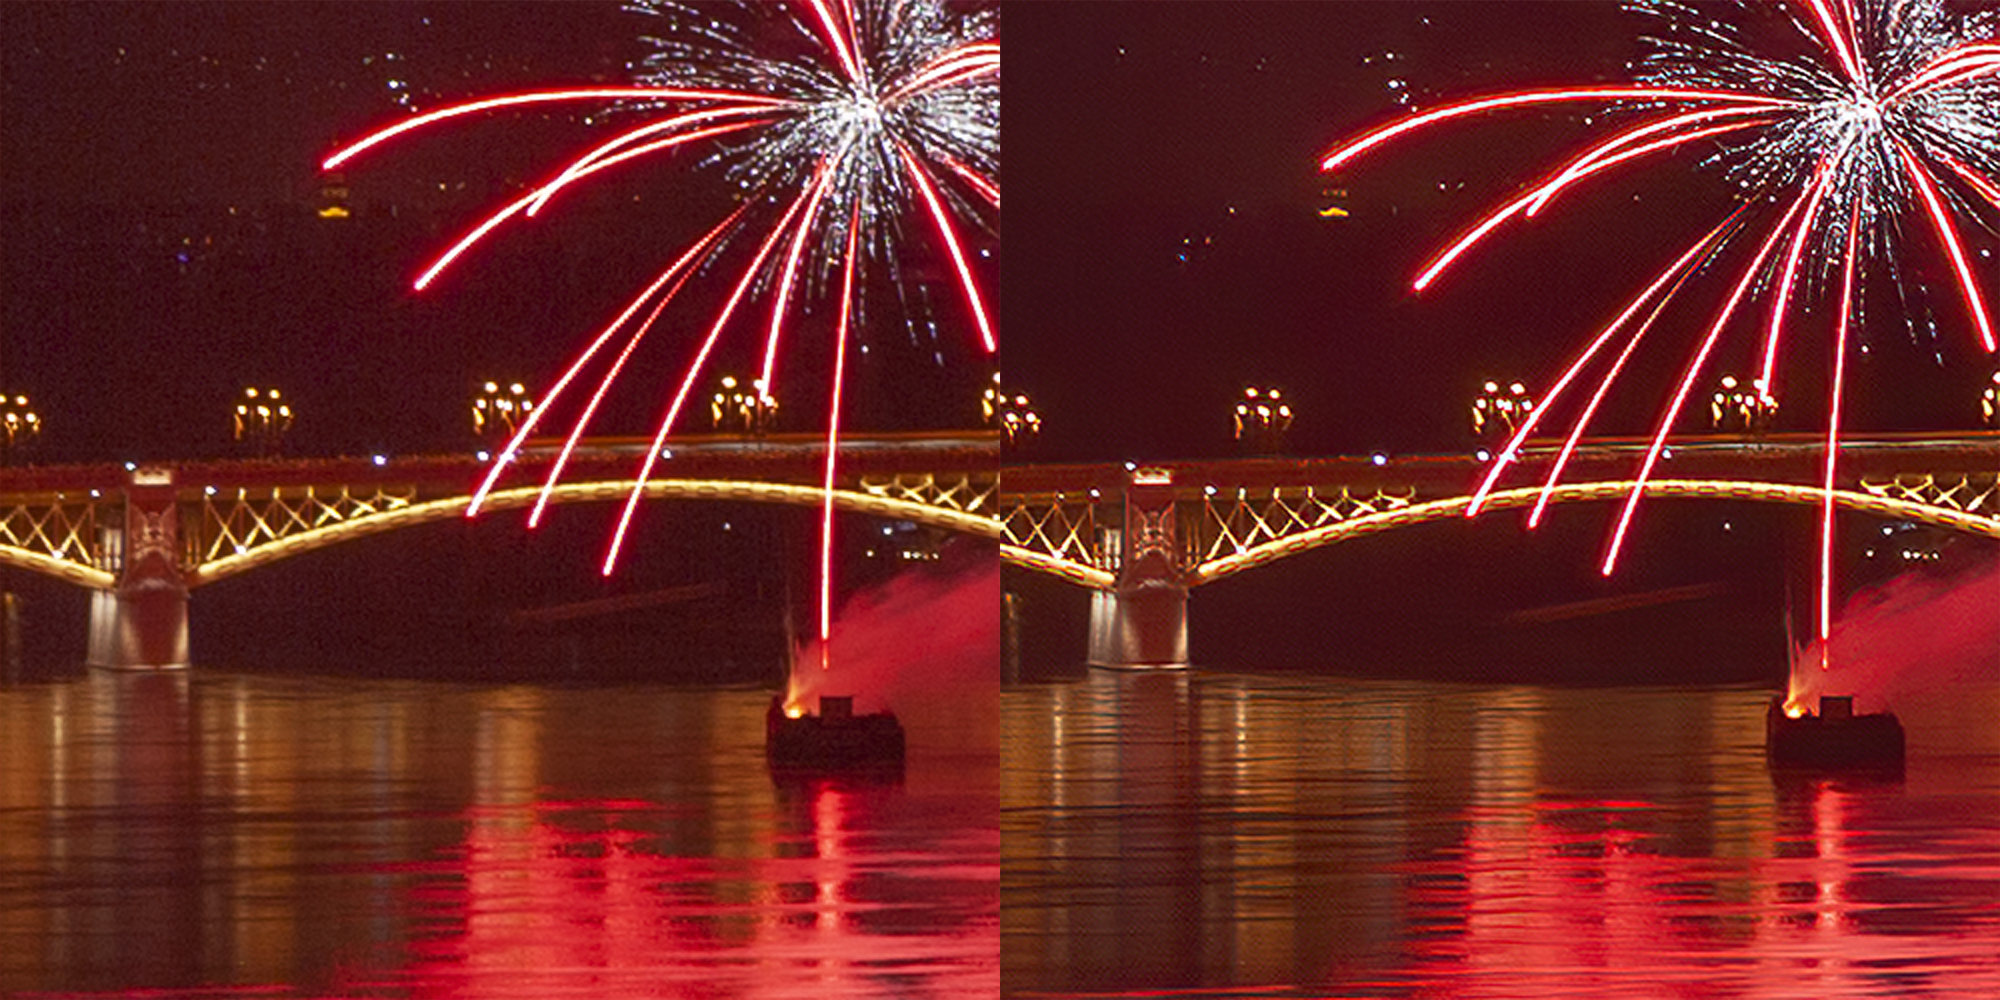
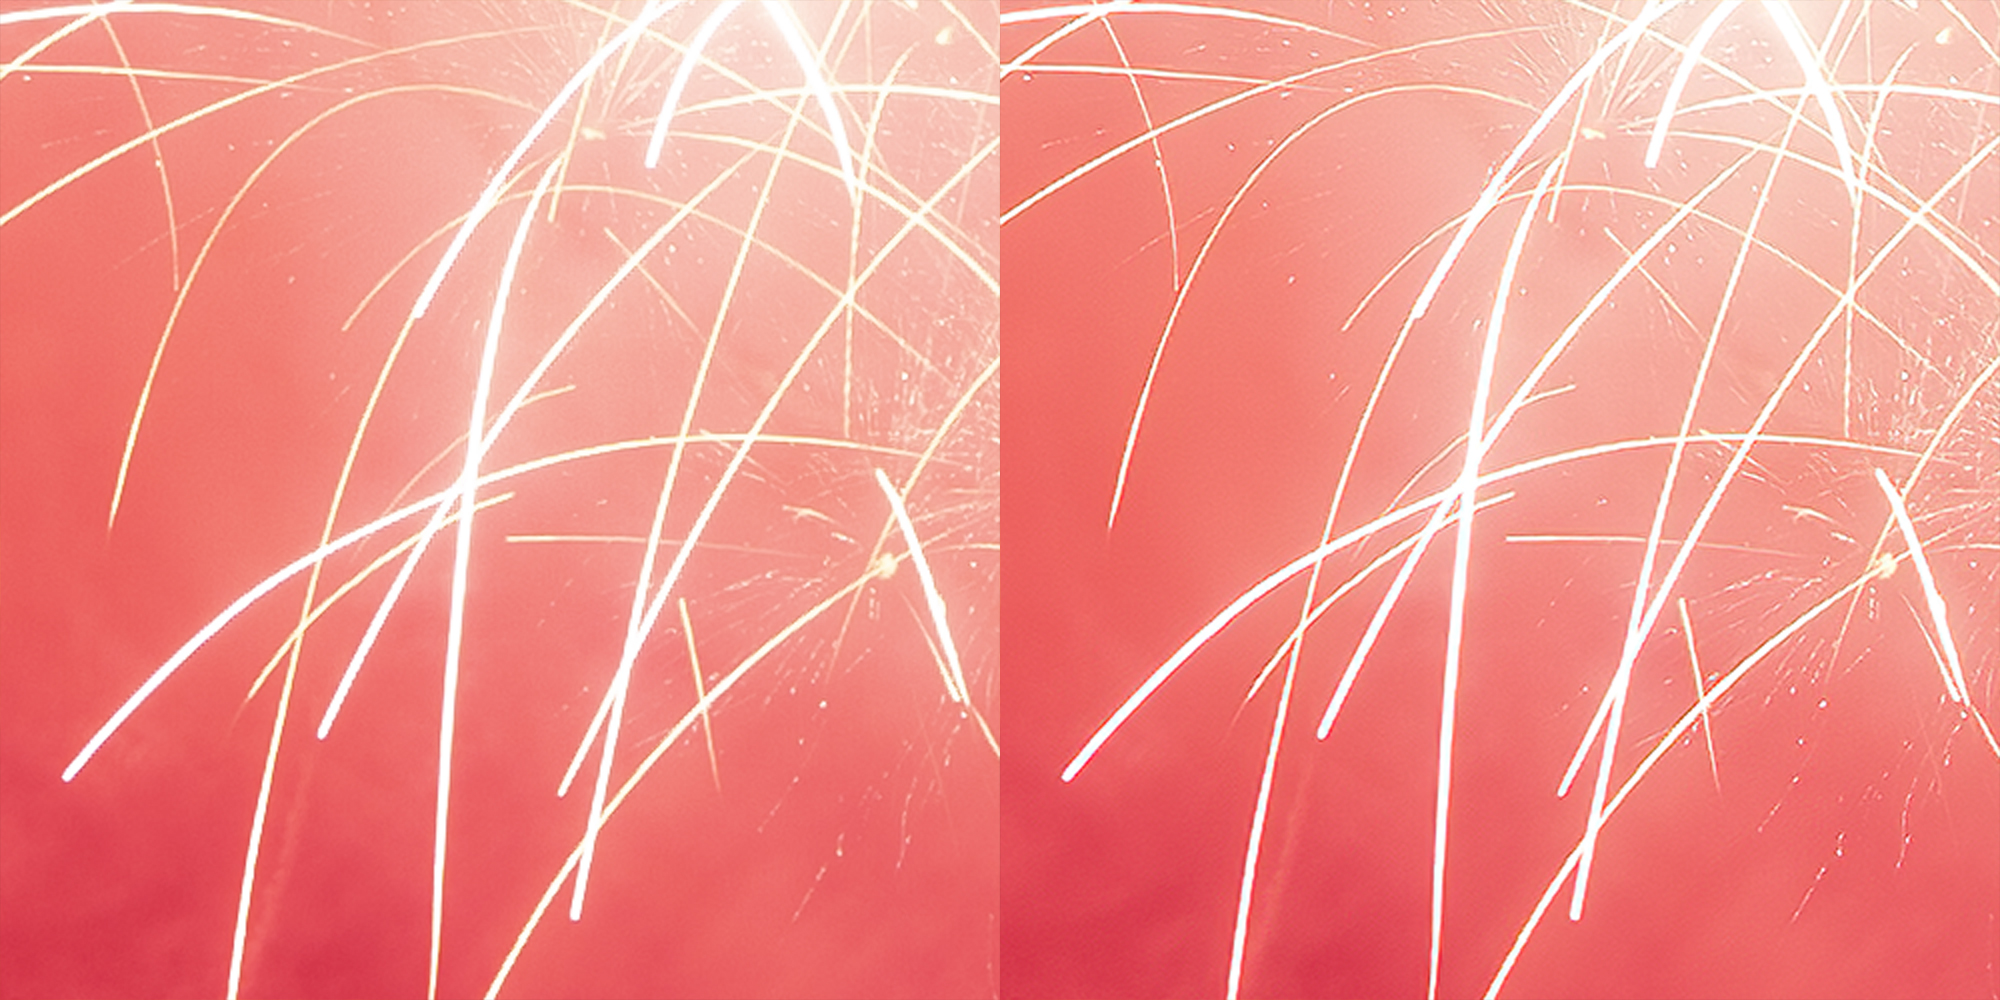
…They all contain some level of noise.
Perfect conditions may not always exist to avoid capturing a noisy image, but here are a few pointers to help during your next shoot and post-processing.
You can generally point a finger at a high ISO setting if you’re experiencing noise in your images. High ISO is the most common contributor to image noise in photography.
The ISO setting defines how sensitive your camera sensor is to the amount of light present in your scene. It can also vary by camera model. A standard range of ISO is typically between 200 to 1600.
The lower ISOs are ideal for well-lit or sunny environments, or when your camera is stationary.
A higher ISO setting will cause the sensor to be more sensitive, allowing you to compensate for specific scenarios, but will also create more noise.

A higher ISO enables:
–Faster shutter speeds to freeze motion (e.g. 1600+ ISO for indoor sports photography)
–Better performance in low light (e.g. nighttime cityscapes, Milky Way shoots, dimly lit indoor shoots)
–Reduced image blur when shooting handheld
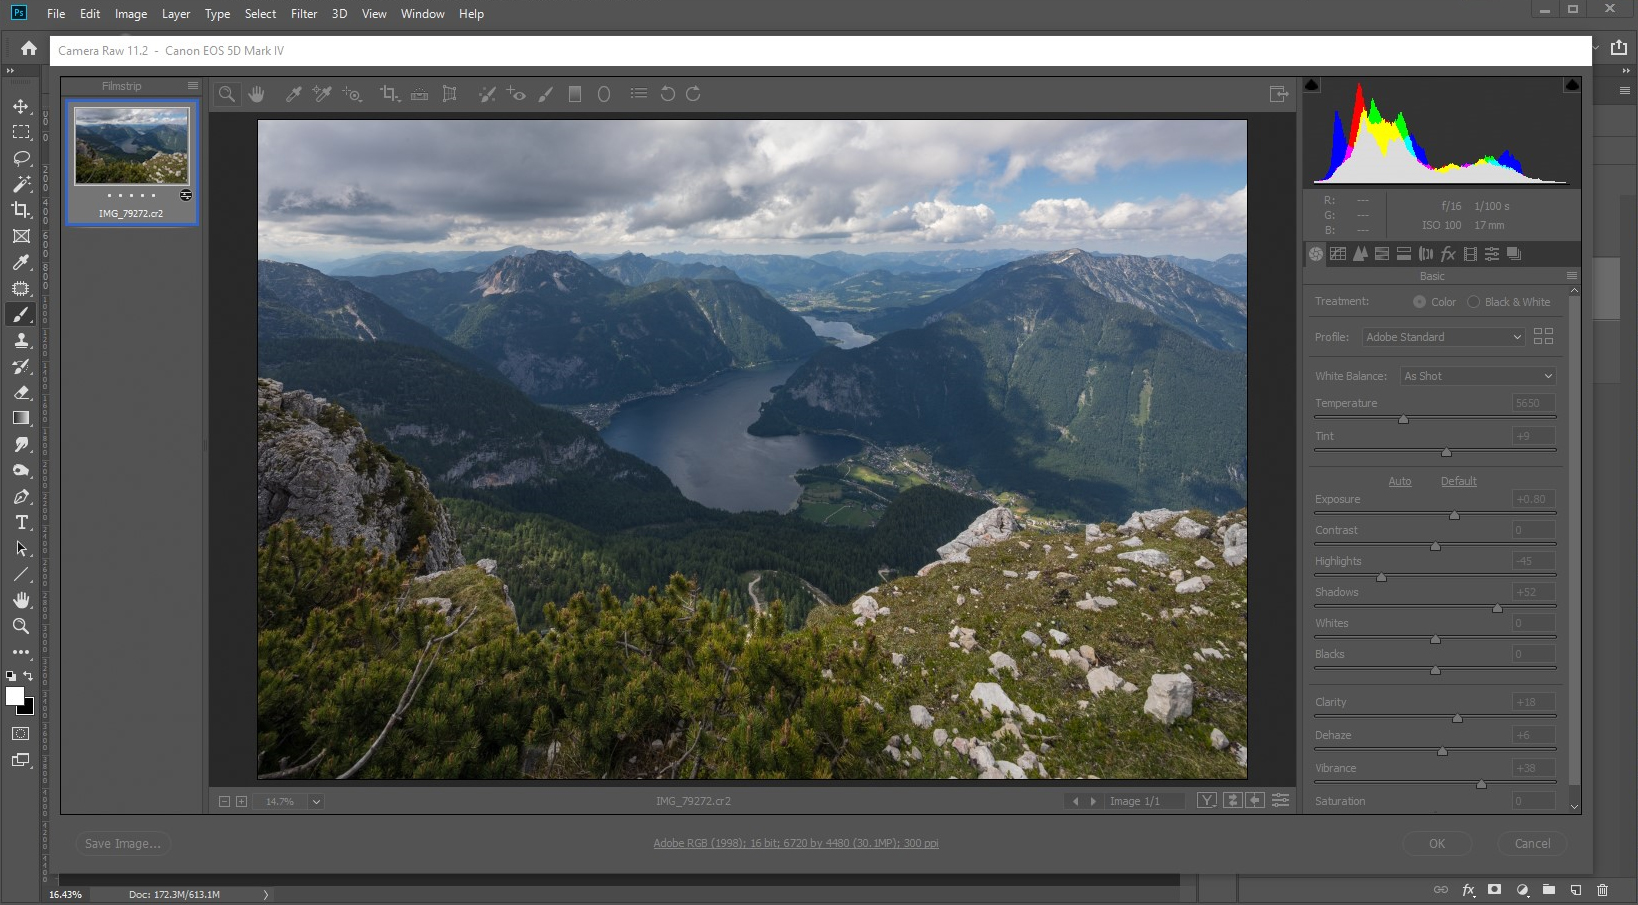
In conjunction with ISO, there are other factors weighing on exposure, like aperture. Think of aperture like the pupil of your camera lens.
Much like our very own pupils in our eyes and how they respond to light and dark environments, you can adjust the aperture to allow more or less light into your camera’s sensor. The smaller the aperture, the less light is allowed in and the larger the depth of field. A larger aperture allows for more light and a more shallow depth of field.
Measured in fractions, the smaller number is actually a larger opening, so f/4 is bigger than f/16, with the “f” standing for the focal length of the lens.
And finally, the last major factor in exposure is shutter speed, the duration in which the shutter is open, exposing the sensor. Measured in a fraction of a second (e.g. 1/125, 1/500), shutter speed can compensate for images that appear too light or dark at your selected aperture.
When you double the ISO (e.g. from 400 to 800), your camera only requires half as much light for the same exposure. For example, if the shutter speed is 1/250 at 400 ISO, upping to 800 ISO will produce the same exposure at 1/500 second (with a static aperture).
Working in tandem, these three settings will help you develop better images and make post-processing simpler. But for those necessary shots in less-than-perfect scenarios, we have a new solution to reduce noise and restore your photo to its intended glory!
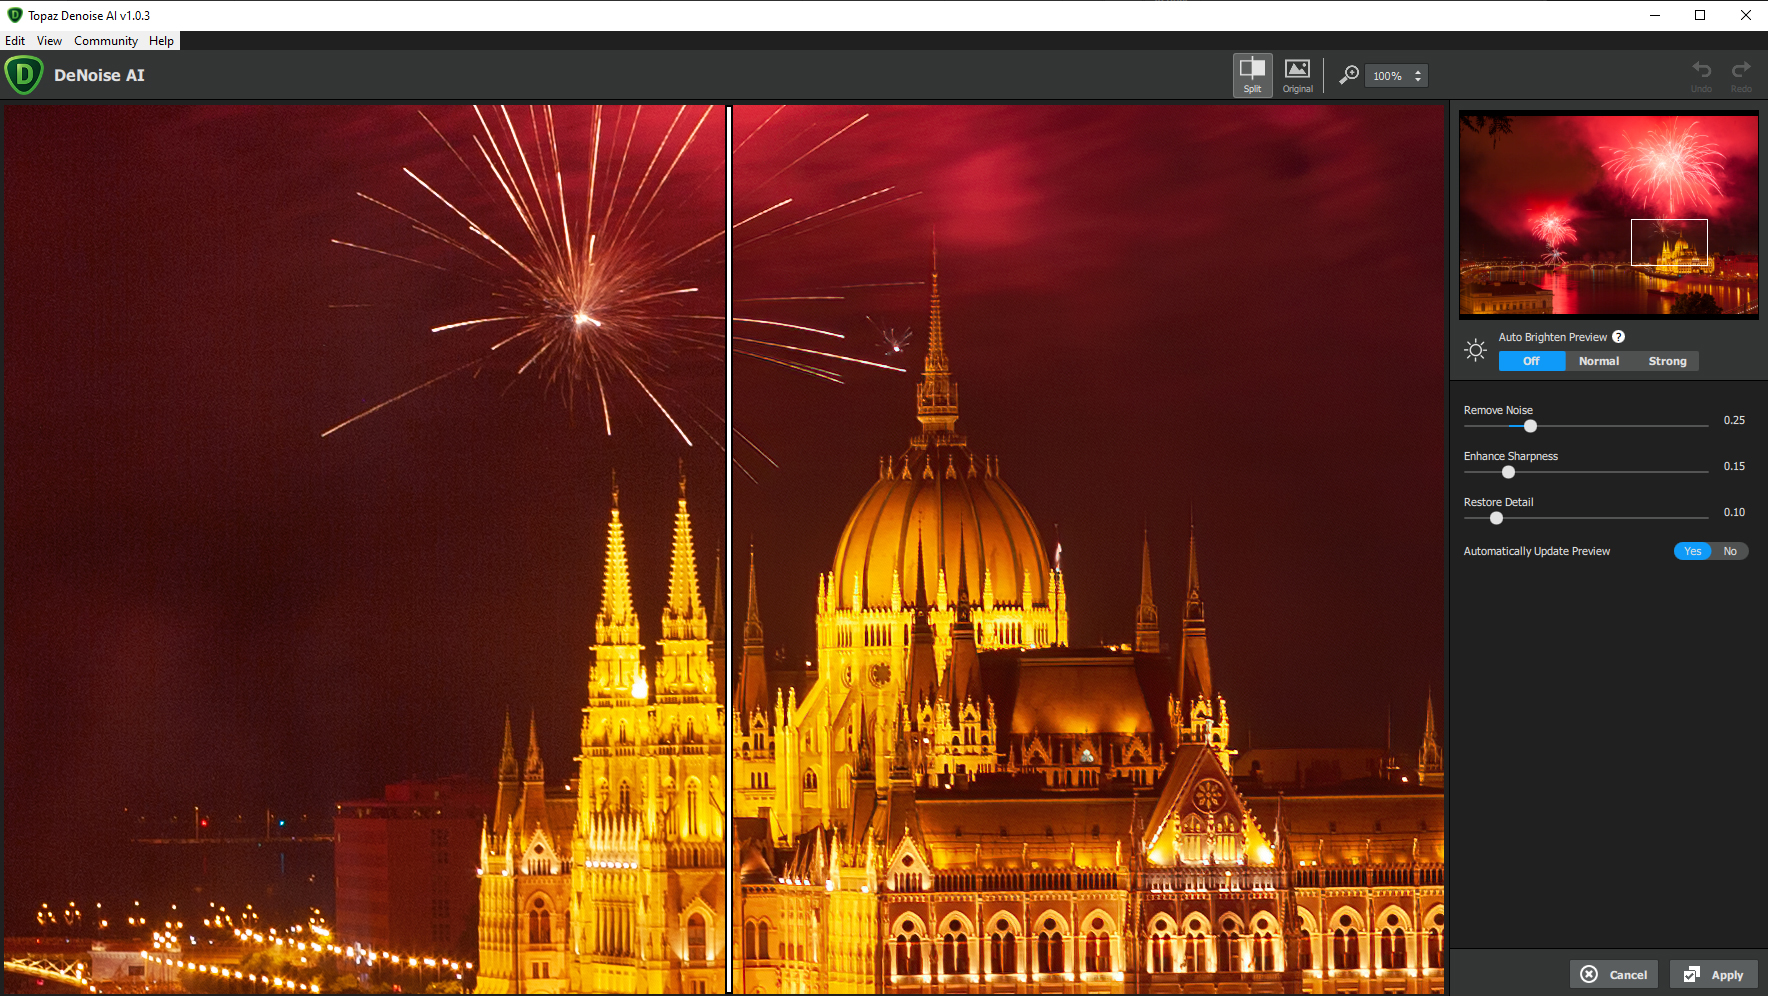
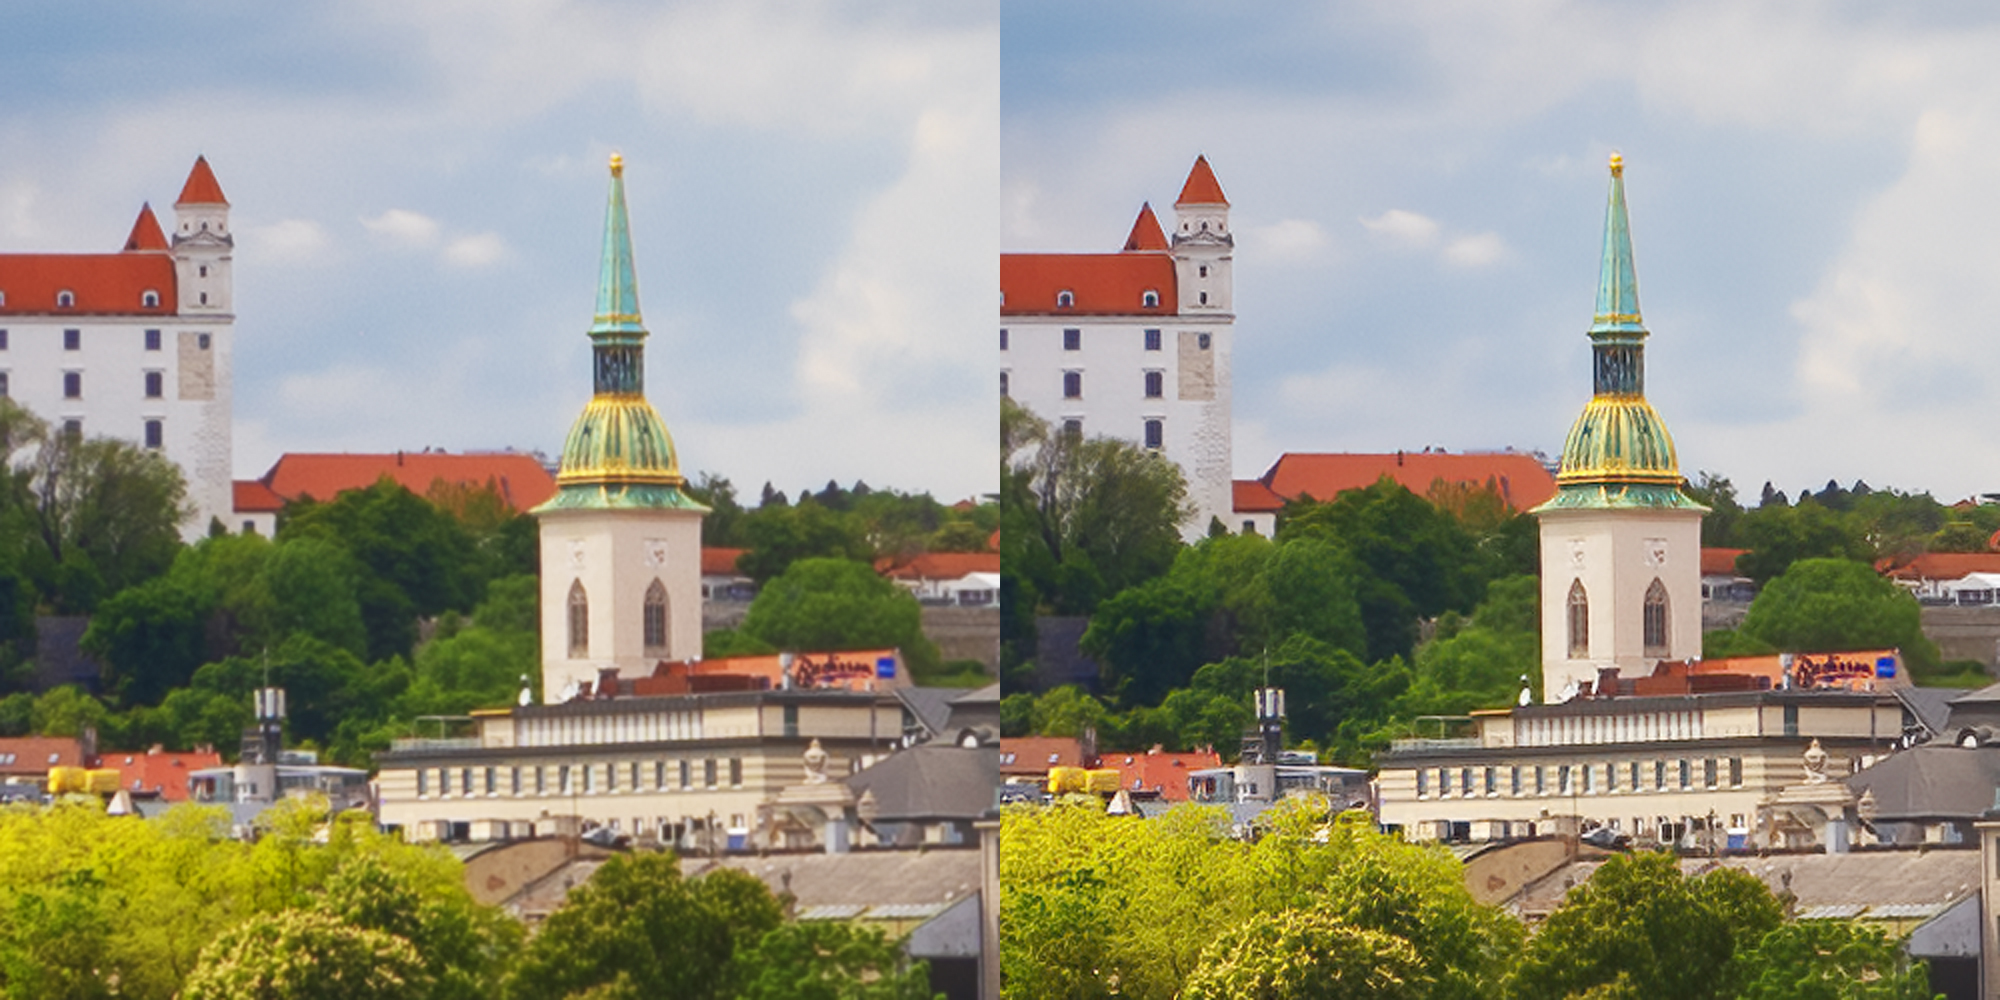
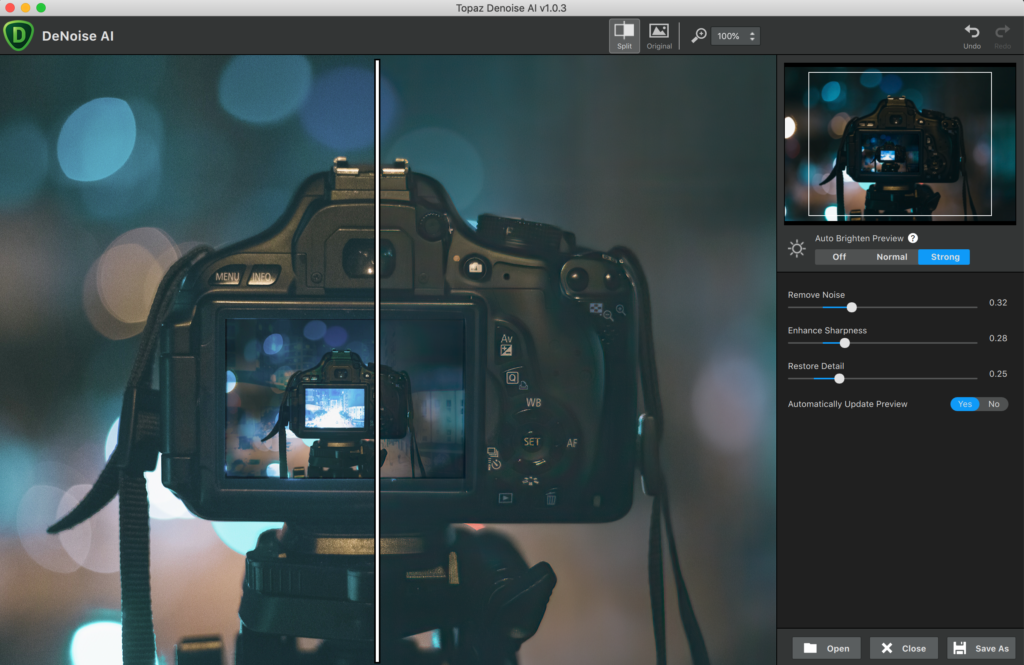
Meet our latest AI-powered solution, DeNoise AI.
After months of training and testing, we are now able to use a bigger AI network that handles more varieties of noise.
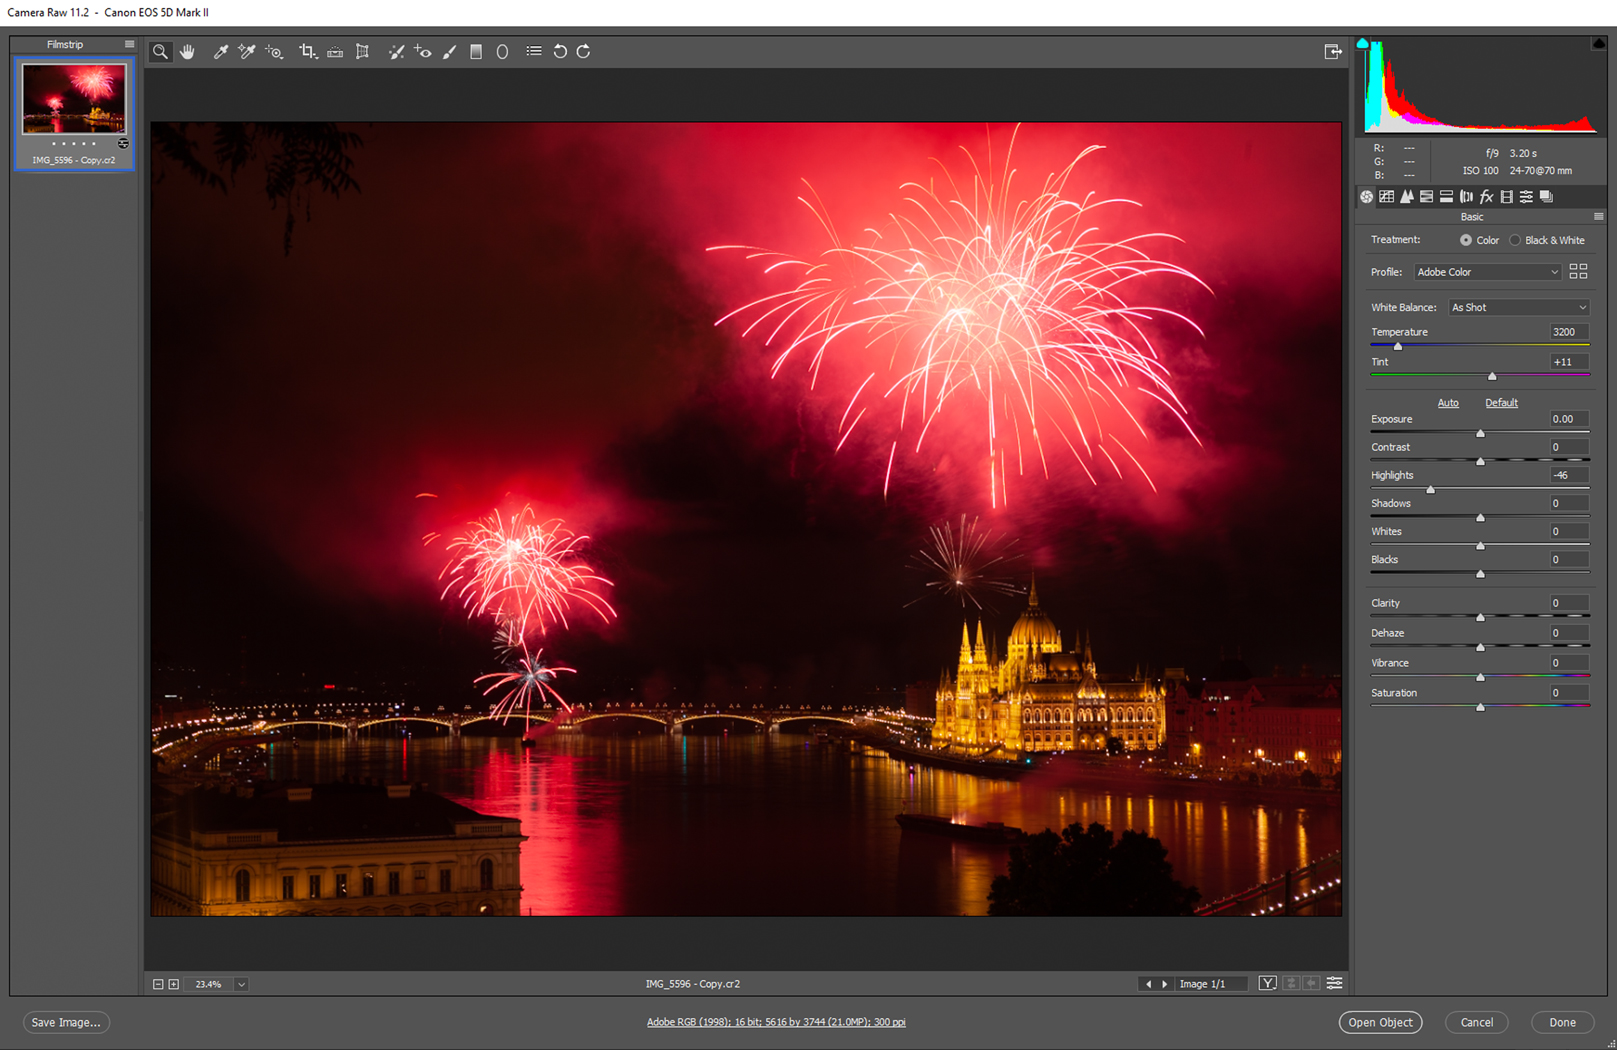
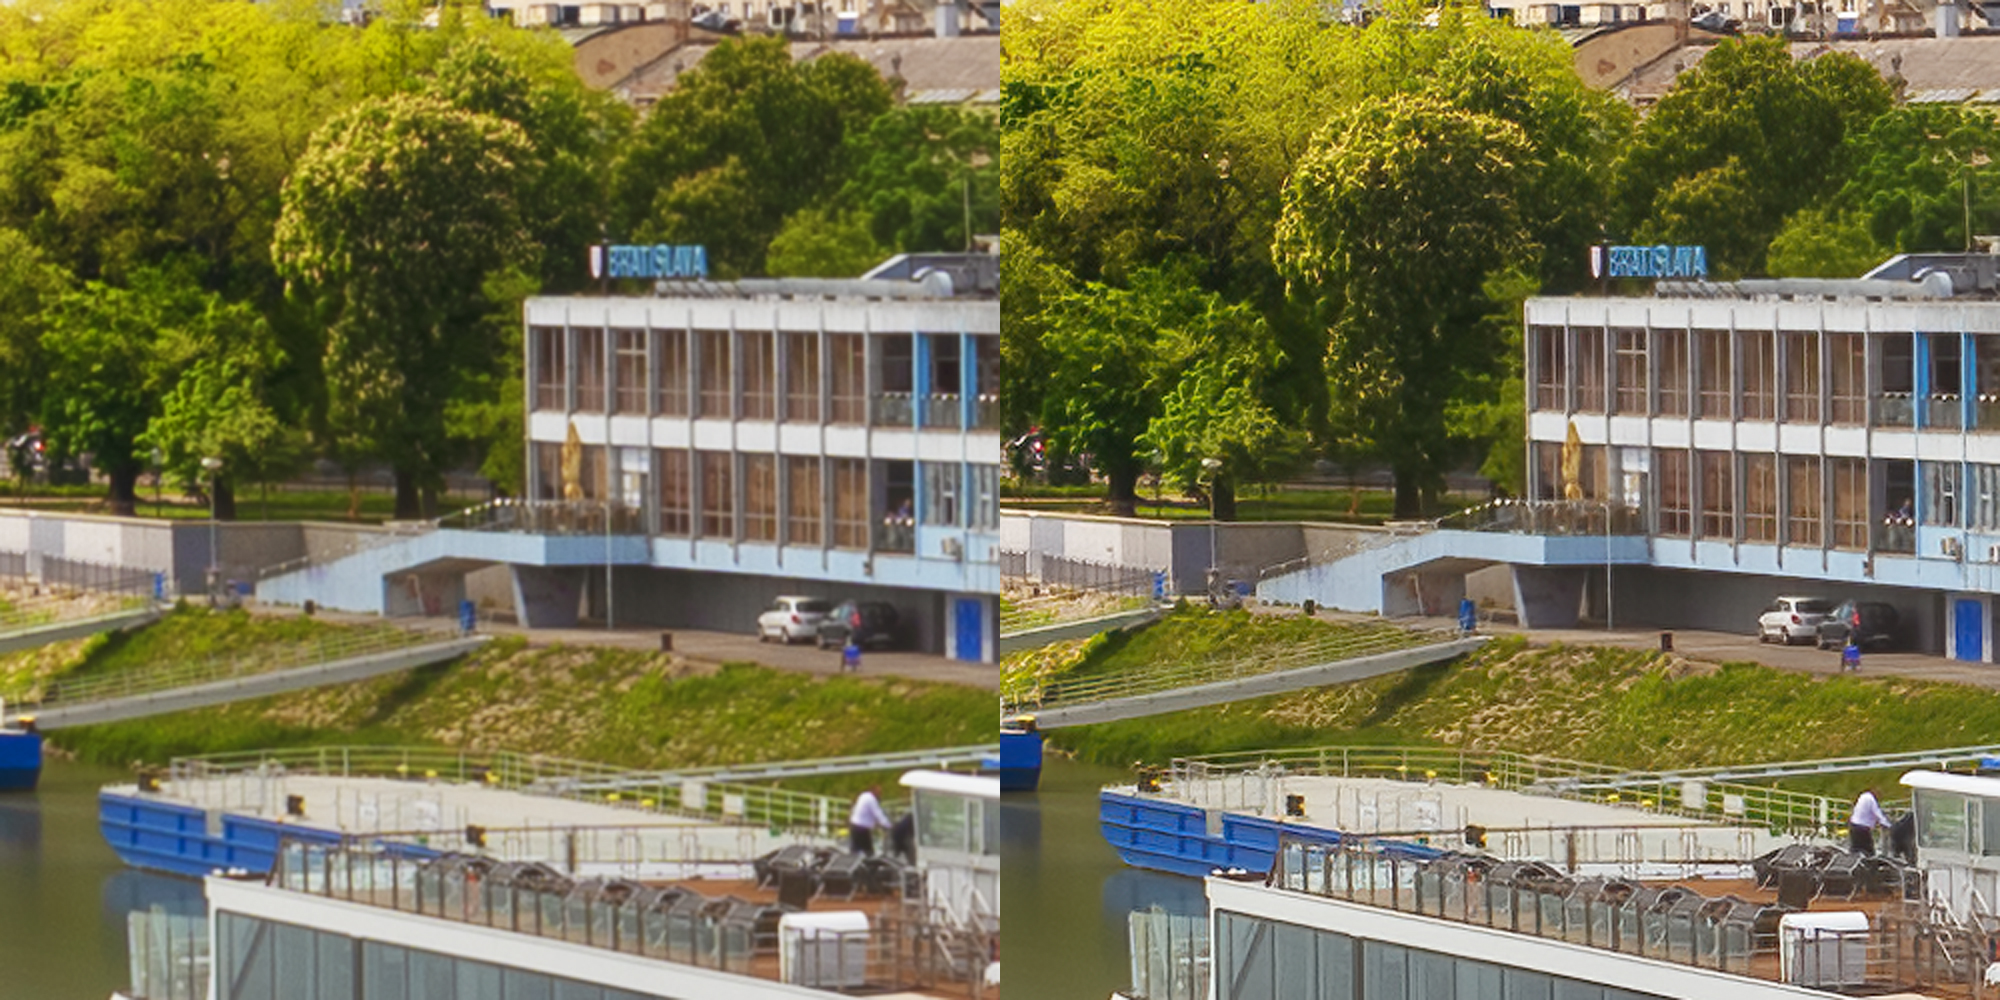
All you have to do is import your image. DeNoise AI will target the noise in your image and intelligently apply the best solution for removing it without sacrificing too much detail loss.
Though we’ve created DeNoise AI to be an easy, automatic solution, there are three adjustment sliders that allow you to make manual edits beyond the automated detection. With the Remove Noise slider you can apply even stronger noise reduction. Pushing the sliders to the extreme level will not give you the best output all the time. If your noise level is low, then keeping the slider in the lower range should give the best output.
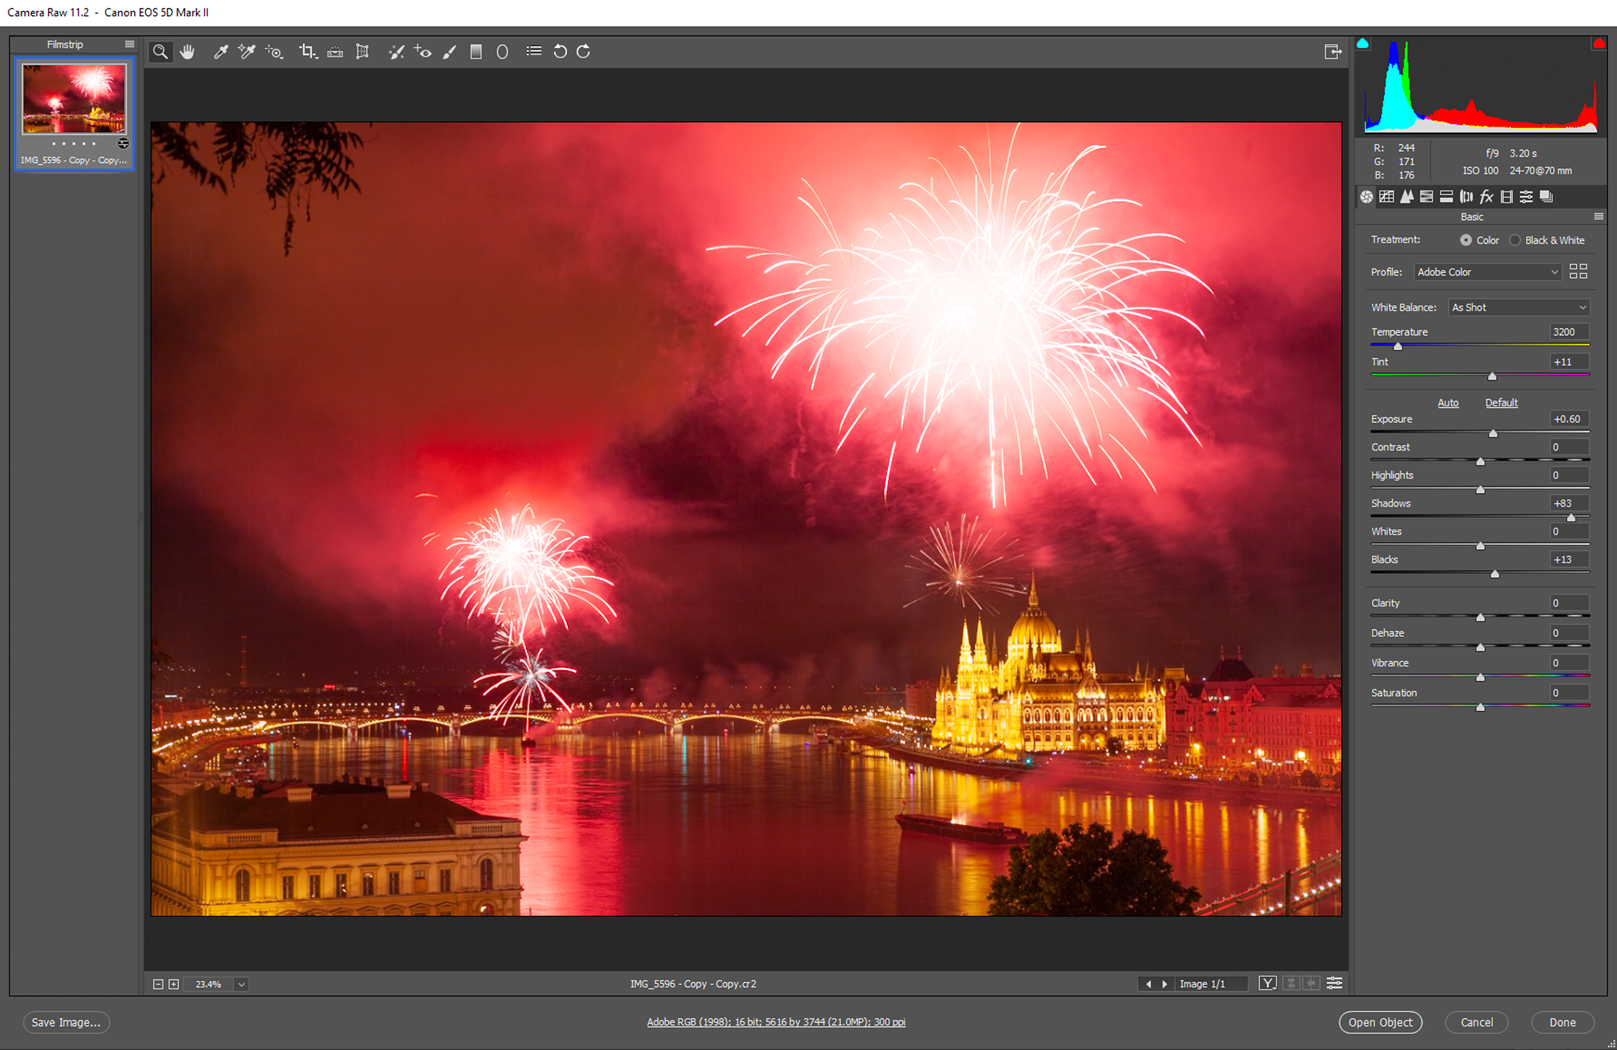
The Enhance Sharpness slider allows you to sharpen images that become blurry after denoising. If you’re looking to add back specific details in your image that may have been removed by denoising, you can try the Restore Detail slider to use alpha-mask blending to restore and improve details.
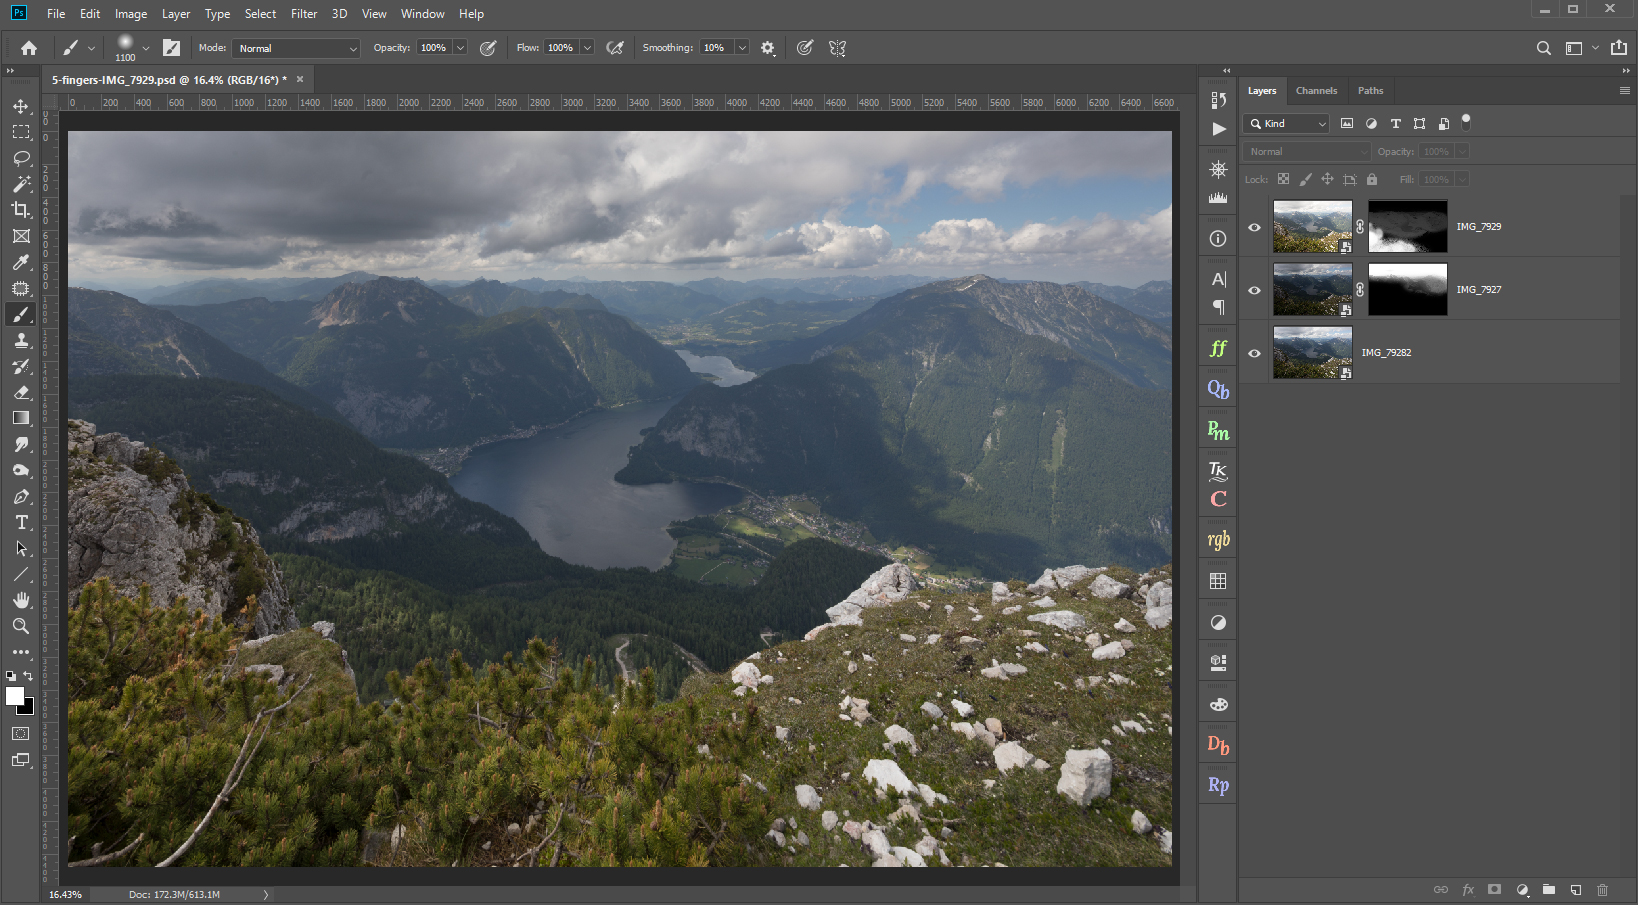
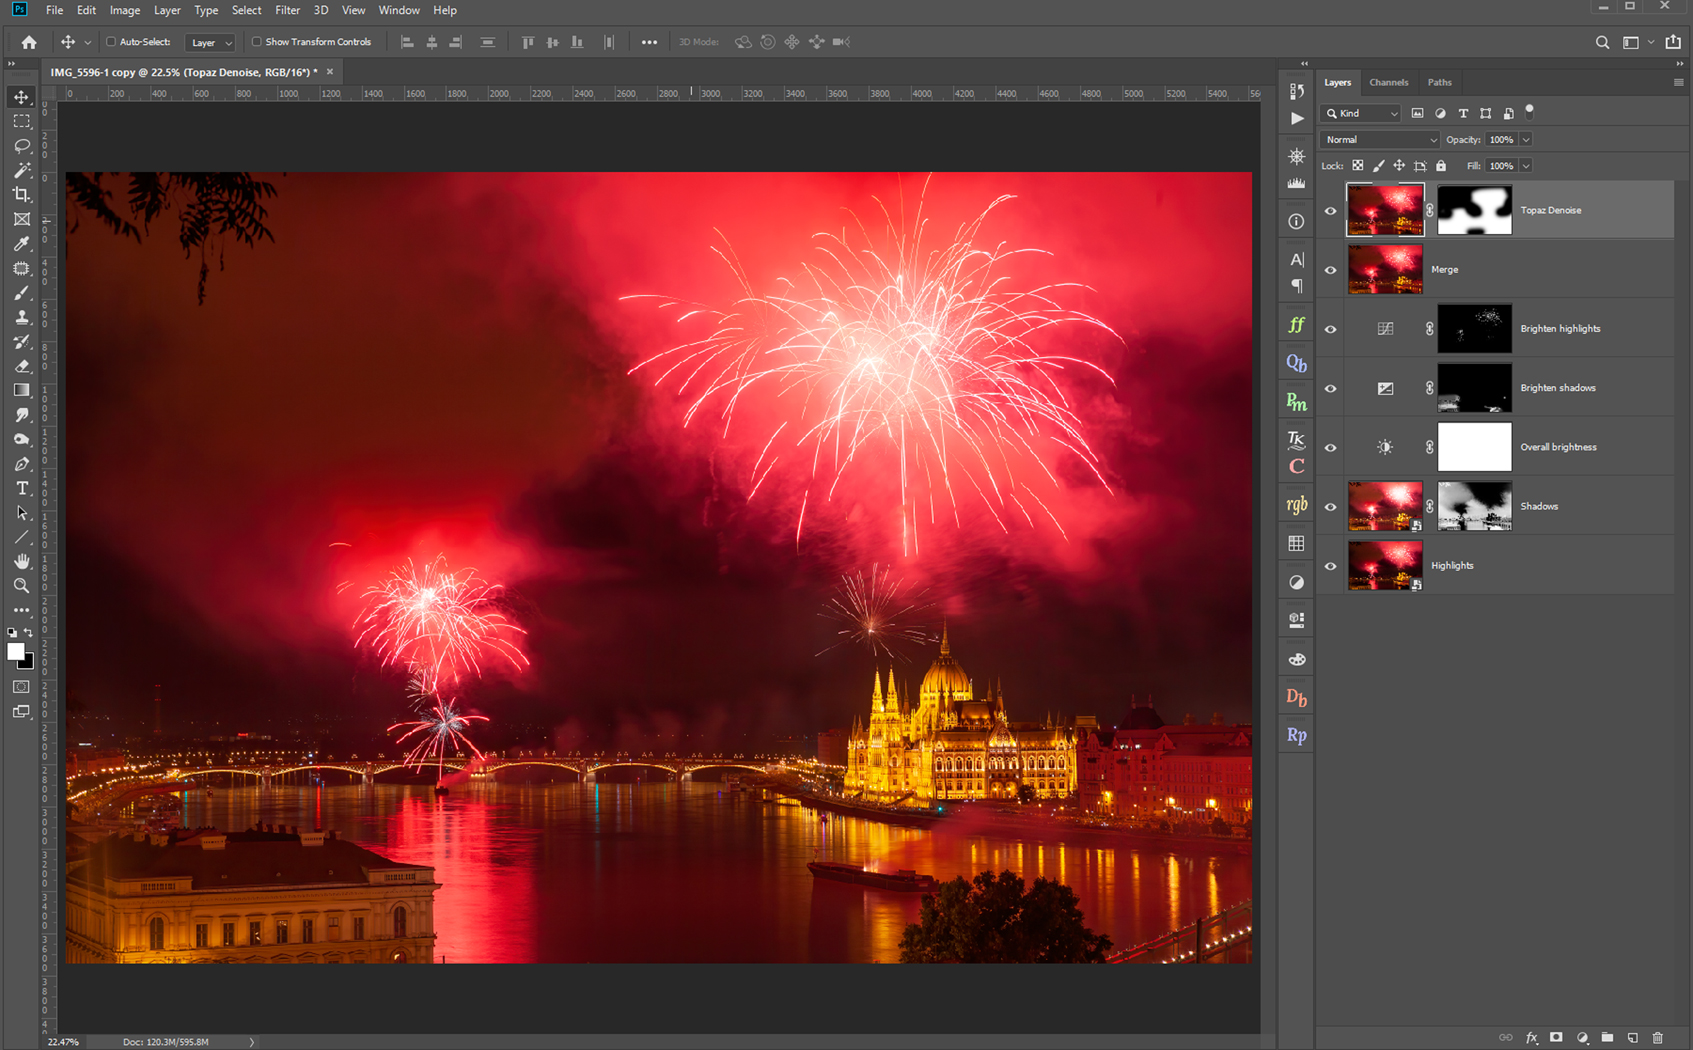
We recommend using DeNoise AI at the beginning of your workflow. Eliminating noise as a first step is key because it will ensure that you are working on a clean image! It is always important to remove any damaging defects before applying any color, detail or creative adjustments to your images.
P.S. Don’t miss out on our DeNoise AI special pricing. Download a free trial, see for yourself, and then snag DeNoise AI on sale for $59.99 (typically $79.99) until May 3!
 Adjust AI
$79.99
Adjust AI
$79.99
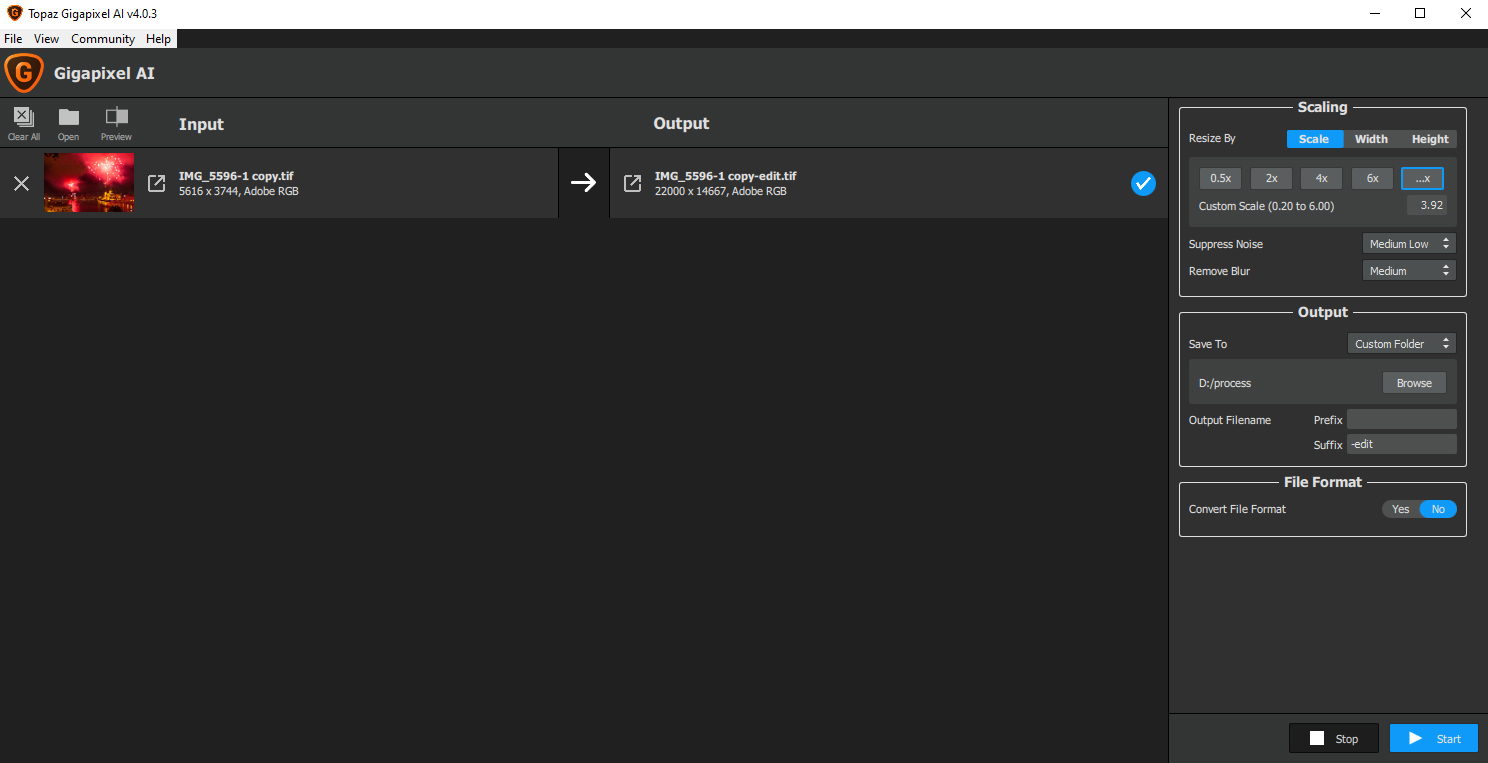
 Gigapixel AI
$99.00
Gigapixel AI
$99.00
 Local Image Bundle
$68.00 / month
Local Image Bundle
$68.00 / month
 Topaz B&W Effects
$59.99
Topaz B&W Effects
$59.99
 Topaz Lens Effects
$79.99
Topaz Lens Effects
$79.99

