Posted on 4 Comments

We’ve Added 40 New Looks to Topaz Studio 2!

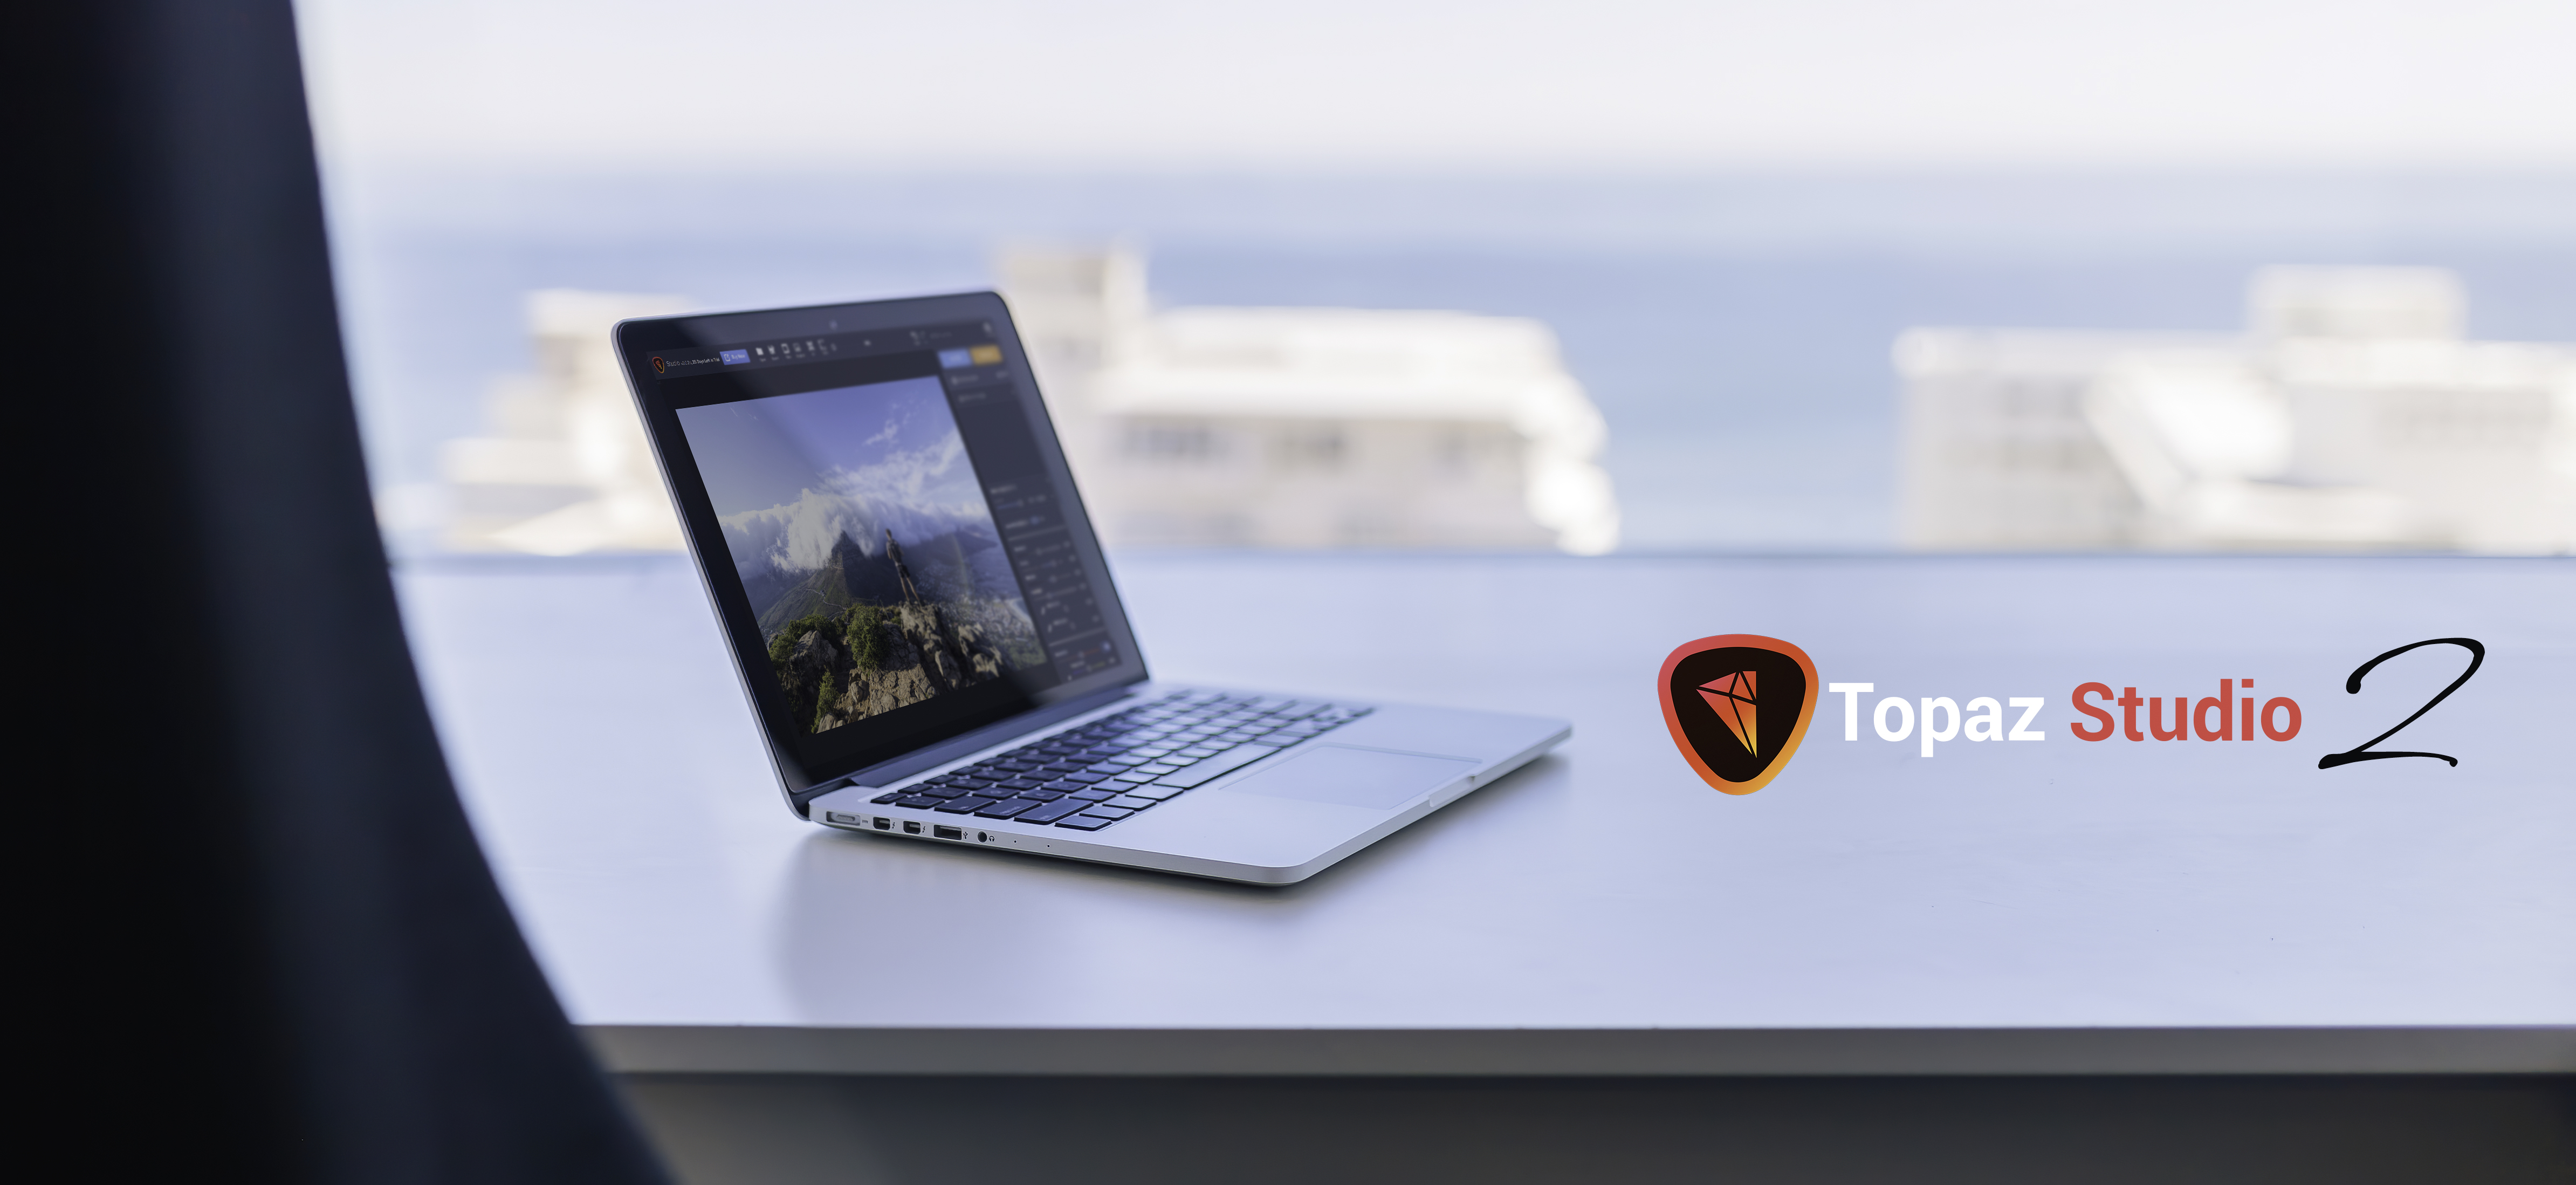
Explore a Whole New Set of Looks!

We recently updated to Studio 2.20 and with big improvements under the hood comes a whole new set of 40 different Looks!

Browse through the list below to discover and experiment with new Studio 2 Looks. New to Studio 2? Download your free 30-day trial now.

Abstract\Floral Gild
Abstract\Travel to Tortuga
Artistic\Charcoal Sketchbook
Artistic\Happy Little Trees
Bold\Egyptian Sand
Bold\Spiny Intensity
Bold\Yellow Intensity
Bright\Hieroglyph Cave
Colorful\Barbie Highlighter
Colorful\Golden Purple
Colorful\Mermaid Flashback
Colorful\Mermaid Texture
Colorful\Under the Sea
Colorful\Vibrant Treetops
Dramatic\A Touch of the Dramatic
Dramatic\Blazing Sunspot
Dramatic\Edged Sketch
Dreamy\Blueberry Dreamgirl
Dreamy\Blush Haze
Dreamy\Dream Cloud
Dreamy\Dreamstrokes
Dreamy\Watercolored Lady
Fun\Easy Wave
Fun\Mayan Static
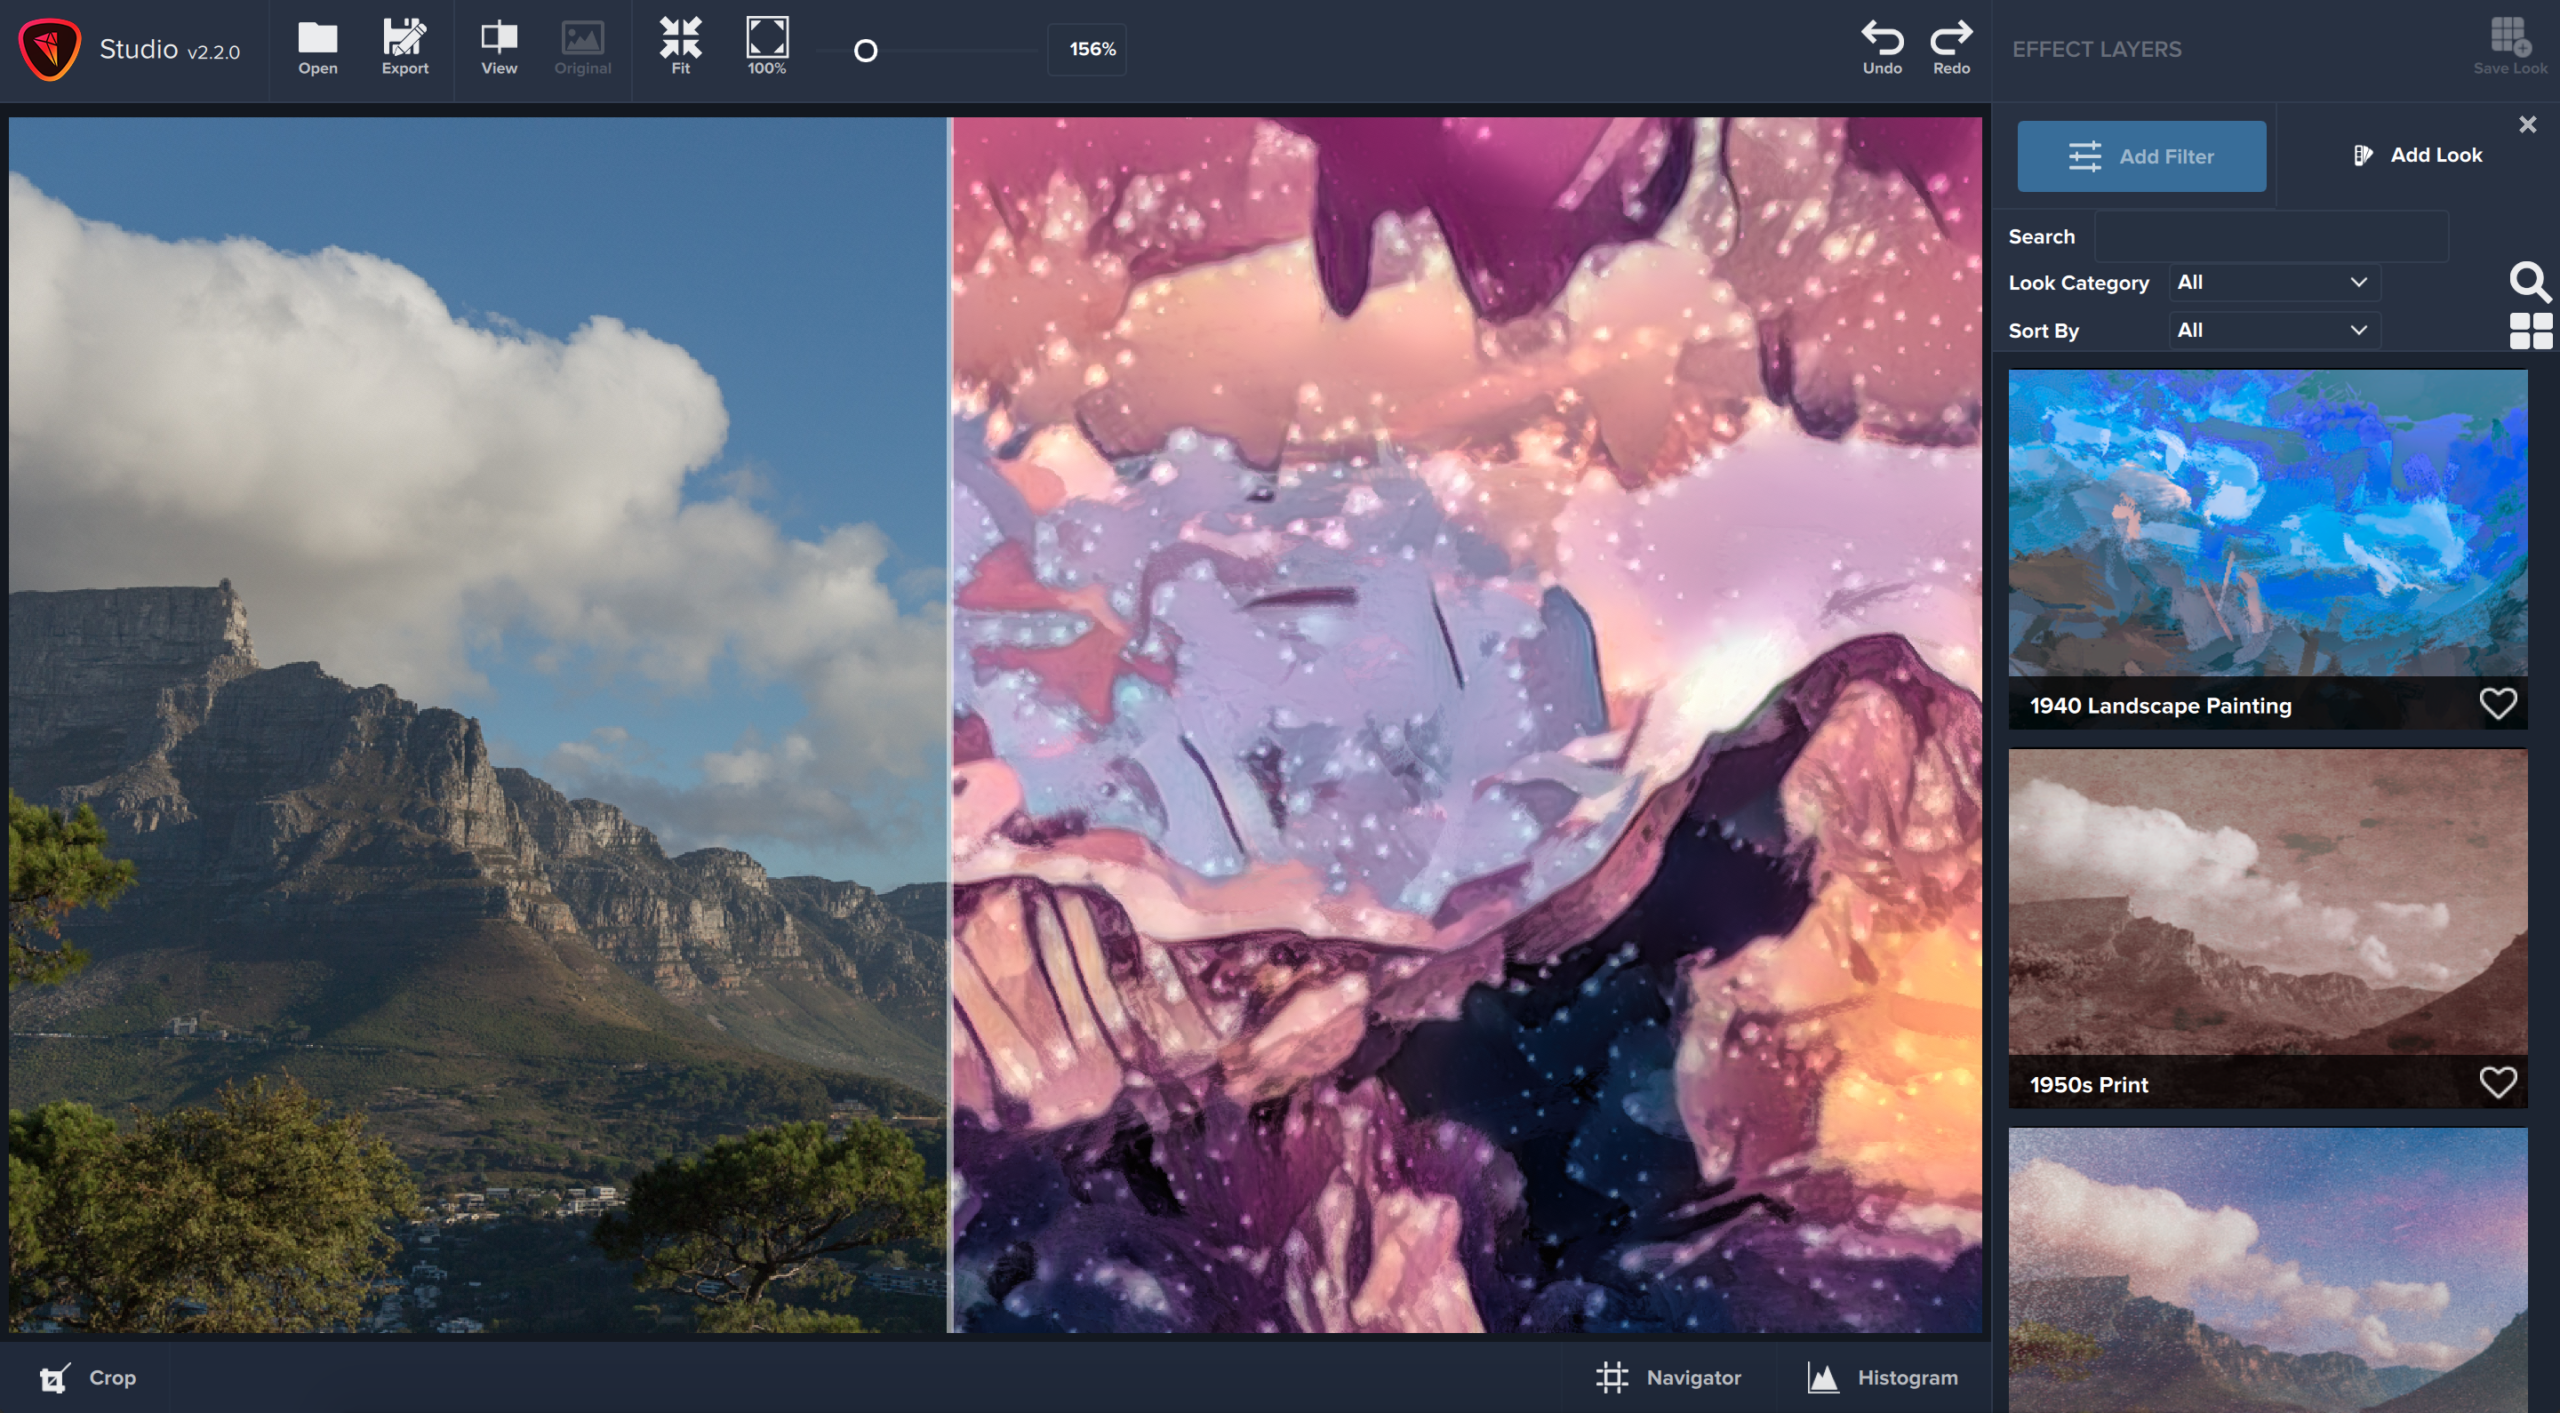
Fun\Starlight Glitter
Fun\Underwater Polaroid
Moody\Craftmaster Tinotype
Moody\Gothic Glean
Moody\Silent Movie Detailed
Moody\Trails of Ghost
Simple\Comfy Static
Simple\Definition Detail
Simple\Tale of the Bard
Soft\Soft Melt
Soft\Soft Stained Glass
Soft\SoftSketch 2
Soft\SoftSketch
Warm\Autumn Scarf
Warm\Gold Tinted Glasses
Warm\Golden Madonna

Posted on

Studio 2 Projects

Studio 2 Projects

Learn how to save a .TS2 project file to access your project at a later date using the helpful guides below.

Saving your project as a .TS2 helps you access your entire project rather than just your image at a later date. This will save all of your filter and layer settings as well so you can tweak your project over time if you want to make changes to your image later on. To save a .TS2 project file the first time, go to File -> Save Project As… and select a location for your project to be saved. Name your project, then continue editing. Don’t forget to save again if you make any edits to the project.

To save over an existing file, simply go to File -> Save Project. This will save over your existing project if you make any changes to your project after you’ve completed it.

You can find your .TS2 projects by default in the same location you opened your original image. For instance, if you opened an image from your Pictures folder, the project will automatically save to your Pictures folder. You can override this by selecting a location to save manually by clicking File -> “Save Project As”.

To open an existing .TS2 project file, locate the project in it’s save location on your computer. For example, if you saved your project file to your “Documents” folder, locate the file there. Double click on the .TS2 to launch the project file in Topaz Studio 2. Once opened, all of your layers and applied looks and filters will open along with your image.

Topaz Labs Blog

Find written and video tutorials to guide you through creative processes in Topaz software. Start creating a masterpiece today!

Topaz Help Center

Got a question? We’ve got answers. Find troubleshooting, tips, and more, or contact our Support Team.

Posted on

Using Studio

Using Studio

Topaz Studio 2 can be used as both a standalone application and plugin for Photoshop, Lightroom, etc. Select your host editor for step-by-step setup instructions for Topaz Studio 2.

Topaz Studio 2 should automatically configure itself for Photoshop CC when it installs on your computer and you should find it under Filters>Topaz Labs>Topaz Studio 2.

If you have it installed and you are still not able to find it in your filters menu, try re-installing the application. You can use our Topaz Studio 2 Mac Installer or Topaz Studio 2 Windows Installer.

If you’re still not able to find it, you can manually configure it using the following steps:

Mac

  1. Open ‘Finder’
  2. Select Go>Go to Folder
  3. Copy and paste the following path: /Applications/Topaz Studio 2/Topaz Studio 2.app/Contents/Resources/PS_Plugins/TopazStudio2.plugin
  4. Click ‘Go’
  5. Right-click (or ctrl+click) on the ‘TopazStudio2.plugin file’
  6. Select ‘Copy “TopazStudio2.plugin”‘
  7. Open your Applications folder 
  8. Go to /Applications/Adobe Photoshop CC [year number]/Plug-ins
  9. Paste “TopazStudio2.plugin” file in the “Plug-ins” folder

Windows

  1. Open ‘Windows Explorer’
  2. Go to C:\Program Files\Topaz Labs\Topaz Studio 2\PS_Plugins_x64
  3. Right-click and copy the “tltopazstudiops_x64.8bf” alias file
  4. Navigate to C:\Program Files\Adobe\Adobe Photoshop CC\Plug-ins
  5. Right click in this folder, next to Generator, and paste the file here
  6. Restart Photoshop CC and try invoking your plug-in once more

Mac

1. Go to your preferences menu in Photoshop and select Plug-ins.

2. Check/enable the Additional Plug-ins Folder option then click Choose.

3. Navigate to: Computer/Macintosh HD/Library/Application Support and select the Topaz Labs folder.  If you cannot find this folder, press Command ⌘ + Shift + C to open the Computer Directory.

Be sure you are selecting the entire Topaz Labs folder. If you select a plugin folder, you will add just that one plugin to the Filter menu, but all other plugins will not show.

4. Click OK to save your changes, then restart Photoshop. Once Photoshop opens, go to your Filter menu and you should be able to access Topaz Labs.

Windows

  • Please click on Edit in the top menu and select Preferences → Plug-Ins..
  • Check/enable the Additional Plug-ins Folder option then click Choose.
  • After that, please navigate to:
    64bit OS –  C:\Program Files (x86)\
    32bit OS – C:\Program Files\
  • Then, select the Topaz Labs folder
    Be sure you are selecting the entire Topaz Labs folder. If you select a plugin folder, you will add just that one plugin to the Filter menu, but all other plugins will not show. 

You should see the file path below in Photoshop’s Plug-Ins Preferences.  From here, click OK to save your changes, then restart Photoshop. Once Photoshop opens, go to your Filter menu and you should be able to access Topaz Labs.

 To use Topaz Studio 2 in Lightroom, follow these steps:

  1. Preferences → External Editing
  2. In the Additional External Editor section, under preset please select “Choose” and search for your Studio 2. Make sure you have the application selected (make sure it is the actual icon and not the entire folder).
  3. Next click on the preset drop down menu and select “save current settings as a new preset” and enter the name of your application

Now that you have Topaz Studio 2 set up as a external editor, just click Photo>Edit In>Topaz Studio 2

Note: For Topaz Studio 2 to save back to Lightroom you will have use to “File → Save” in order to save.

Using your Topaz Labs plug-ins with Adobe Photoshop Elements is easy. Elements will usually find your Topaz Labs products on its own. You can find them by opening an image in Elements, then opening the ‘Filter‘ menu.

To manually configure Topaz Studio 2 for Photoshop Elements, follow these steps:

Mac

  1. Open the ‘Adobe Photoshop Elements 2019 Editor‘ menu and select ‘Preferences>Plug-ins
  2. Check the ‘Application Plug-ins Folder‘ box, then click ‘Choose.
  3. Select the folder for the application from the ‘Applications’ folder, then click ‘Choose.
  4. You will need to close and re-open Elements for your application to show up in the ‘Filter‘ menu.

Windows

  1. Open the ‘Edit‘ menu and select ‘Preferences>Plug-ins‘ 
  2. Check the ‘Application Plug-ins Folder‘ box, then click ‘Choose.‘ 
  3. In the “Browse for Folder” menu, navigate to OS (C:)>Program Files>Topaz Labs> then select the folder of the application you would like to use in Elements. Press OK.
  4. You will need to close and re-open Elements for your application to show up in the ‘Filter‘ menu.

You can use Topaz Studio 2 by opening an image in Luminar 3, then navigating to ‘Edit>Plugins‘. Studio 2 may show up here, but if you don’t see it, check under the ‘Other’ menu.

If you do not see your Topaz Studio 2 under the ‘Other‘ menu, here’s how to add it:

  1. Under the same ‘Edit>Plugins>Other’ menu, select ‘Open Plugin…’.
  2. Select the folder for the application from the ‘Applications’ folder, then click ‘Open
  3. You may need to close and re-open Luminar 3 before your plug-in appears in the ‘Plugins‘ menu.

Topaz Labs Blog

Find written and video tutorials to guide you through creative processes in Topaz software. Start creating a masterpiece today!

Topaz Help Center

Got a question? We’ve got answers. Find troubleshooting, tips, and more, or contact our Support Team.