Topaz Studio 2 User Guide
- What is a Look?
Topaz Studio’s filters work well individually, but the true magic happens when they’re combined together. Topaz Studio 2 includes over 200 “Looks” (pre-built groups of filters) that help you explore different beautiful effects for your images with a single click.
- How do I Use a Look?
Previewing and Applying a Look
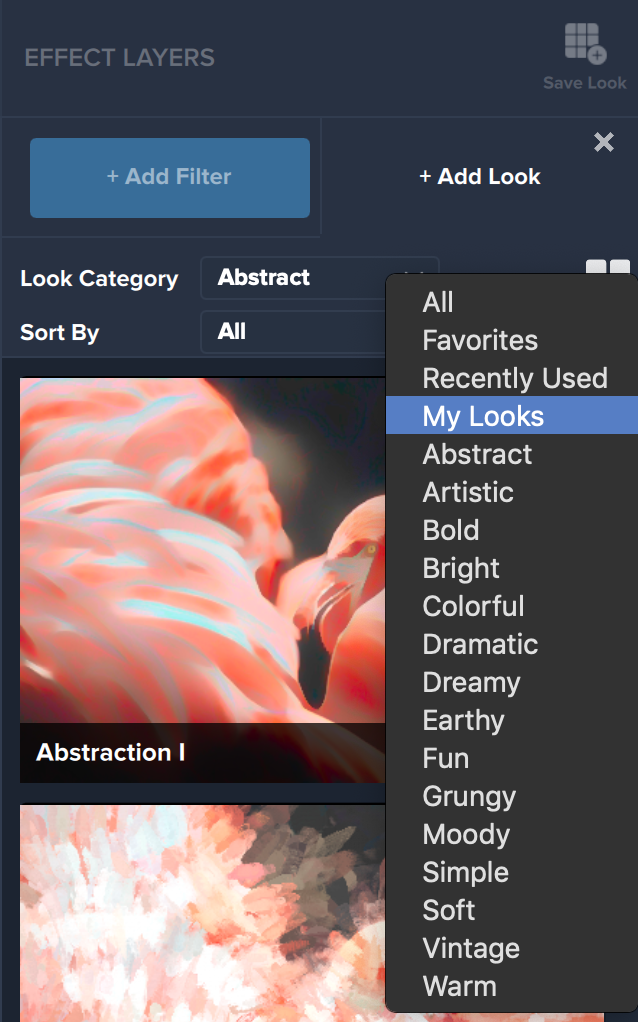
Click the “Add Look” button on the right hand side of your screen. Here, you’re able to choose from a Look Category as well as “Sort By” a particular filter you would like to use – or you are able to browse through all of the Looks on the “All Looks” category. To preview a Look, simply click on the Look and it will show you what the Look will do to your image. Once you have selected a Look you like, simply click “Apply” to apply it to your image.
Favoriting a Look
If you find a Look that you would like to be able to find again easily, click the heart in the upper right hand corner of the Look. This will add the Look to your “My Favorites” category, which you can find under the dropdown Category menu.
Applying Multiple Looks
You are also able to apply multiple looks to your image. After you “Apply” your first look, click the orange “Add Look” button again and simply apply a second Look on top of your exising Look.
- Creating a Custom Look in Studio 2
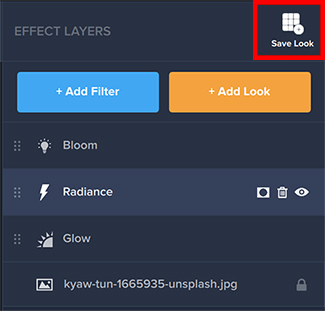
After inputting your image, click “Add Filter” to open up the Effects Layers panel. Loaded with the best of Topaz technology, you’ll find a wide range of effects to start creating your digital artwork! You can use over 25 effect settings to play with color, texture, lines, and light in your image – and that’s just the beginning. Apply as many filters as you’d like and adjust them until you have the perfect look for your image.
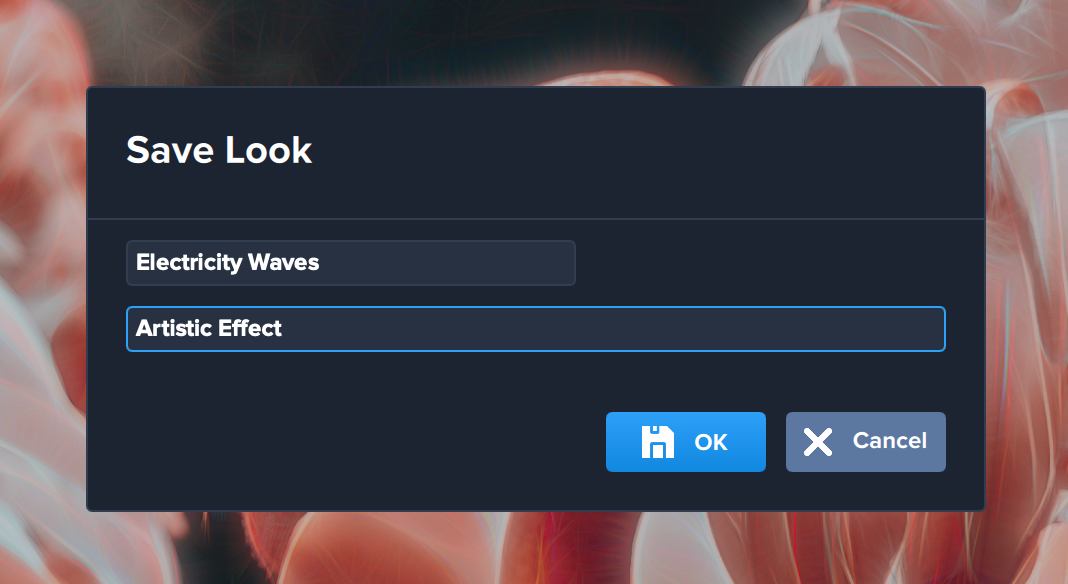
Once you’ve got your unique look nailed down, navigate to the “Save Look” icon in the right-hand corner of the Effects Layer panel. See the illustration below!
Topaz Studio allows you to move beyond the boundaries of traditional photography into the world of digital creation.
- Migrating Presets from Topaz Studio Classic
You created presets in Classic Studio and you loved them. You want to keep them but you also want all the cool features in Studio 2. No problem! We’ve made a handy little tool for you!
- Open Studio 2
- Go to the Help drop down menu and choose “Migrate Custom TS1 Presets”
- Choose whether you want to migrate the custom presets you created, presets you did not create but have marked as a Favorite, or both
- Done! You will be able to find these presets now under your “My Looks”
Missing Presets?
Please submit a support ticket with your database attached. Below are instructions to find it.
MAC:
- Open a File Explorer window
- Enter the following in your navigation bar:
C:\Users\*YOURUSERNAMEHERE*\AppData\Local\Topaz Labs\Topaz Studio\QML\OfflineStorage\Databases - Select the SQLITE File
WINDOWS:
Find your database:
- Open a finder window and choose Macintosh HD
- Users -> (Your User Account) ->Library -> Application Support -> Topaz Labs -> Topaz Studio -> tgrc
Topaz Labs Blog
Find written and video tutorials to guide you through creative processes in Topaz software. Start creating a masterpiece today!
Topaz Help Center
Got a question? We’ve got answers. Find troubleshooting, tips, and more, or contact our Support Team.


