[vc_row css=”.vc_custom_1499750369090{padding-top: 20px !important;padding-bottom: 20px !important;}”][vc_column][vc_empty_space][vc_column_text]
[/vc_column_text][vc_empty_space][vc_column_text]
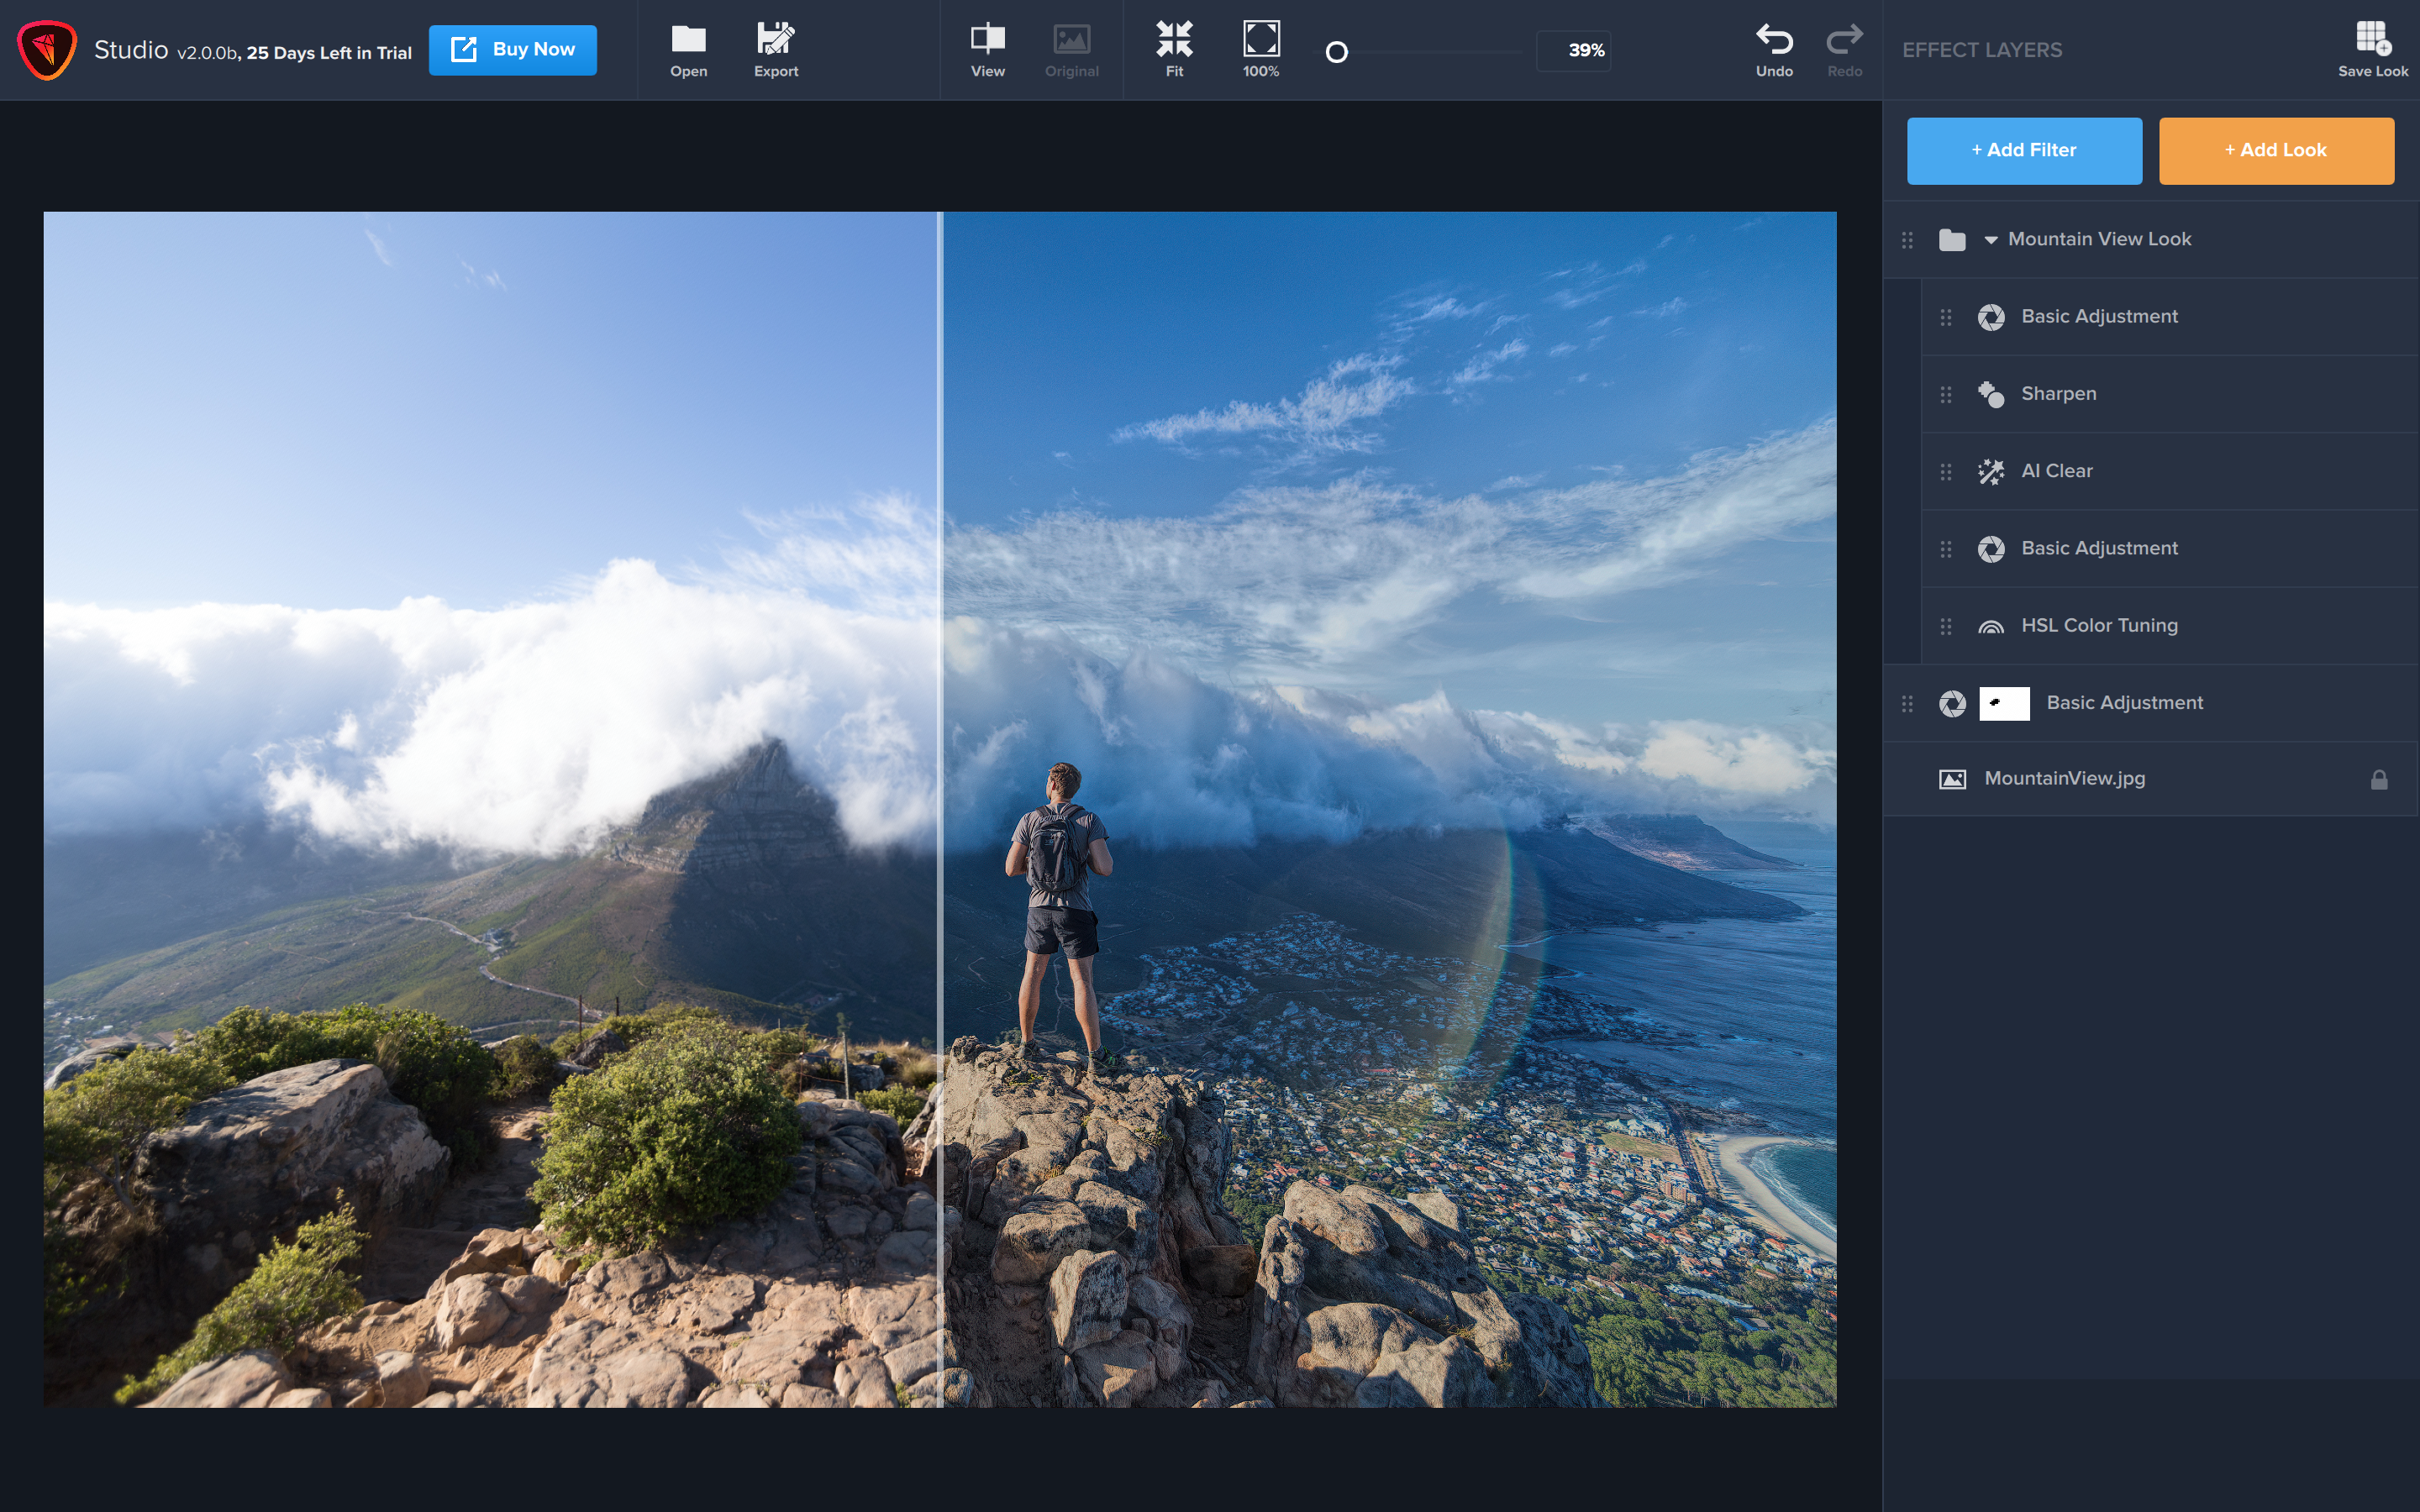
Batch Processing is a function that allows you to process multiple images at once and apply the same effect, adjustments, and settings to each image that you process. If you have a workflow or a few steps you find yourself repeating, it’s a great way to speed up your workflow and cut down on repetitive tasks while you’re editing.[/vc_column_text][vc_empty_space][mpc_divider preset=”mpc_preset_18″ content_type=”title” content_border_css=”border-width:1px;border-color:#e0e0e0;border-style:solid;” content_padding_divider=”true” content_padding_css=”padding-top:5px;padding-right:15px;padding-bottom:5px;padding-left:15px;” font_preset=”mpc_preset_1″ font_color=”#888888″ font_size=”16″ font_line_height=”1″ font_transform=”uppercase” font_align=”left” title=”Instructions” icon_type=”character” icon_character=”M” icon_color=”#76bdcc” icon_size=”30″ lines_color=”#e0e0e0″ padding_divider=”true”][/vc_column][/vc_row][vc_row css=”.vc_custom_1499750369090{padding-top: 20px !important;padding-bottom: 20px !important;}”][vc_column][vc_column_text]
[/vc_column_text][vc_column_text]Before you actually begin batching, you’ll want to decide the settings you want to apply to your images, this can be a one-click effect or a custom adjustment stack, the possibilities are nearly endless.[/vc_column_text][vc_empty_space][vc_row_inner][vc_column_inner width=”1/3″][vc_column_text]For the sake of simplicity, I’m going to start with a premade effect, click into the Studio category, and select the monochrome subcategory, then click on the effect “Black and White Photograph”.[/vc_column_text][vc_empty_space][/vc_column_inner][vc_column_inner width=”2/3″][mpc_carousel_slider preset=”mpc_preset_0″ loop=”true” auto_slide=”true” delay=”1500″ images=”420475,420476″ height=”450″ gap=”10″ font_preset=”mpc_preset_1″ font_color=”#888888″ font_size=”20″ font_line_height=”1.5″ font_align=”center” second_font_color=”#555555″ background_color=”rgba(255,255,255,0.7)” counter_padding_css=”padding:15px;” image_size=”large” image_opacity=”100″ image_hover_opacity=”100″ mpc_navigation__preset=”mpc_preset_19″][/vc_column_inner][/vc_row_inner][/vc_column][/vc_row][vc_row css=”.vc_custom_1499750369090{padding-top: 20px !important;padding-bottom: 20px !important;}”][vc_column][vc_column_text][vc_empty_space][vc_column_text]
[/vc_column_text][vc_empty_space][vc_row_inner][vc_column_inner width=”1/2″][vc_column_text]Now that we have the settings we’d like to apply to our batch of images, we need to set up our batch processing, open the batch processing window by clicking the “File” menu and selecting the “Batch Process” option.[/vc_column_text][vc_empty_space][/vc_column_inner][vc_column_inner width=”1/2″][vc_single_image image=”420490″ img_size=”full” onclick=”link_image”][/vc_column_inner][/vc_row_inner][vc_empty_space][vc_row_inner][vc_column_inner width=”1/2″][vc_column_text]The Batch Processing menu has a lot of different options to give you control over the files you process and how they are handled:
[/vc_column_text][vc_empty_space][/vc_column_inner][vc_column_inner width=”1/2″][vc_single_image image=”420502″ img_size=”full” onclick=”link_image”][/vc_column_inner][/vc_row_inner][vc_empty_space][/vc_column][/vc_row][vc_row css=”.vc_custom_1499750369090{padding-top: 20px !important;padding-bottom: 20px !important;}”][vc_column][vc_column_text][vc_empty_space][vc_column_text]
[/vc_column_text][vc_column_text]So let’s get started by selecting the source folder that contains the images we want to process. It’s important to note that any images that are in this folder are going to be processed, so you likely don’t want to select your entire photo library.
Click the “Choose” button to select a source folder.[/vc_column_text][vc_single_image image=”420525″ img_size=”full” onclick=”link_image”][vc_empty_space][vc_row_inner][vc_column_inner width=”1/3″][vc_column_text]I’ve already set up a “batching in” folder with the images I want to process. So I’ll select the batching folder then click “select folder. You can navigate to the source folder of your choosing, just remember that you’re selecting the folder and not specific files.[/vc_column_text][vc_empty_space][/vc_column_inner][vc_column_inner width=”2/3″][vc_single_image image=”420526″ img_size=”full” onclick=”link_image”][/vc_column_inner][/vc_row_inner][vc_column_text]If your source folder contains other folders that you want to process as well, you can select the “Include subfolders” option. Just note that this will process all subfolders and image files in those folders.[/vc_column_text][vc_empty_space][/vc_column][/vc_row][vc_row css=”.vc_custom_1499750369090{padding-top: 20px !important;padding-bottom: 20px !important;}”][vc_column][vc_column_text][vc_empty_space][vc_column_text]
[/vc_column_text][vc_column_text]Now that we have the source folder set we want to set up the destination folder where we will save the processed images. Click the “Choose” button under the destination settings window to set your destination folder.[/vc_column_text][vc_single_image image=”420529″ img_size=”full” onclick=”link_image”][vc_empty_space][vc_row_inner][vc_column_inner width=”1/3″][vc_column_text]Just like you did with your source folder, you want to navigate to the folder where you’d like to save the images that you process. I’ve already set up a “batching out” folder so i’ll select that and click “Select Folder”.[/vc_column_text][vc_empty_space][/vc_column_inner][vc_column_inner width=”2/3″][vc_single_image image=”420531″ img_size=”full” onclick=”link_image”][/vc_column_inner][/vc_row_inner][vc_row_inner][vc_column_inner][vc_column_text]NOTE: If you select an output folder that contains files you’ll see the warning on the right letting you know that there is a potential for overwriting files, if you continue and you haven’t changed your batch settings to something new from the last time you batched, you will overwrite those files. This message serves as your only warning.[/vc_column_text][vc_empty_space height=”16px”][vc_single_image image=”420574″ img_size=”full” alignment=”center” onclick=”link_image”][vc_empty_space][/vc_column_inner][/vc_row_inner][vc_column_text]If you chose the “include subfolder” option in the source menu you can also select an option here to “keep source folder structure” to create the exact same subfolders and sort files into them as you have set up in your source folder.[/vc_column_text][vc_empty_space][/vc_column][/vc_row][vc_row css=”.vc_custom_1499750369090{padding-top: 20px !important;padding-bottom: 20px !important;}”][vc_column][vc_column_text][vc_empty_space][vc_column_text]
[/vc_column_text][vc_empty_space][vc_row_inner][vc_column_inner width=”1/3″][vc_column_text]Topaz Studio contains a lot of different naming options that allows you to customize how your batching files are named. Choose from the drop-down options to string together the naming conventions you want including original filenames, dates, and serial numbers.[/vc_column_text][/vc_column_inner][vc_column_inner width=”2/3″][vc_single_image image=”420542″ img_size=”full” onclick=”link_image”][/vc_column_inner][/vc_row_inner][vc_column_text]You can preview how your output file name will look in the example above the dropdown.[/vc_column_text][vc_empty_space][/vc_column][/vc_row][vc_row css=”.vc_custom_1499750369090{padding-top: 20px !important;padding-bottom: 20px !important;}”][vc_column][vc_column_text][vc_empty_space][vc_column_text]
[/vc_column_text][vc_column_text]By default, Topaz Studio will maintain your file formats and settings when you batch process, with the exception of RAW files (since you can’t save out a raw image.)[/vc_column_text][vc_empty_space][vc_row_inner][vc_column_inner width=”1/3″][vc_column_text]If you’d like to convert all the processed files to one format, simply uncheck the “Apply to RAW files only” option. THen select the settings you’d like all your files converted to. Conversion options include TIFF, JPEG, and PNG.[/vc_column_text][/vc_column_inner][vc_column_inner width=”2/3″][vc_single_image image=”420564″ img_size=”full” onclick=”link_image”][/vc_column_inner][/vc_row_inner][vc_column_text]You can also set image quality options and the color profile you’d like your images saved as. (Studio supports a wide variety of RGB colorspaces).[/vc_column_text][vc_empty_space][/vc_column][/vc_row][vc_row css=”.vc_custom_1499750369090{padding-top: 20px !important;padding-bottom: 20px !important;}”][vc_column][vc_column_text][vc_empty_space][vc_column_text]
[/vc_column_text][vc_column_text]If you’d like to resize your image you can check the “Resize to fit” checkbox. Then click the drop-down to decide if you want the image to fit within a box defined by width and height, or by height or width alone. Then enter the values you’d like your image sized to. (If you choose height or width alone, your images will maintain their aspect ratio to the specified size.)[/vc_column_text][vc_empty_space][vc_row_inner][vc_column_inner width=”1/3″][vc_column_text]You can set your output to measure by pixels, inches, or centimeters. You can also set your image resolution or pixel density to pixels per inch or pixels per centimeter.[/vc_column_text][/vc_column_inner][vc_column_inner width=”2/3″][vc_single_image image=”420572″ img_size=”full” onclick=”link_image”][/vc_column_inner][/vc_row_inner][vc_empty_space][/vc_column][/vc_row][vc_row css=”.vc_custom_1499750369090{padding-top: 20px !important;padding-bottom: 20px !important;}”][vc_column][vc_column_text][vc_empty_space][vc_column_text]
[/vc_column_text][vc_empty_space][vc_row_inner][vc_column_inner width=”1/2″][vc_column_text]We’ll go ahead and check the “Hide application window while batching” option and click the “OK” button to start batching. Topaz Studio will minimize the interface and leave a progress window on the screen while the application batches your images.
If you’d like to leave the interface up during batching you can uncheck the box. Once batching is complete, this window will close and the interface will open again on your original image.[/vc_column_text][/vc_column_inner][vc_column_inner width=”1/2″][vc_single_image image=”420573″ img_size=”full” onclick=”link_image”][/vc_column_inner][/vc_row_inner][vc_empty_space][vc_column_text]And thats it! If you check your output folder you specified you’ll see all the images that Studio has processed for you, and any relevant subfolder structures you wanted to keep.
Thanks for reading and happy batching.[/vc_column_text][vc_empty_space][/vc_column][/vc_row][vc_row][vc_column][vc_column_text]
[/vc_column_text][vc_empty_space][mpc_icon_column preset=”mpc_preset_20″ layout=”style_3″ alignment=”left” background_color=”#f2f2f2″ border_css=”border-radius:0px;” padding_css=”padding:25px;” title_font_preset=”mpc_preset_1″ title_font_color=”#555555″ title_font_size=”17″ title_font_line_height=”1.4″ title_font_transform=”uppercase” title_font_align=”left” title=”Masking and Batching in Topaz Studio” title_margin_divider=”true” title_margin_css=”margin-bottom:8px;” content_font_preset=”mpc_preset_1″ content_font_color=”#a5a5a5″ content_font_size=”14″ content_font_line_height=”1.5″ content_font_align=”left” hover_border_css=”border-radius:0px;” mpc_icon__transition=”slide-down” mpc_icon__icon=”fa fa-paint-brush” mpc_icon__icon_color=”#ffffff” mpc_icon__icon_size=”36″ mpc_icon__background_color=”#75cdde” mpc_icon__border_css=”border-width:0px;border-color:#f3f3f3;border-style:solid;border-radius:50px;” mpc_icon__padding_css=”padding:10px;” mpc_icon__margin_divider=”true” mpc_icon__margin_css=”margin-top:-2px;margin-right:20px;margin-bottom:0px;margin-left:0px;” mpc_icon__hover_icon_color=”#ffffff” mpc_icon__hover_background_color=”#555555″ mpc_icon__hover_border_css=”border-color:#f3f3f3;” mpc_divider__disable=”true” mpc_divider__width=”10″ mpc_divider__align=”left” mpc_divider__content_padding_divider=”true” mpc_divider__content_padding_css=”padding-top:0px;padding-right:0px;padding-bottom:0px;padding-left:0px;” mpc_divider__lines_color=”#dddddd” mpc_divider__padding_divider=”true” mpc_divider__padding_css=”padding-top:3px;padding-bottom:3px;”]It’s important to note that any custom masks that you’ve applied to your adjustments or your overall effect when you’re setting up your first image for batching, will persist to all batched images.
It allows for some neat creative applications if prepared for but can give confusing results if you’re not expecting it.[/mpc_icon_column][vc_empty_space height=”16px”][mpc_icon_column preset=”mpc_preset_20″ layout=”style_3″ alignment=”left” background_color=”#f2f2f2″ border_css=”border-radius:0px;” padding_css=”padding:25px;” title_font_preset=”mpc_preset_1″ title_font_color=”#555555″ title_font_size=”17″ title_font_line_height=”1.4″ title_font_transform=”uppercase” title_font_align=”left” title=”Not seeing the Batch Process option in Topaz Studio?” title_margin_divider=”true” title_margin_css=”margin-bottom:8px;” content_font_preset=”mpc_preset_1″ content_font_color=”#a5a5a5″ content_font_size=”14″ content_font_line_height=”1.5″ content_font_align=”left” hover_border_css=”border-radius:0px;” mpc_icon__transition=”slide-down” mpc_icon__icon=”fa fa-search” mpc_icon__icon_color=”#ffffff” mpc_icon__icon_size=”36″ mpc_icon__background_color=”#75cdde” mpc_icon__border_css=”border-width:0px;border-color:#f3f3f3;border-style:solid;border-radius:50px;” mpc_icon__padding_css=”padding:10px;” mpc_icon__margin_divider=”true” mpc_icon__margin_css=”margin-top:-2px;margin-right:20px;margin-bottom:0px;margin-left:0px;” mpc_icon__hover_icon_color=”#ffffff” mpc_icon__hover_background_color=”#555555″ mpc_icon__hover_border_css=”border-color:#f3f3f3;” mpc_divider__disable=”true” mpc_divider__width=”10″ mpc_divider__align=”left” mpc_divider__content_padding_divider=”true” mpc_divider__content_padding_css=”padding-top:0px;padding-right:0px;padding-bottom:0px;padding-left:0px;” mpc_divider__lines_color=”#dddddd” mpc_divider__padding_divider=”true” mpc_divider__padding_css=”padding-top:3px;padding-bottom:3px;”]Batch processing is only available in version 1.11.5 or later. If you’re running an earlier version you can update to the latest on the downloads page.[/mpc_icon_column][vc_empty_space][/vc_column][/vc_row]
[vc_row css=”.vc_custom_1499750369090{padding-top: 20px !important;padding-bottom: 20px !important;}”][vc_column][vc_column_text]
[/vc_column_text][vc_empty_space][vc_row_inner][vc_column_inner width=”1/2″][vc_empty_space][vc_column_text]
Topaz Glow has been upgraded to “Glow in Studio” and has officially moved into Topaz Studio! Moving Glow into Topaz Studio will enable us to focus on the overall mission of improving the entire Topaz Labs workflow and experience from start to finish.[/vc_column_text][vc_empty_space][qodef_button size=”huge-full-width” type=”outline” target=”_self” icon_pack=”” font_weight=”” text=”Get Glow in Studio” link=”https://topazlabs.com/cart/?add-to-cart=234938″ margin=”5px” hover_color=”#ffffff” hover_background_color=”#000000″][qodef_button size=”huge-full-width” type=”outline” target=”_self” icon_pack=”” font_weight=”” text=”Learn More” margin=”5px” color=”#000000″ border_color=”#000000″ hover_background_color=”#0a0000″ hover_border_color=”#0a0101″ hover_color=”#ffffff” link=”https://topazlabs.com/glow-in-studio”][vc_column_text]
View System Requirements | View Change Log
[/vc_column_text][/vc_column_inner][vc_column_inner width=”1/2″][vc_empty_space][vc_single_image image=”236156″ img_size=”full” onclick=”custom_link” link=”https://topazlabs.com/glow-in-studio”][/vc_column_inner][/vc_row_inner][/vc_column][/vc_row][vc_row disable_element=”yes”][vc_column][vc_single_image image=”236053″ img_size=”full” alignment=”center” onclick=”link_image”][vc_empty_space][vc_separator][vc_empty_space height=”15px”][vc_empty_space height=”15px”][/vc_column][/vc_row][vc_row disable_element=”yes”][vc_column][vc_empty_space height=”15px”][vc_video link=”https://youtu.be/rYztMpDLK1Y”][vc_empty_space height=”15px”][vc_separator][vc_empty_space height=”15px”][/vc_column][/vc_row][vc_row css=”.vc_custom_1499750369090{padding-top: 20px !important;padding-bottom: 20px !important;}”][vc_column][vc_empty_space][vc_column_text css=”.vc_custom_1513266096731{padding-top: 20px !important;}”]
Glow in Studio combines the “Glow”, “HSL Color Tuning” and “Smudge” Pro Adjustments, and the “Vignette” free Adjustment. Going forward, you will access Glow from the Topaz Studio application, and it can now be accessed without a paid host editor (such as Photoshop and Lightroom). You can also access Glow directly from the Workflow Panel in Topaz Studio. With this new name, we continue the journey to a more integrated, complete, and user-focused product.
You can access the Traditional Glow workflow through the workflow panel on the left under “Glow”. Or access any of the adjustments from the adjustment drop-down menu, and also, from the blue adjustment shortcut button on the workspace to the right.[/vc_column_text][vc_empty_space][vc_row_inner][vc_column_inner width=”1/2″][vc_column_text]
Before – Glow 2
[/vc_column_text][vc_single_image image=”236052″ img_size=”large” alignment=”center” onclick=”link_image”][vc_empty_space][/vc_column_inner][vc_column_inner width=”1/2″][vc_column_text]
After – Glow in Studio
[/vc_column_text][vc_single_image image=”236053″ img_size=”full” alignment=”center” onclick=”link_image”][vc_empty_space][/vc_column_inner][/vc_row_inner][vc_empty_space][vc_separator][vc_empty_space][vc_column_text]
AS ALWAYS, if you already own Glow 2 then you will receive the update to Glow in Studio 100% free! You will need to download and install Topaz Studio (a free application) to use the latest version of Glow. If you are just getting started with Topaz Studio and want to update to the latest version of Glow in Studio, please follow the steps here: https://topazlabs.com/2017/11/updating-plugins-to-studio/[/vc_column_text][vc_empty_space][vc_separator][/vc_column][/vc_row][vc_row css=”.vc_custom_1499750369090{padding-top: 20px !important;padding-bottom: 20px !important;}”][vc_column][vc_empty_space height=”32″][vc_column_text]
Keeping with Topaz Labs tradition, you can still launch Glow directly as a Photoshop plug-in. However, we’ve moved the entry into Topaz Studio, so you know you’re launching Glow in Studio.[/vc_column_text][vc_row_inner][vc_column_inner width=”1/2″][vc_column_text]
Filter → Topaz Labs → Topaz Glow…
[/vc_column_text][vc_empty_space height=”15″][vc_single_image image=”111298″ img_size=”full” alignment=”center” onclick=”link_image”][/vc_column_inner][vc_column_inner width=”1/2″][vc_column_text]
Filter → Topaz Studio → Glow…
[/vc_column_text][vc_empty_space height=”15″][vc_single_image image=”111300″ img_size=”full” alignment=”center” onclick=”link_image”][/vc_column_inner][/vc_row_inner][vc_empty_space height=”32″][vc_column_text]
If you do not see Glow listed in Photoshop, please follow the guidance at this article: https://help.topazlabs.com/hc/en-us/articles/115004587027[/vc_column_text][vc_empty_space height=”32″][vc_separator][/vc_column][/vc_row][vc_row css=”.vc_custom_1499750369090{padding-top: 20px !important;padding-bottom: 20px !important;}”][vc_column][vc_empty_space height=”32″][vc_column_text]
You can still launch Glow from hosts that support external editors, like Lightroom. However, we’ve changed what you need to choose from that list just a bit, so you know you’re launching Glow in Studio! Please note the new location:[/vc_column_text][vc_row_inner][vc_column_inner width=”1/2″][vc_column_text]
Photo → Edit In → Topaz Glow…
[/vc_column_text][vc_empty_space height=”15″][vc_single_image image=”236057″ img_size=”full” alignment=”center” onclick=”link_image”][/vc_column_inner][vc_column_inner width=”1/2″][vc_column_text]
Photo → Edit In → Topaz Studio…
[/vc_column_text][vc_empty_space height=”15″][vc_single_image image=”236056″ img_size=”full” alignment=”center” onclick=”link_image”][/vc_column_inner][/vc_row_inner][vc_empty_space height=”32″][vc_column_text]
If you do not see Topaz Studio listed in your host editor (like Lightroom), please follow the guidance at this article: https://help.topazlabs.com/hc/en-us/articles/115004747368[/vc_column_text][vc_empty_space height=”32″][vc_separator][vc_empty_space height=”32″][vc_column_text]
Presets/Effects you have created in Detail 2.0.5 will be available in Detail in Studio, simply select the Import Effects option from the Help menu:[/vc_column_text][vc_empty_space height=”32″][vc_single_image image=”111330″ img_size=”full” alignment=”center” onclick=”link_image”][vc_empty_space][vc_separator][/vc_column][/vc_row][vc_row][vc_column][vc_empty_space][vc_column_text]
[/vc_column_text][vc_column_text]Detail is now exclusively available within Topaz Studio!
Don’t have Topaz Studio? Topaz Studio is free to download! You can get it now by using the links below. If you need more information about Topaz Studio, check out this overview: Introducing Topaz Studio
Topaz Studio is a simple to use editing platform with Topaz Labs’ powerful acclaimed photo enhancement technology. It works as a standalone editor, a plugin within Lightroom and Photoshop, as well as a host application for your other Topaz plugins. It is free to use the program, all 1-click effects, and 10 Adjustments.[/vc_column_text][vc_empty_space height=”15px”][vc_row_inner][vc_column_inner width=”1/2″][vc_btn title=”Windows” shape=”square” color=”primary” align=”center” button_block=”true” link=”url:https%3A%2F%2Ftopazlabs.s3.amazonaws.com%2Ftopazstudio_online_installer.exe|||”][/vc_column_inner][vc_column_inner width=”1/2″][vc_btn title=”Mac” shape=”square” color=”primary” align=”center” button_block=”true” link=”url:https%3A%2F%2Ftopazlabs.s3.amazonaws.com%2Ftopazstudio_online_installer.dmg|||”][/vc_column_inner][/vc_row_inner][/vc_column][/vc_row]
 Adjust AI
$79.99
Adjust AI
$79.99
 Gigapixel AI
$99.00
Gigapixel AI
$99.00
 Local Image Bundle
$68.00 / month
Local Image Bundle
$68.00 / month
 Topaz B&W Effects
$59.99
Topaz B&W Effects
$59.99
 Topaz Lens Effects
$79.99
Topaz Lens Effects
$79.99

