Posted on

Studio 2 Filters

Users Guide

Studio 2 Filters

Topaz Studio 2 Filters allow you to transform your image in infinite ways. In Studio, we’ve thought about what common adjustments would look like if they were designed today, and updated them to their most modern and useful forms. Sorted into three distinct categories, Essential, Creative, and Stylistic, you’ll find that these aren’t your everyday image editing filters as soon as you give them a try. LEARN MORE

AI Clear, Basic Adjustment, Brightness Contrast, Black and White, Curves, Dehaze, HSL Color Tuning, Precision Contrast, Precision Detail, Reduce Noise, Sharpen

Bloom, Blur, Channel Mixer, Color Overlay, Color Theme, Dual Tone, Edge Exposure, Film Grain, Focal Blur, Motion Blurs, Quad Tone, Text, Vignette

Abstraction, AI Remix, Digital Frame, Edges, Glow, Impression, Radiance, Saturation, Smudge, Texture

Topaz Labs Blog

Find written and video tutorials to guide you through creative processes in Topaz software. Start creating a masterpiece today!

Topaz Help Center

Got a question? We’ve got answers. Find troubleshooting, tips, and more, or contact our Support Team.

Posted on

User Interface

Detail in Topaz Studio, Topaz Labs

User Interface

Topaz Studio 2 can be used as both a standalone application and plugin for Photoshop, Lightroom, etc. Select your host editor for step-by-step setup instructions for Topaz Studio 2.

The Right Hand Menu, or the Effect Layers panel, on the Studio 2 User Interface is meant to assist the user easily navigate between filters, looks, and more. The Effect Layers panel is divided into a few sections. First, the two prominent options on the Effect Layers Panel are the Add Filter and Add Look button. The Add Filter Button lets you choose from over 30 unique filters with thousands of options and build the layers on your image yourself with full customizable options. The Add Look button takes you to our pre-made Looks panel, where you can select from over 200 curated looks for your image.

Below these two options is the Layers Panel, where you will be able to see everything that has been applied to your image. When you have either a Look or a Filter selected from the layers panel, a section will appear that will allow you to access all of the options for that look or filter. The same thing happens when you apply a mask to a filter or look.

 The “Save Look” button allows you to save a look that includes all of the layers in your Layer Panel so you can access this look again later in the “My Looks” dropdown menu.

The “Add Filter” button allows you to access over 30 customizable filters divided into three unique sections: Essential, Creative, and Stylistic. Once you select this button, you will see all of the options available. Select a filter, and the filter will open in the right hand panel, allowing you full creative control on how the filter affects your image. You can save a favorite filter by highlighting the filter and clicking the heart of “Favorite” setting. These filters will be found in the “Favorite” menu at the top of the Add Filter screen. To see which filters you have recently used, select the “Recent” menu at the top of the Add Filter Screen.

The “Add Look” button allows you to access over 200 customizable Looks. These are packs of filters that give a unique look to your image. You can scroll through the looks that appear or select a category from the Look Category dropdown menu. You are also able to sort by filters using the Sort By drop down menu (for instance, if you are only looking for Looks that include the Impression filter). You can change the size of how the filters appear on your screen using the icon with four squares on the right hand side above your looks. You can favorite a look by seleting the heart beside the name of each look. These favorites will appear in the Category menu as “My Favorites”.  Lastly, if you know the name of a look you love, you can search for it with the search icon.

The Layers Panel shows you what has been applied to your image to achieve the look that appears on your image. The Layers Panel will show filters and looks that have been applied to your image. At the bottom will be the name of your image as the base layer. You are able to move filters and layers up or down in the layers pannel using the six dots to the left of each filter or look. Moving one filter above another may affect the overall appearance of your image.

Topaz Labs Blog

Find written and video tutorials to guide you through creative processes in Topaz software. Start creating a masterpiece today!

Topaz Help Center

Got a question? We’ve got answers. Find troubleshooting, tips, and more, or contact our Support Team.

Posted on

Topaz Featured Submission: John Adams

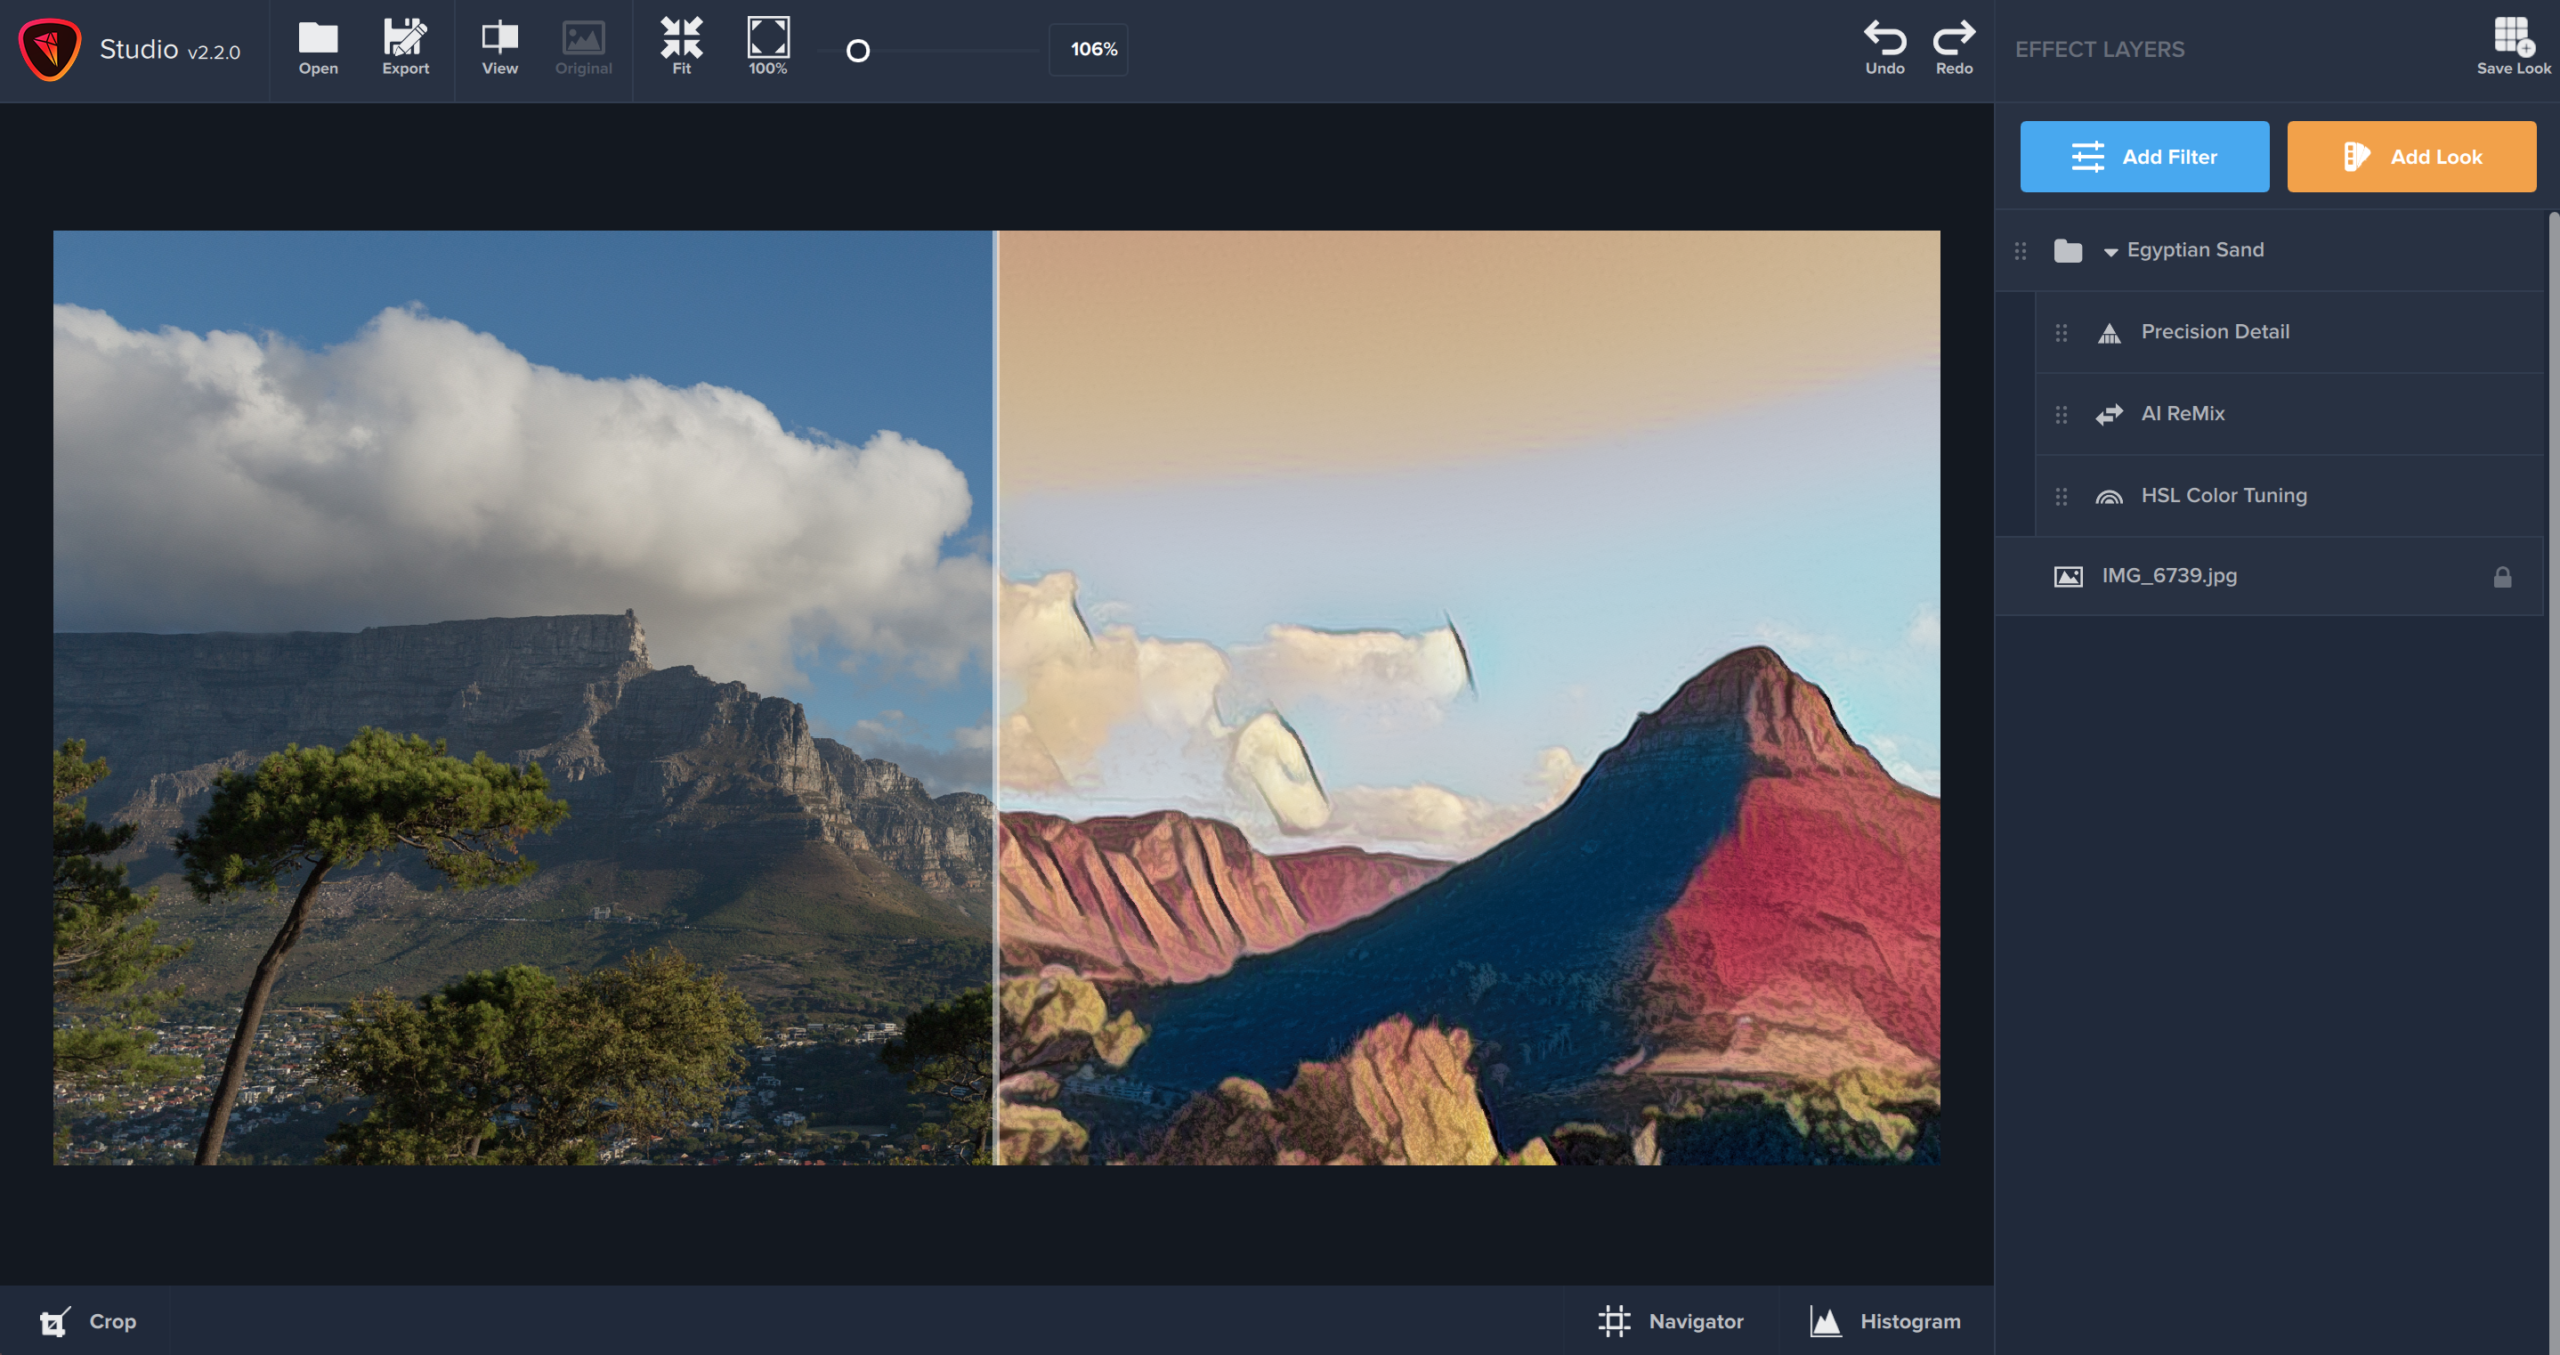
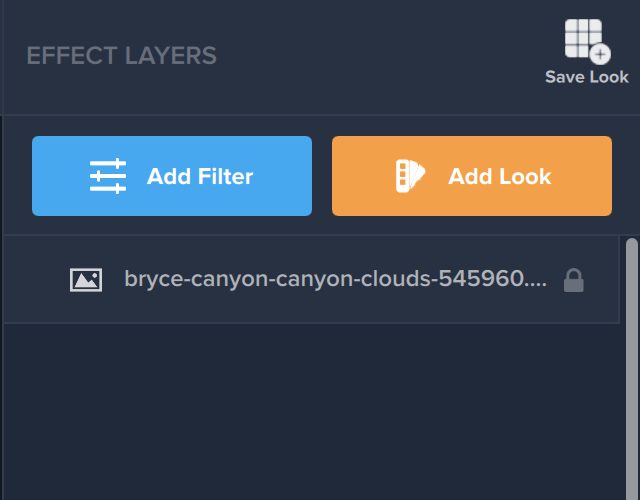
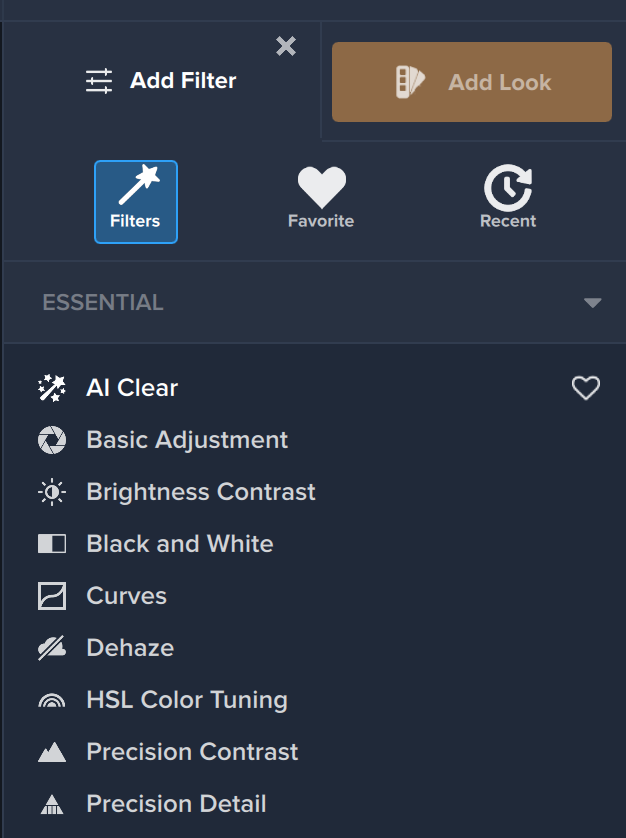
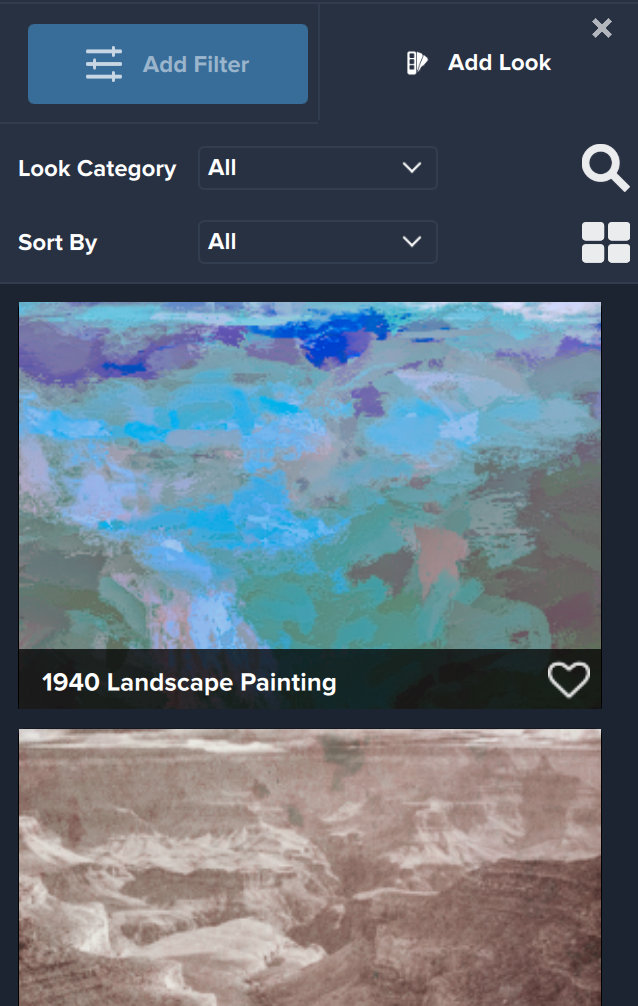
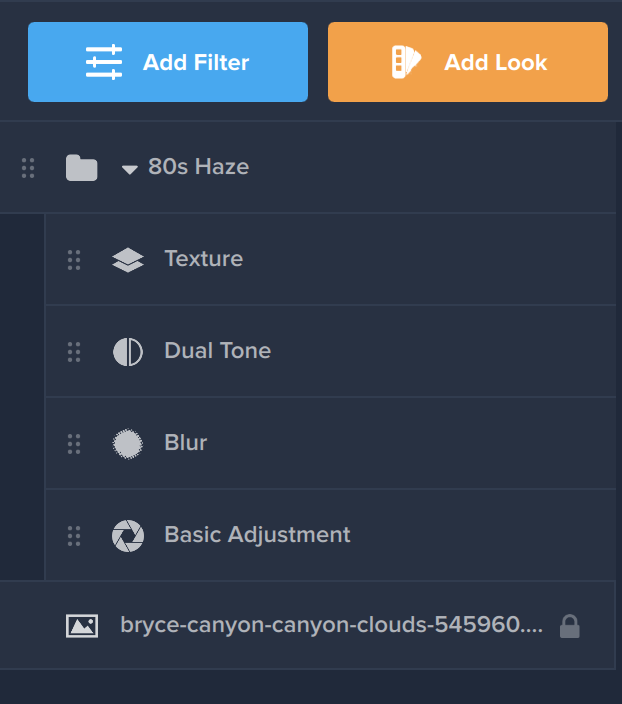
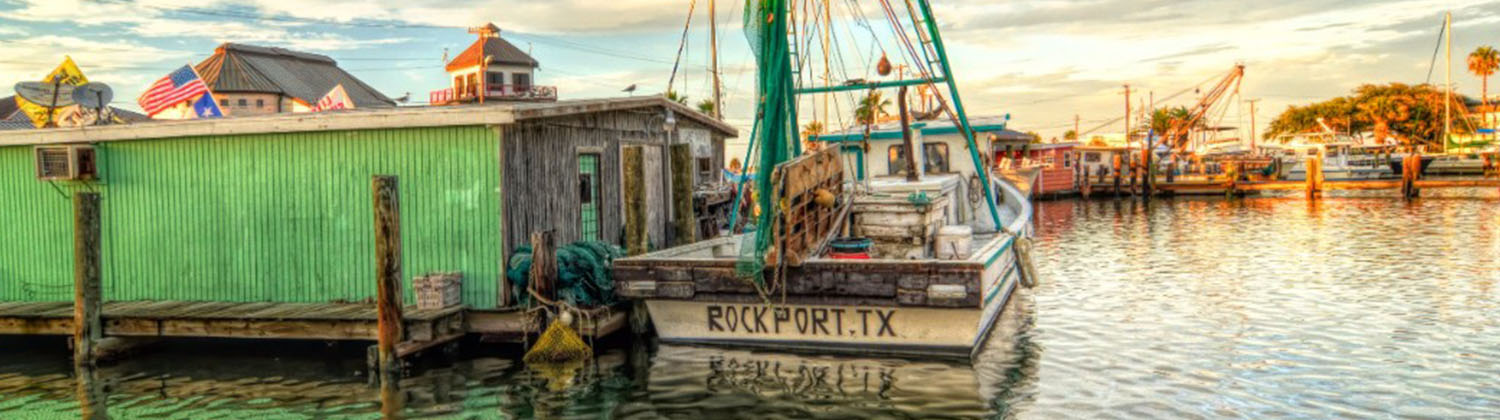
[vc_row][vc_column][vc_column_text]Topaz Labs recently introduced the Topaz Blog Submission Program, enabling users of our products to share with us their creations and workflows. Winners selected are then featured on our blog and social channels, and win the entire suite of professional plugins![/vc_column_text][vc_column_text]Today we’re featuring John Adams from Adams Views Imaging as our first submission winner! John used Topaz Studio to bring amazing color and emotion to an image from his recent trip to Rockport, TX. Some of you may recognize the name of that town, it was ground zero for Hurricane Harvey which hit just two weeks after his visit.[/vc_column_text][vc_empty_space height=”15px”][vc_single_image image=”134702″ img_size=”large” alignment=”center”][vc_empty_space][vc_column_text]John wrote, “Topaz Studio does such a beautiful job it has now become my new go-to tool for my final image processing and I am looking forward to putting together some more winning effect combinations with it!”[/vc_column_text][vc_empty_space][vc_single_image image=”135706″ img_size=”large” alignment=”center”][vc_empty_space][vc_column_text]You can view John’s workflow here, and make sure to follow Topaz Labs on Facebook to discover new submission winners and workflows![/vc_column_text][/vc_column][/vc_row][vc_row][vc_column][vc_empty_space][/vc_column][/vc_row][vc_row][vc_column][vc_empty_space][vc_column_text]

Thanks for Reading!

[/vc_column_text][vc_column_text]That’s all we have for today! If you’ve been inspired, feel free to comment on this post or share your own thoughts with us on one of our social media channels you can reach us on Instagram with @topazlabs and Twitter with @topazlabs. We’re also on Facebook and YouTube! We look forward to sharing the rest of Alister Benn’s year in the very near future, but until then![/vc_column_text][/vc_column][/vc_row][vc_row][vc_column][vc_empty_space][vc_column_text]

Free Download

[/vc_column_text][vc_column_text]Feel free to download our brand new product, Topaz Studio, the all-in-one photo editor. It works as a plugin, a host editor for your Topaz products, and a standalone editor. Best of all it’s completely free to use![/vc_column_text][vc_empty_space height=”15px”][vc_row_inner][vc_column_inner width=”1/2″][vc_btn title=”Windows” shape=”square” color=”primary” align=”center” button_block=”true” link=”url:https%3A%2F%2Fopen_beta.s3.amazonaws.com%2Ftopazstudio_online_installer.exe|||”][/vc_column_inner][vc_column_inner width=”1/2″][vc_btn title=”Mac” shape=”square” color=”primary” align=”center” button_block=”true” link=”url:https%3A%2F%2Fopen_beta.s3.amazonaws.com%2Ftopazstudio_online_installer.dmg|||”][/vc_column_inner][/vc_row_inner][/vc_column][/vc_row]